Corn Allergy & Intolerance Corn Allergy & Intolerance Group on Facebook
This group is wonderful. They have a tough love approach to weed out any dangerous exposure risk. It’s one of the fastest ways to learn about what is safe and what isn’t.
Make sure to check out the notes section. They have links to all sorts of helpful information.
Corn Allergy Girl
This website stays up to date on the corn free world. If you want to know what to avoid, this is a good place to look. There are also printable medical lists, should you ever need to go to the doctor or the emergency room.
She’s got 3 great lists called Where’s the Corn? These lists can help you find the hidden corn in food, medical and non food items.
Milk Allergy & Intolerance Go Dairy Free
This was my go to site for eating out at restaurants. Obviously this was also before our corn and wheat free days.
Peanut Allergy & Intolerance Peanut Allergy
It has everything. Peanuts are the deadliest for me, but the easiest to avoid on labels. Thankfully anything with or made in a facility with, must be labeled. Too bad there isn’t a warning label for public situations…
I’m not sure that naming these “Cookie Balls” sums up how delicious and nutritious these little treats are. Not only are they full of natural vitamins, minerals, protein, and fiber, they taste like something one should feel guilty over. Thankfully, unlike classic cookies, these will leave you feeling full and satisfied, without the guilt.
Cookie Balls
I discovered that these work wonders for morning sickness. I had heard that protein can help lessen morning sickness. So with my last pregnancy, I made a large batch of these and snacked on them whenever I started feeling nauseous. It worked marvelously!
Cookie Balls
My kids love these. When I make them, I have to hide some or they’ll gobble them all up. I make sure to set some aside for my youngest and myself so that we have something allergy-friendly to snack on while the non-allergy big kids have their snacks.
Cookie Balls
Makes 20-24 Cookie Balls
35-40 Chopped Dates
1/3 Cup Cocoa Powder
1 Cup Almond Meal
1/4 Cup Chia Seeds
1 TBSP Coconut Oil
2 TBSP Organic Grass-fed Butter
1/2 Cup Coconut Flakes
Mix all Ingredients, except coconut flakes, until well blended. Add coconut flakes and mix until blended. With your hands, take about a tablespoon or two, depending on how big you want them. and roll the mixture into balls. I like mine to be bite-sized for less mess. The smaller, the better, for little mouths. I find they store well for at least a week. They might last longer, but they are so good that they usually get eaten up before a few days have passed!
We started working on our new home right away, in the dead of winter, still with no heat. Our home had been winterized. The heating system uses radiators and had been completely drained. So until things thawed, we didn’t want to risk filling the system with water and springing a leak. We put 2 space heaters in an upstairs bedroom for the children while we worked. Whenever we got too cold, we would also go in there to thaw.
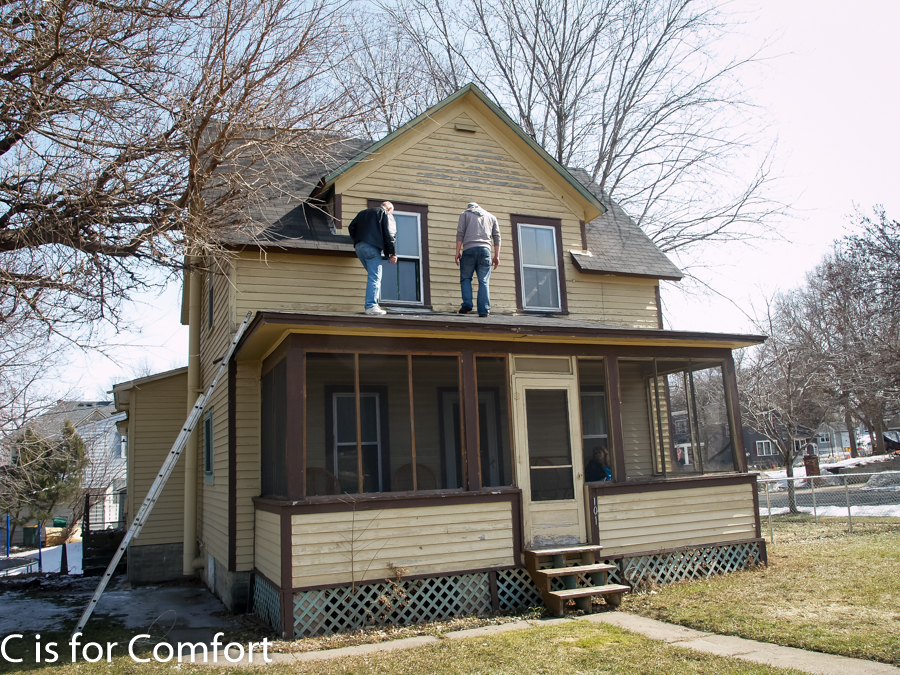
Working on the Exterior
As the weather started to warm up, we were thrilled to get outside and work on the exterior. The yard was filled with debris. We were very fortunate that my parents were able to come help out often.
Unfortunately, it was still too cold to run water in the bathrooms. We all had to take bathroom breaks at Walgreen’s up the road. Sometimes we used bathroom breaks as as excuse to explore town. We found a dairy co-op up the road that sells chocolate shakes for $1.00! As fun as exploring was, we all looked forward to our friend Marco from AmarcoPlumbing.com helping us sort this and the day we could enjoy the convenience of indoor plumbing again.
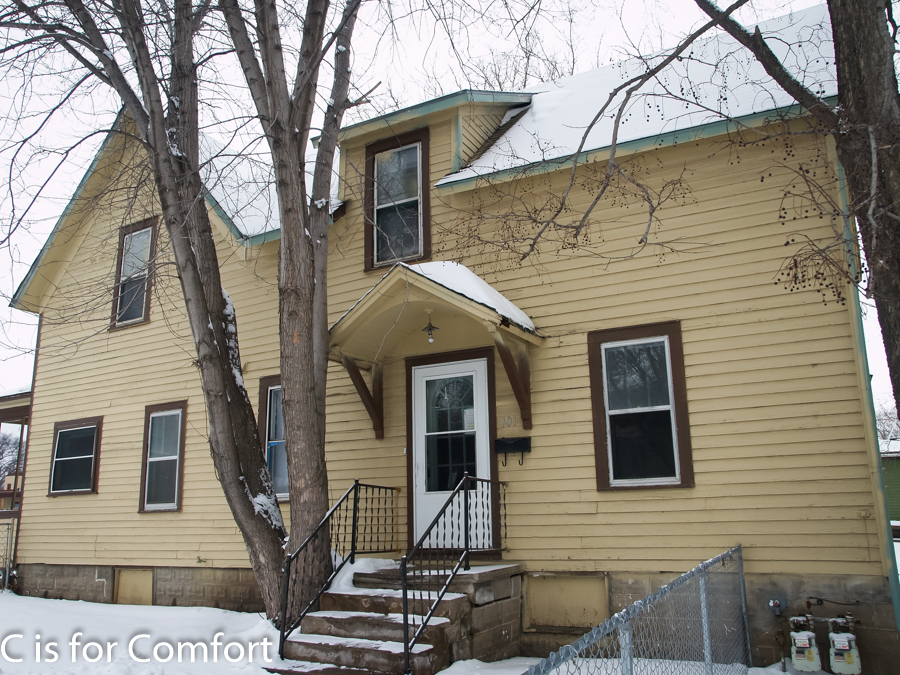
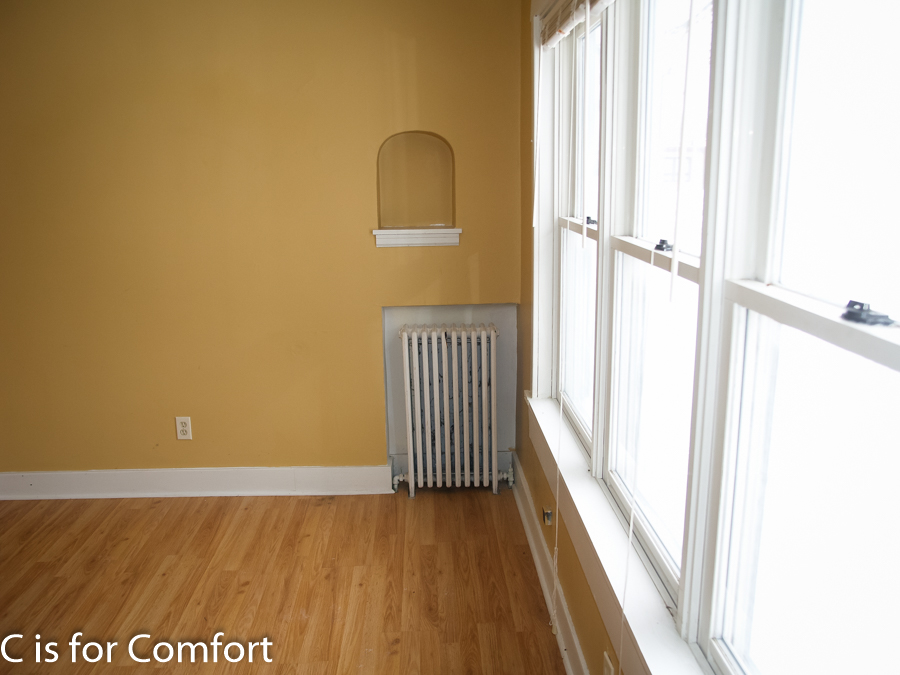
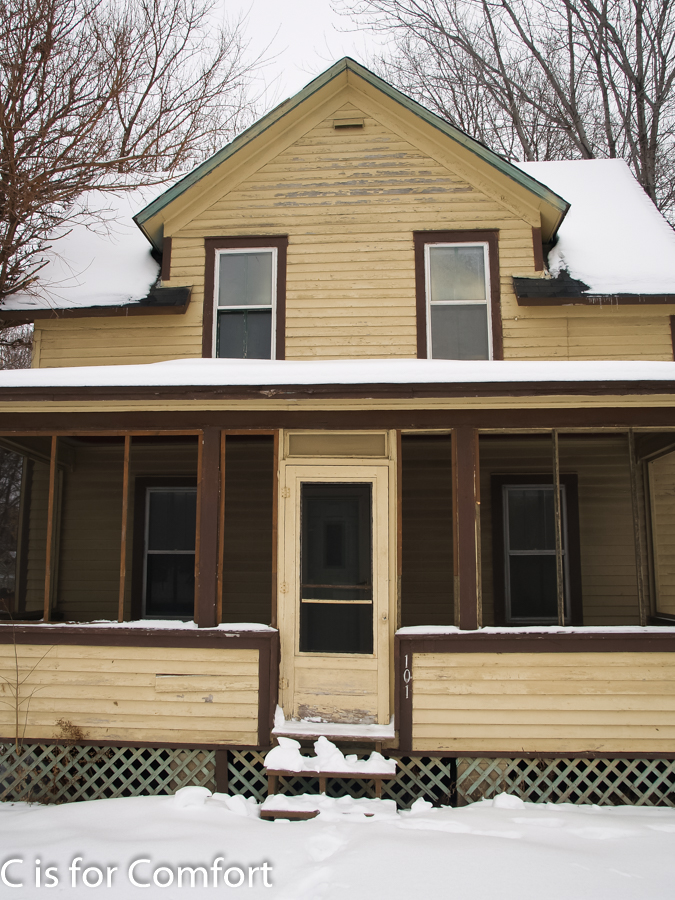
We first viewed our new home in February 2011. With no heat, it was a bit chilly at -15, even indoors. Is it possible to fall in love with a building? This old house has a bunch of little rooms, unlike modern open floor plans. Although I love open floor plans, to me, this means a lot of wall space for hanging artwork!
I was a little nervous when we first considered moving to this town. I had heard of it, but had never been here. It seemed so far away compared to the cities. How would I survive being so far away from everything?! How could I cope being away from everyone I knew?
As it turns out, our town is a hidden city. Quite the hidden gem. The longer I’ve lived here, the more I’ve loved it. We have all the local amenities with a lot of small town charm. It’s great! I’d say the only downfall is that we live off a highway, so it can get a bit noisy.
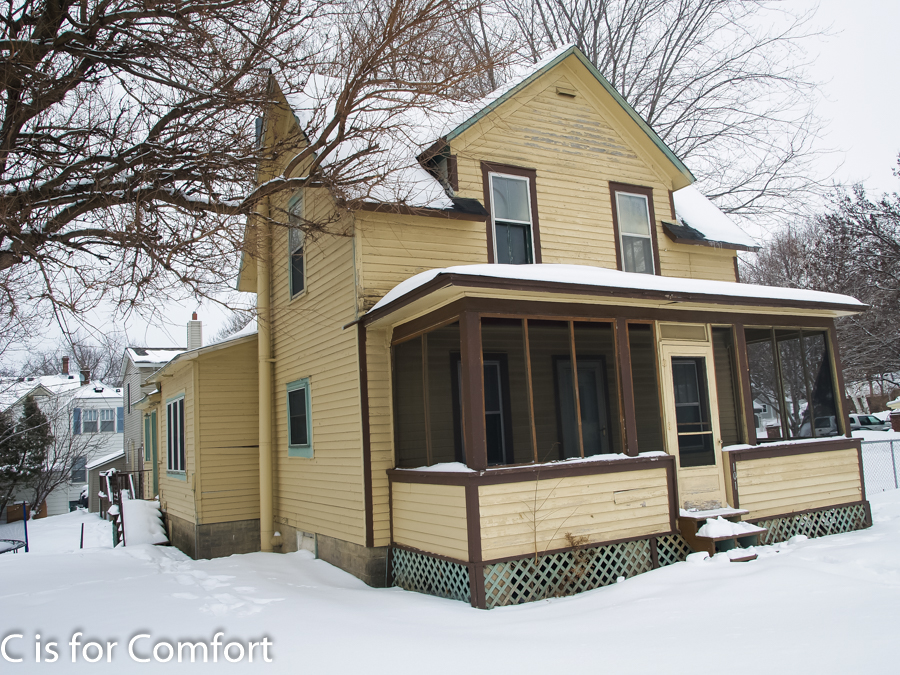
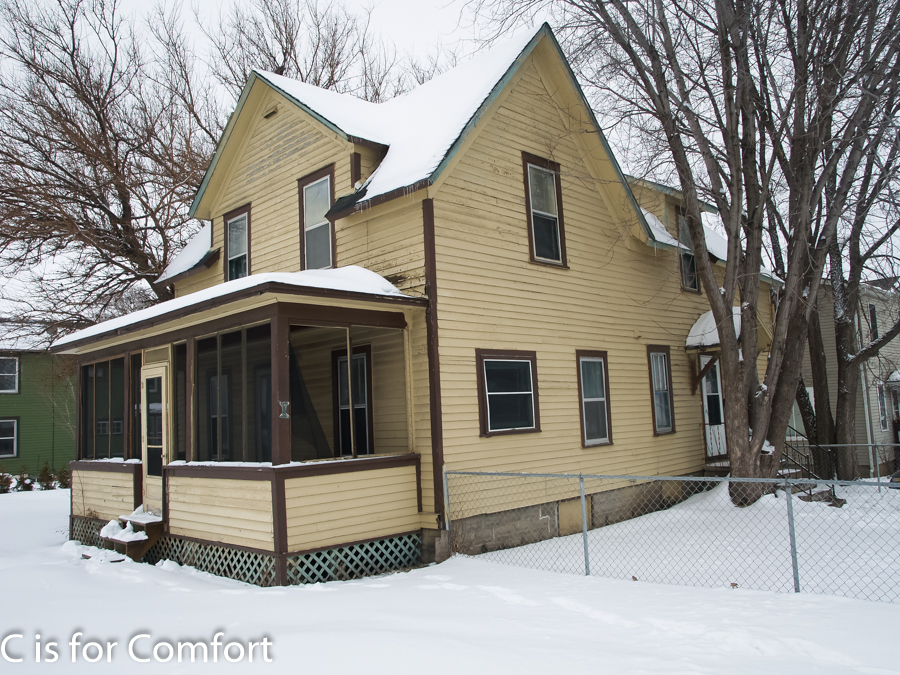
Here are some images of our first viewing!
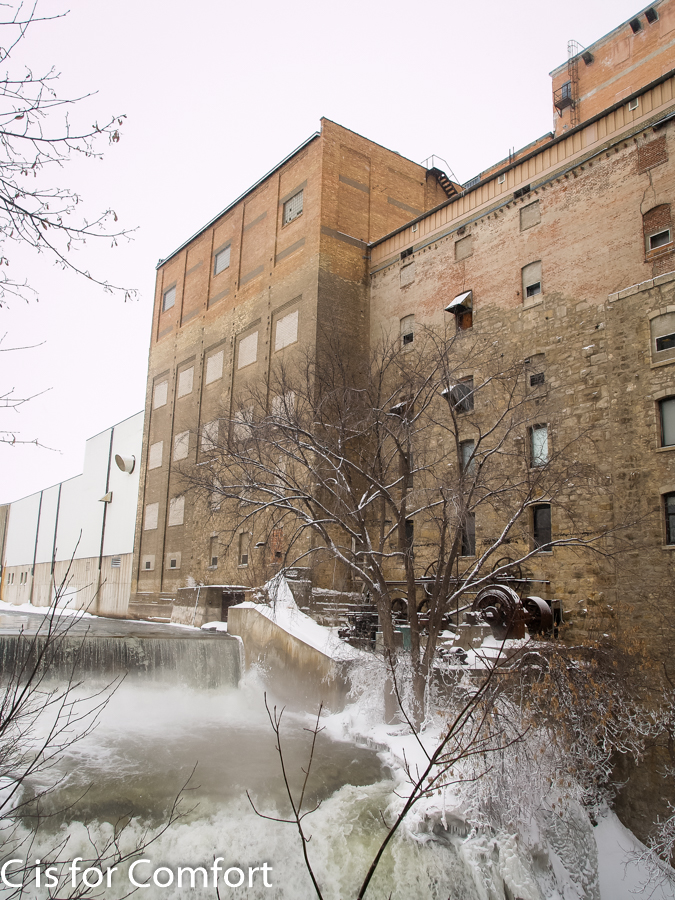
While waiting for the realtor to arrive, we checked out the local mill.
The falls were beautiful.
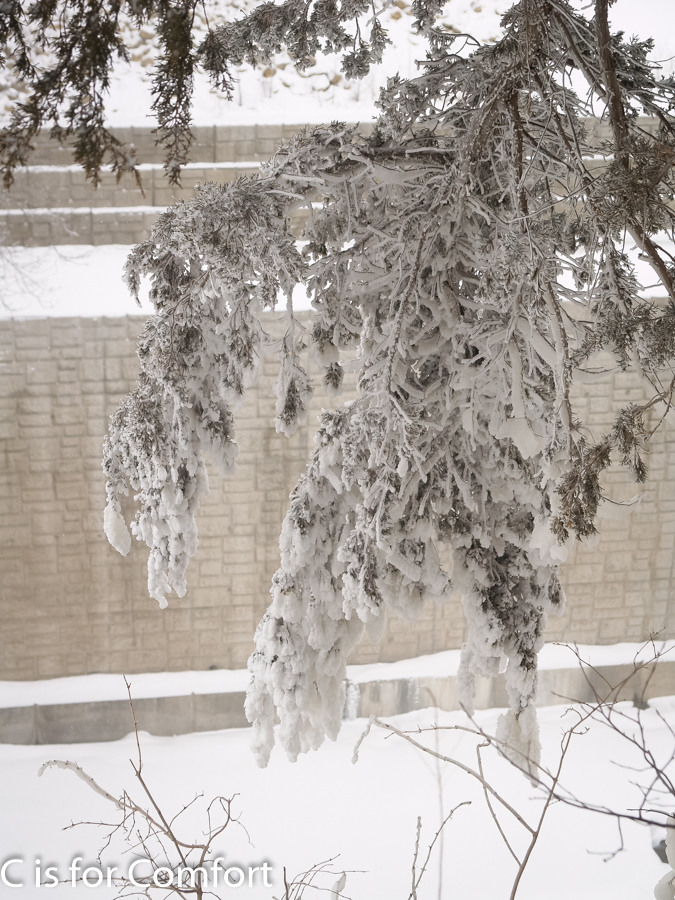
The mist from the falls created a beautiful scene in the immediate area with everything glazed in ice.
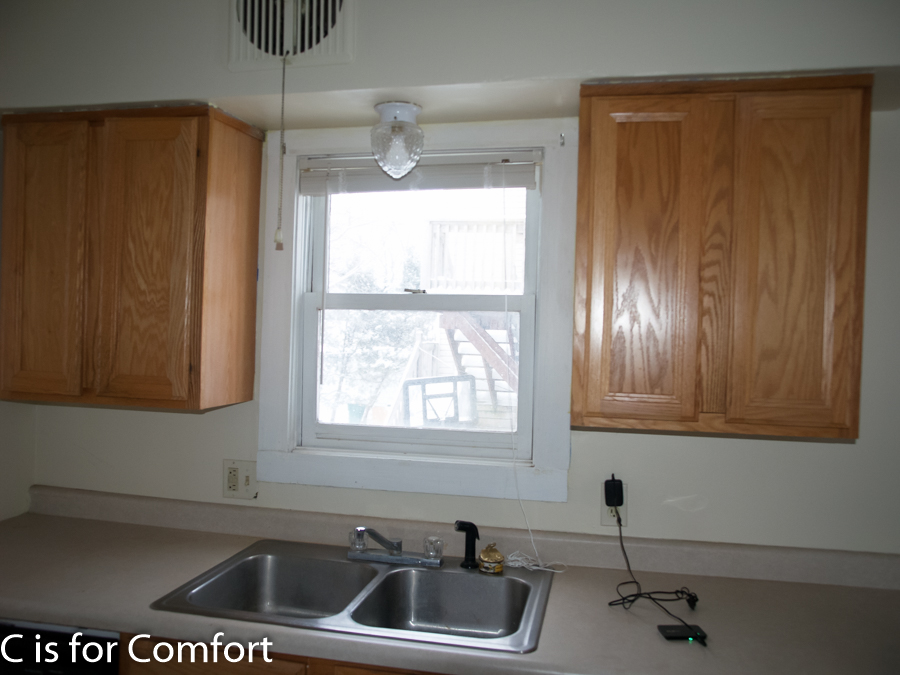
View From kitchen towards the dining in the front of the house.
View From the dining toward the entryway.
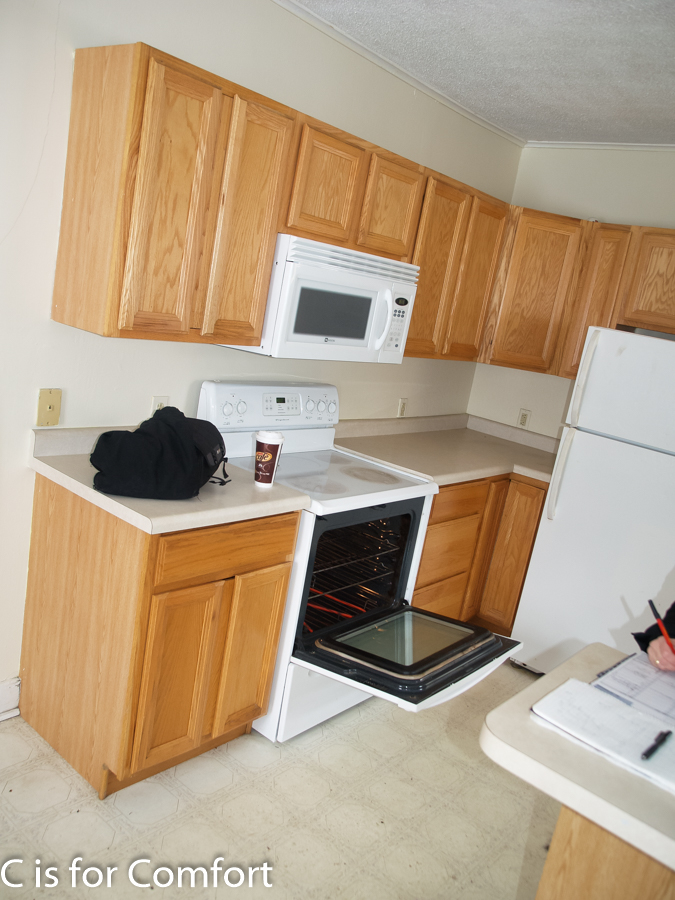
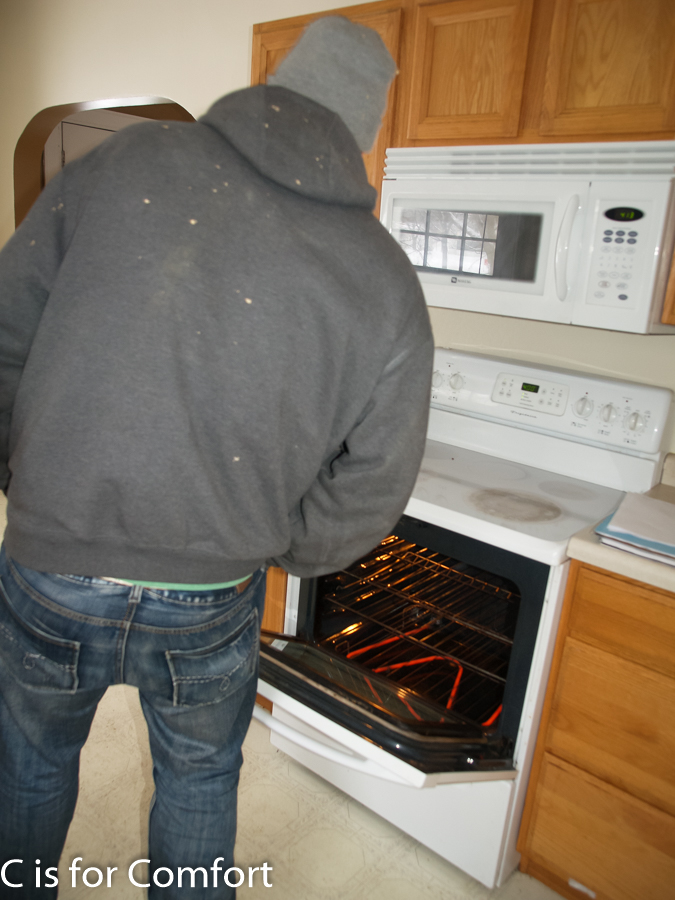
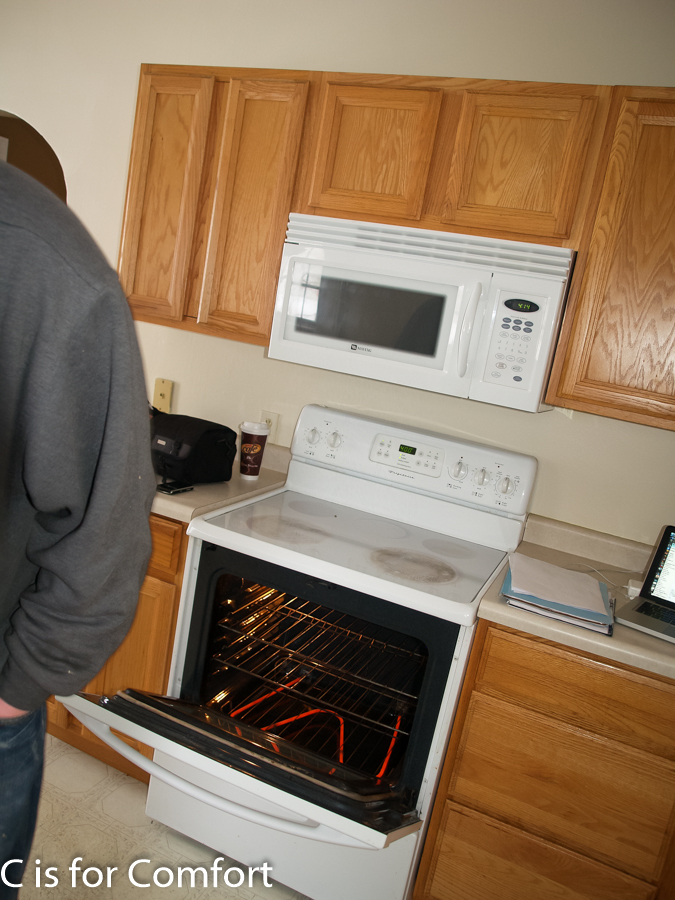
We had the oven open and on because it was so cold!
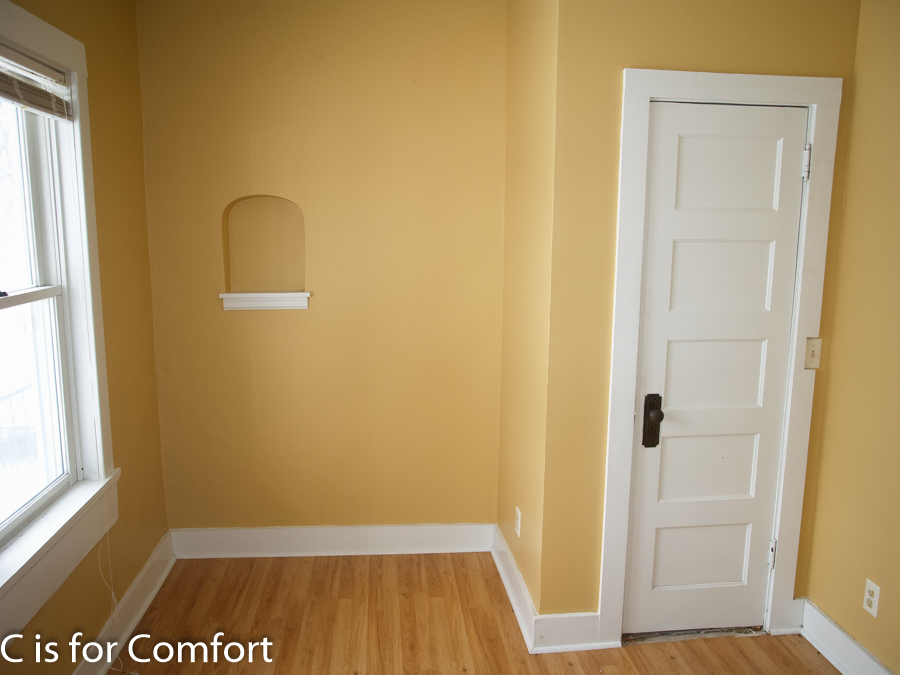
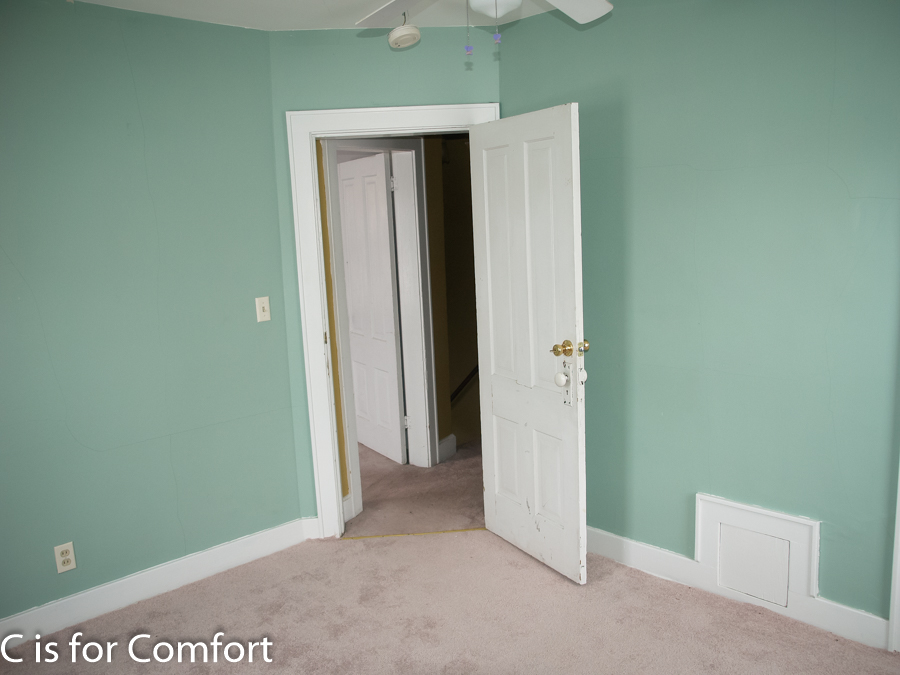
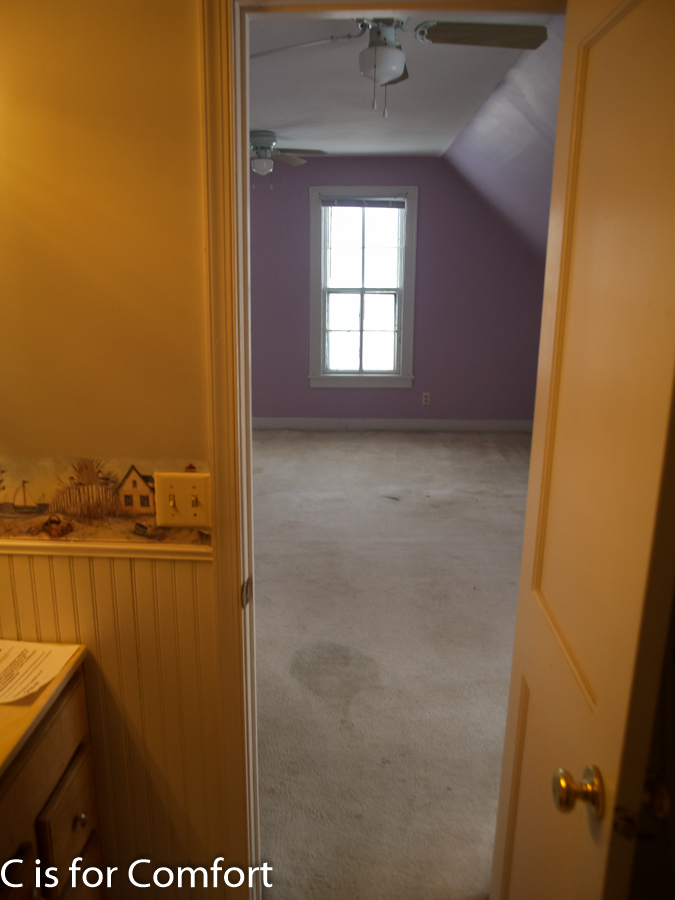
Future Studio. Lots of bright light!
Future Studio
Other half of the room. I love the little cubbies in the wall!
My lens started to fog over from the difference of being in the car and wouldn’t focus. Brrr! This is the only image I got of the lobby though.
View of Entryway from the lobby.
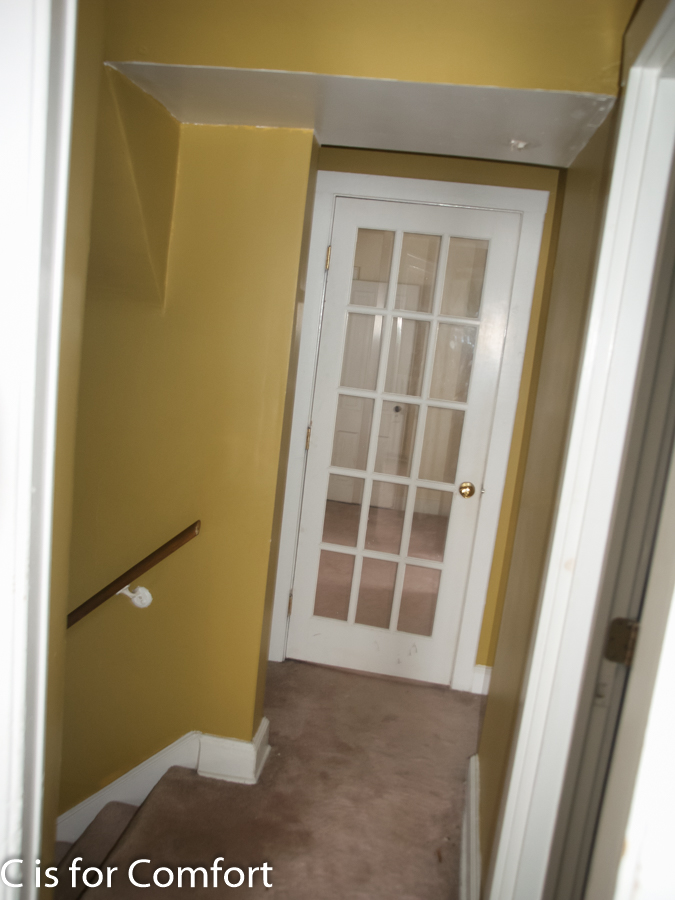
View of Downstairs Hall from Entry.
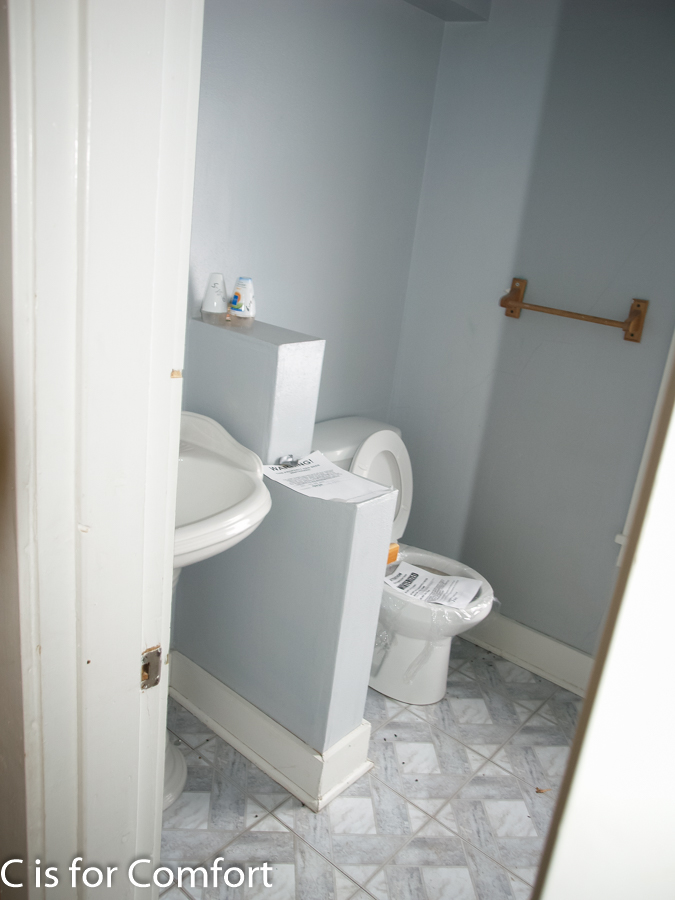
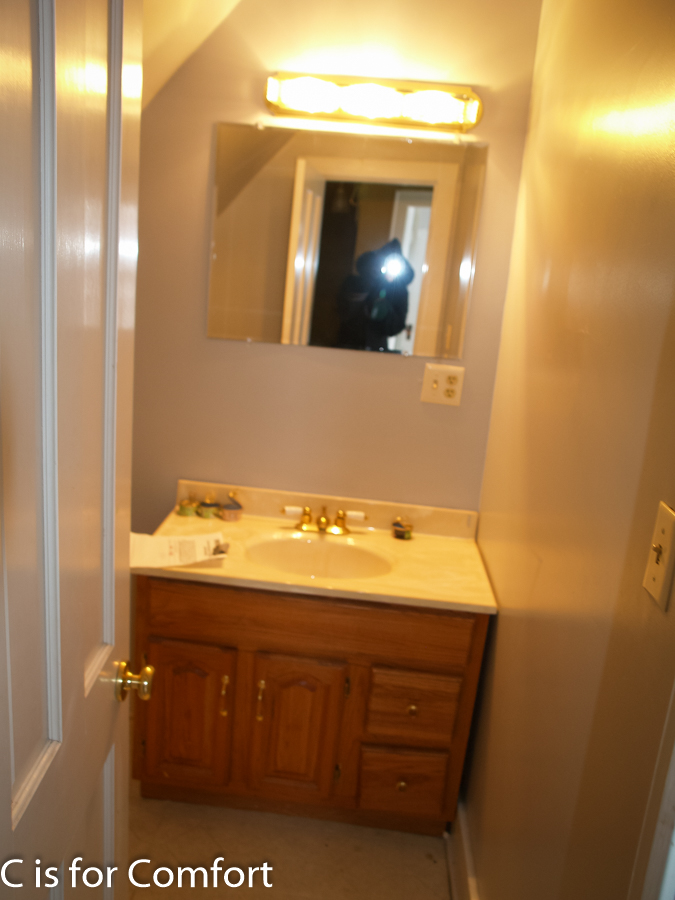
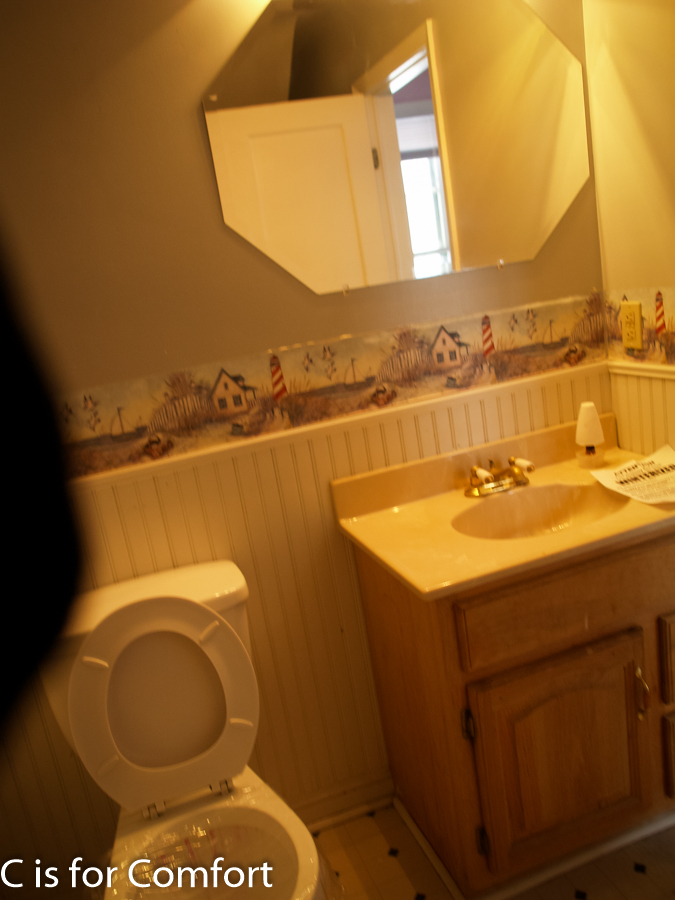
Guest Bath
Guest Bath
Look at how tall these ceilings are!
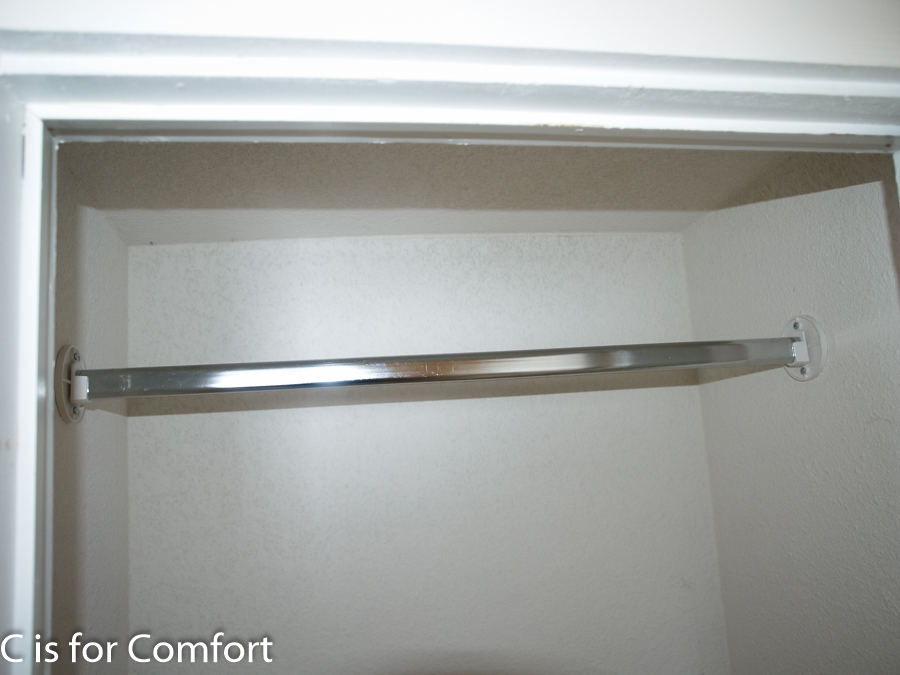
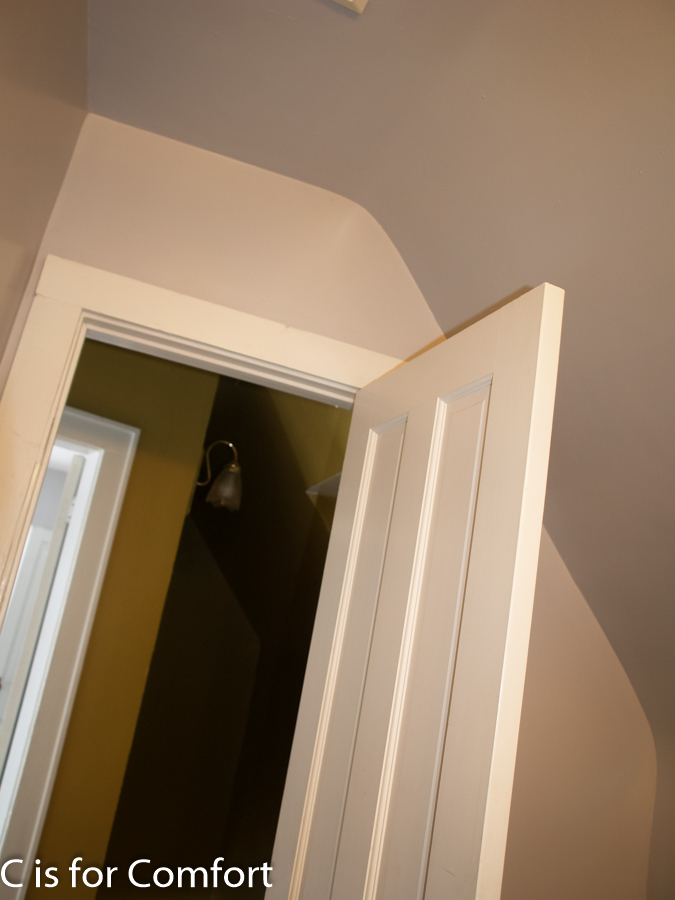
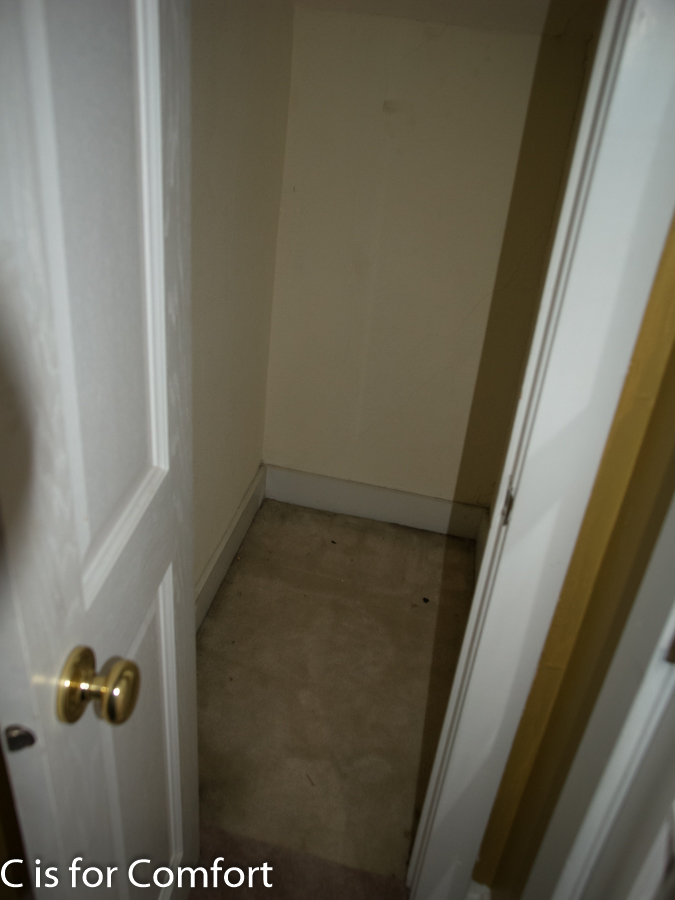
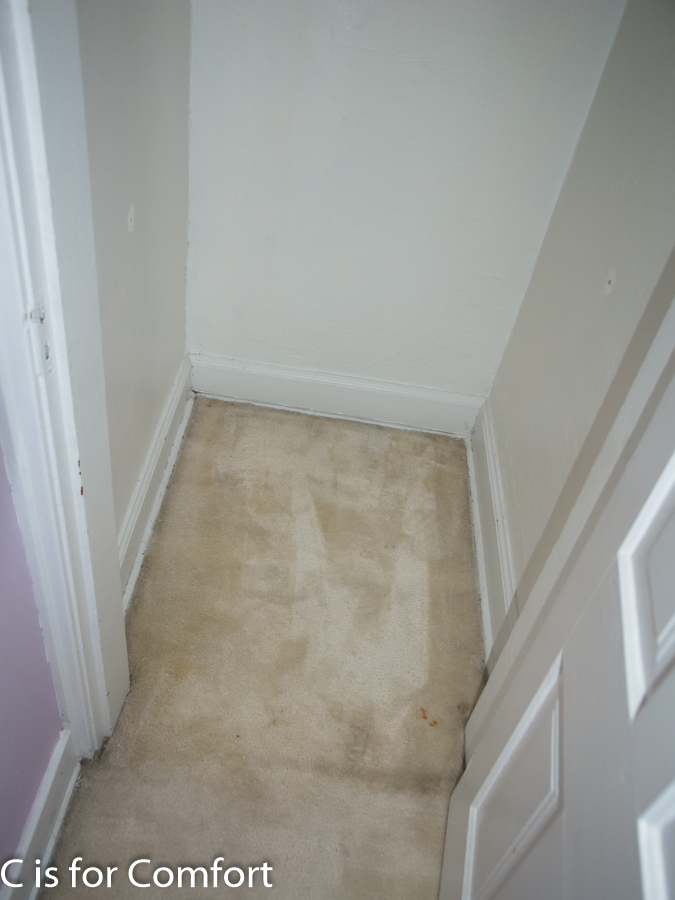
Hall Closet
Hall Closet
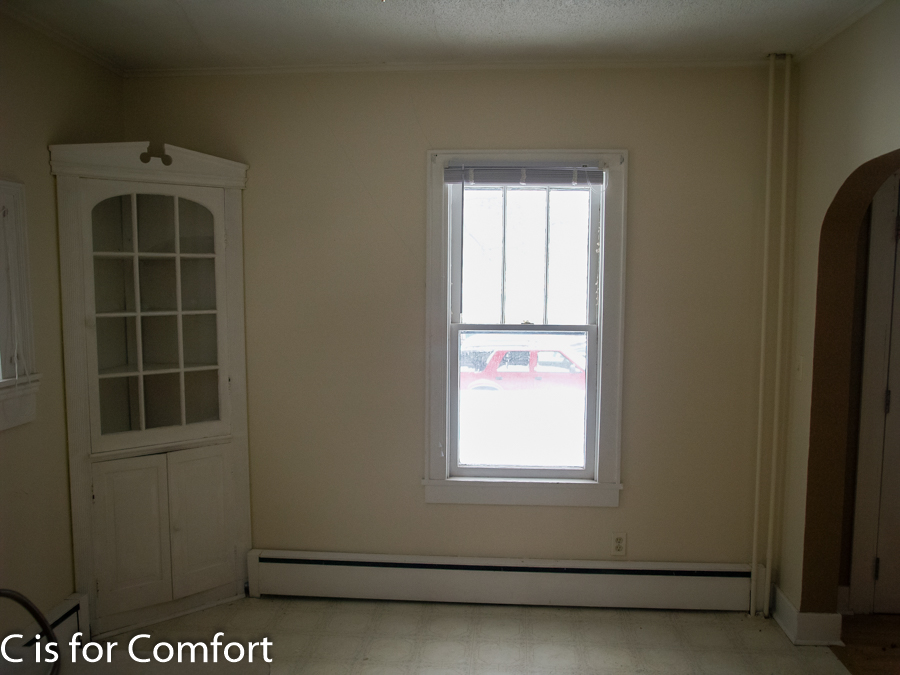
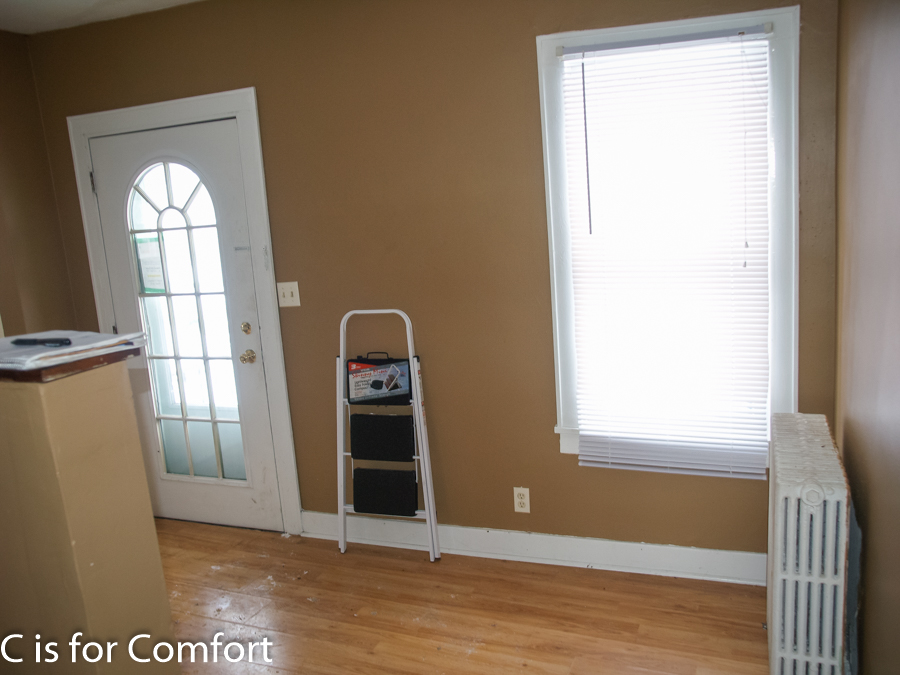
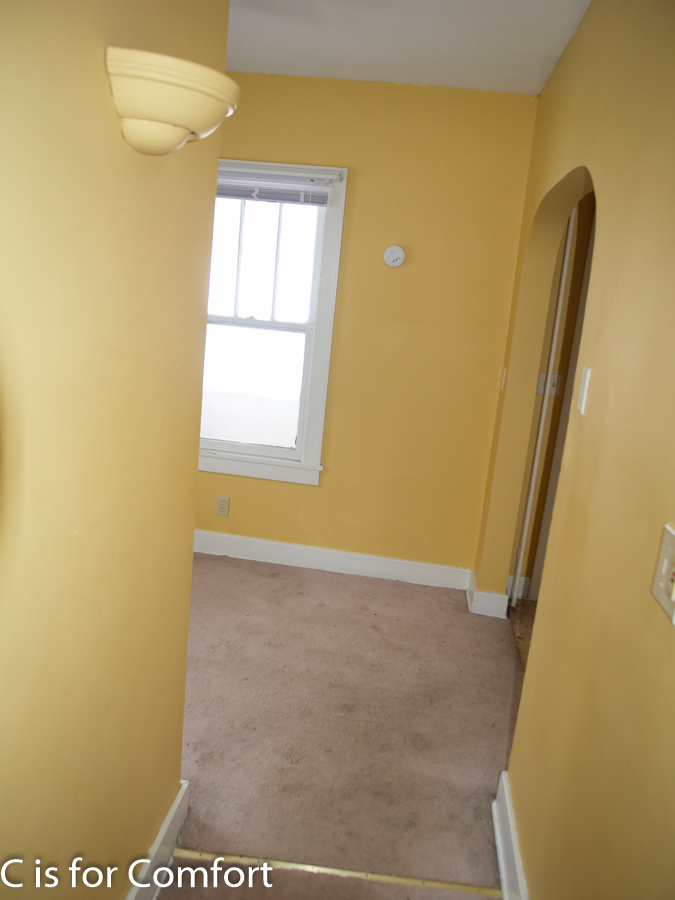
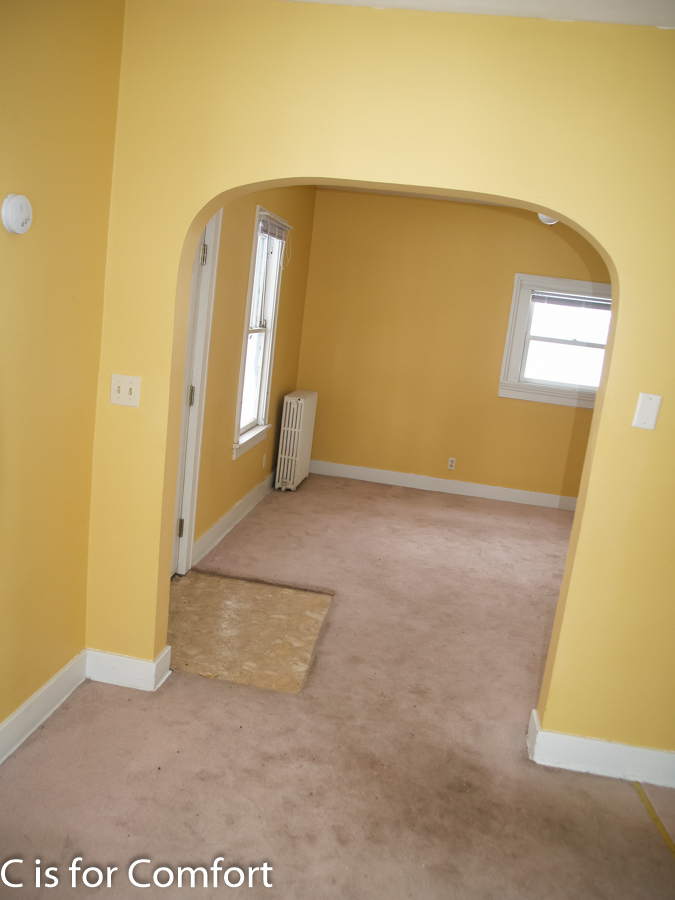
View of Office from Hall.
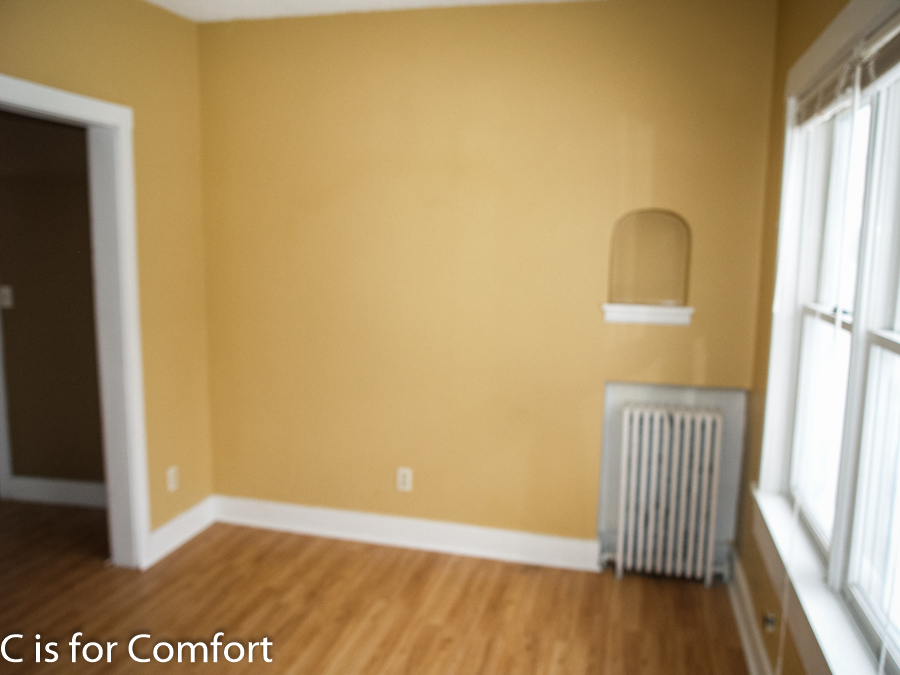
View of Family Room from Office
I can’t get over how ugly this paint is.
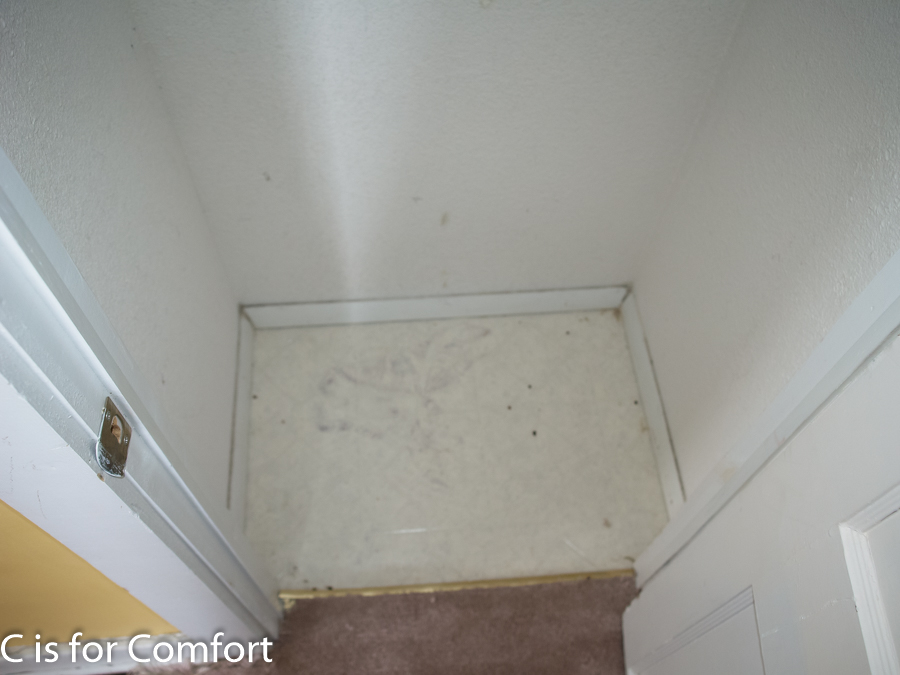
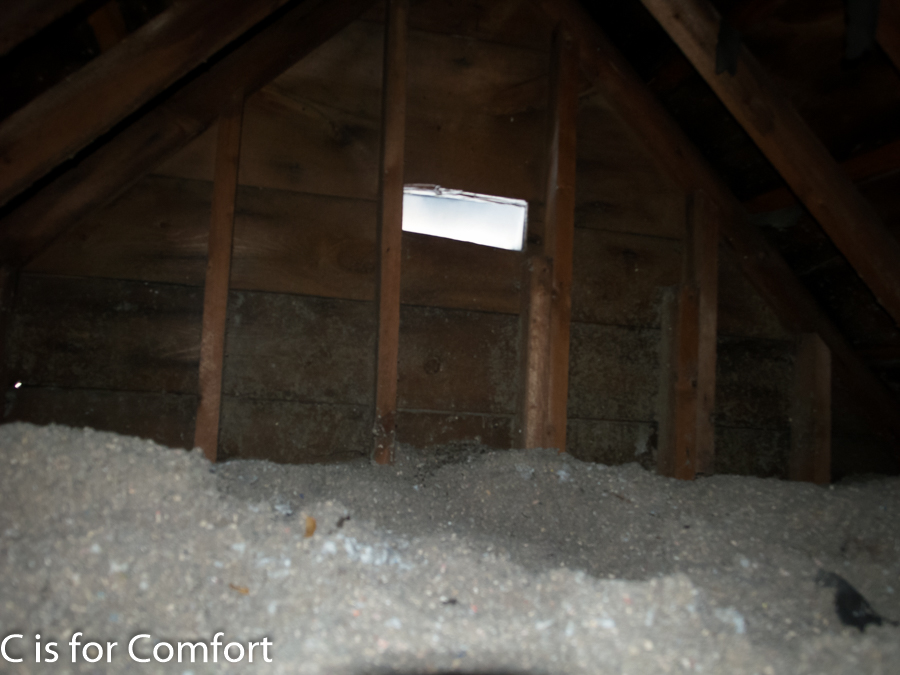
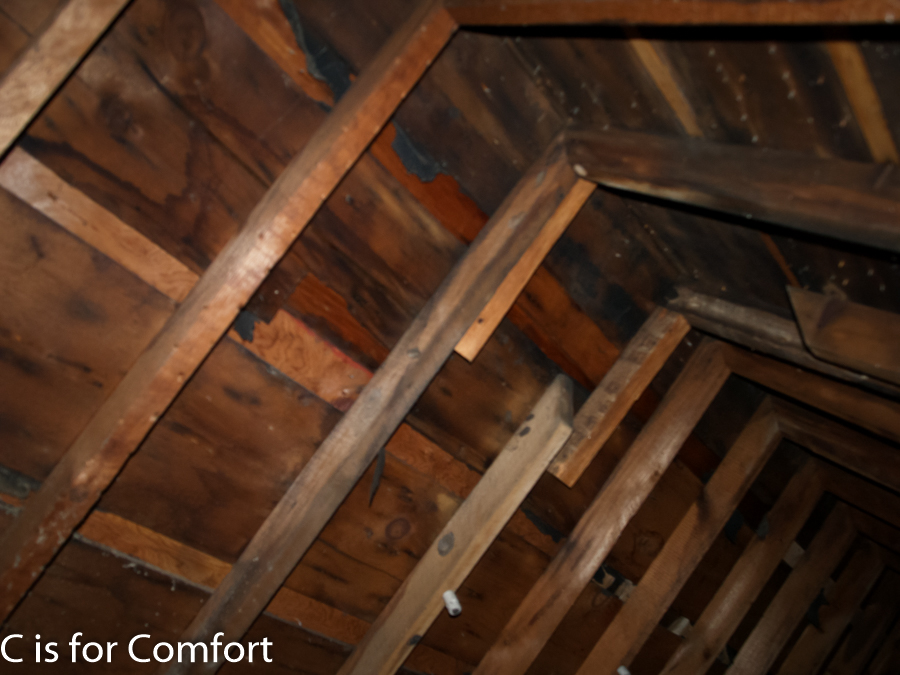
Attic
Attic
Attic
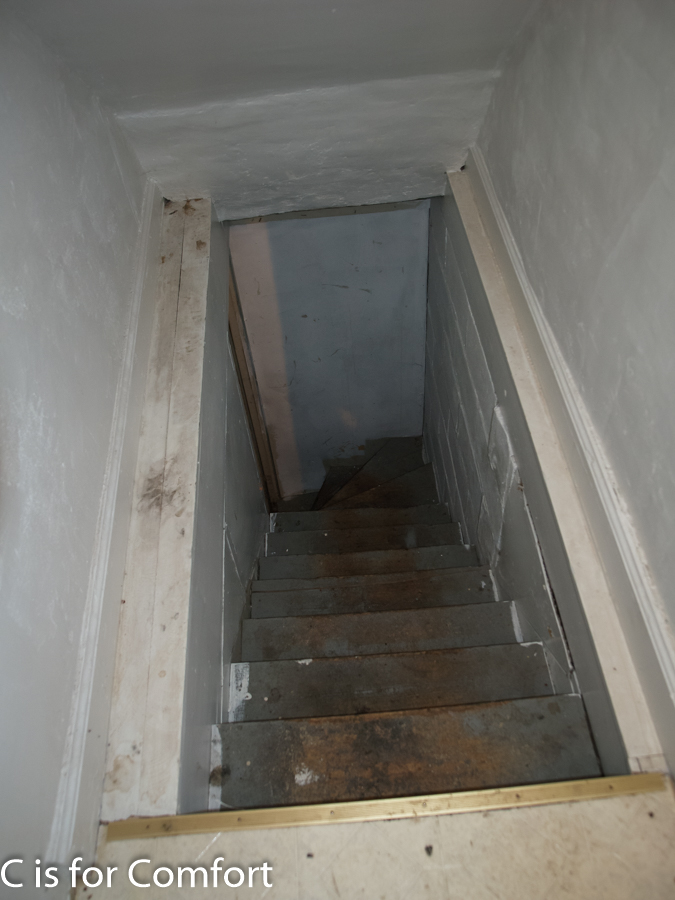
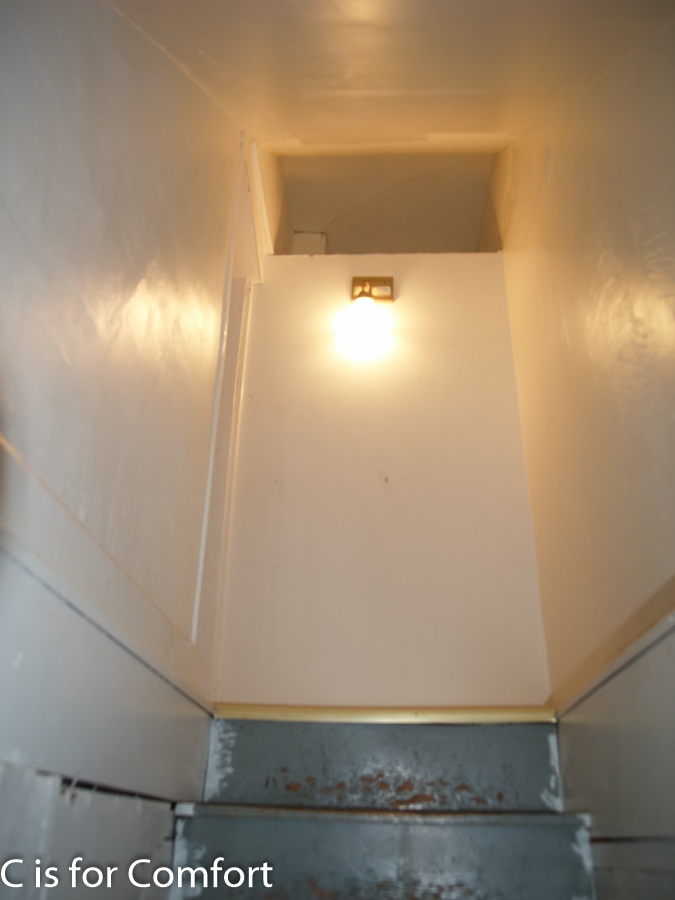
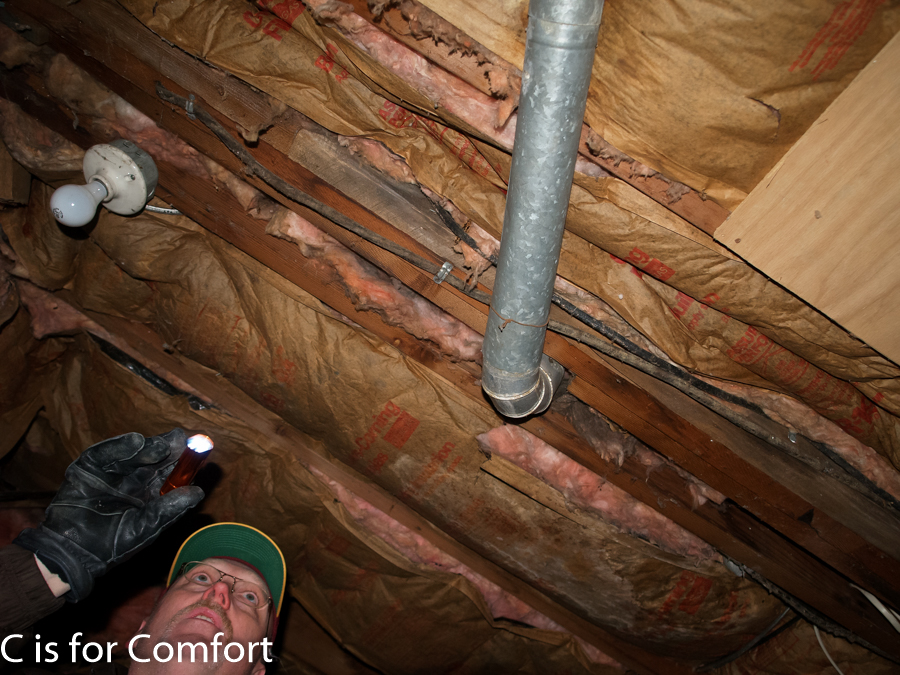
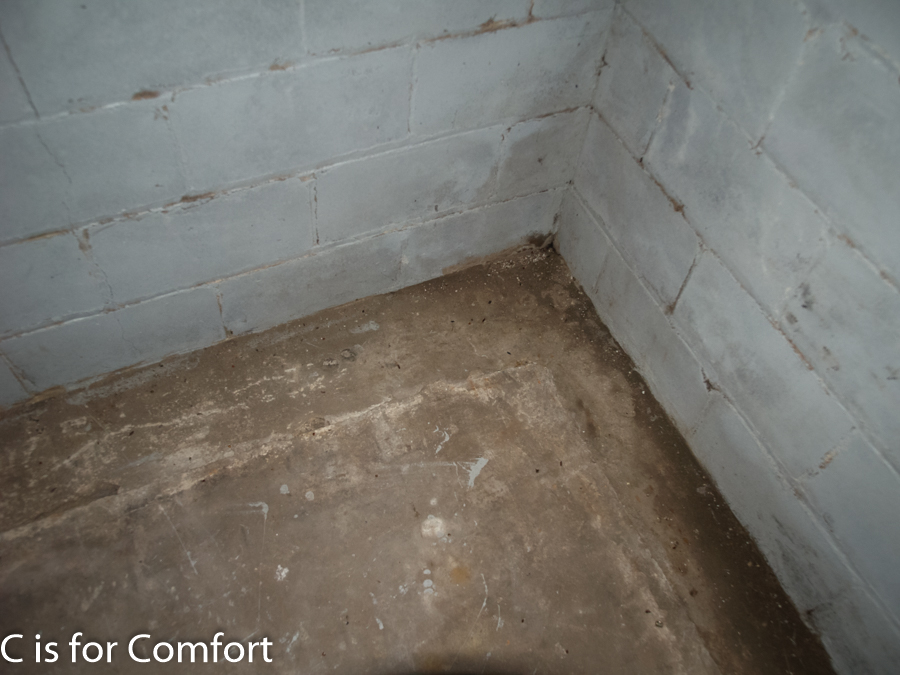
Basement Stairs
Basement Stairs
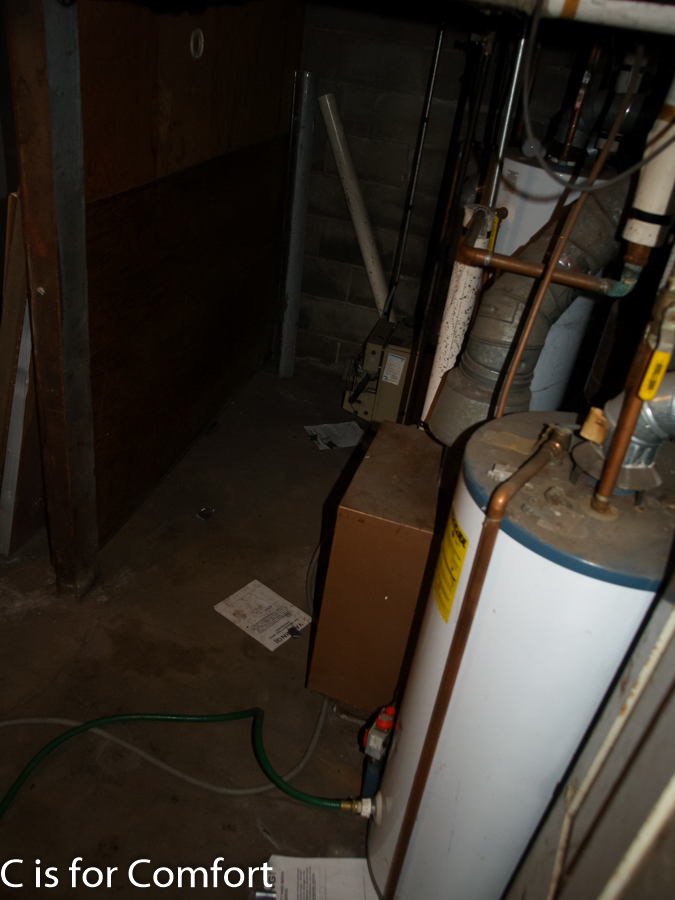
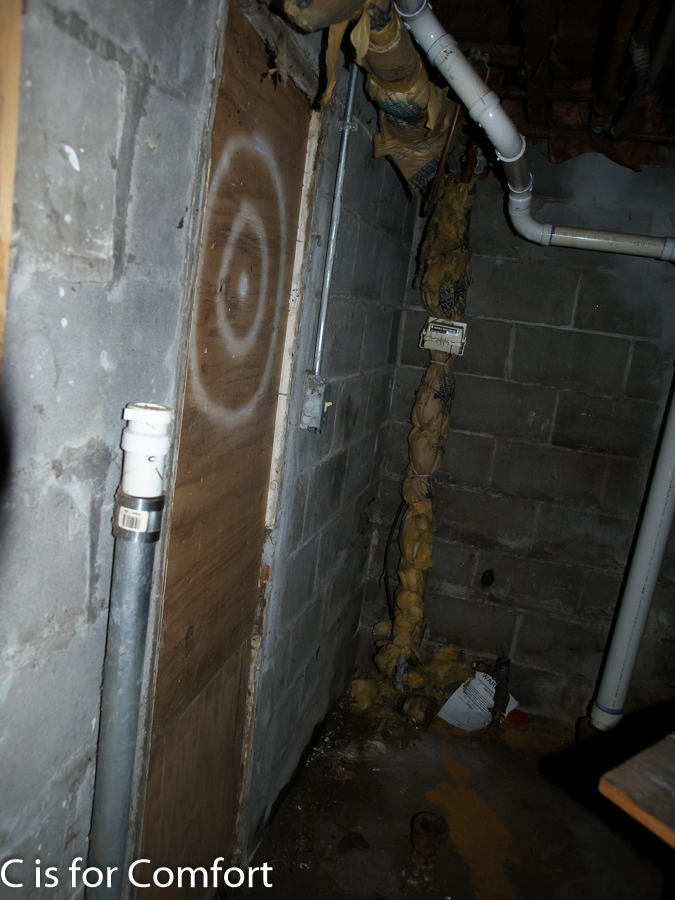
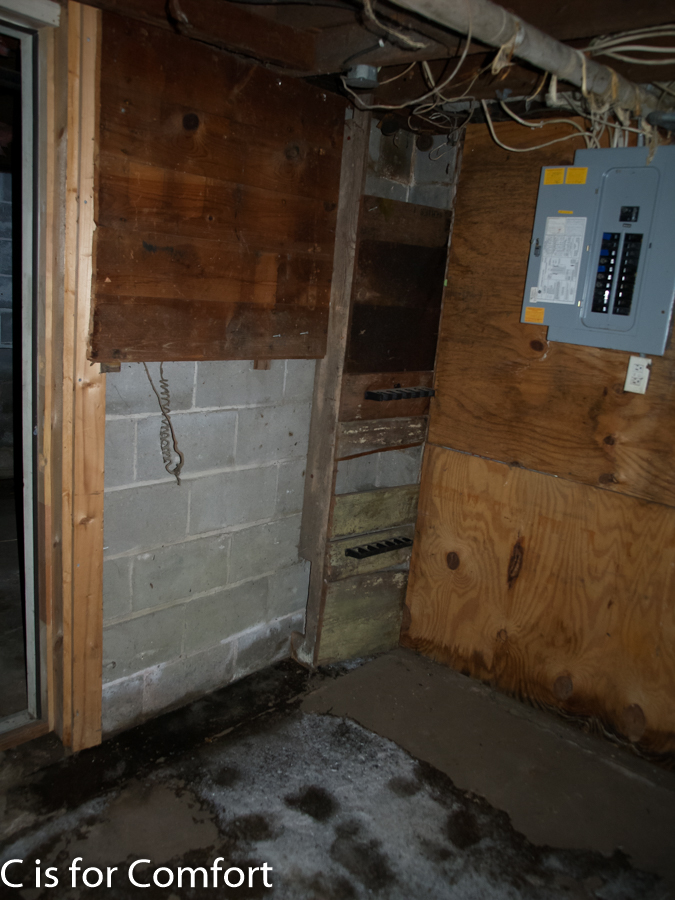
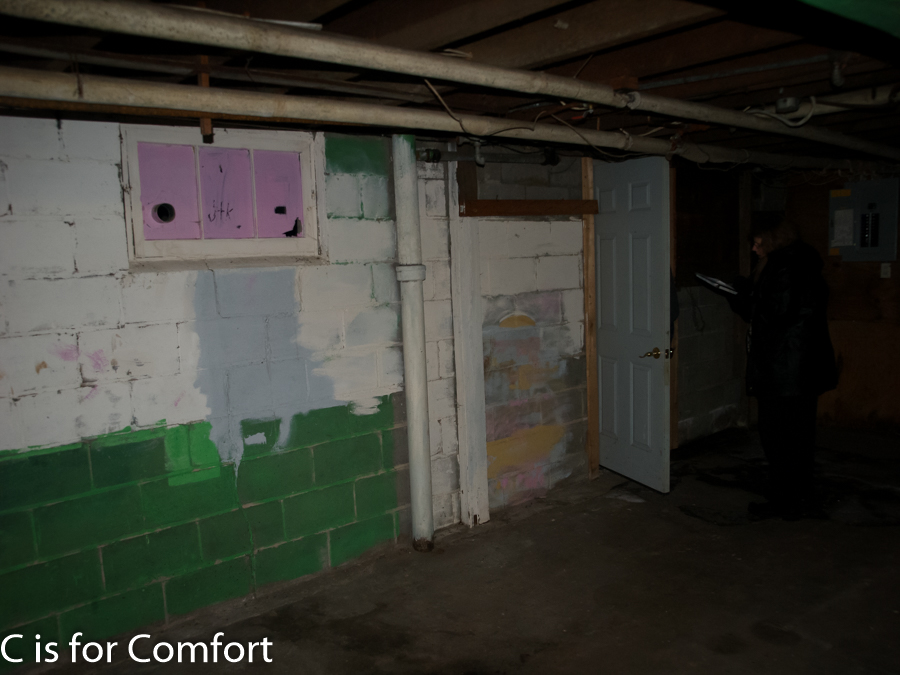
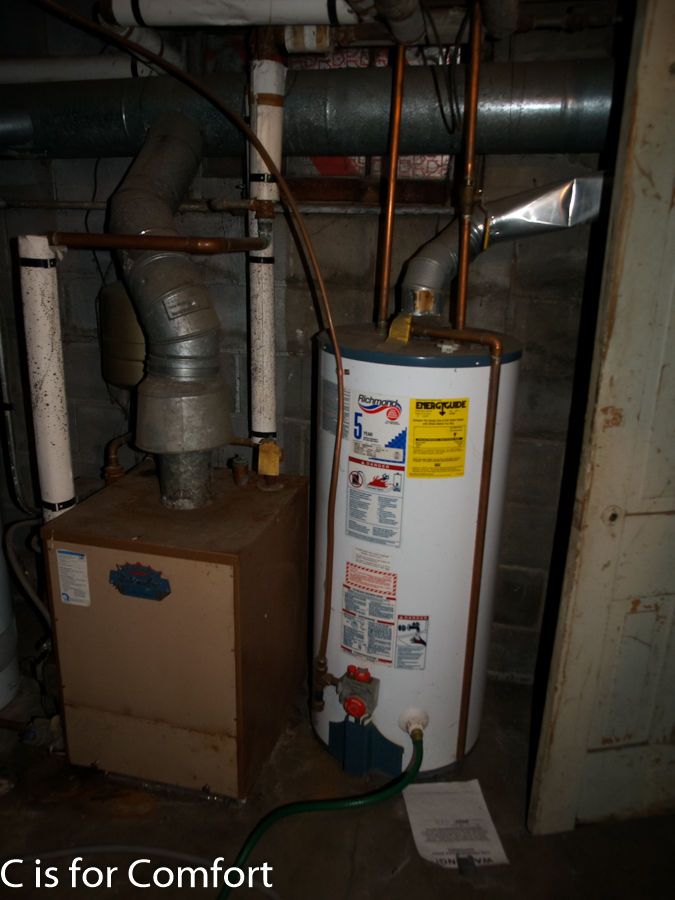
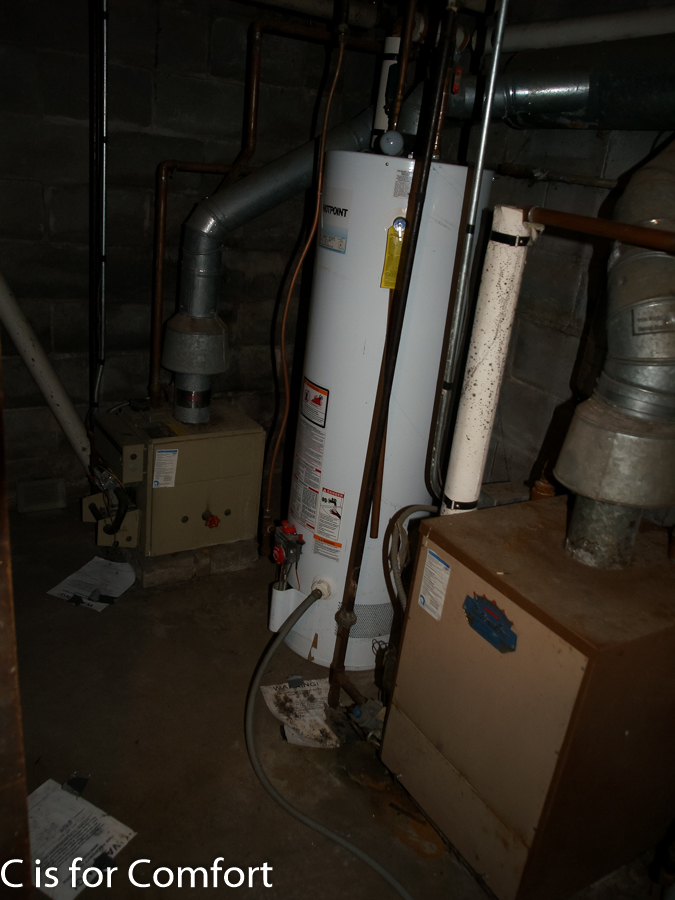
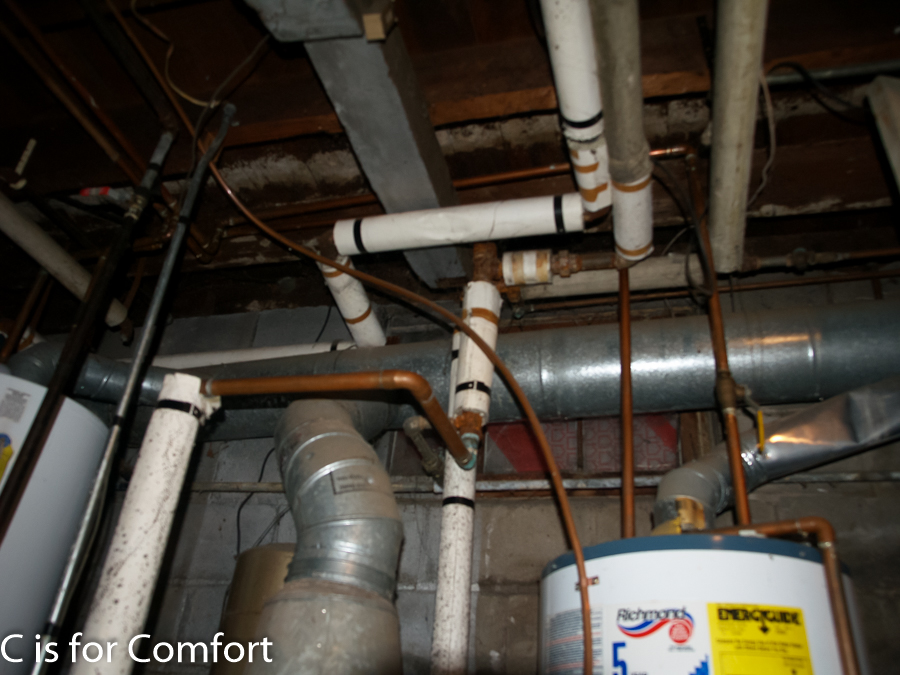
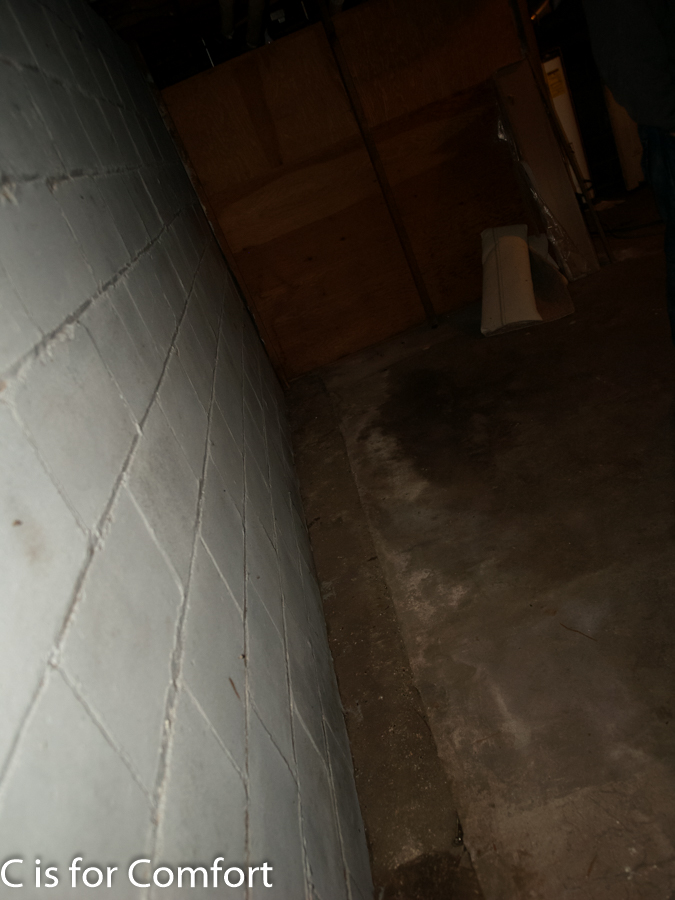
Utility Room
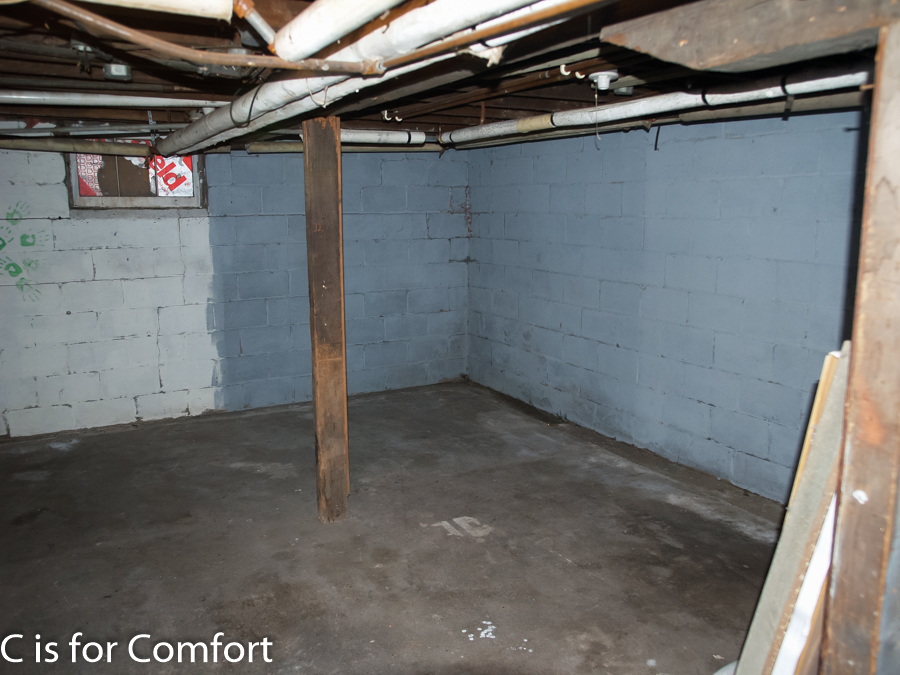
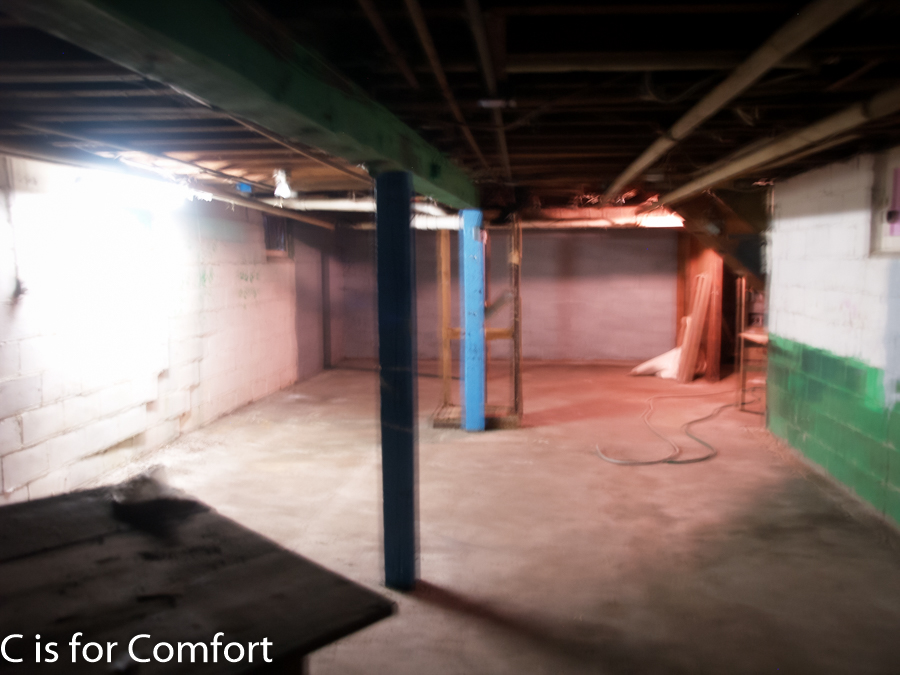
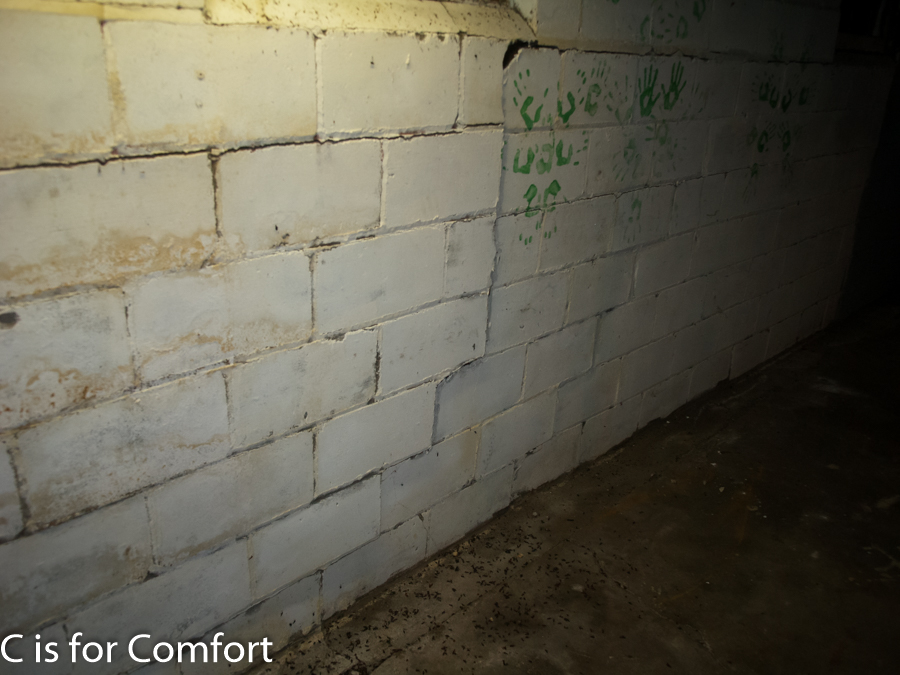
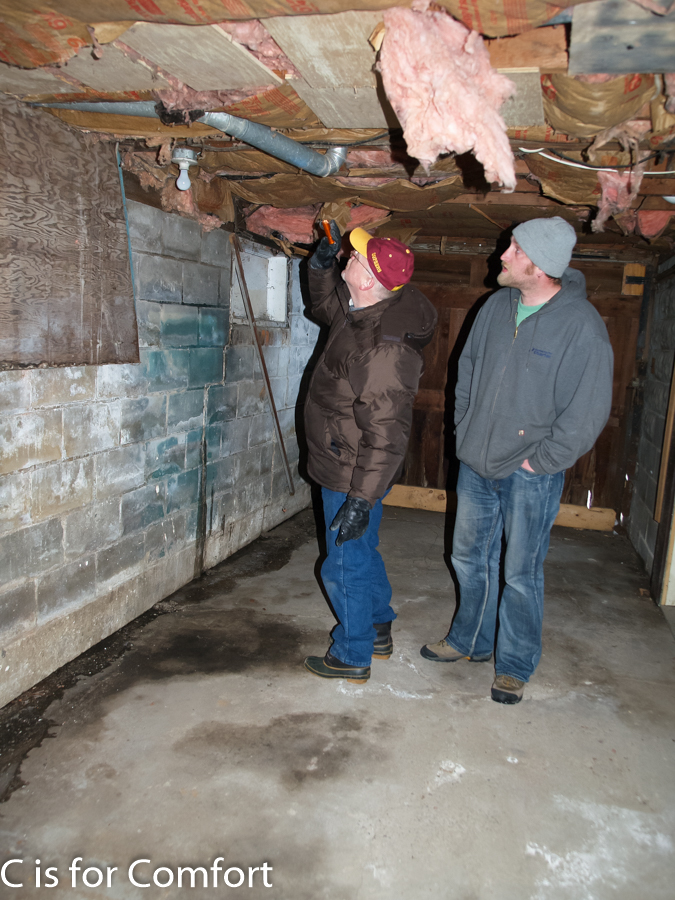
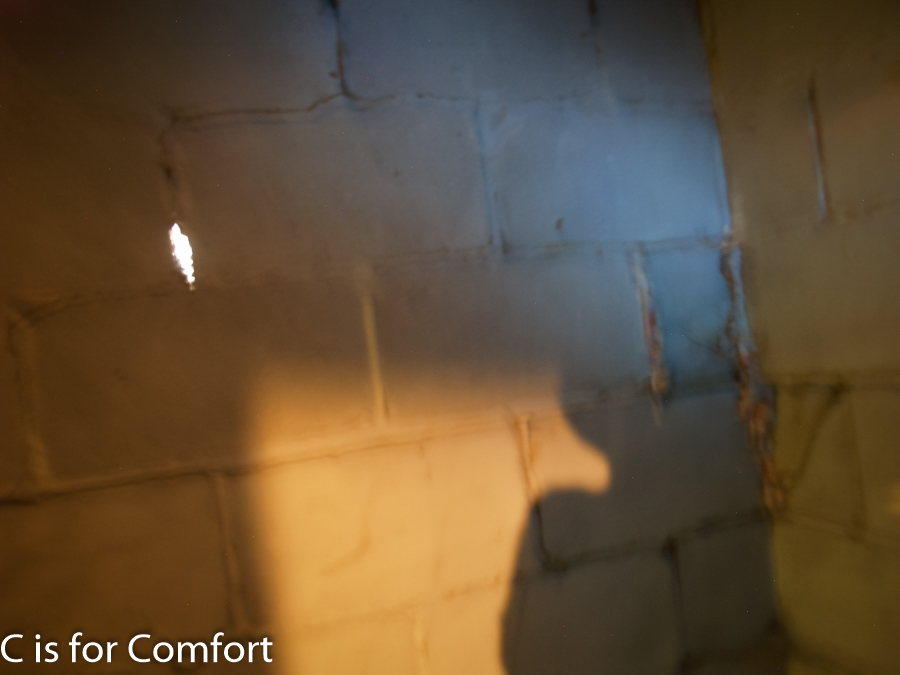
Basement
Basement
Basement
Basement
Basement
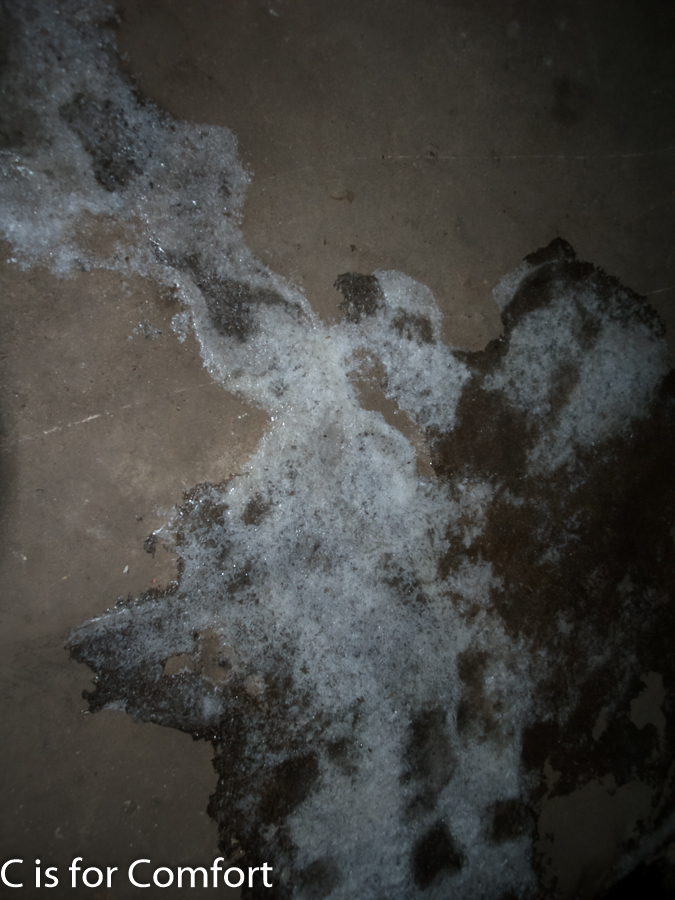
Water pooled and frozen in several spots on the floor.
Basement
Basement
Basement
The tree outside pushes the basement wall in with it’s roots!
Basement
Basement
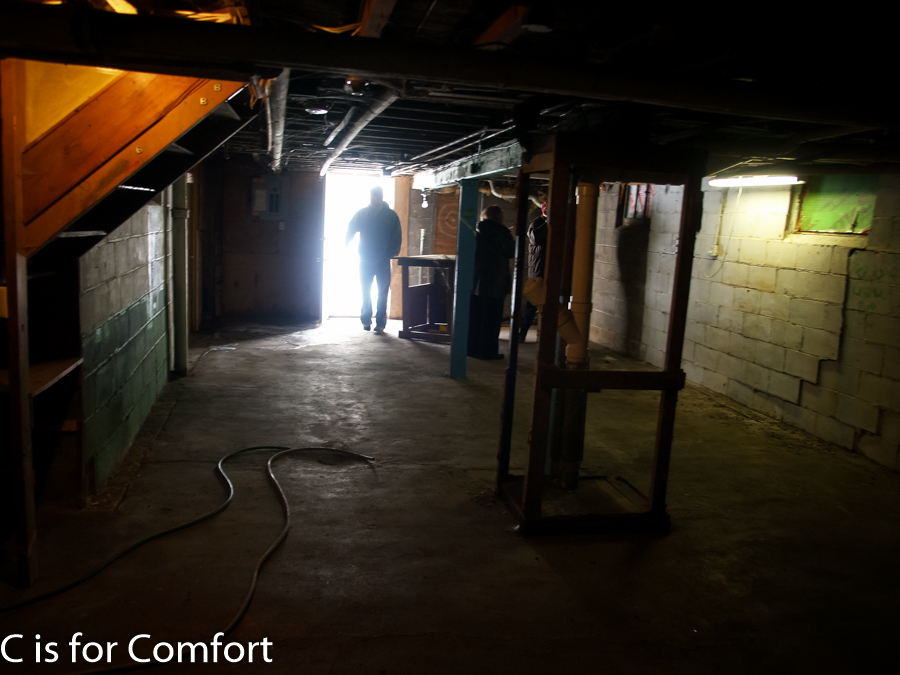
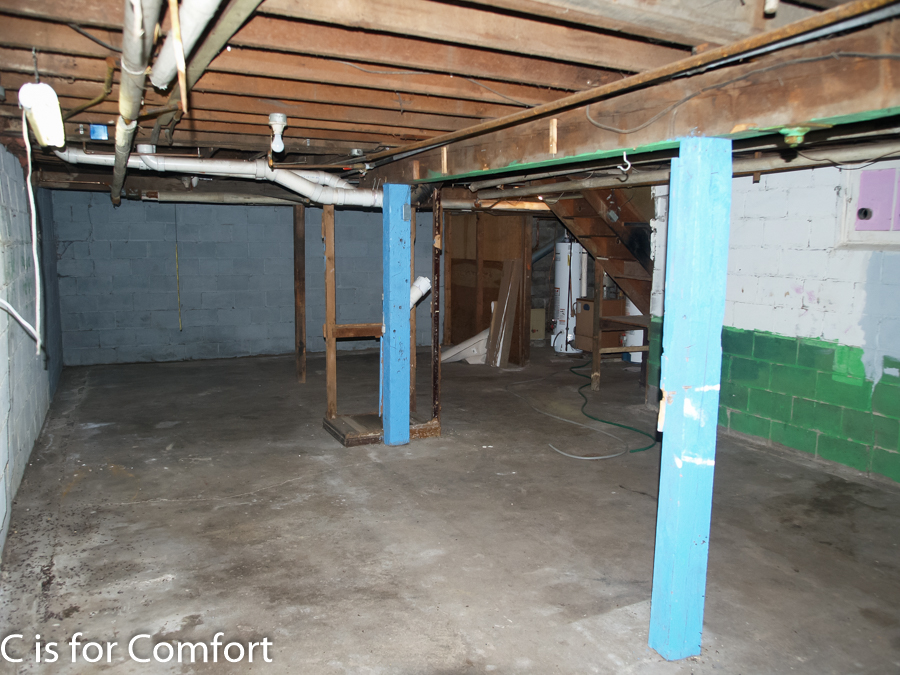
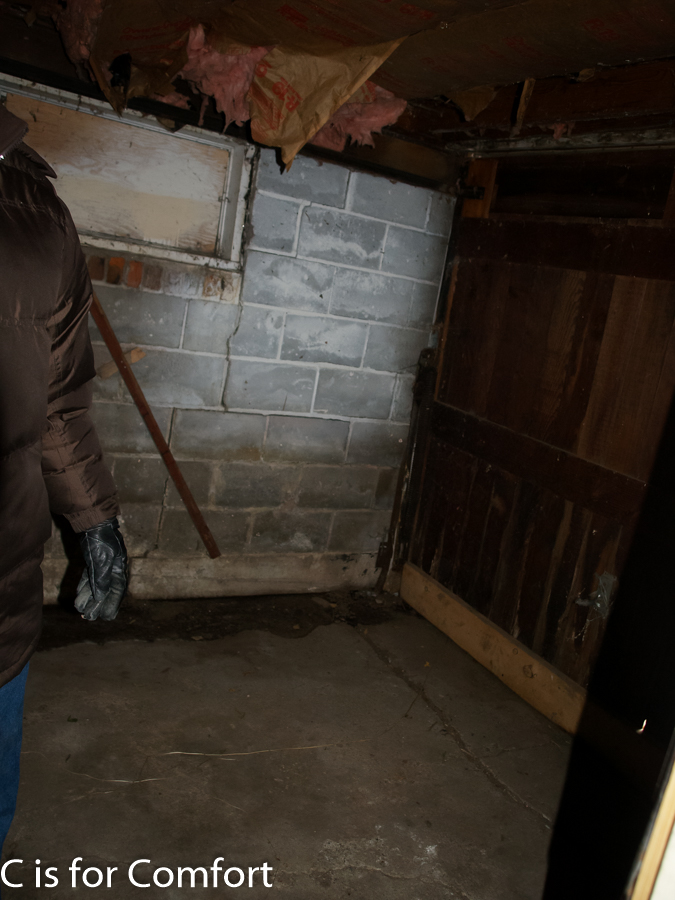
Basement/Garage
Basement/Garage
Basement/Garage
Basement/Garage
Basement/Garage
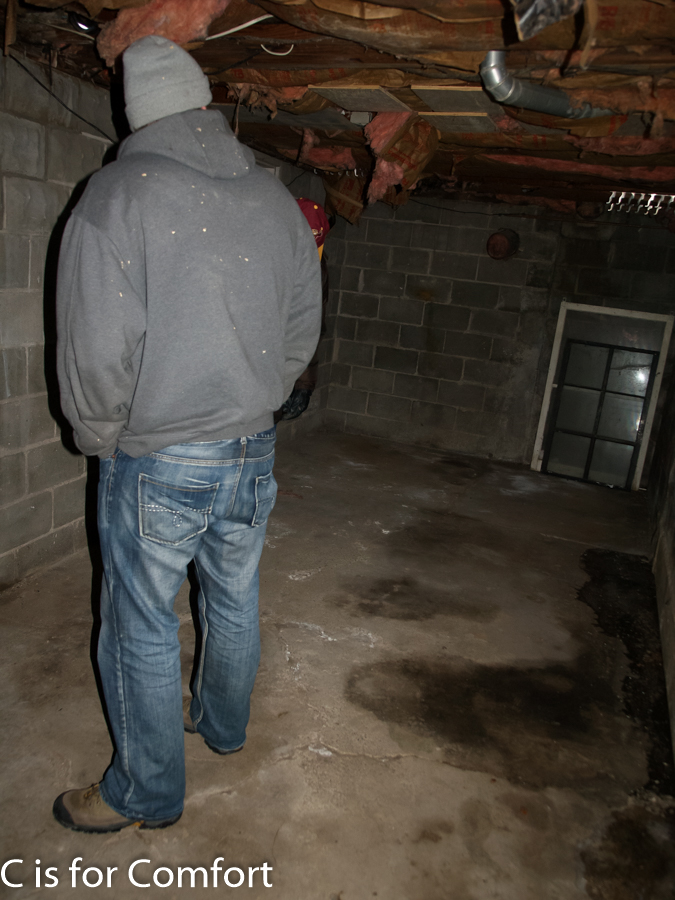
Basement
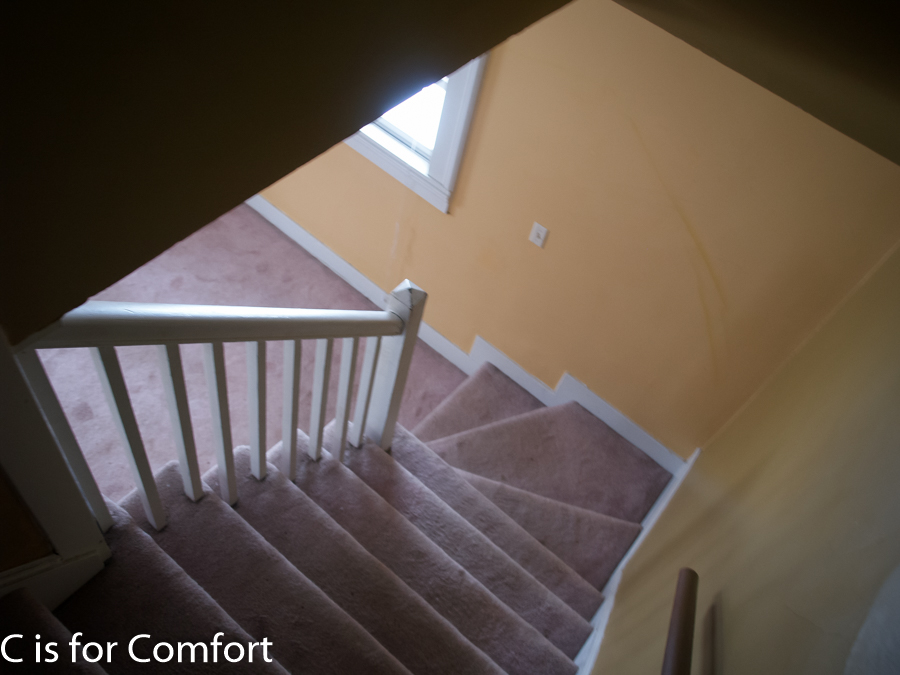
View from the stairs to the Upstairs Hall and Upstairs Bathroom
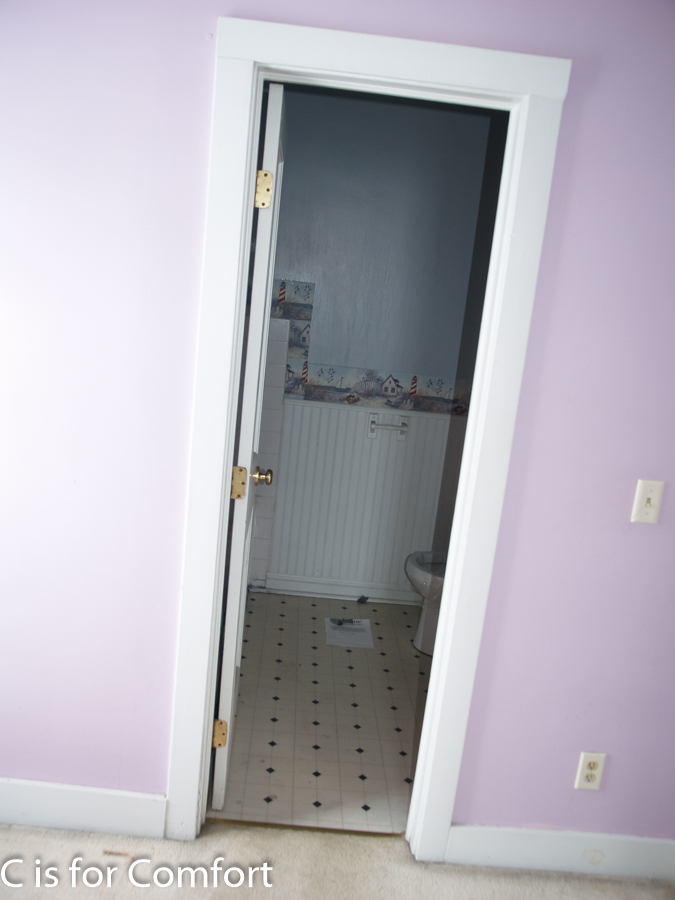
Upstairs Kids Bathroom
Upstairs Kids Bathroom
Upstairs Kids Bathroom
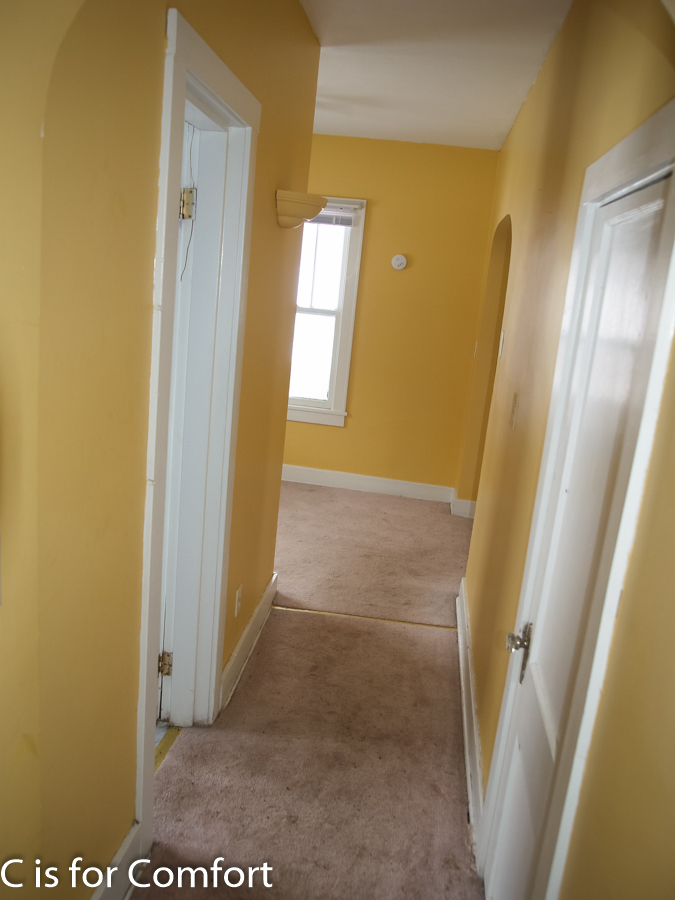
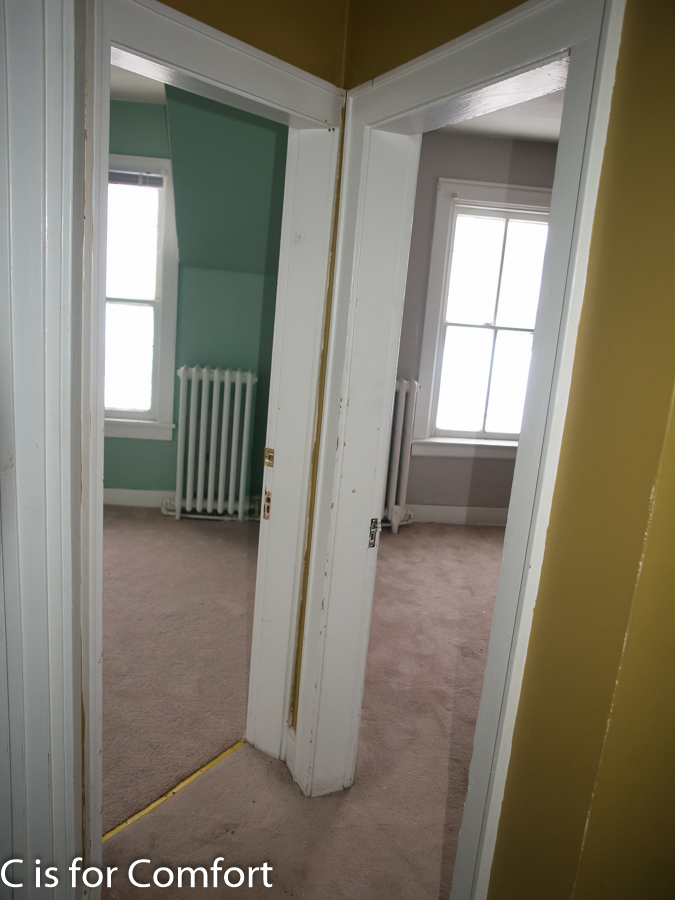
View From the Upstairs Hall towards the Kids Rooms-This quirky hallway is so neat!
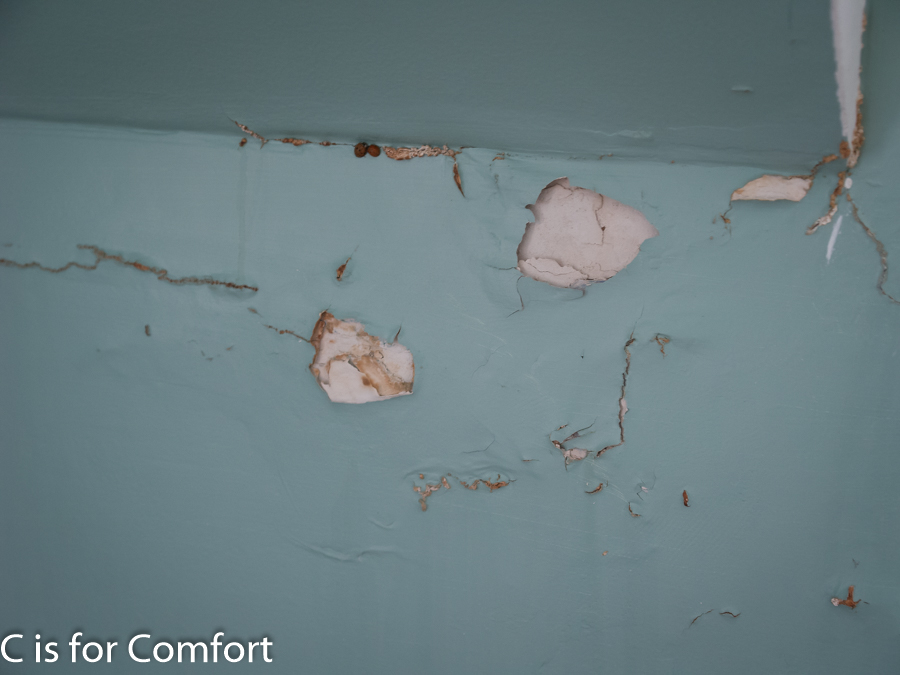
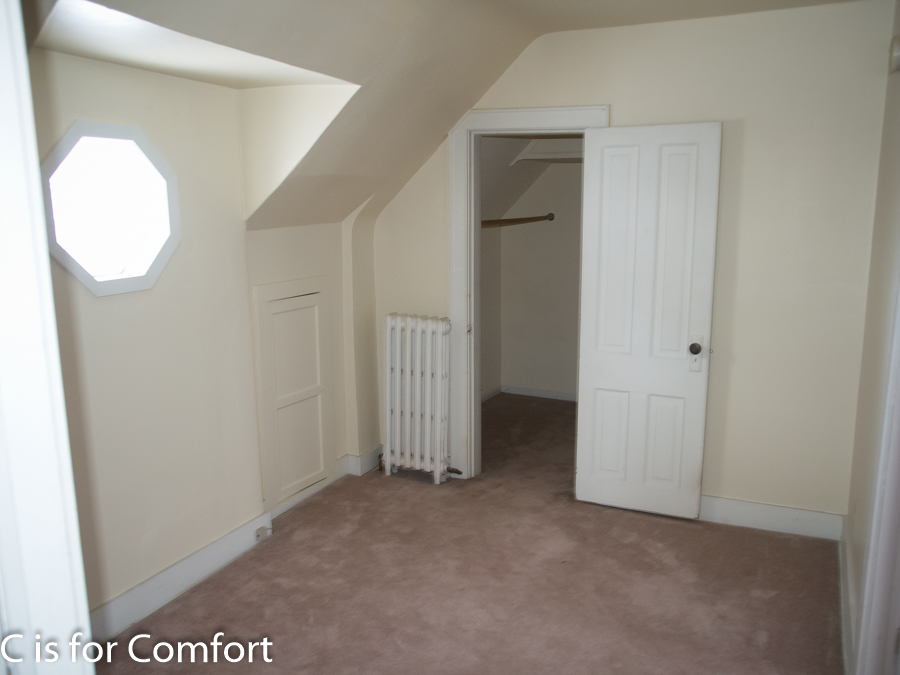
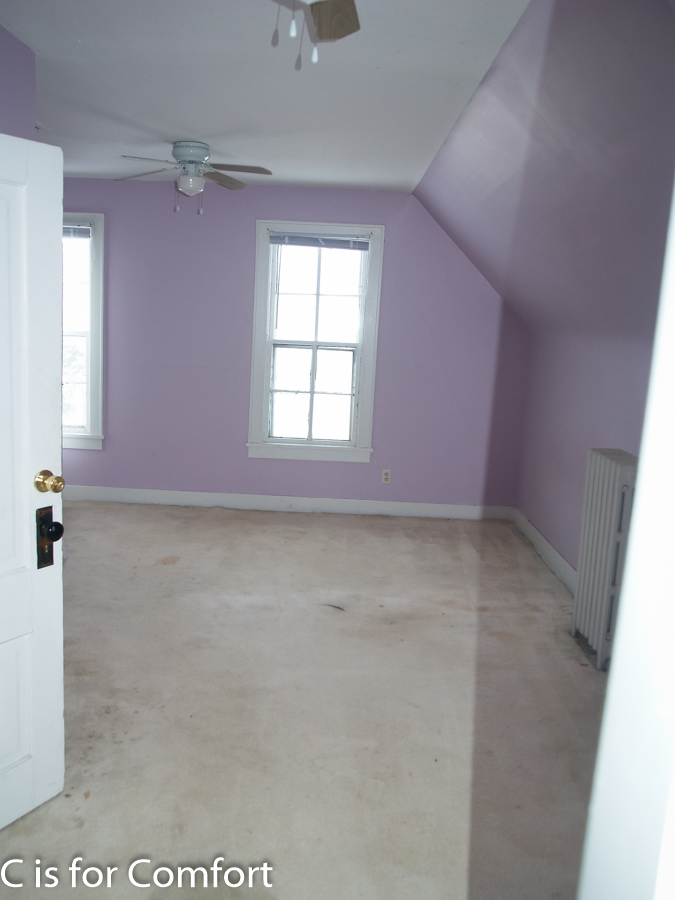
Water Damage in Mr. Awesome’s Room
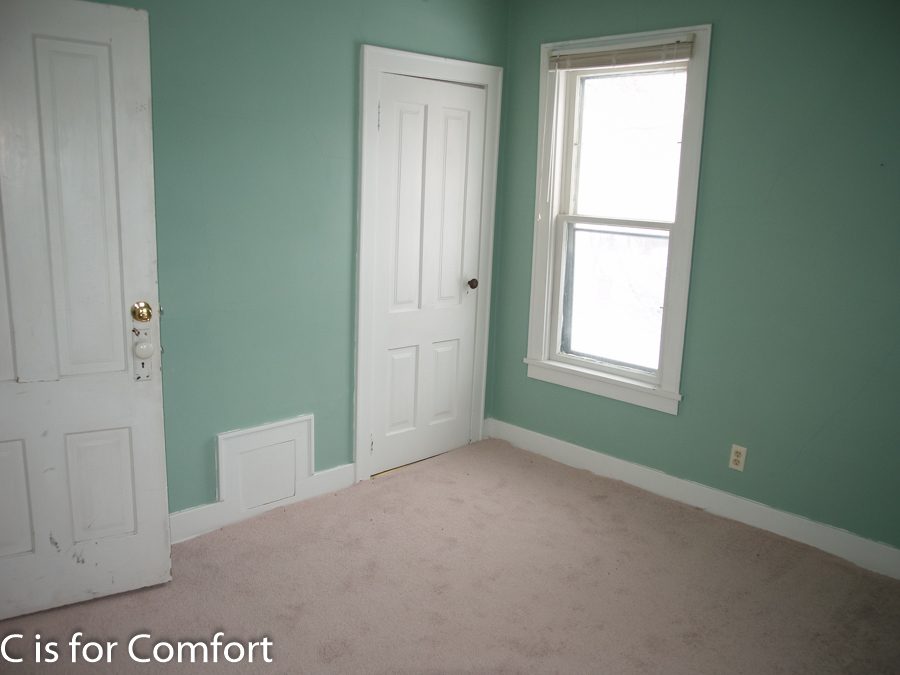
Mr. Awesome’s Room
Mr. Awesome’s Room
Mr. Awesome’s Room
Mr. Awesome’s Room
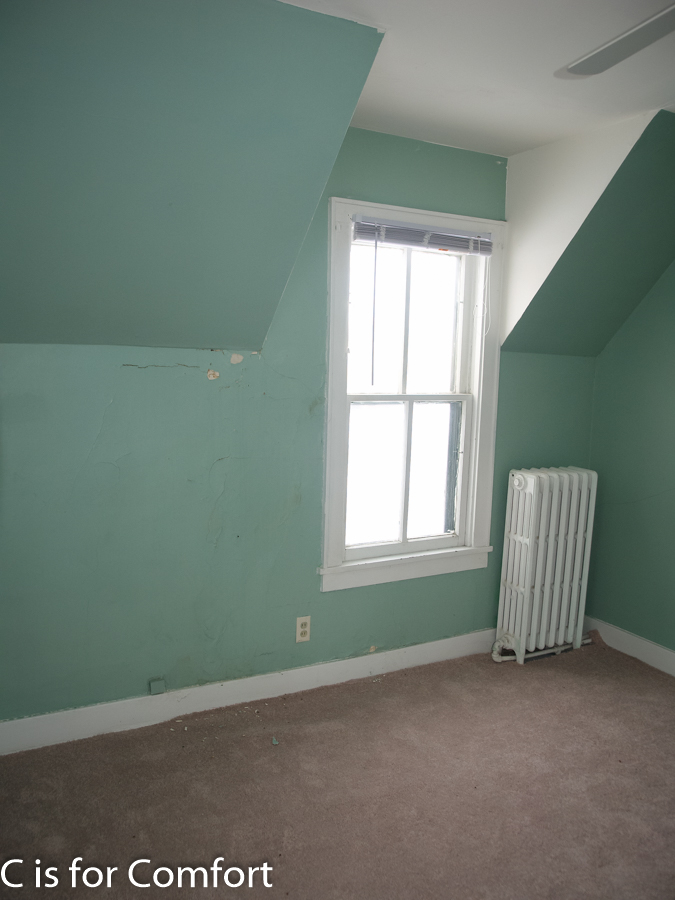
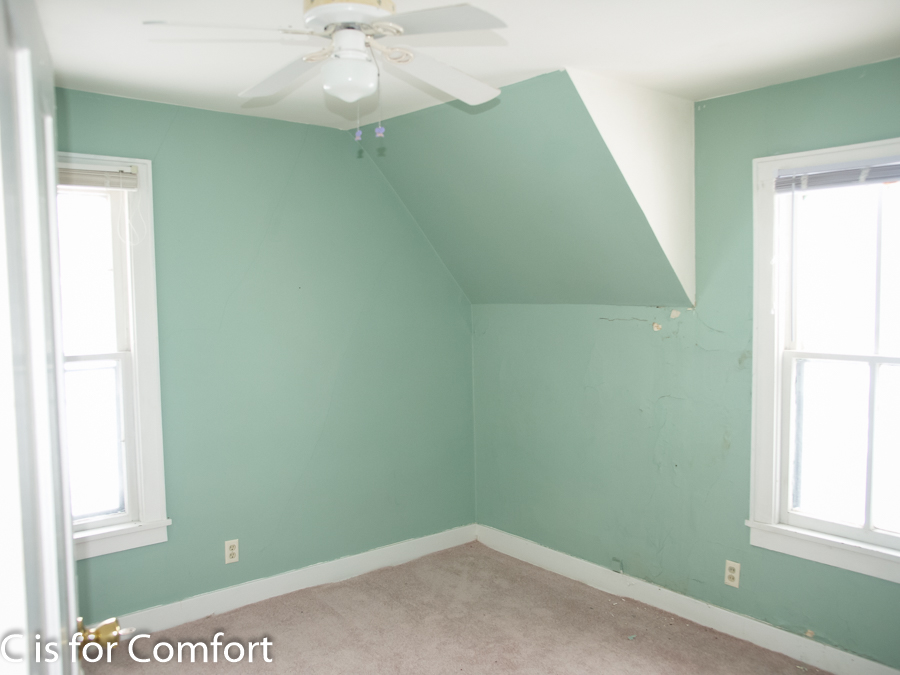
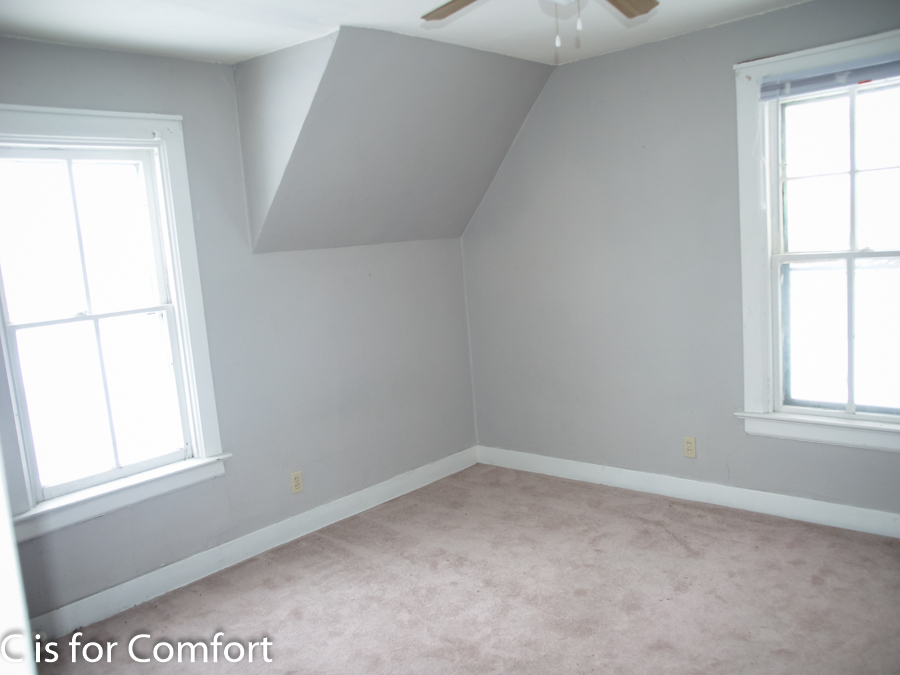
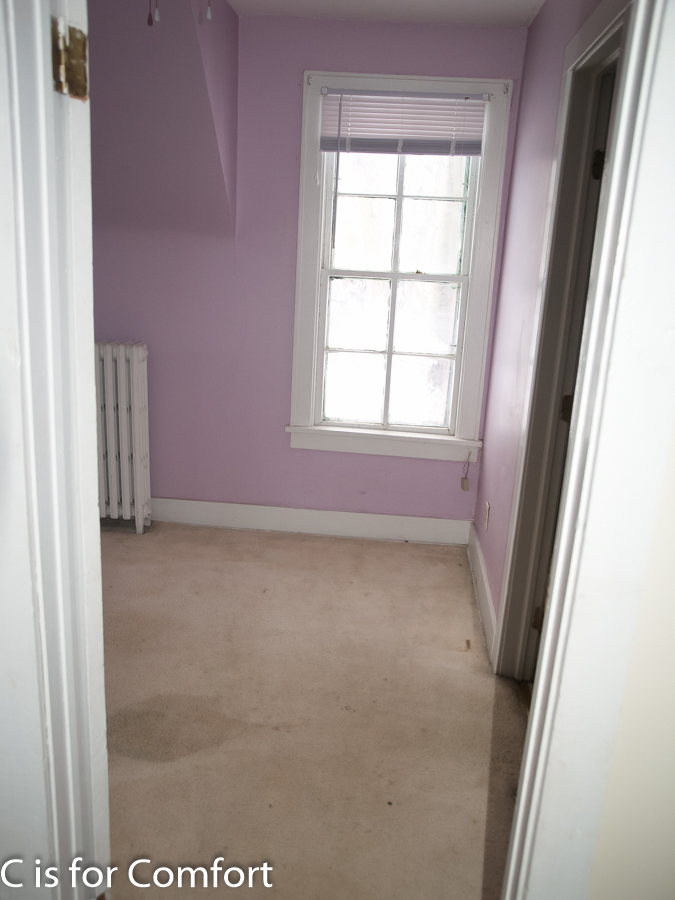
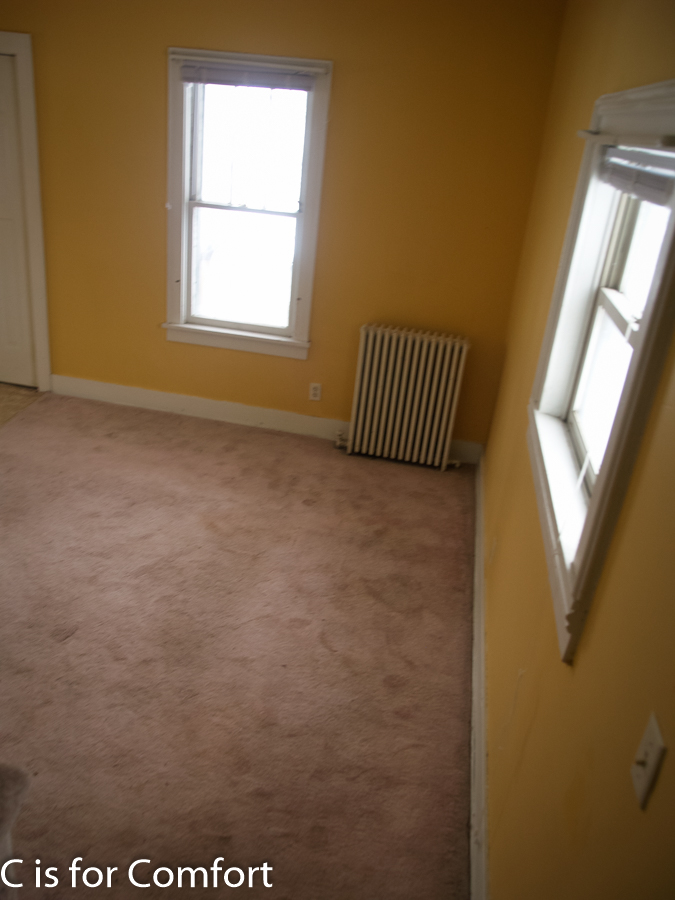
Girls Room
Girls Room
Upstairs Hall towards Master Bedroom
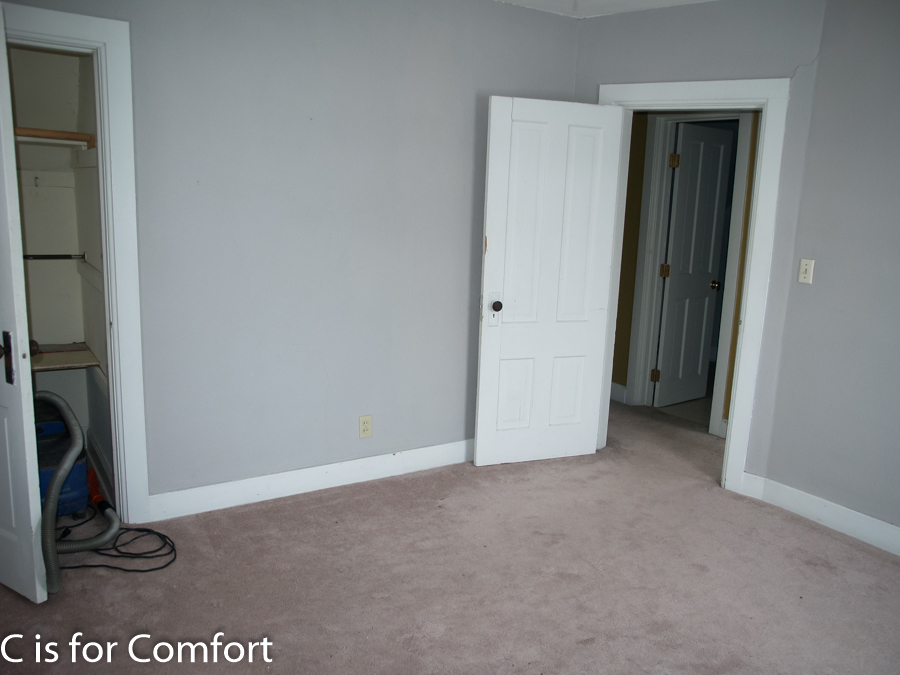
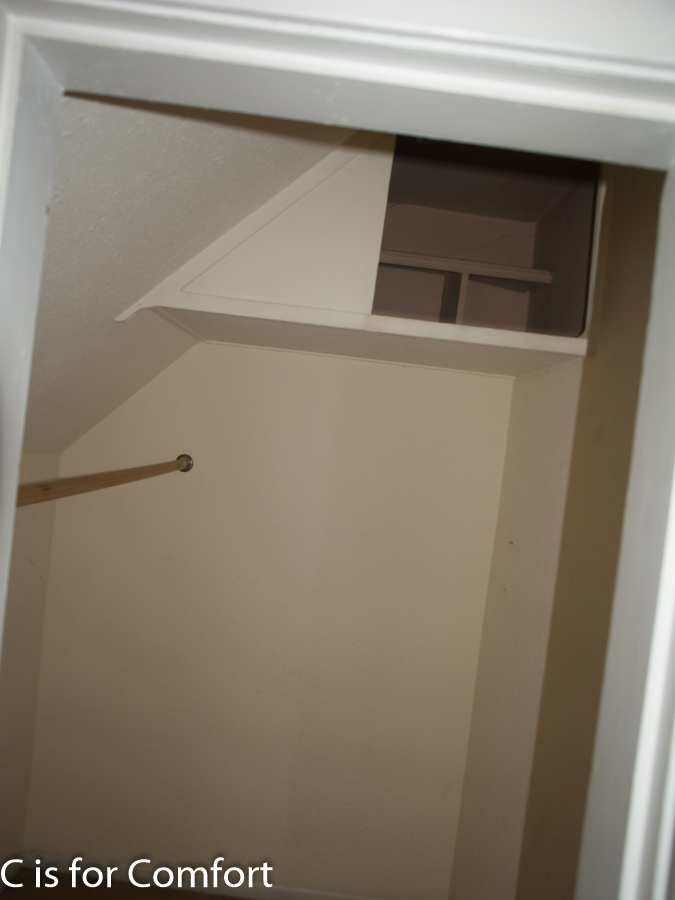
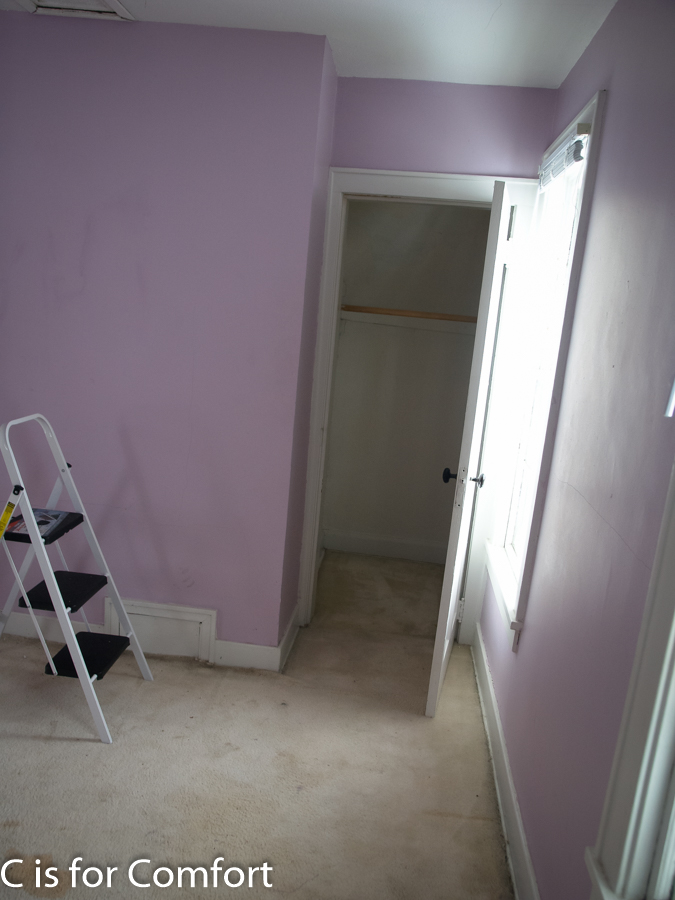
Upstairs Closet
Master Bedroom, Sitting Room
Master Bedroom, Sitting Room Closet-My Closet
Master Bedroom, Sitting Room
View of Master Bedroom from Sitting Room
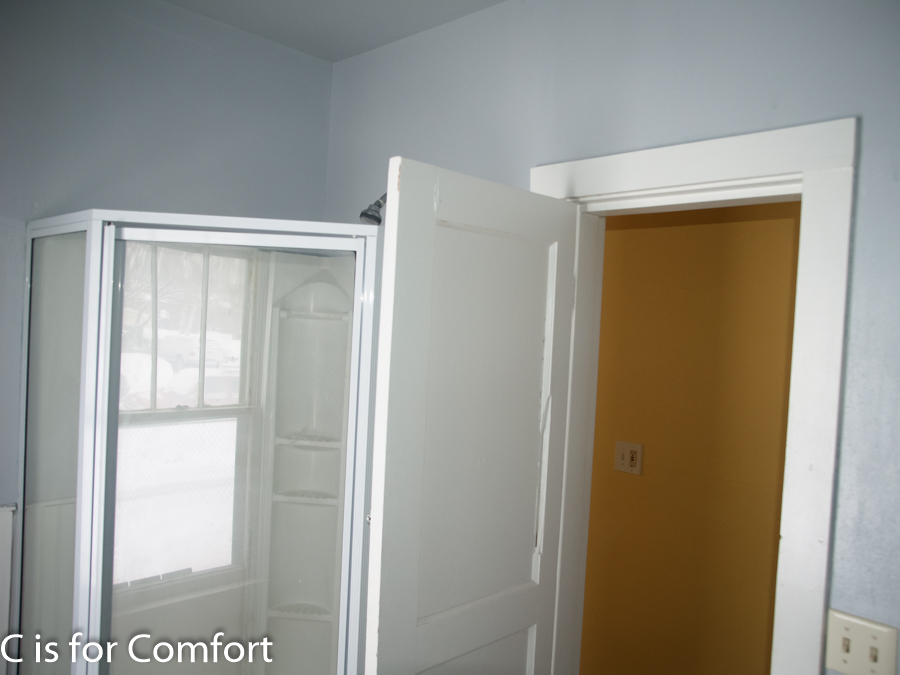
Master Bathroom
Master Bedroom
Master Bedroom
Master Bedroom
Master Bedroom Closet-Nate’s Closet
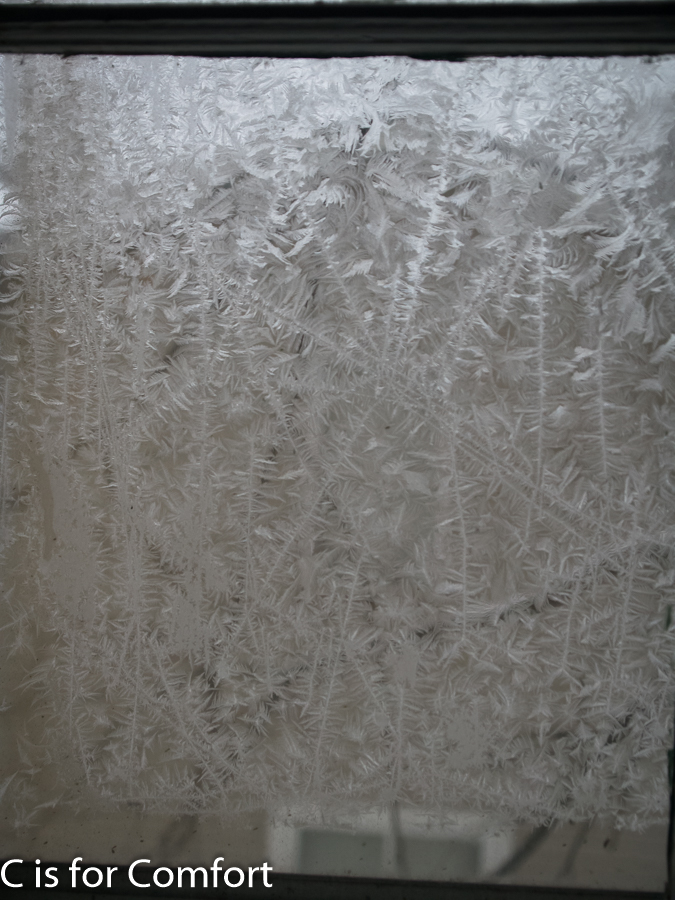
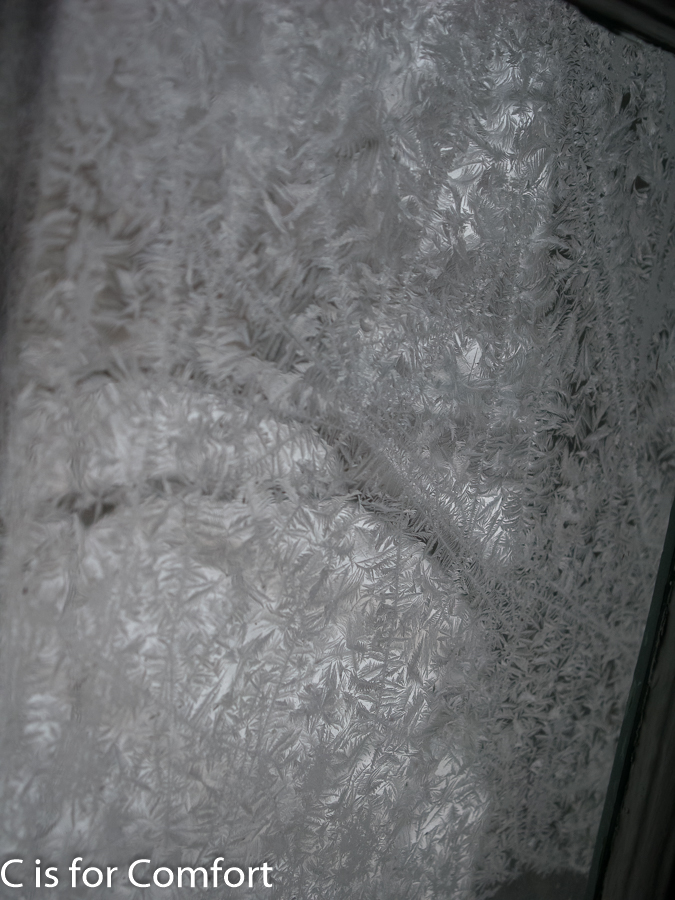
Frost on the Windows
Frost on the Windows
Master Bedroom
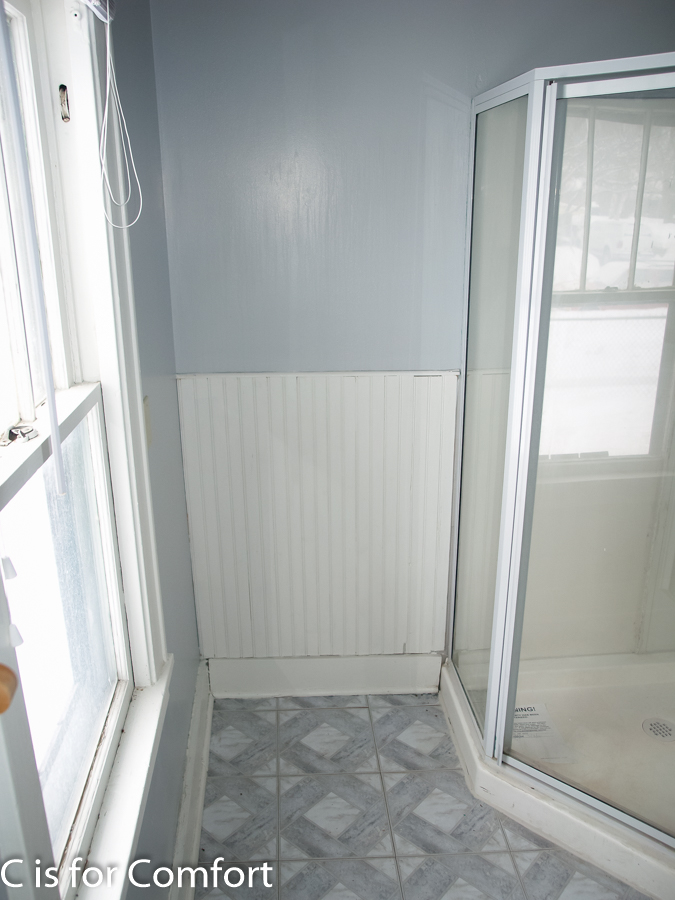
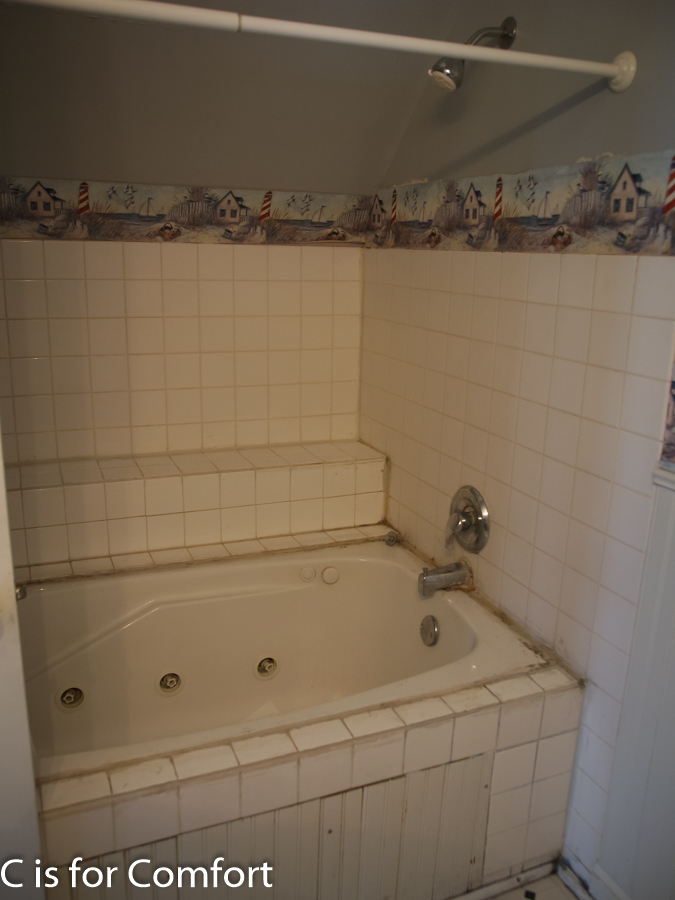
Master Bathroom
Master Bathroom
Master Bathroom
Master Bathroom
Master Bedroom, Sitting Room
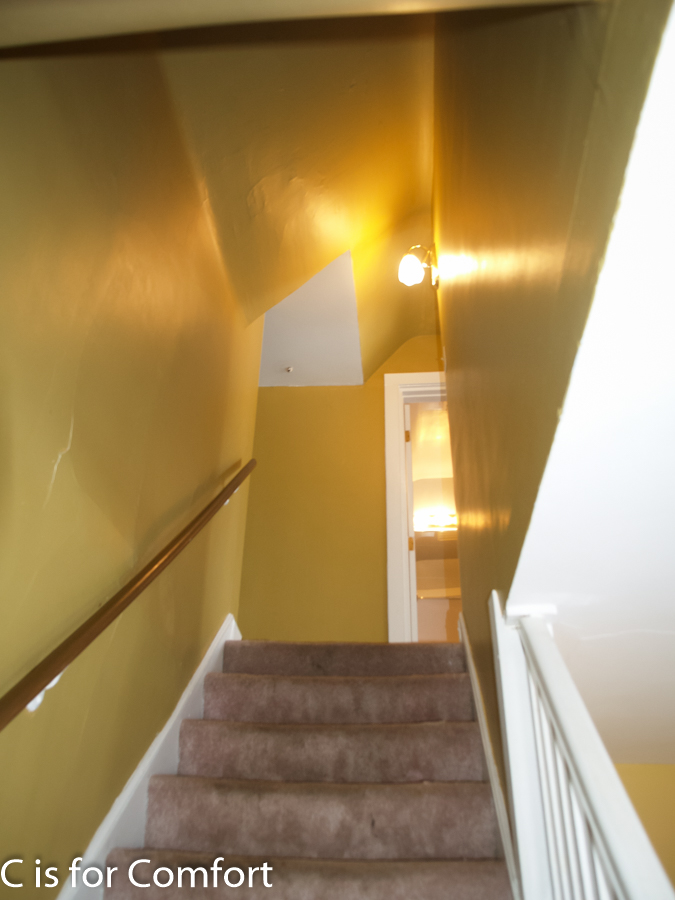
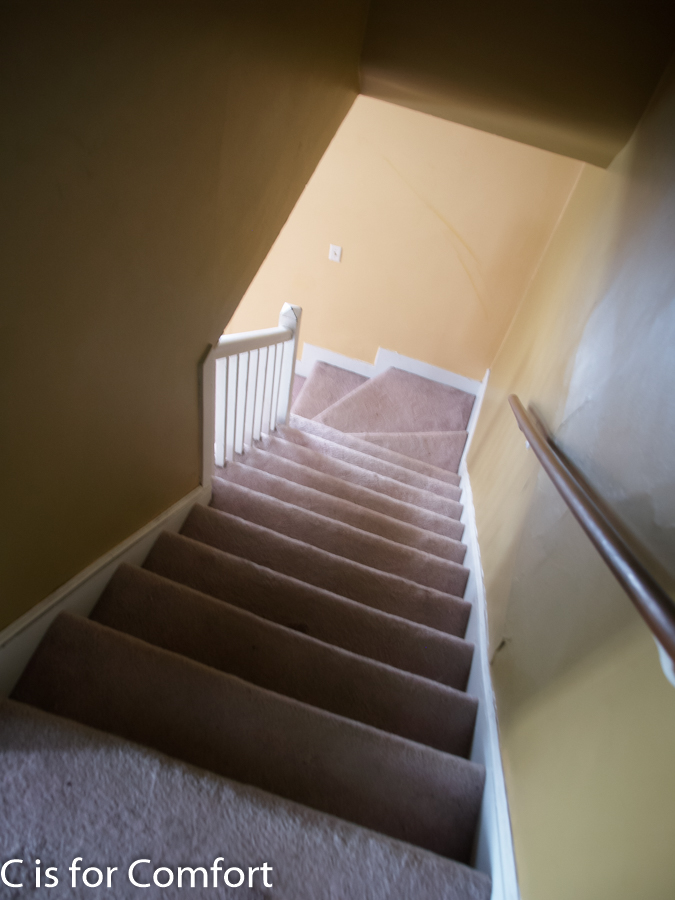
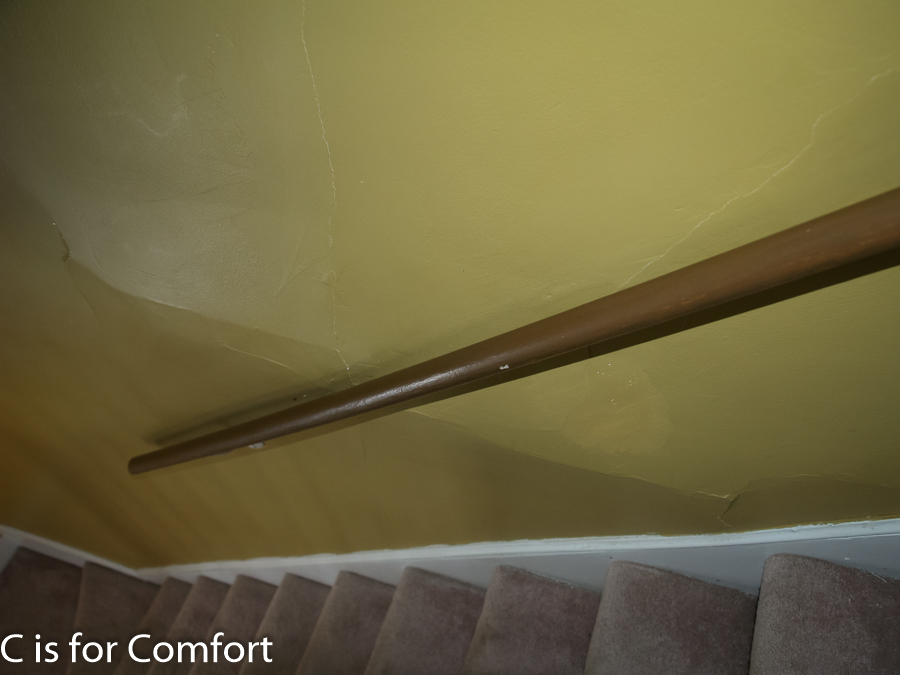
Stairs
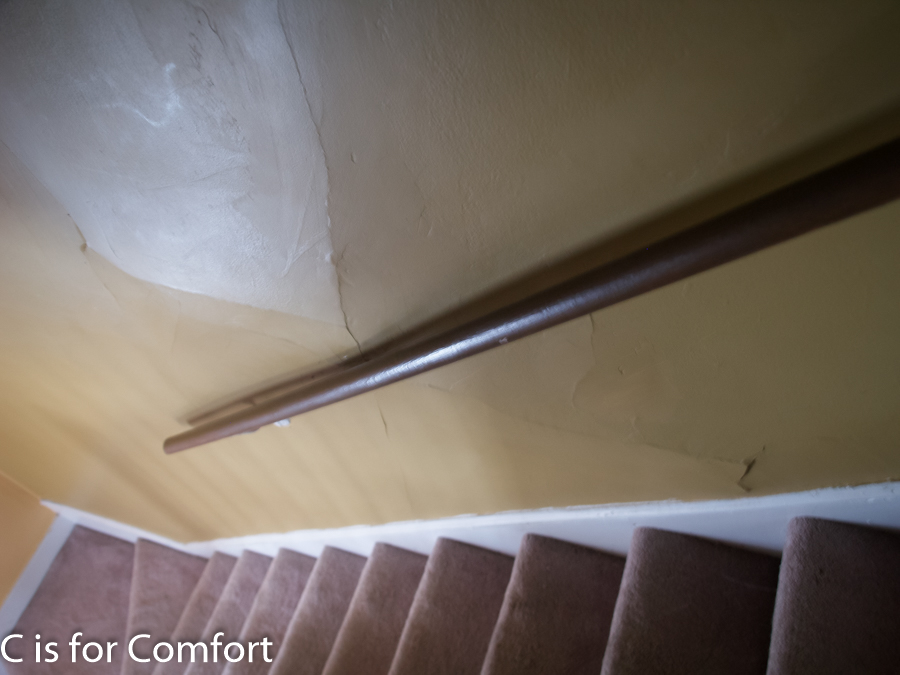
The wall is bulging…
The wall is bulging…
Stairs
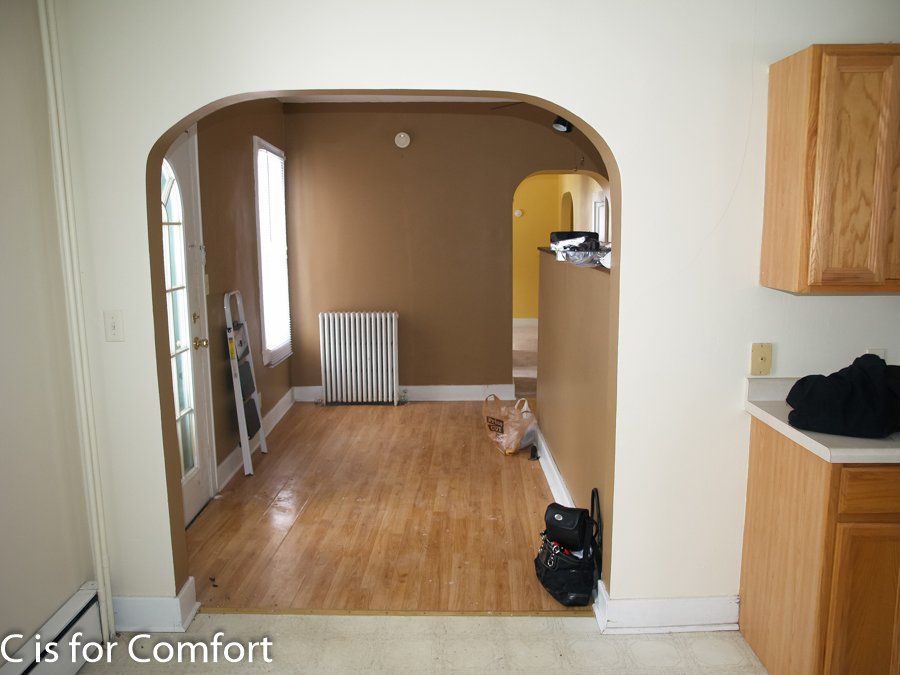
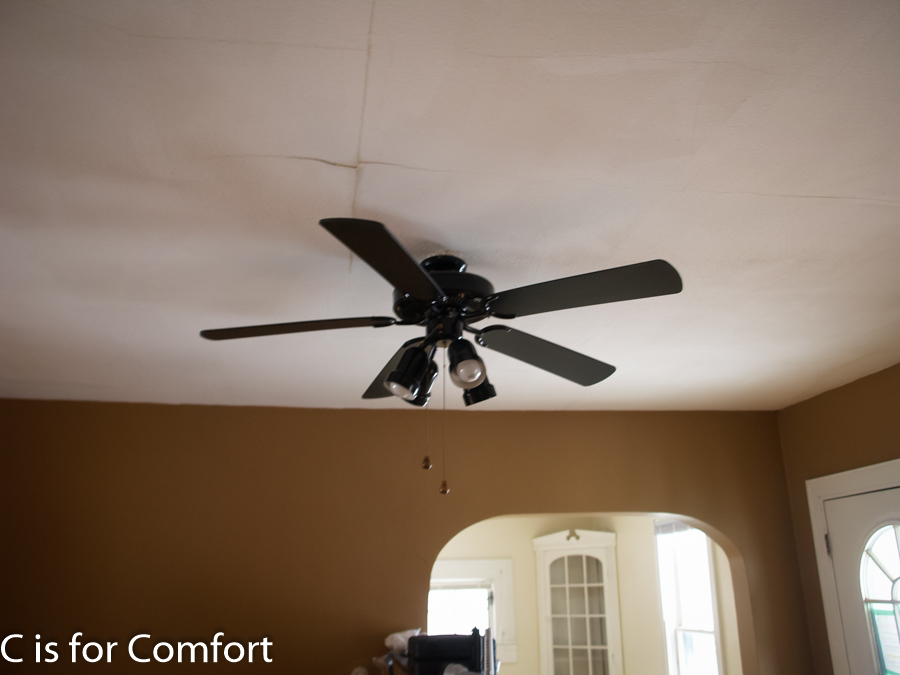
Family Room
Family Room
Lobby Fan
Utility Room
Utility Room
Utility Room
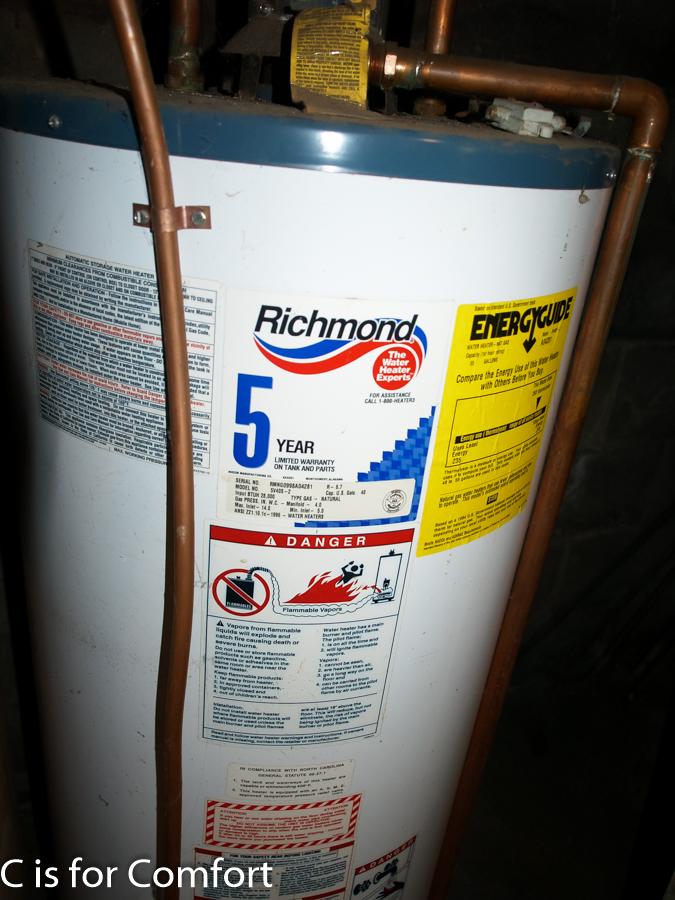
Am I the only one a little disturbed by the warning on water heaters.
Utility Room
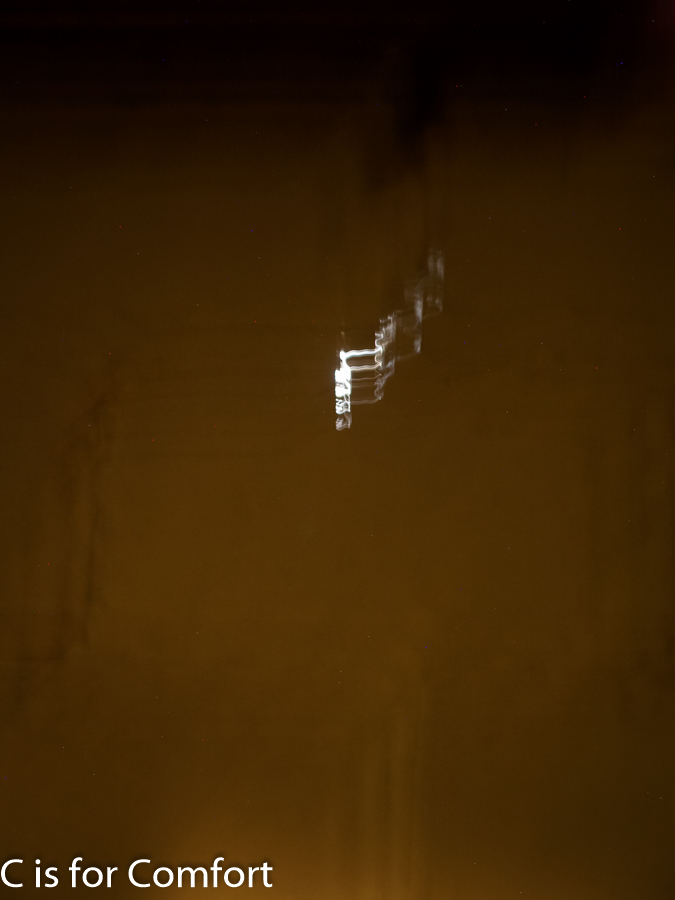
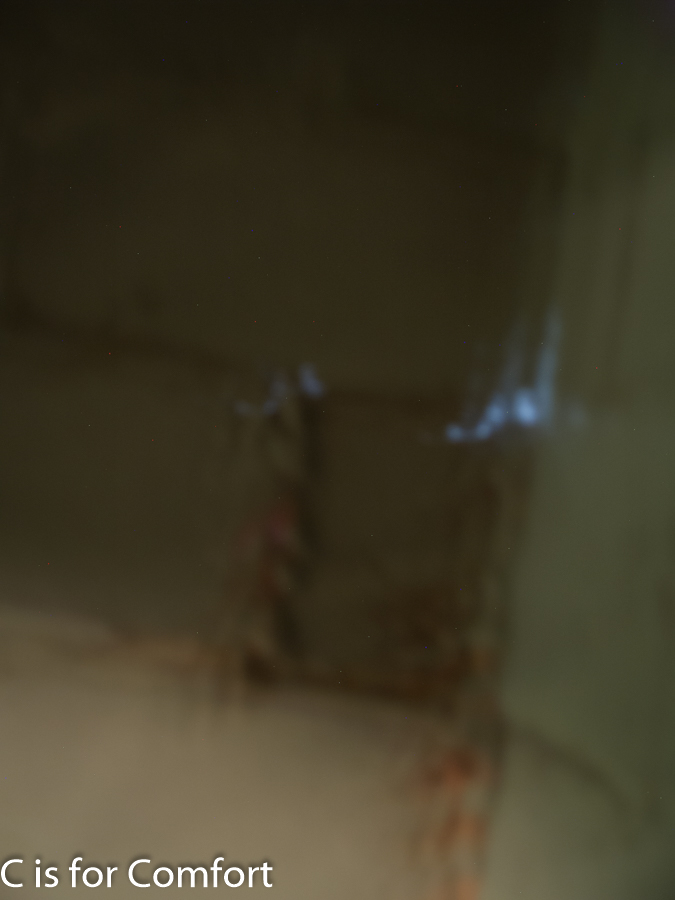
I didn’t bring a tripod for low light, but the basement had several holes in the wall where we could see outside!
The floor has drainage ditches all around the edges.
Holes in Wall
Holes in Wall
The floor has drainage ditches all around the edges.
The floor has drainage ditches all around the edges.
In the beginning of our RV adventure, I was simply a dreamer. I’d spent years saving, researching, planning and searching. I have always wanted to travel the world, starting in our own backyard, the U.S.A. I’ve dreamed of opening my children’s eyes to the love of the great outdoors. I want them to breathe fresh air, run through the woods, bask in the sun, dance in the rain, climb trees, swim like fishes, and be FREE to be children. I want to explore new places with them,develop and quench our thirst for knowledge, bond as a family, and grow intellectually.
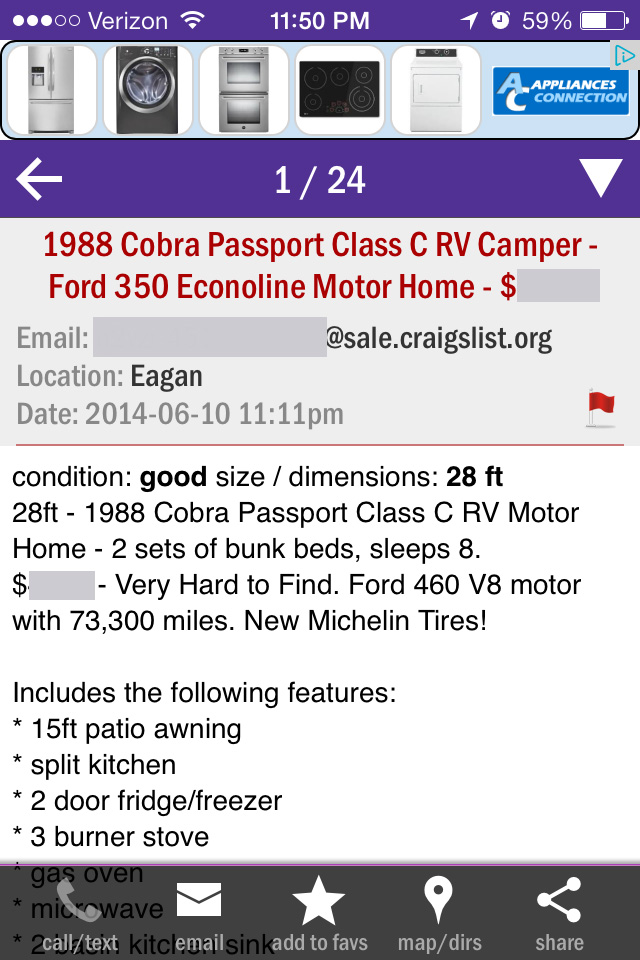
After several RV’s that we had planned to purchase fell through over a 2 year period, I felt defeated and decided to take a break. On a whim, half a year later, I pulled up my search on Craigslist on my phone. As soon as I saw the ad, I immediately emailed them. This one, had all the features I wanted, plus something I’d never seen before, 4 bunks in back. How perfect!
The only downfall was that the price was more than I had saved. Nate and I decided to use our both our savings. We theorized that this RV didn’t need any immediate repairs, so the extra costs we had planned on spending on a possible fixer upper, made this a savings in the long run.
I reviewed all of my questions to ask and only asked the most important ones over the phone.
Were there any issues with the engine? No
Did the air conditioner work? Yes
Were there any leaks or was there anything wrong with it structurally? No
Was everything in working condition in the interior? Yes, but they’d never used the furnace for heat, so they didn’t know if that did.
At the meeting I had to stifle my giddiness and try to remain calm and professional. I brought Nate, the kids and my parents with me. My sisters also came along to help watch the kids. Unfortunately, since it was so late at night, the ATM had a limit of what we could withdraw from our accounts. So we were $500 short of their asking price. After asking a bunch of questions, we informed them that we would take it, and explained that we were short on cash. I asked if we could take it tonight with what we had brought with. They said no, there were a lot of offers and ours was the first. Well, darn. We decided to return the following morning.
I had only been able to view the inside for a quick tour. Since they had dogs, I couldn’t breath very well inside. They were kind enough to air it out overnight so that I was able to check it out inside again. Having already decided to purchase and all the questions had been answered satisfactorily, I didn’t think to go poking around. I wish I would have.
Once we got home, we brought out our air purifier. I vacuumed and removed the curtains to wash. I scrubbed EVERY surface. Doing so, we noticed the front mattress had black mold on the bottom that had eaten into the mattress and down into the plywood. Disappointed, I knew we would have to toss the mattress out and replace the wood.
Then it rained. I went out to the RV to stock it up with a few things the following day and I noticed the carpet was wet in places, the front mattress was sopping wet and there were weird black tar spots on the counter. Our RV was not as leak free as they claimed it to be. Nate and I thought that perhaps it was just because we had gotten a lot of rain and that water had leaked in through the air vents. I made sure the air vents were secure and use towels to absorb the water. The next rain did not result in wet carpet, so we put it out of our minds.
I can’t wait!
As the weeks rolled by, I prepped our RV in every way possible. I printed check lists and put them in a binder. I stocked food and emergency supplies. We put sheets on the kids beds and let them bring out one or two small things. I eagerly anticipated our first trip. Having drained our funds on the purchase, we had to wait awhile before we could head out on the road. The waiting was incredibly hard, but all good things are worth waiting for.
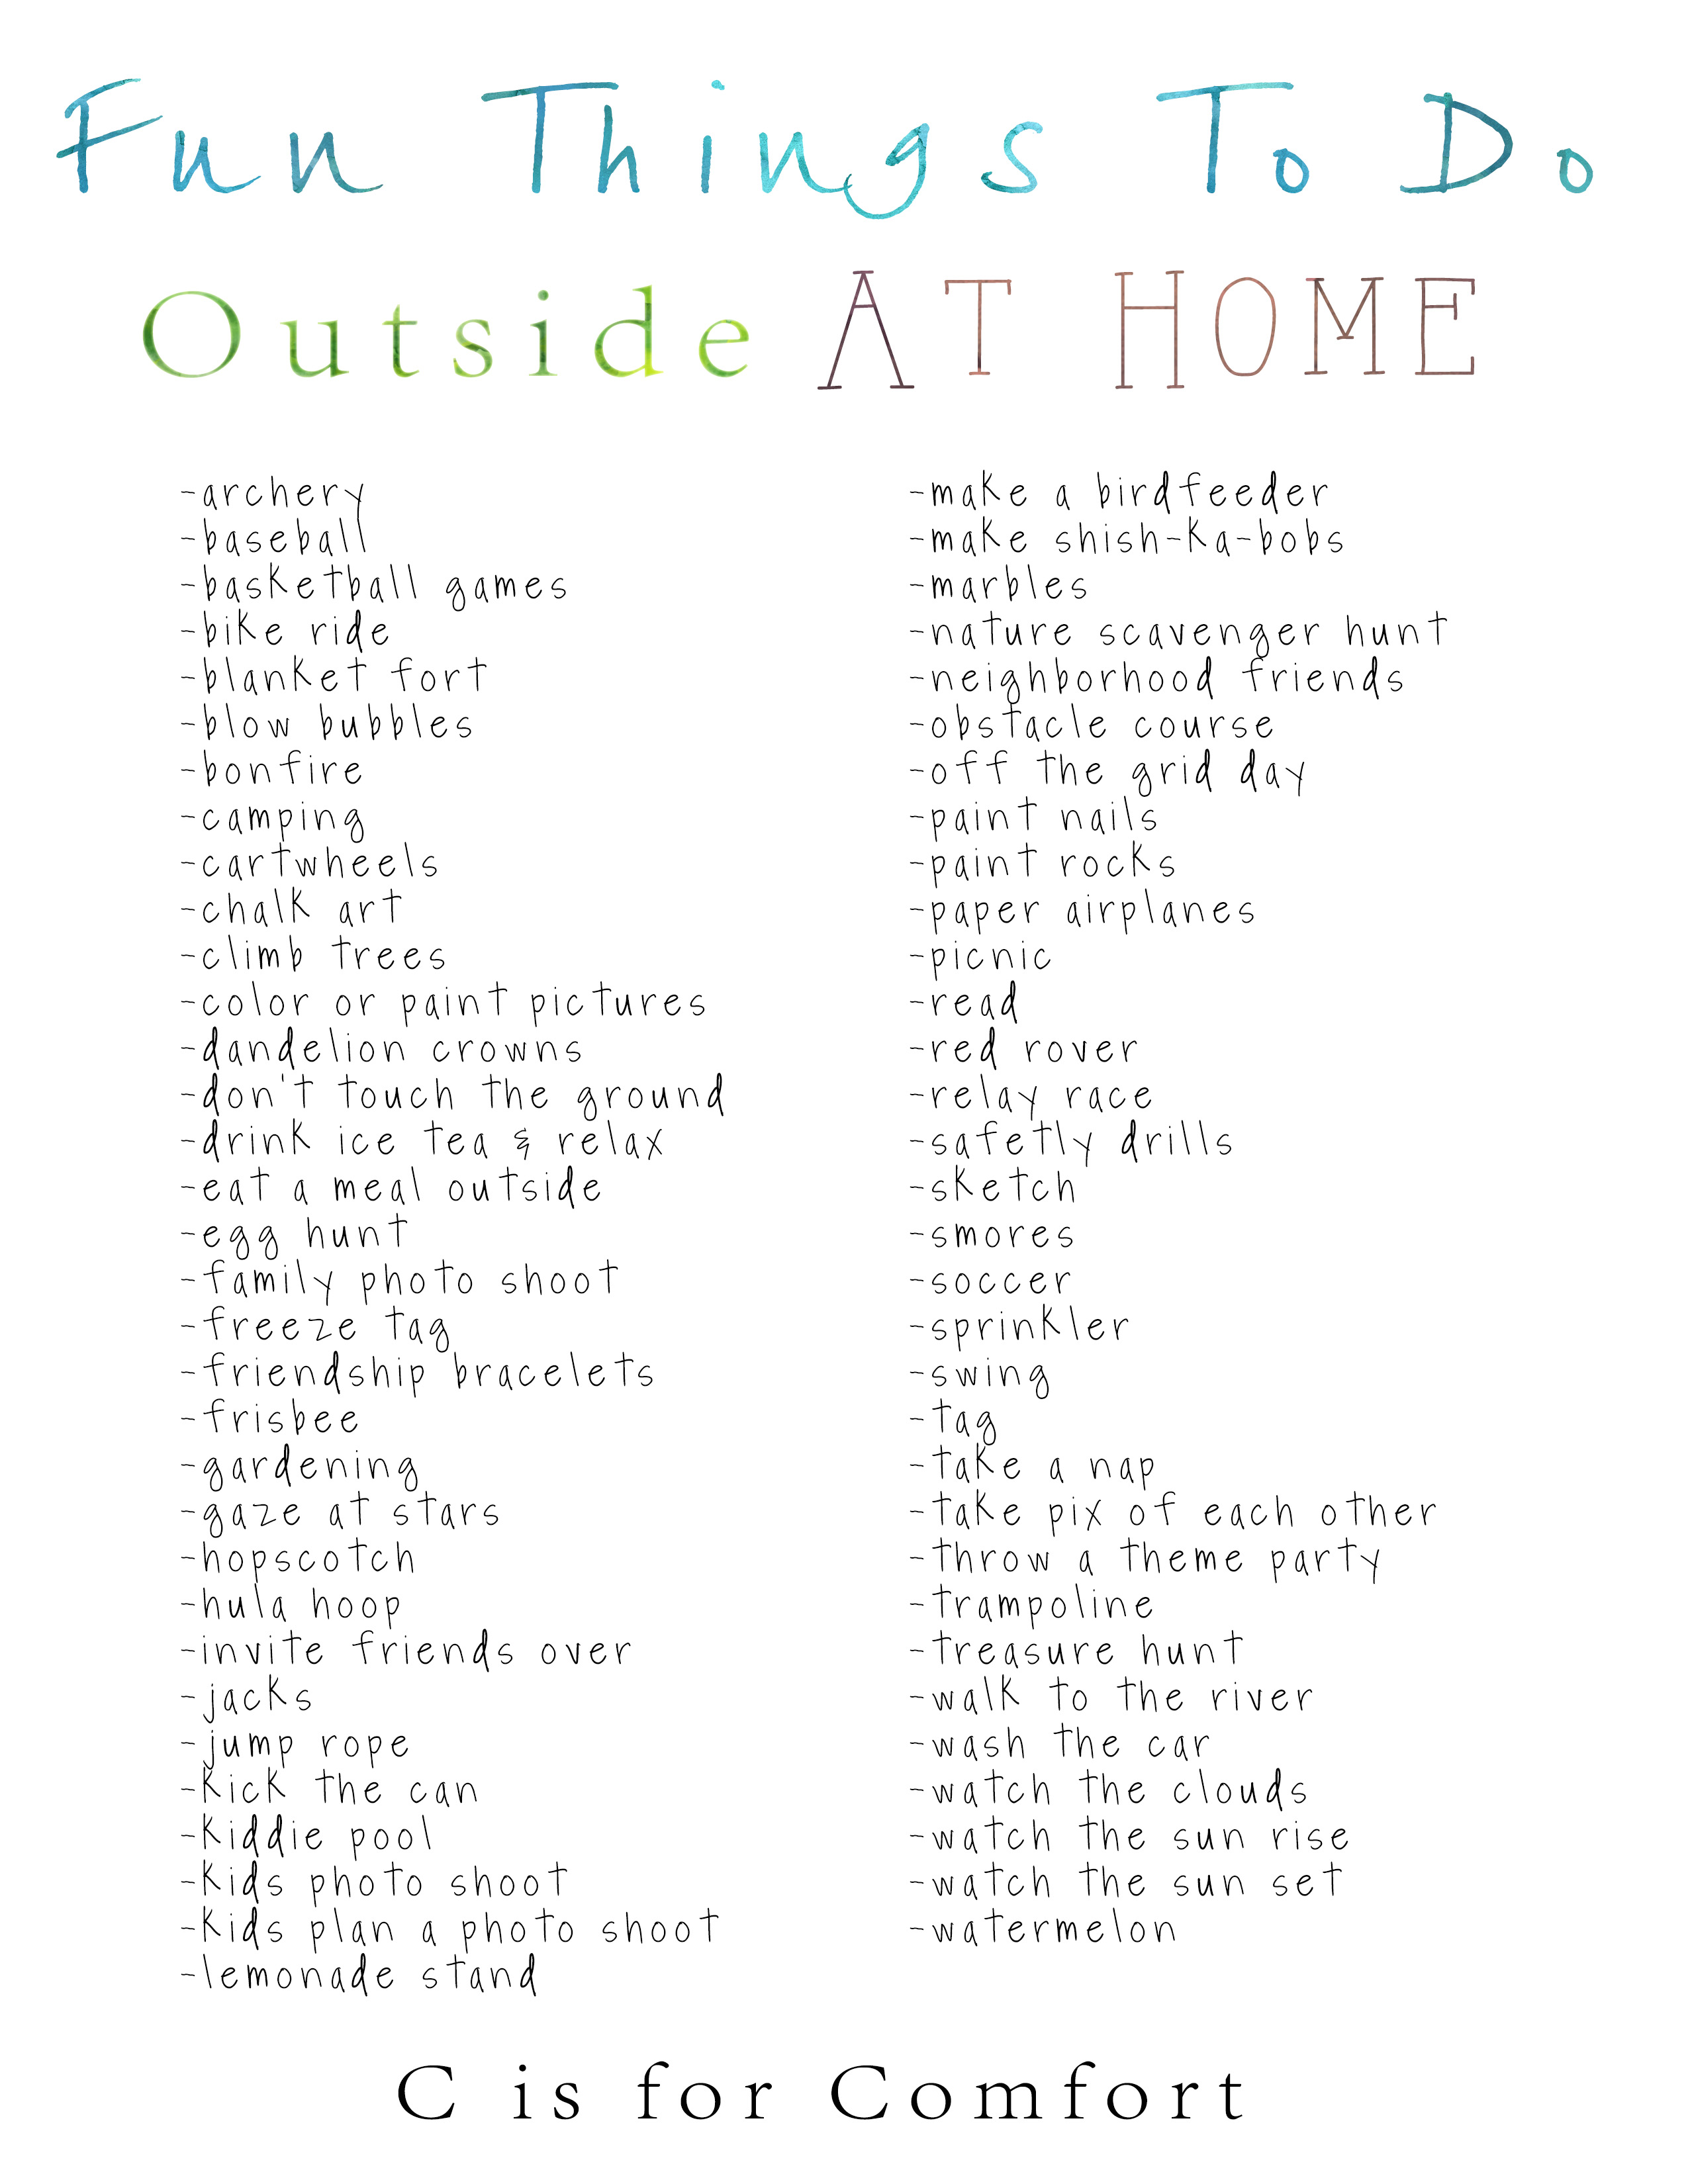
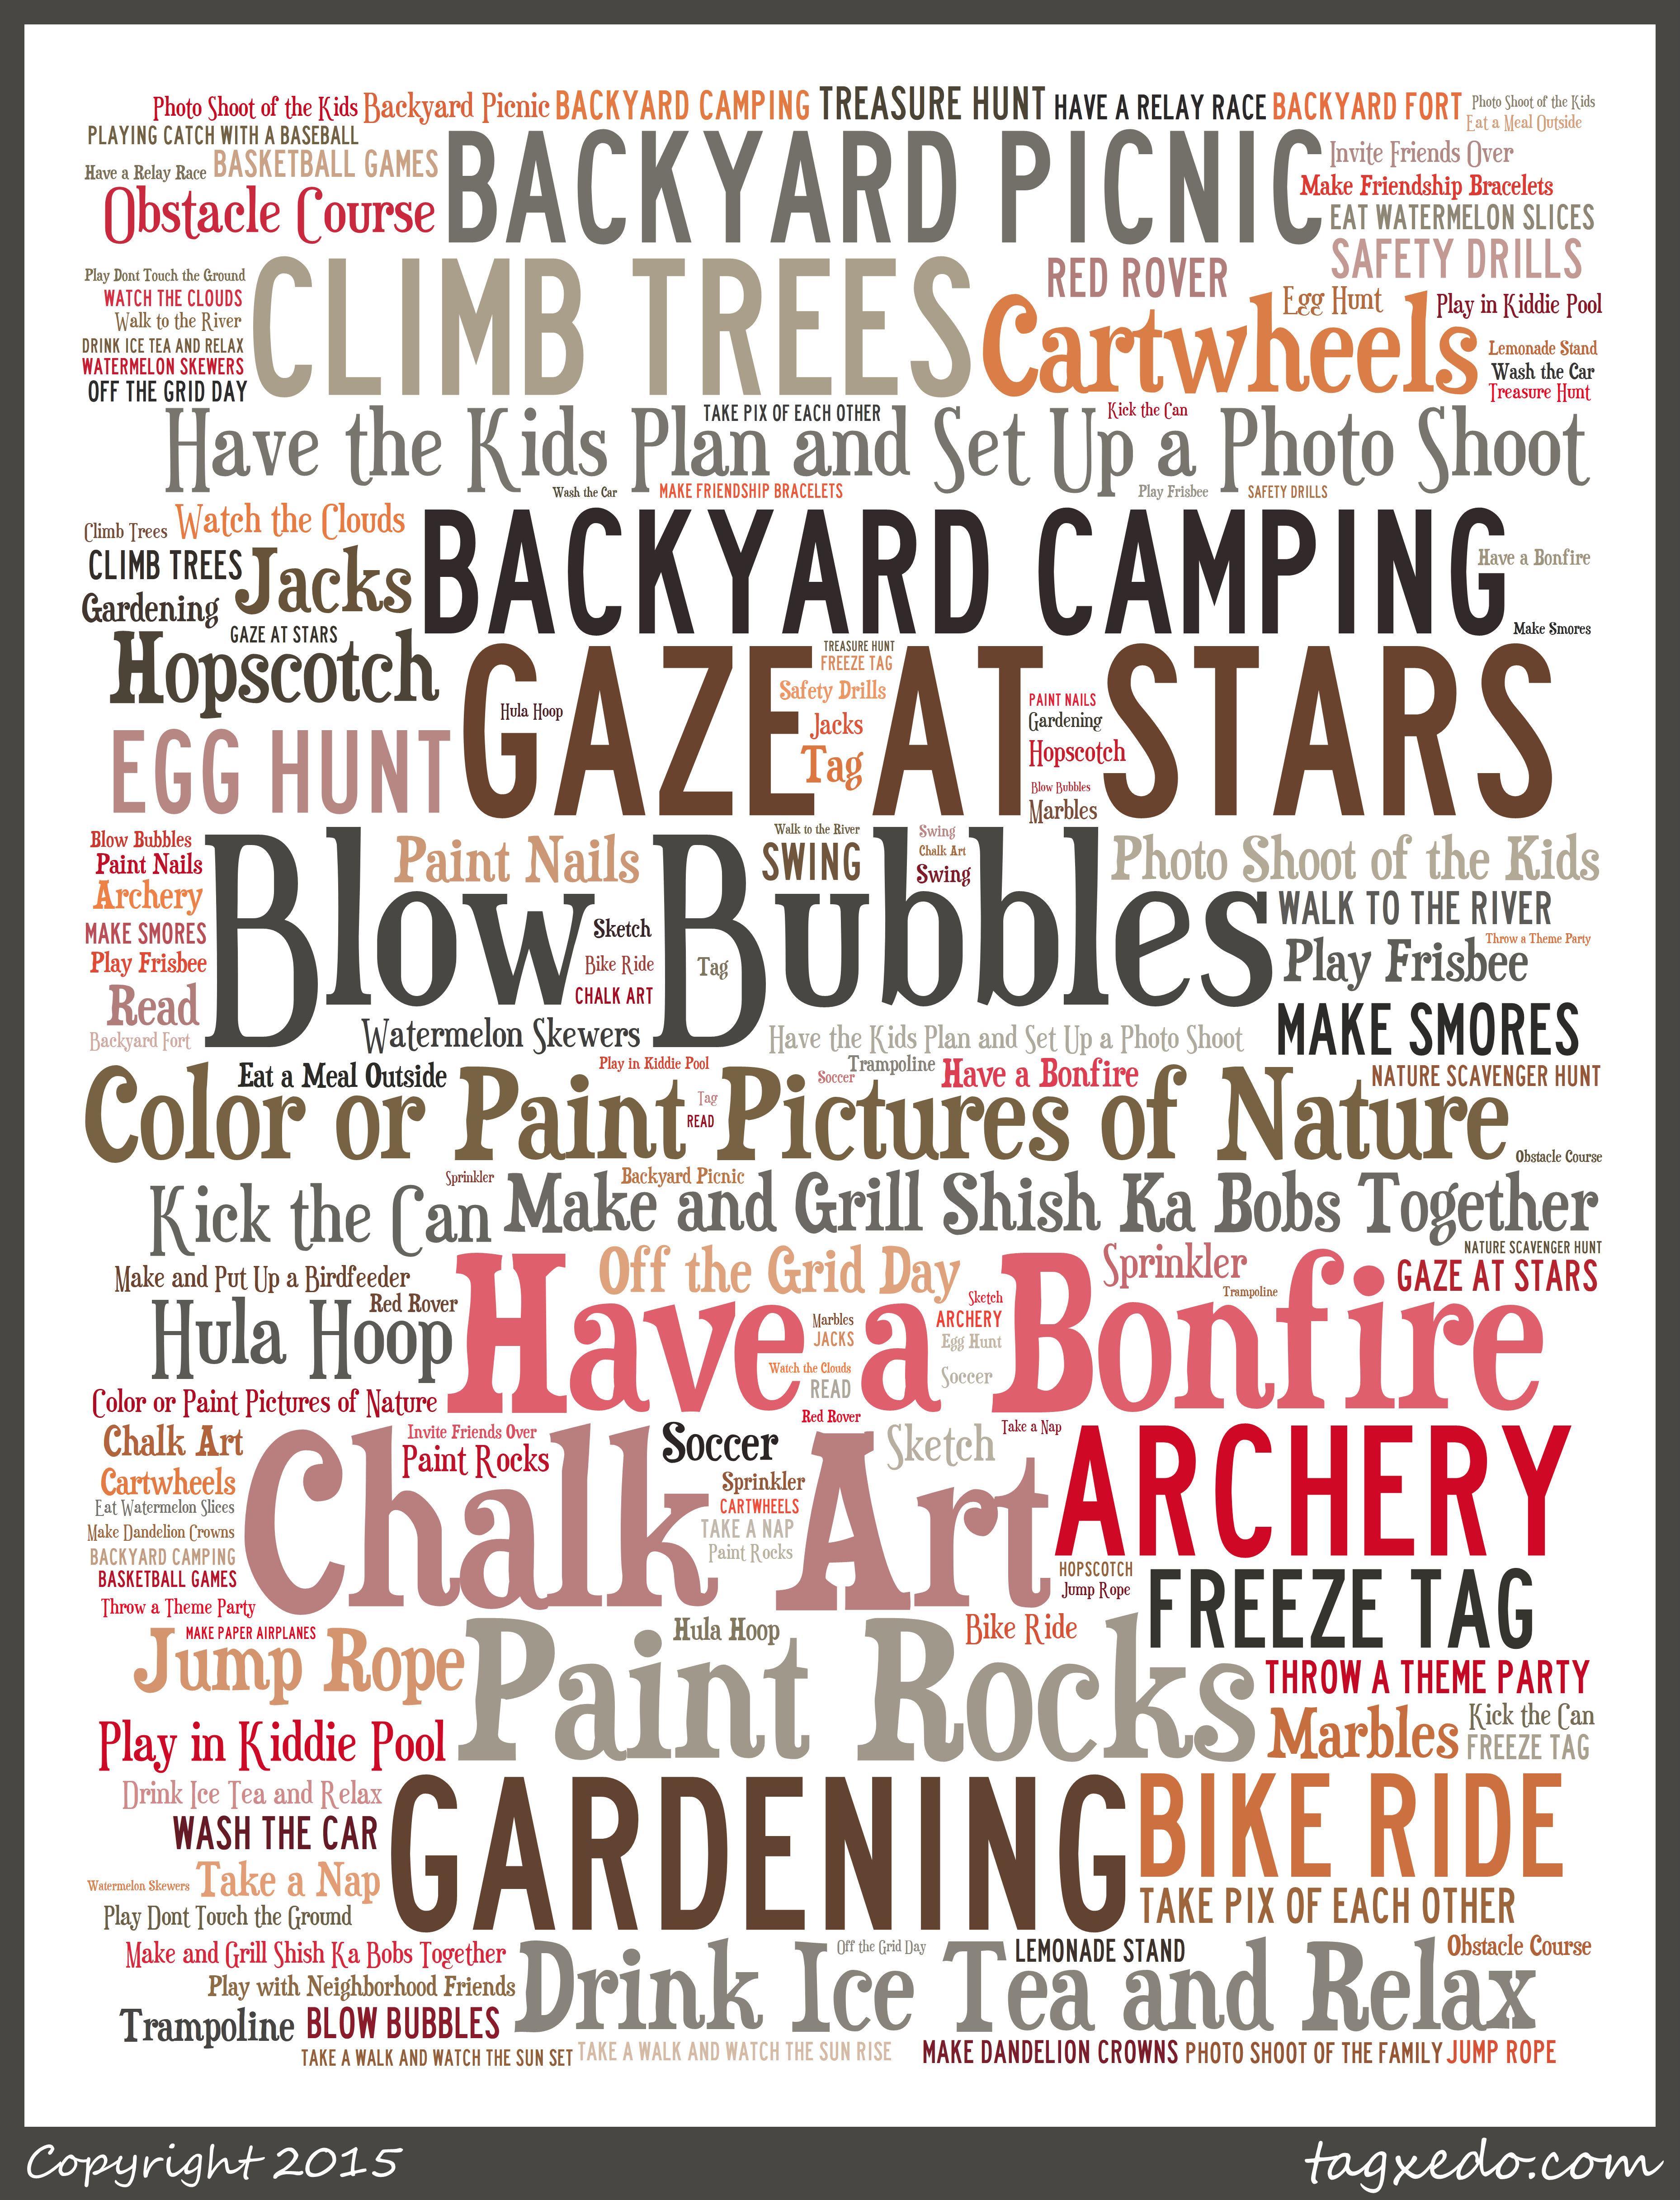
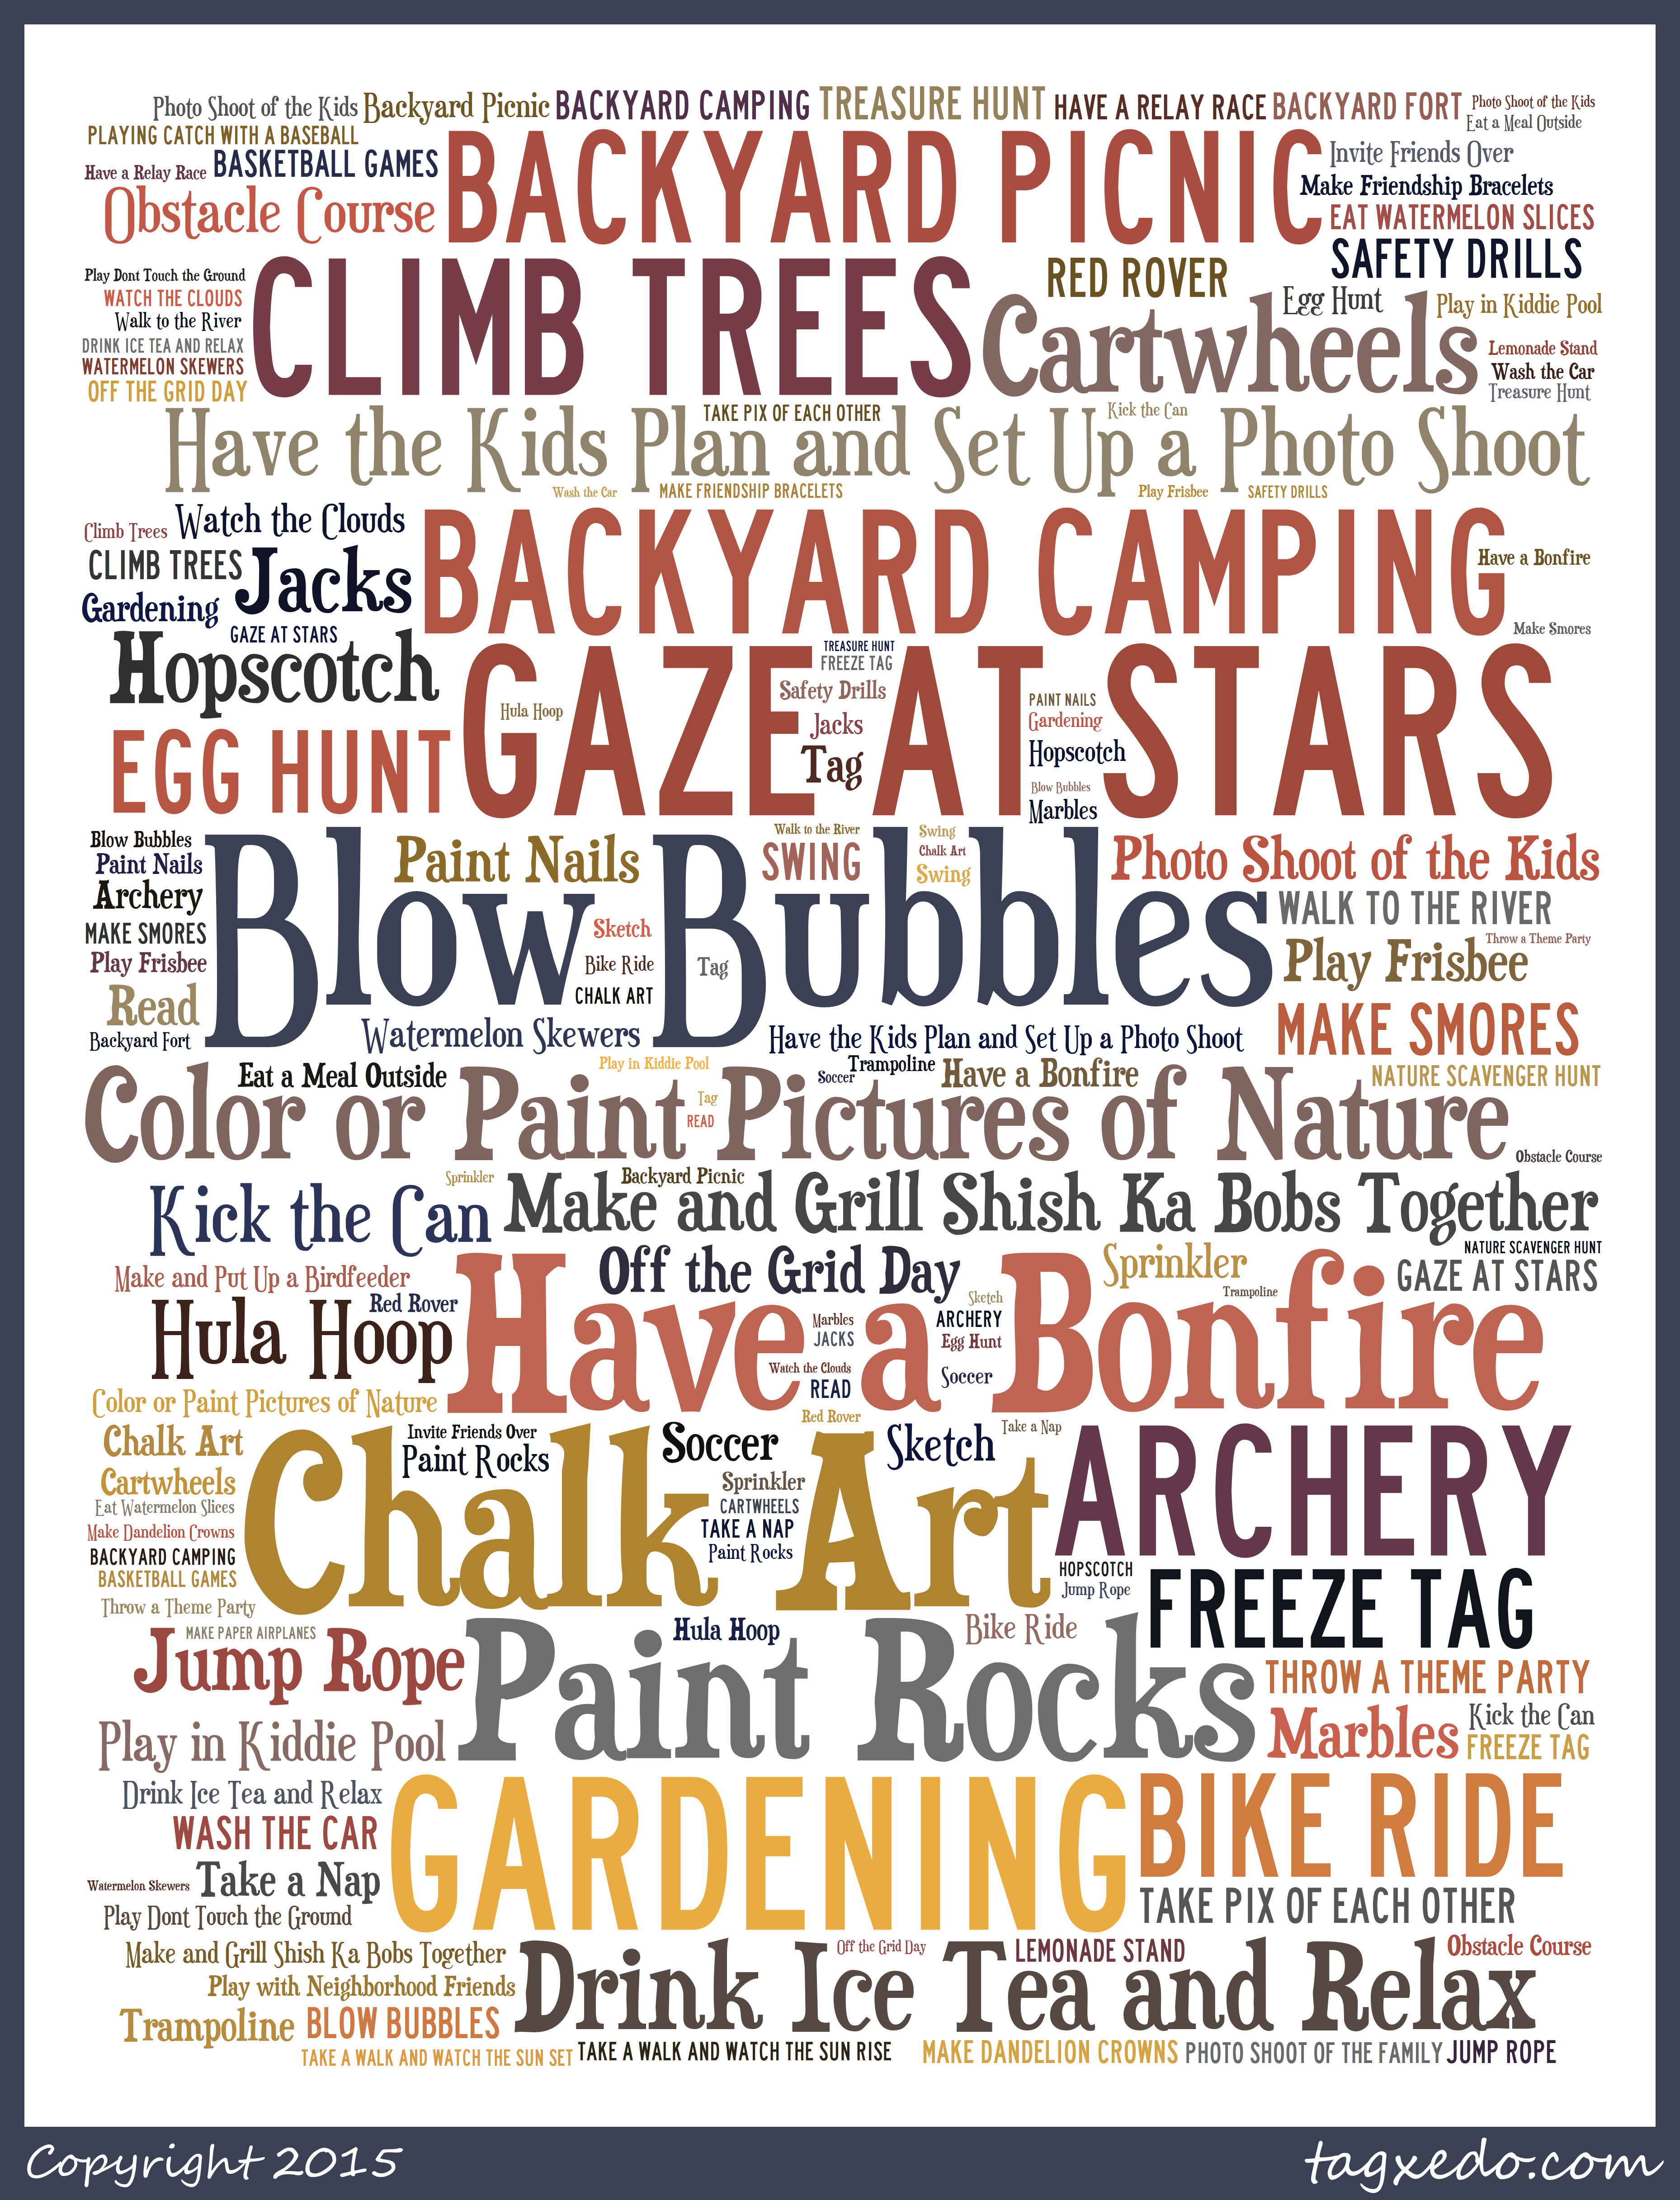
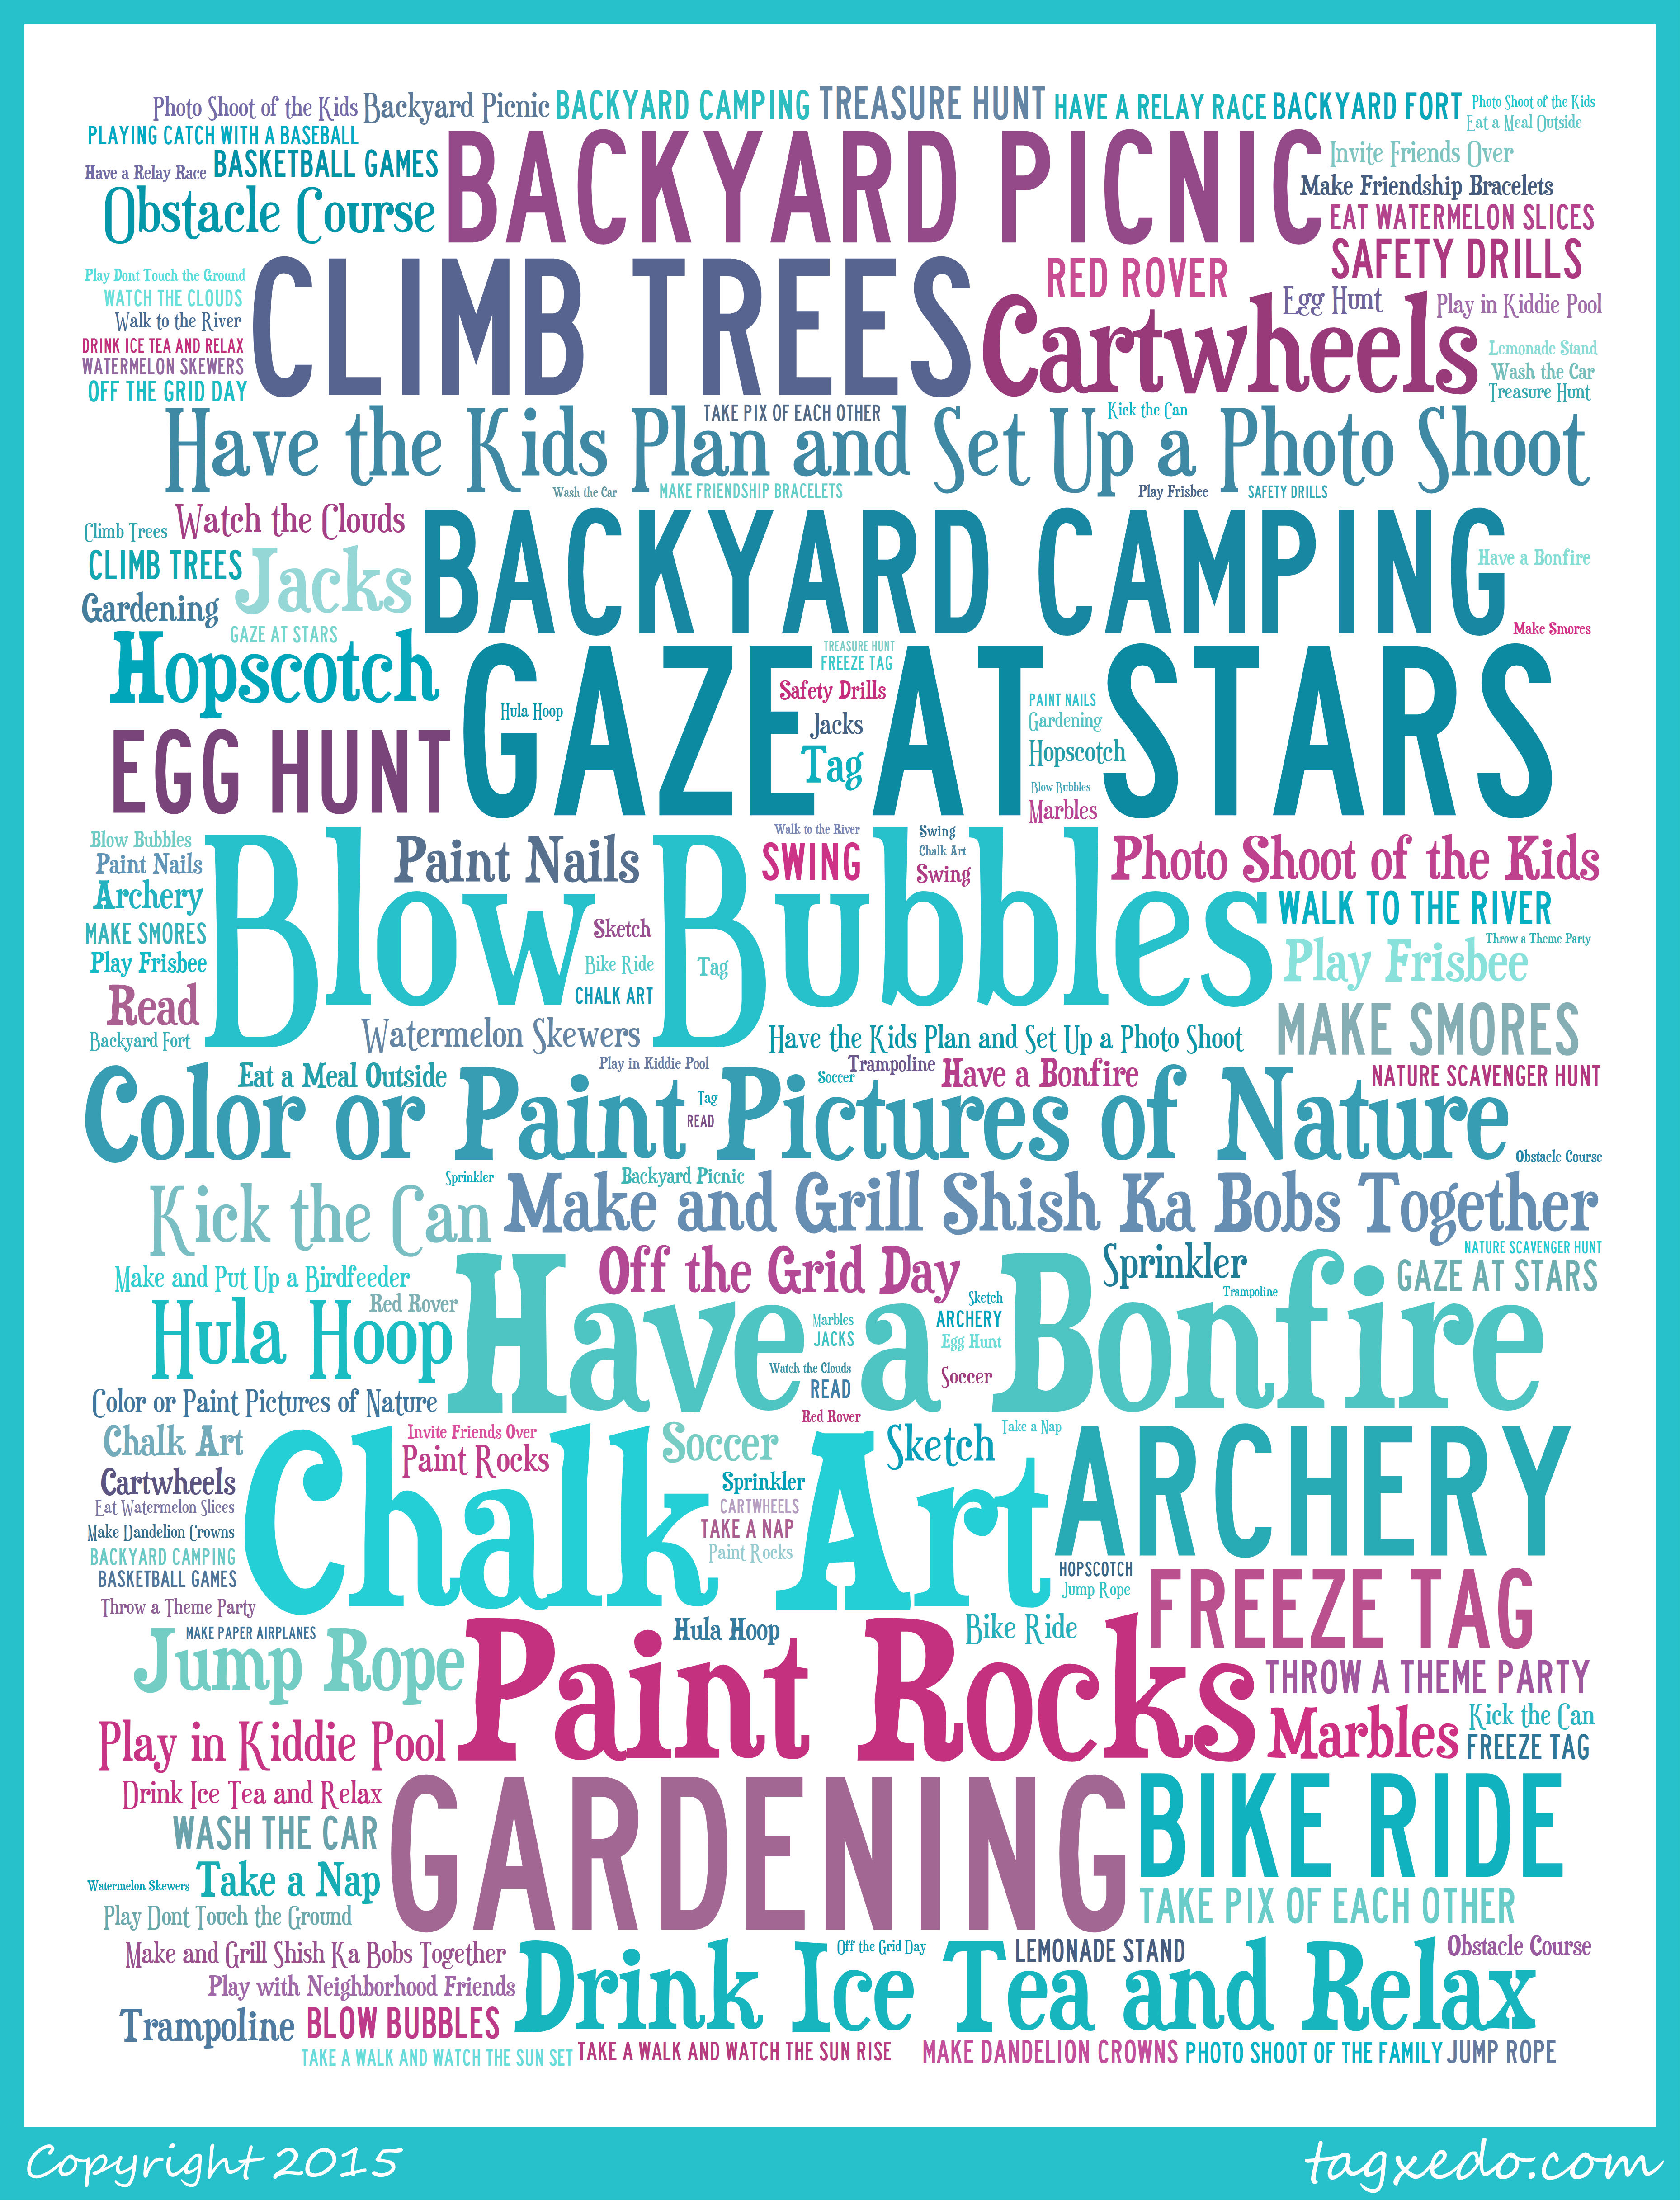
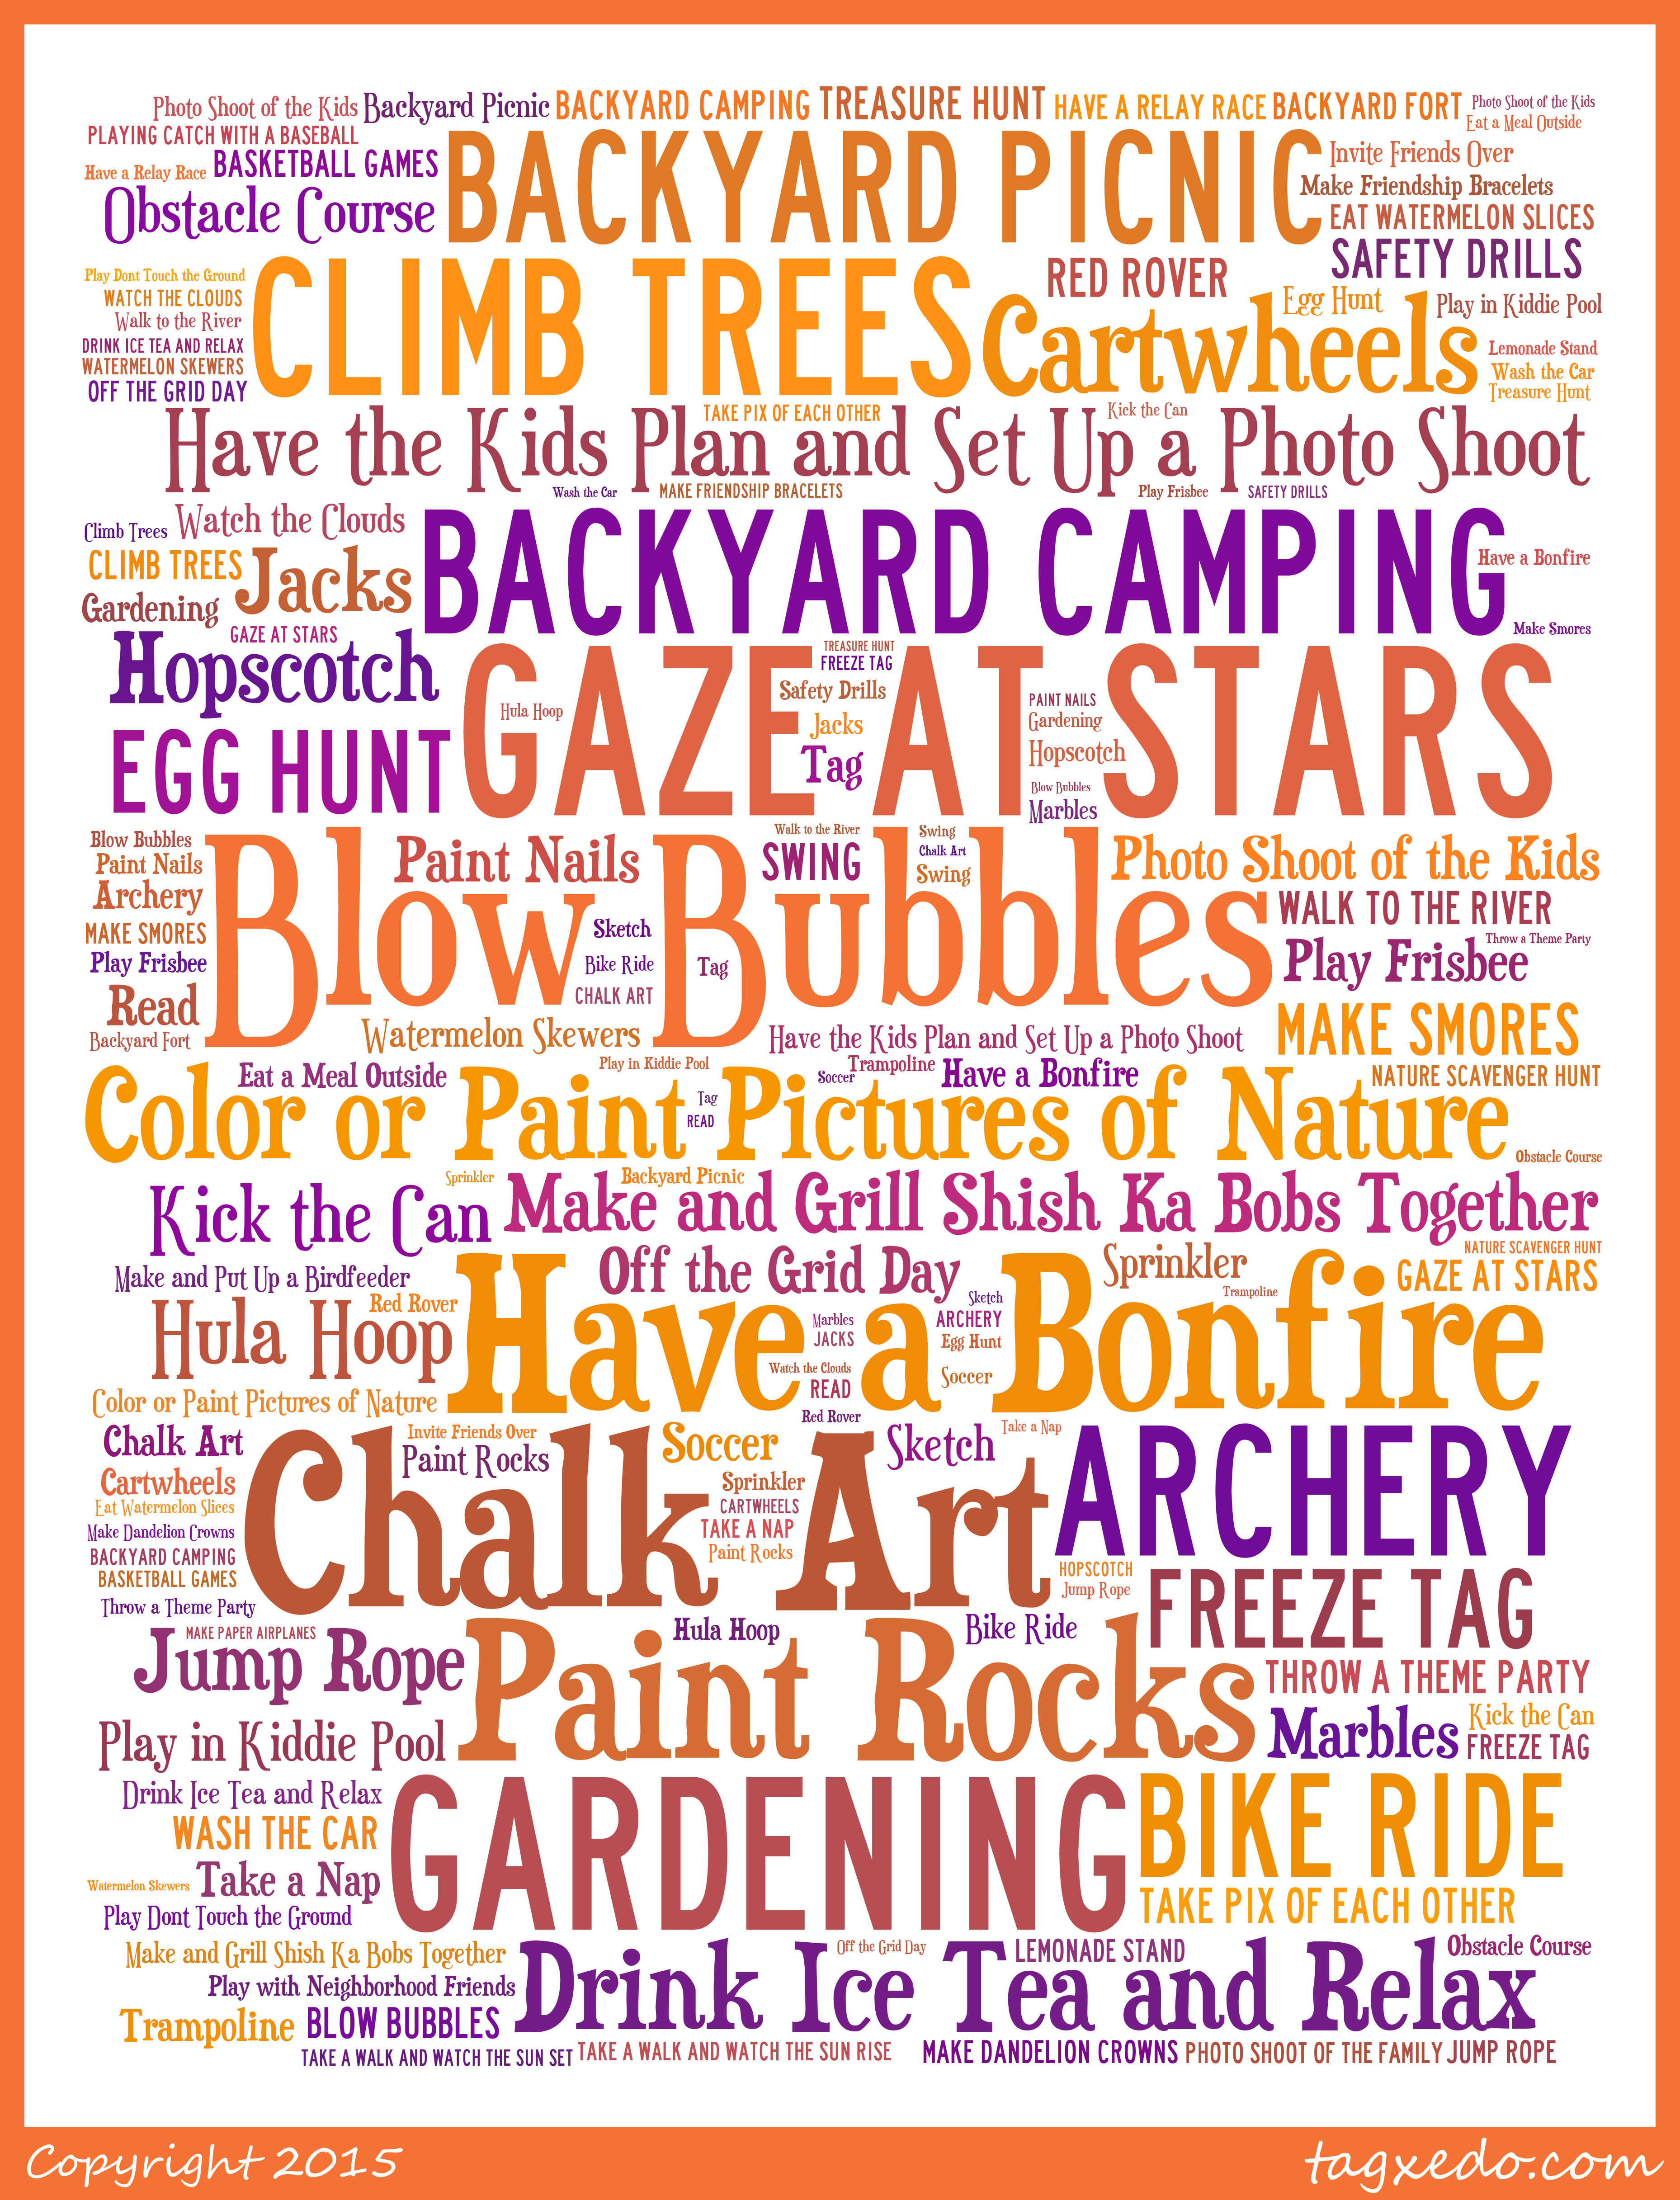
What a title! This is the first in a series of fun things to do. I plan on posting many more for all the seasons. I’m dividing these up specifically so that it’s easy to find something fun to do, no matter the circumstances.
For this part in the series, I’m focusing specifically on fun things to do, at home, outside, in summer. I don’t know about you, but some of my best memories of childhood take place outside. I can remember running through the streets with all of the other kids on my block. We were completely unsupervised and free to use our imaginations. I honestly can’t remember my Mom guiding our play.
Unfortunately, in today’s world, it is not safe to let the kids run free and wild outside. Sadly, I’ve heard many stories in the news about parents being investigated by CPS if children are allowed to walk to the park themselves. I know that in today’s world, children are being kidnapped and sold, so a simple walk to the park is a thing of the past. If you’re like me, you want your babies to be safe AND have fun. So this means that the kids might be contained to the yard.
Usually, I let my kids outside to play on the trampoline and all the neighborhood kids will come running over. However, there are days when no friends can come to play. If this is the case, I turn to my handy list of things to do.
Here is a free summer fun printable. I like to keep mine inside a plastic protector sheet inside a binder. I’ve seen a lot of fun ideas about putting the lists on popsicle sticks and the like. Although that idea is neat, for me, it just means a lot of work. Not to mention more clutter and the chance that the kids will lose, break, eat, leave lying around the house, etc.
Here are a few 8.5×11 summer fun printout freebies. I made these with Tagxedo, but you could always make your own with your favorite summer activities.
For more information and ideas for these activities, check out the links below. Over the Summer I’ll be picking randomly from this list, so check back often!
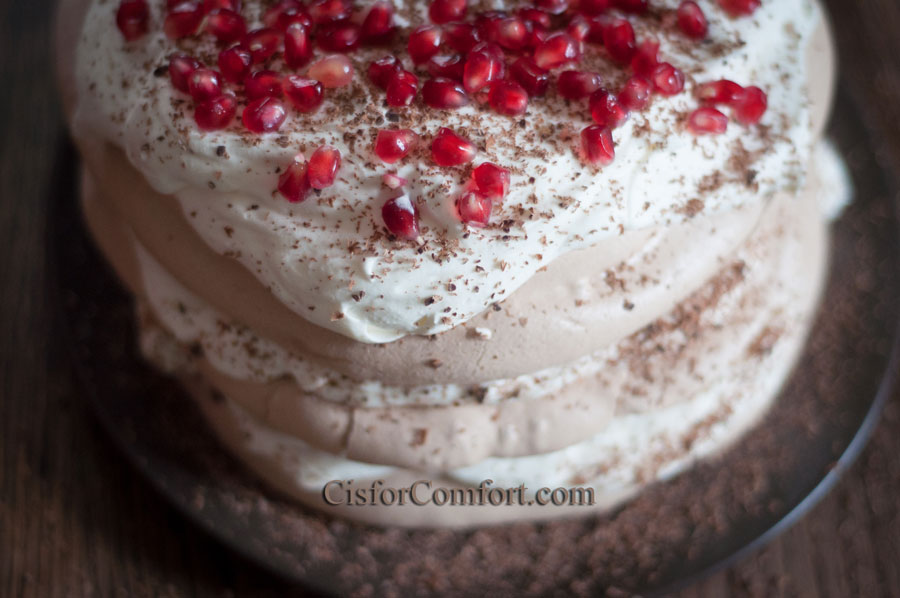
When the weather gets drier, I love to make meringue cookies. I decided to try something new when I discovered Pavlovas. Ohhh my goodness, just looking at one makes my mouth water! Three layers of crispy meringue frosted with fluffy mounds of whipped cream, sprinkled with shaved chocolate and topped with a tangy fruit, this is one desert guaranteed to please. The best part is, it is gluten free, corn free and if you use coconut milk for whipped cream, it can even be dairy free!
When I made this, I thought for sure that we would gobble it up. Although it is not overpoweringly sweet, it is rich and surprisingly filling! The children and I agreed that we should share it with our neighbors. We cut half the cake for them to enjoy, then had the rest for dessert. 😉
Some desserts get stale or lose flavor as they sit out. Surprisingly, this is a treat that only gets better with time. As it sat, the crunchy crust of the meringue softened slightly to become chewy and melted in my mouth that much more. Who knew?!
As a side note, if you want to save the yolks, you can make mayo too!
Chocolate Pomegranate Pavlova
6-8 large egg whites(1 cup) at room temperature
pinch of cream of tartar
2 cups sugar
3 tbsp cocoa powder
1 pint heavy whipping cream
1/4 cup powdered sugar
1 seeded pomegranate
parchment paper
Directions
1.Preheat oven to 300 degrees.
2.In a large glass or metal mixing bowl, whip egg whites and cream of tartar till peaks form.
3.Slowly add 2 cups of sugar and cocoa till blended.
4.Line 2 cookie sheet with parchment paper. Place 3 small plates of about 8 inches on parchment paper and lightly trace with a pencil. Remove plates.
5.Spoon the meringue onto the circles and slowly spread until a nice thick layer is formed. Extra meringue can be spooned into mini cookies on 2nd cookie sheet.
6.Bake for 60-75 minutes. Crack oven and let cool.
7.While waiting, blend heavy whipping cream and powdered sugar till fluffy.
8.Carefully remove one giant meringue cookie from parchment and place on platter.
9.Spoon 1/3 whipped cream onto first meringue cookie and spread evenly to edges.
10.Carefully remove second giant meringue cookie from parchment and place on top.
11.Spoon half remaining whipped cream on top of 2nd cookie.
12.Carefully remove last giant meringue cookie from parchment and place on top.
13.Spoon remaining whipped cream on top and spread evenly.
14.Sprinkle with cocoa powder.
15.Top with a generous helping of pomegranate.