What is a Total Elimination Diet?

A Total Elimination Diet is a strict diet used to determine food allergies.  This is usually the last hope at solving severe health problems after many other solutions have failed. Many people have found relief from ailments that they didn’t even realize were related to their diet.  Most people develop an intimate understanding of their own body, their responses to food, and triggers to their environment.  

In a TOTAL elimination diet, a person removes ALL foods, supplements, beverages,  and body products from their daily routine.  They substitute a strict diet of anti-inflammatory foods for 2 weeks minimum to reach baseline.  Baseline means that zero to minimal health problems remain.  (Someone with more severe damage not related to allergies might need alternative medical care as well.).

After a baseline is reached, foods are reintroduced, one at a time every 4-7 days, over a course of weeks or months, depending on the severity of the allergies.  The introduction of foods begins with the foods most likely to cause problems, usually the top allergens list and the foods most likely to cause inflammation in the body.  

During the entire diet, a journal is kept detailing day, time, location, foods, physical ailments or relief, and mental ailments or relief.  If the elimination diet is being done for a breastfeeding child, then a journal should be kept for both mother and child.  

Usually, one or more foods reveal themselves as the diet progresses.  Avoiding these triggers is usually the best way to have relief from health ailments.  This would be the first step to a healthier lifestyle for those with allergies.  Afterward, learning about holistic health and nutrition will aid you in having a long-lasting, comfortable life.  

Notes

  • A TED is NOT a starvation diet.  You MUST eat non-inflammatory foods for this to be successful.  Simply eating nothing is not conducive to healing.  
  • Baseline might not be able to be reached if you are on medication for any health ailments.  The majority of all medication is full of corn-based products and inflammatory chemicals.  Someone who is allergic to corn will continue to react.  Many people with corn allergies have their medications compounded with non-corn derivative fillers.  Pharmacies and allopathic MD’s are not aware of the names of corn derivatives and will state that there is no corn.  See this list for an idea of how corn is found in medical supplies.
  • If a food has failed a trial, it’s best to not introduce another food until you have recovered from the fail. This can take 2 to 4 days.
  • Almost every probiotic on the market has corn in it.  Many probiotics are grown on corn.  Only Gut Pro is corn-free.  Generally, it is best to discontinue probiotics on a TED because some people cannot tolerate them, allergy-free or not.  I personally prefer food-based probiotics over pill-based anyway.
  • Fruits and vegetables at the normal grocery store are sprayed and waxed with corny chemicals.  If you are allergic to corn, you might continue to react.  The best fruits and vegetables are the ones grown at home.  The second best is the farmers market or from local known safe farmers.  Third best is a local food co-op or health food store.  Typical grocery stores are generally not safe and have very few safe foods.  
  • Organic does not guarantee your food is allergy friendly.  Many foods that are organic can still be waxed or sprayed with corny products.  
  • Just because one person does well with a food on a TED, doesn’t mean you or your child will.  No food is considered “safe” until the baseline is reached.  If you haven’t reached baseline and you are SURE your food isn’t contaminated with corn, try mixing something up on a suspect food.  For example, if you think your sweet potato is the culprit, cut it out for 4 days to see if there is any change.  
  • It can be dangerous or ineffective to attempt a TED alone without sufficient education.  Seeking out a nutritionally based chiropractor, a holistic nutritionist, a holistic MD, a naturopath or another nutrition-based health care provider can be beneficial in helping you.  
  • Not all allopathic MD’s or allopathic allergists are fully aware of or are legally allowed to assist in determining the CAUSE of your health ailments. Many of the tests to attempt to determine why you are ill are costly and dangerous and are often ineffective.  Research thoroughly EVERY part of your medical procedures, including risks and side effects.  Research thoroughly EVERYTHING that might be injected or taken orally.  This goes with ALL medical care, including holistic approaches.  
  • Education is the best tool to come to your aid.  The more you know about what you put in your body and how it affects your body, the better armed you will be.  You are your own best ally.  You are the one who has to live with the choices you make.  You are the one who will either face the fallout or the benefit of your decisions.  Every other person involved is simply another tool to aid you.  They don’t have to live in your body for the rest of your life, you do. 
  • It’s ok to say no to something that isn’t working. No matter how much time or money you’ve invested into a certain approach to your health, it’s ok to let it go if it isn’t helping aid you in your goal of better health.    

I hope this has helped you understand what a Total Elimination Diet is and how it can help you become more aware of your body and take charge of your health.  I pray that you and your family find answers to what is ailing you so that you can not just survive, but thrive.  

Have you tried a TED? What was your favorite foods that worked for you? What foods did you say “I never want to eat this again when it’s over!”

Are you on a TED right now? How’s it going?

***Disclaimer*** This is not medical advice. These are my own personal experiences from my own TED that are shared for awareness. Please consult your own medical practitioner before beginning a TED.

Roasted Dandelion Root Tea Recipes

Roasted Dandelion Root Tea Recipes

I used to hate coffee.  It smelled amazing but tasted awful.  The bitterness made me grimace and I couldn’t fathom why people actually drank it.

Enter the Caribou Caramel Cooler.  My Mom drank them often and despite my aversion to coffee, I fell in love with it.  Granted, all of the caramel, whipped cream and sugar probably helped a bit.

Once I developed corn allergies, I was greatly disappointed that I could no longer drink Caribou.  Determined to still have a bit of my former life, I made my own at home.  Although the ones I made were delicious and also healthier than the ones from caribou, I was still having health problems.

In addition to the homemade coolers, I had also experimented with making lattes for those cold winter days we get up here in Minnesota.  If I ever got too busy and my latte cooled, I would add a few ice cubes for an iced coffee.

After reading about the health benefits of dandelions, specifically, dandelion roots, I decided to give roasted dandelion root a try.  I had no idea what to expect.  I was drinking the roasted root of something I’d been taught my whole life was a weed.  With my first sip, I grimaced.  Yuck!

It was very bitter!  How was I going to finish off this cup?  I loaded it with honey, my usual go-to for tea.  It made it only slightly more palatable.

I continued to drink coffee every day.  I decided to try the organic coffee and I noticed immediately the increase of my health problems  I determined that coffee was the culprit behind my eczema flare-ups on my hand, the panic attacks and a general feeling of malaise.  I decided to kick the habit. I quit cold turkey.

I’m not going to lie, the first day was brutal.  I was desperate.  I wanted coffee and I wanted it now!  Who cares about eczema when coffee was so delicious!  Realizing I sounded like an addict, I was even more determined to give it up.  Standing at the cupboard, staring longingly at my coffee, I bypassed it for my basket of tea.  That’s when I spotted the roasted dandelion root.  A lightbulb went off over my head!

Dandelion root tea was bitter, just like coffee! Surely I could treat my tea like coffee and make a latte!  I did just that.  It wasn’t quite as strong as regular coffee but it was a great substitute!

I began drinking it every day and I no longer felt desperate for coffee.  The eczema on my hand went away.  My panic attacks became less frequent.  I didn’t feel as tired.  I felt better!

I experimented with different ways to make dandelion root into different versions of fun coffee-like beverages.  My favorite is the mock Caribou Cooler.

Are you trying to kick the coffee habit?   Have you tried using Roasted Dandelion Root as an alternative?

Dandelion Latte

  • 1 tea bag (this is what I use!)
  • mug
  • boiling water
  •  1 TBSP organic heavy whipping cream
  •  1 TBSP pure maple syrup

Loop tea bag around mug handle.  Fill cup 3/4 full with boiling water. Let steep for 10-15 minutes. Remove tea bag and squeeze out remaining liquid.  Stir in cream and maple syrup.  Enjoy!

Iced Dandelion Latte

  • 1 tea bag
  • mug
  • boiling water
  •  1 TBSP organic heavy whipping cream
  •  1 TBSP pure maple syrup
  • 3-4 ice cubes

Loop tea bag around mug handle.  Fill cup 3/4 full with boiling water. Let steep for 10-15 minutes. Allow tea to cool.  Remove tea bag and squeeze out the remaining liquid.  Stir in cream and maple syrup.  Add a few ice cubes.  Enjoy!

Iced Cubed Dandelion Latte

  • 1 tea bag
  • mug
  • boiling water
  •  1 TBSP organic heavy whipping cream
  •  2 TBSP pure maple syrup
  • 1/2 cup coconut milk

Loop tea bag around mug handle.  Fill cup 3/4 full with boiling water. Let steep for 10-15 minutes. Allow tea to cool.  Remove tea bag and squeeze out the remaining liquid.  Stir in cream and maple syrup.  Pour into ice cube tray and allow to freeze completely.  Add ice cubes to the brim of a glass.  Pour coconut milk over the ice cubes.  Enjoy!

Blended Dandelion Latte/Mock Caribou Cooler

Blended Tea
  • 1 tea bag
  • extra large mug
  • boiling water
  •  1 TBSP organic heavy whipping cream
  •  2 TBSP pure maple syrup
  • 4-6 ice cubes
Whipped Cream
  • 1/3 cup organic heavy whipping cream
  • 1/2 tbsp maple syrup

Loop tea bag around mug handle.  Fill cup 1/2 full with boiling water. Let steep for 10-15 minutes. Allow tea to cool.  Remove tea bag and squeeze out the remaining liquid.  Pour in blender or ninja single serve cup.  Add in cream, maple syrup, and ice.  Blend until smooth.  Pour into mug.

Put whipped cream ingredients in the blender.  Blend until just whipped.  Do not over whip or you’ll have butter. Spoon whipping cream onto the tea.  Enjoy!

I hope you love these recipes as much as I do!  You’ll have to let me know if you give them a try!


[enjoyinstagram_mb]

Simple Gluten Free, Egg Free Brownie Cupcakes

Simple Gluten Free, Egg Free Brownie Cupcakes

I have been craving brownies for quite awhile.  I haven’t had a brownie in…. at least five years?  I honestly can’t remember, it might be longer.

I have looked up recipes for gluten-free brownies numerous times, but they usually contain eggs.  Searching for an uncomplicated gluten free, corn free, egg free brownie recipe can be a little frustrating.  Usually, my desire for brownies wears off as I dig through recipe after recipe with bizarre ingredients.

My goal for gluten free, egg free brownies was that they be simple, fast and contain ingredients I already had on hand (for more easy recipes click here).  I personally prefer a more solid brownie.  Cake like ones are good too, but I wanted something closer to a cookie, crunchy on the outside, soft on the inside.

Cat had also been wanting brownies, and even offered to make them.  I seized the opportunity and dived into a google search.  I looked for vegan recipes since they are more likely to have egg-free brownies.  I found a recipe that seemed to work for us and made a few modifications.  This time we stuck with regular sugar to see how the recipe turned out, but I think we’ll attempt using honey or maple syrup next time.

Although we are not vegan, this recipe can easily be converted to dairy free by using dairy-free substitutes for the butter.  Maybe coconut oil or olive oil?  Maybe I’ll give both a try to see what happens and get back to you!

The brownies turned out as good as I had hoped.  We decided to top them with homemade cream cheese frosting and shredded chocolate flakes.  This might be a new family favorite, we gobbled them all up in a few days!

Gluten Free Brownie Cupcake Recipe

Ingredients
    • 1/2 cup softened butter
    • 3/4 cup sugar
    • 2 large flax eggs
    • 1 tsp vanilla extract
    • 1/4 tsp baking soda
    • 1/4 tsp cream of tartar
    • 1/4 tsp sea salt
    • 1/2 cup cocoa powder
    • 3/4 cup gluten-free flour blend
  • Optional Add-Ins: 1/3 cup pumpkin seeds or chocolate chips
Instructions
    1. Preheat oven to 350 degrees.
    1. Grease muffin pan with butter.
    1. Prepare flax eggs in a small bowl and let rest for 5 minutes.
    1. Place butter and sugar in a large mixing bowl and blend until smooth. Stir in the flax egg, vanilla, baking soda, cream of tartar, salt and cocoa powder. Lastly, add the flour, then fold in any mix-ins – chocolate chips or pumpkin seeds.
    1. Scoop batter evenly into muffin tins until 3/4 full and bake on the middle rack for 22-26 minutes, or until the brownies start to pull away from the sides and they spring back slightly to the touch. Be careful not to overcook or they will get crumbly. Remove from oven and let rest in the tin for 5 minutes before removing to cool completely on a plate or cooling rack.
  1. Store in an airtight container to keep fresh for a couple days. Freeze for long-term storage.
Frosting
Ingredients
    • 8 oz cream cheese
    • 1 pint heavy whipping cream
  • 1/3 cup maple syrup
Instructions
    1. Attach a whisk to your mixer.
    1. Add cream cheese to the mixing bowl.
    1. Blend cream cheese till smooth.
    1. Blend in maple syrup and cream.
    1. Whip on high till mixture is smooth, thick, and begins to separate.
    2. Pipe onto cupcakes.
  1. Shave chocolate over the top.


The Best Gluten-Free, Egg-Free Waffles Ever

The Best Gluten-Free, Egg-Free Waffles Ever

If you have celiac disease or you’re gluten intolerant, you might be on the hunt for the perfect waffle recipe.  I might be a bit biased, but these waffles are pretty awesome.  They’re light, crispy on the outside and fluffy on the inside.

I love waffles!  When we were driving from Minnesota to Florida a few years ago, we saw Waffle House restaurants in every town!  We started counting as we went along and there were so many that we eventually lost count and gave up.  It just goes to prove, however, that there are waffle lovers everywhere!

I have got to tell you, in the beginning, I failed miserably at recreating bread products.  My loaves of bread were soggy and dense and would turn hard as a rock.  Yuck.  Thankfully I’ve since worked out my bread issues.

I did, however, make a wonderful waffle!  Right from the beginning, this waffle recipe was easy and delicious.  My waffles turned out fluffy and melt in your mouth good.

Before I took the time to figure out my errors in bread making, I simply made gluten-free, egg-free waffles.  I would make a double or quadruple batch and freeze a bunch so I could grab them for snacks.  I used them for sandwiches, I used them for dessert.  I ate them with hummus.  I had no idea waffles could be so versatile!

Please don’t be overwhelmed to actually try bread, but if you are in a pinch for time or need an easy and quick bread, this gluten-free, egg-free waffle just might be the recipe for you.

Do you love to use waffles for everything?  What’s your favorite way to eat them?  Let me know in the comments!

Recipe

Dry Ingredients

3 1/2 cups gluten-free flour blend
6 TBSP flax
2 TBSP chia seeds (ground or whole)
1/2 tsp pink Himalayan sea salt
1 tsp baking soda
1 tsp cream of tartar

Wet Ingredients

1 cup olive oil
3 1/2 cups coconut milk

Preparation

Add dry ingredients to a large bowl.  Blend thoroughly with a whisk.  Add wet ingredients and whip until well blended.  Preheat waffle iron.  Grease with butter or coconut oil.  Add 1 cup of the recipe to the waffle iron.  Cook on medium-high for 7 minutes.  Serve with favorite toppings!

Breakfast Topping Ideas

100% grass-fed butter or ghee
100% pure maple syrup
berries
jam
homemade whipped cream

Lunch Ideas

Grilled Cheese
Hummus
Portabella Burger
Grilled Veggies
Classic Sandwich
Avocado
With Soup


Making Your Own Dried Basil

Making Your Own Dried Basil

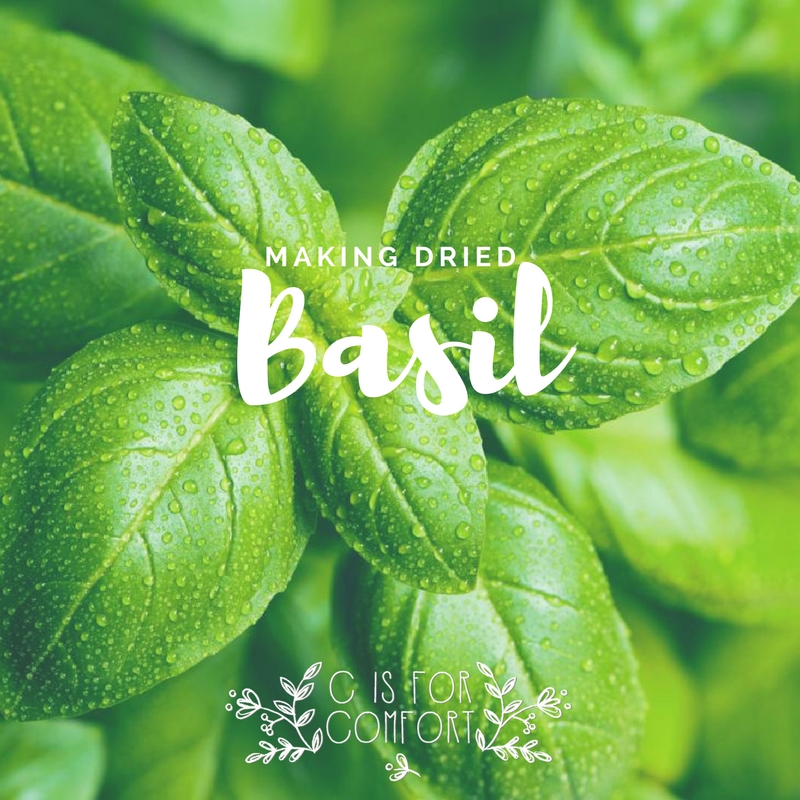
Making dried basil is so incredibly easy, I think my children could do it!  Plus, homemade is always so much cheaper than the store, after the initial purchase, it’s free!

I grew my own basil this year and it did really well!  I’ve tried to grow basil one other time when my neighbor gave me a gift of basil in a pot.  It died within a few months, sadly.  If you know anything from reading my blog, it’s that I don’t give up easily.

When Nate saw a potted basil plant at Walmart earlier this year, he suggested we give it another try.  I immediately jumped on the idea.  We brought our new plant home and it did exceptionally well! In fact, it became enormously bushy.  I have had to prune it back a few times.

I love having potted basil year round.  Pinching off a few leaves for snacking on with tomatoes and cheese is one of my favorite ways to enjoy fresh basil.  I also love to cook with it after it’s been dried.  It’s one of my main herbs that I use.

Here are the steps I use to make my own dehydrated basil.

  1. When your basil gets especially bushy, trim back the stems until it has a nice compact shape.
  2. Put the stems in a strainer and gently rinse them off.
  3. Shake the excess water off of the basil.
  4. Remove the leaves from the stems and place them in the dehydrator.  Use a fine mesh or fruit leather attachment for smaller leaves.
  5. Dehydrate until leaves are dry and crumbly.
  6. Put basil on a plate and crumble into small pieces.
  7. Put dried basil crumbles into a spice jar.
  8. Lable jar.

You can check out how I have dried basil in my videos!

8 Tips to Survive Camping With Severe Allergies

8 Tips to Survive Camping With Severe Allergies

Camping with allergies can be difficult, but it’s not impossible!  Like most things with severe allergies, camping takes a lot of planning and preparing.  Knowing what to do and how to plan is one the hardest parts.  Hopefully, I can help you with that!
 

1. Make a Schedule

I try to make a rough outline of not only each day of my camping trip but also the weeks before it.  This helps me to leave enough time on the schedule to make sure I didn’t forget anything.  With a normal camping trip, if you forget something, you can run to the nearest store.  With severe allergies, that’s not always possible, as most stores do not carry the necessary specialty items.

My schedule is usually outlined in a notebook like this:

  • 4-12 Months Before Camping: Pick and Reserve Date for Camping
  • 10-8 Weeks Before Camping: Research Area-Food and Water Sources, Activities, Medical Care
  • 4-6 Weeks Before Camping: Plan Schedule and Menu, Mail Order Necessary Food, Check Medical Supplies To Order New Or Low Items, Vehicle Maintenance, Set Up Pet Sitter, Mail Grabber and Plant Waterer
  • Week Before Camping: Food Prep, Home Absence Prep, Verify Pet Sitter, Plant Sitter, and Mail Grabber, Pack Non-Food Items, Wash & Pack Clothes, Clean Out Fridge
  • 2nd Day Before Camping: Charge Camera Batteries, Pack Remaining Items, Remaining Food Prep, Check Medical Supplies, Pack Non-Perishable Food
  • Day Before Camping: Fully Charge Phones, Bathe Children, Pack Remaining Non-Perishable Items, Load Vehicle, Water Plants, Leave Money and Thank You Note for House Sitter/Plant Waterer/Pet Sitter
  • Camping, Day 1: Shower, Quick Breakfast, Add Perishables to Cooler, Pack Remaining Items, Load Remaining Items, Double Check House, Double Check Medical Supplies, Drive To Camping Spot, Eat Easy Snacks or Packed Lunch on the Way, Set Up Tent, Scope Area, Dinner, Campfire, Bed
  • Camping, Day 2: Breakfast, Activity, Lunch, Activity, Dinner, Campfire, Bed
  • Camping, Day 3: Breakfast, Activity, Lunch, Activity, Dinner, Campfire, Bed
  • Camping, Day 4: Breakfast, Activity, Smorgasborg Lunch, Activity, Smorgasborg Dinner, Use Up Remaining Wood in Campfire, Bed
  • Camping, Day 5: Breakfast, Shower, Pack, Load, Lunch On The Road, Drive Home, Dinner

2. Make A Menu

Menu planning is probably the most important activity.  Finding safe food locations around home usually takes a few months to years with a lot of food trials.  Camping is not a great time to trial food, as you don’t want to be sick while camping.  It is the most time-consuming task of your camping prep, but it’s worth the work.  At least, that’s what I tell my self when I’m up to my elbows in massive food prep operations.

It’s usually the food concerns that give me the most camping related anxiety and stress.  It’s expensive, it’s time-consuming, it’s stressful.  I usually freak out during my week countdown to camping.  Since most of my food is prepared from scratch, it must be made directly before camping to prevent spoilage.  Once we are on the road, I finally relax and breathe a sigh of relief.  Everything is prepped, now it’s time to relax!

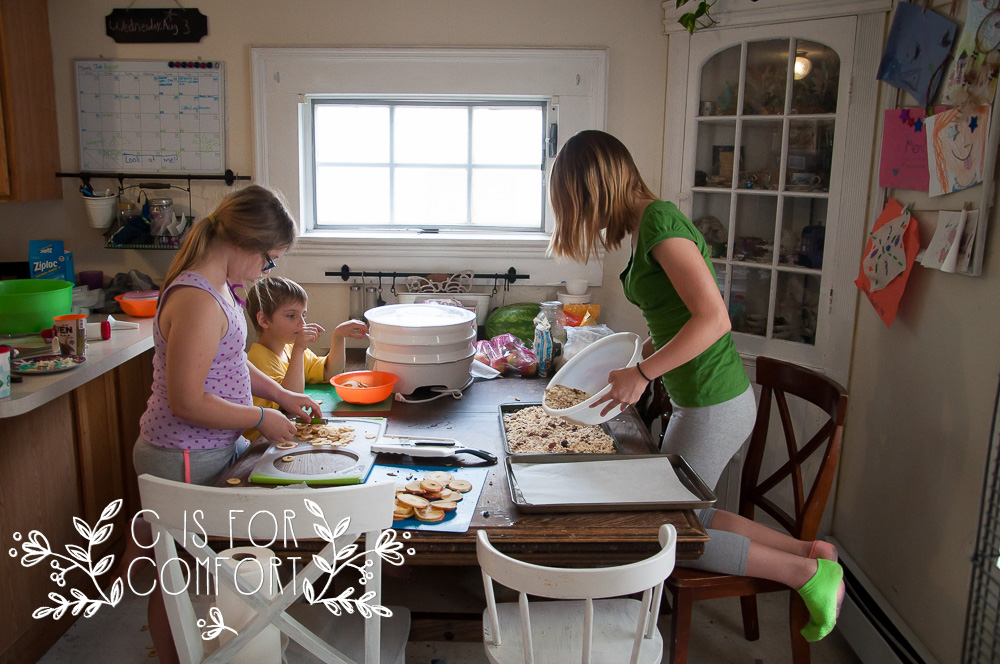
I try to make food prep fun by involving the kids so that they can learn some useful skills, and also lend poor old Mom a hand.  Some of their foods are not safe for me to eat, but they are safe enough for me to be around.  I usually make two batches of whatever food is safe for me vs safe for them, because my safe food can be more expensive.

I usually go a little overboard in making sure I have enough safe food for the entire trip.  Most of my safe food is what would be considered snacks.  That is kind of my normal routine though.  I generally don’t eat breakfast or lunch unless it’s a special occasion.  I’m not a big meal person.  I provide food for my entire family for these meals since they seem to enjoy them.

Dinner is the one meal I always put a lot of work and effort into.  We all sit down together and enjoy a meal.  It’s one of my favorite parts of the day.  Camping is a reflection of what we do at home.  We eat snack-like things throughout the entire day, but I still schedule breakfast and lunch so I can make sure my kids are fed.  Dinner is our time to relax and hang out around the campfire after an adventurous day.

3.Inventory Stock

It’s always a good idea to have an inventory of your food supplies.  Planning ahead and being prepared is one of the best ways to avoid exposing yourself to dangerous foods.  If you run out of safe food, you’re more likely eat whatever is nearest to you, regardless of its safety.  Or, if you have self-control, you might have only limited foods to eat and end up going hungry till your next shipment comes in.

If you don’t regularly keep inventory, then at least make a menu for the week prior to camping and the period of time you’ll be gone.  Make a complete list of every item you’ll need and start ordering at least a couple of weeks before you have to go.

Waiting until the last minute is not a good idea.  Items can take longer to ship, get held up for any reason, or get lost.  If you give yourself a reasonable amount of time for error, then you’ll be well prepared ahead of time.  Unlike non-allergy people, those with severe allergies cannot get food on the go or at the location.  If your order doesn’t show up, this means your trip might be delayed or even canceled.

Also, don’t forget to plan for the meals you’ll be eating when you get home!  If you use up all of your safe supplies for camping, you might be out of food when you arrive back home.  This is where keeping a regular inventory and planning ahead come in handy.

4.Double Check Medical Supplies

Double or even triple check your medical supplies.  Make sure you have what you regularly use and a backup.  Make sure you have emergency paperwork printed out.  I keep mine in my purse all the time, but sometimes it’s good to have a backup in your camping supplies, should your purse or bag get stolen.

It’s always a good idea to have any prescriptions regularly up to date.  You can keep a printed prescription refill in your supplies in case of an emergency.  I had an emergency incident where I was having an asthma attack and I went to refill my inhaler prescription at a pharmacy.  My prescription had just expired and the pharmacy couldn’t get hold of my doctor and refused to give me an inhaler without it.  I had a full asthma attack and started turning blue.  Thankfully, my Dad arrived and had someone call an ambulance.  It’s always good to have backups and backups for your backups!  If my parents hadn’t been able to rush to me with an emergency inhaler, I might have died in front of an audience, sitting right next to the pharmacy.

I always keep my inhaler, epi-pen, and medical emergency paperwork in my purse now.  I never go anywhere without my purse.  This has saved my life on more occasions than I can count.
See what’s in my bag.

If you compose a medical folder, you can include these things:

  • Local Map with Medical Locations Highlighted
  • ER Paperwork
  • Medical History
  • Back up Prescriptions

5.Find Local Emergency Health Services

No matter how much planning is done, there is always the risk of having a medical emergency.  It’s best to have a general idea of where the nearest emergency room, pharmacy, or local medical services are.

Either print out the information of the location or save the info under the contacts on your phone.   You could do both if you’re assembling a medical folder to bring with.

You can download google maps, of the area you’ll be in, ahead of time if you’ll be in an area where there is little to no service.

6. Find Local Safe Food as Backup

Every place I’ve camped, I’ve researched local health food stores or farmers markets available ahead of time.  Should I run out of food, lose food to wildlife or have an unforeseen accident, I want to be sure I have a backup so I don’t have to go home early.

This year, there was a farmers market in Ely that we visited.  We were able to get some organic, spray free carrots for Princess and me to snack on and some fermented veggies and kombucha for the family.  I also found a guy who was selling pure, maple syrup with no defoamer added.

Last year, there was a health food store in Grand Marais that carried a few of the foods I can safely eat.  I was able to pick up a couple things to supplement my normal food.
7.Learn About Local Foods to Forage

This is kind of a lifetime thing to learn.  Foraging for foods should now be on your new “normal” list of things to do.  If you’re new to this, it might sound strange.
“You mean, you can find food outside?  On the ground?  In the woods?”

The answer is yes!  People have been doing this since the beginning of time! Foraging has only recently become less common due to the convenience of packaged foods.  We have become disconnected from our food source, the Earth!  Food doesn’t originate in the store, as though it popped up overnight in perfectly arranged and identical boxes and bags.  It grew outside, from the ground.  It’s time to skip the middleman.

Now, you do need to be educated about foraging.  Get a few books, watch a couple youtube videos, take a class, grow some of your own in your garden, get real hands-on experience.  You can’t just go out into the woods and expect the food to beckon to you.
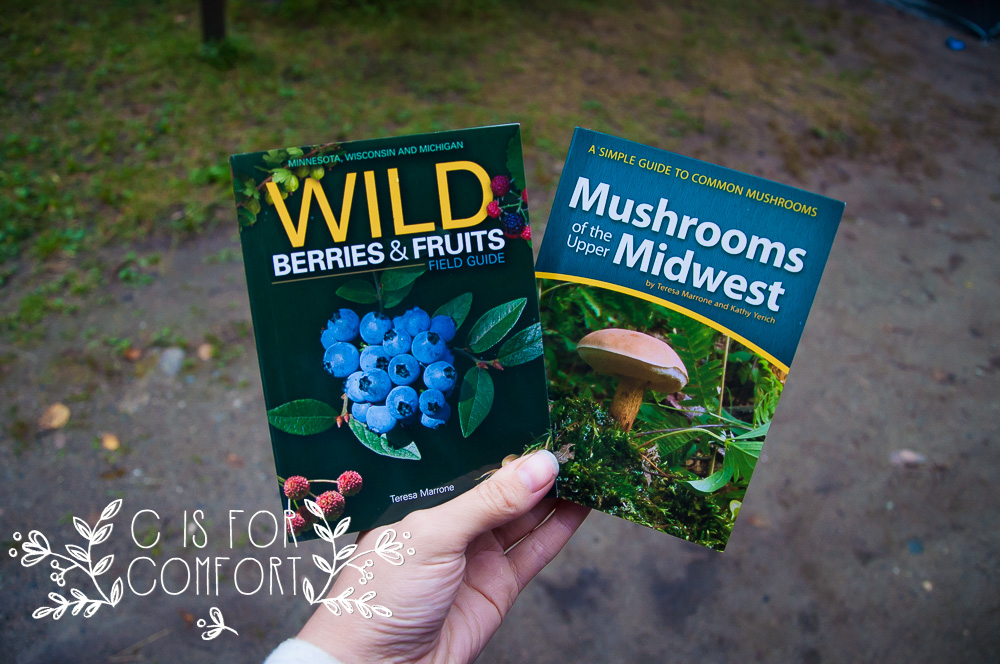
Once you start learning about foraging, you’ll start finding food everywhere you go!  Although, since you’re also battling severe allergies, you need to be in tune with your body to know what is safe and what isn’t for you.  So if asparagus is growing in a ditch next to a cornfield, and you’re allergic to corn, you might want to skip it.  If you’re in the middle of the woods, hours away from civilization and you find some fresh raspberries, then you’re good to go!  As a general rule, even if I 100% believe the food to be safe, it’s always good to be educated about plants that look similar to safe foods but are toxic.  For example, mushrooms and berries have a lot of variation, some safe mushrooms look similar to toxic mushrooms.  If you are not an expert, it’s best to avoid them altogether.  Berries are a little on the safer side, but there are still toxic berries out there.  Many lettuces and leafy plants are safe, but you still want to steer far from poison ivy or poison oak while you’re searching.

8. Look for Local Springs

I love spring water.  Spring water from up north is the cleanest, most delicious water I’ve ever had.  I want to move near it just so I can have fresh, clean, and safe water all the time.

For someone with severe corn or chemical allergies, finding a safe source of water can be difficult.  Bottled water usually has corny additives and is purified and treated with chemicals.  The bottles can be made from plastic made from corn or chemicals that are toxic.  Tap water is full of chemicals used to sterilize germs and bacteria, chemicals to remove discoloration and it even has toxic chemicals like fluoride added to it.  In addition, a lot of things are not filtered out at water treatment plants, things like pesticides, birth control, antidepressants, and other prescription drugs.  Some water tests have even found levels of illegal drugs.  Almost everything I’ve just listed was produced with corn or was directly derived from corn, which is why it is extra toxic to someone with corn allergies.

Spring water is not always completely pure from contaminants, but it’s usually a significantly lesser amount than water found anywhere else.  In addition, there is usually beneficial minerals from the underground natural filtration systems of rocks and sand.  It also has a significantly low PH level which is beneficial for a healthy body.

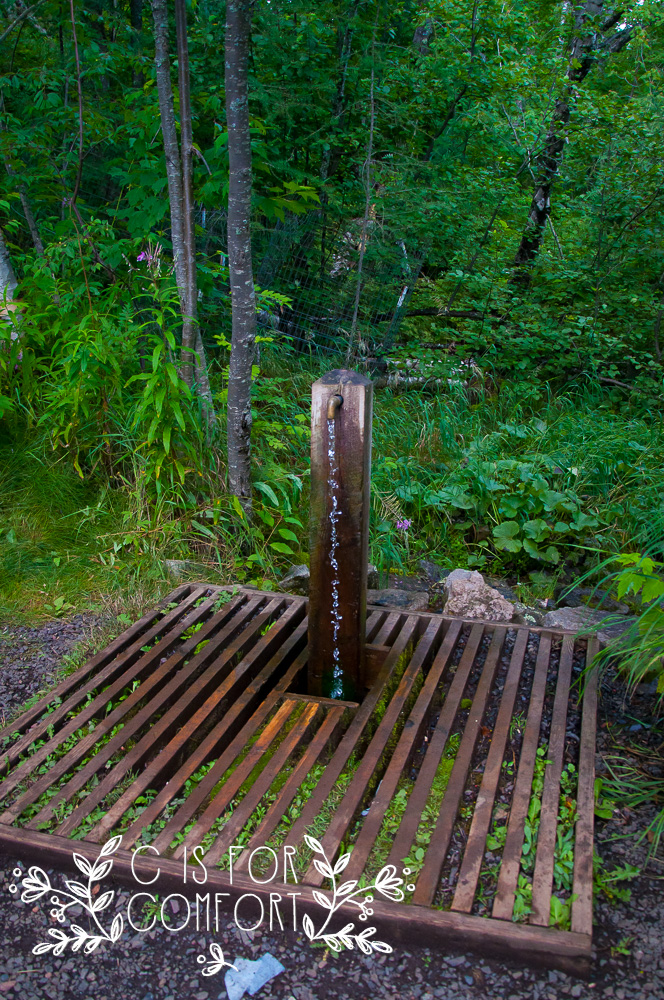
You can look online to see if there is a spring near you at the website Find A Spring  There was an artesian well at one of the State Parks that we stayed at that is not located on the list, so it’s always a good idea to call the office and ask about locals springs or wells in the area.
I hope that by sharing what I do to prepare for vacation helps inspire you to be able to go camping yourself!  Going camping with severe allergies can be difficult, but we need a break from the stress of daily allergy-free lifestyle every once and awhile.  Enjoying the great outdoors with fresh air and sunshine is something I look forward to every year.

Do you have a medical condition that you work around so that you can enjoy camping?  I’d love to hear about it!  Please tell me what you do in the comments.

Dear Mom Of A Child With Hyperactivity…

Dear Mom Of A Child With Hyperactivity…

My son has always been on the go.  He’s always been fast, energetic and too curious for his own good.  Unfortunately, he inherited this from both his father and me.  My brother and I were energetic and curious as children and I know we drove our poor Mom crazy.  I’ve heard stories from Nate’s Mom about when he was little too.  One about taking off to the local park alone as a toddler comes to mind.

There is a difference between a normal energetic child and a child with extreme hyperactivity.  Although Mr. Awesome could run circles around me on a normal healthy day, there are days when he is abnormally “crazy” energetic.  When he was 5 years old, he developed an allergy to food dyes and preservatives.  My little guy cannot tolerate them.  They make him hyperactive to the point where he can’t focus or slow down.  There is no reaching him, he’s gone.

I can remember one time when he had been exposed vividly.  He was running around, making loud incoherent noises and banging into things.  I grabbed him into my arms to try to get him to stop.  He flailed around while I tried calling his name.  As he flopped backward across my lap, with a crazy wild grin on his face, his eyes rolling wildly, joyfully screaming, arms and legs waving about, I remember feeling my heart break for my son.  I will never forget that.

Another time, when he was older, we did something we never usually did.  We were running late to meet family and we stopped at Mcdonald’s.  We don’t normally eat at Mc D’s, but we were out in the middle of nowhere and it was the only place to eat for many miles.  After my son ate his food, he told me, “Mom, I feel like I’m going crazy.”  After that he did.  He went into his usual hyperactive world where we can’t reach him.

To us, watching from the outside.  It looks like he is wildly out of control.  He looks like he’s had a gallon of sugar.  It’s frustrating, especially in public with other people watching and judging.  It’s hard worrying about my son and caring for him, but it’s also hard because I know others simply think I can’t control my son.

Over the years, we’ve found that avoiding food dyes and preservatives is what he needs to be functional.  We know when he sneaks candy from his sisters because he goes wild.  Because of this, we’ve stopped buying things that can cause him to react.  I try to find him treats that are safe as an alternative so he doesn’t feel left out.  Unfortunately, we’ve found he also reacts to perfumes and artificial scents in the air since he has an allergy to corn.   So reactions in crowded places are common.

With my own allergies.  I have the unique perspective of being able to walk in my son’s shoes.  With exposure to corn, I develop anxiety.  If my allergy bucket is really full, or I get a big dose of corn, I get extreme anxiety and hyperactivity.  It’s not fun.  I’ve gotten pretty good at avoiding corn, but every once and awhile I accidentally get exposed.  Last week was one of those times.

Normally, if this happens, I try to minimize the damage as much as I can by drinking bentonite clay water and fasting until the feeling has passed.  I try to stay productive and channel my energy into cleaning.  Sometimes I distract myself by playing games on my phone (1010!, Word Cookies and Sims Freeplay) or watching a movie or listening to soothing music. This time, I used the opportunity to write a letter to myself.

I’ve switched it up a bit so that it applies to any parent with a child with hyperactivity and/or anxiety.  Although boys, girls, men and women struggle with hyperactivity, I’ve written this as I’ve written it to myself about my son.  If you’d like to write a letter to yourself and add your name and your loved one’s name, please feel free to do so.

Dear Mom,
The next time your child is going a million miles an hour, remember this.
For your child, having their mind race is not fun, it’s intense.  It’s hard to focus, hard to be still, and hard to remember what you were doing.  It’s like a video that has been sped up really fast and is dragging you along with it.

You can help him.
Be kind.
Be calm.
Speak slow and clear.
Give him one task at a time.
Be forgiving and help him remember when he forgets.
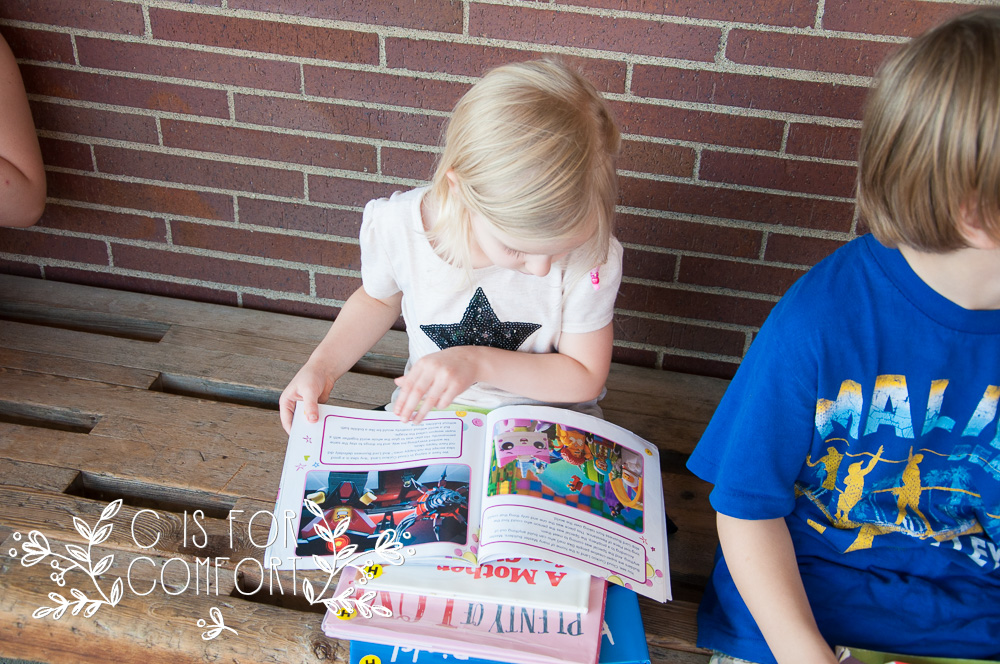
Get down to his level.
Show your love through actions.
Be the rock of stability is his rushing river.
Play slow, soothing music to help calm him and help him focus (The Guild of Ambience or Weightless)
Have a clean, calm environment.
Go outside and and let him run around and soak up vitamin D, it’s good for both of you!
Give him tablet time and take a time out if you need it.
Pray.
Love him.
Breathe.

You can do this!  It’s hard for you, but it’s also hard for him.  Thank you for loving him enough to care to try.

I hope this helps you.  Being a parent is tough, but being a parent to a child with hyperactivity can be extremely challenging.  Sometimes taking a minute out of our day to remember what they’re going through can help when we feel our patience slipping.

What do you do when your child has a hyperactive episode/meltdown?  What are your child’s triggers?


Bear Head Lake State Park

Bear Head Lake State Park

Camping, Day 1

Around 1 pm on Sunday, we drove up to Bear Head Lake State Park in our RV.  The van was packed to the brim, and we were set for a fun week of camping partly because we managed to get the best glamping tents for less.  Never having been to this part of Minnesota, I looked forward to a fun new adventure of exploring. The RV was in its best shape since it had just come from the mechanics and was just installed with the new rearview camera we found on this buying guide.

The final week before camping, I was dreading camping.  Going somewhere new is always scary for me.  Adding in anxiety, severe food allergy prep, packing for a family of six for a week and prepping a home for our absence is a recipe for panic attacks.  At one point, I said that I never wanted to go camping again. I visited www.campingconsole.com to make sure I had everything for enjoying a perfect outdoors.

Also, I was worried about my Grandpa.  I didn’t want to leave him.  My parents insisted I go.  I so rarely get a break and camping is something our family looks forward to every year.  Grandpa’s health has really improved and I’m hoping he might be well enough to take him off of hospice care!

Once on the road, a large weight was lifted.  All of the hard work was done.  This was our third time camping, so I had a bit of experience for what to expect in the setup department.  At this point, I was only mildly apprehensive about exploring someplace new.

The forecast predicted a 40% chance of rain for part of the day on Wednesday.  It started raining as we left our driveway and continued to do so on and off for most of the way up north.  Thankfully, it stopped shortly after we passed Cloquet.

I had this image in my mind of what I expected the area to look like.  Deep woods, occasional small towns filled with romantic charm, stretches of roads with nothing but thick trees.  I was right about the woods and thick trees and long stretches of nothing but wilderness, but I did not expect the size of the towns or the amount of normalcy.

The city of Virginia was about as large as my town.  Along the tops of their hills were many large wind mills for power.  They had all of the same amenities that we have.  If I had been dropped there and not been told where I was prior, I would have guessed I was in a town close to the cities.

As we neared Bear Head State Park, we encountered a large amount of road construction going on.  I’m assuming they are in the process of making a single two-lane, one each way road into two roads with two lanes.  We almost missed our turn because of this.

The stretch of road into the park was beautiful and peaceful.  Tall pines bordered the road with glimpses of lakes along each side.  The cabins and homes along the way had personal name signs and cute mailboxes.  The sign for Bear Head Lake was impressive, with gold lettering and an image of a bear head.

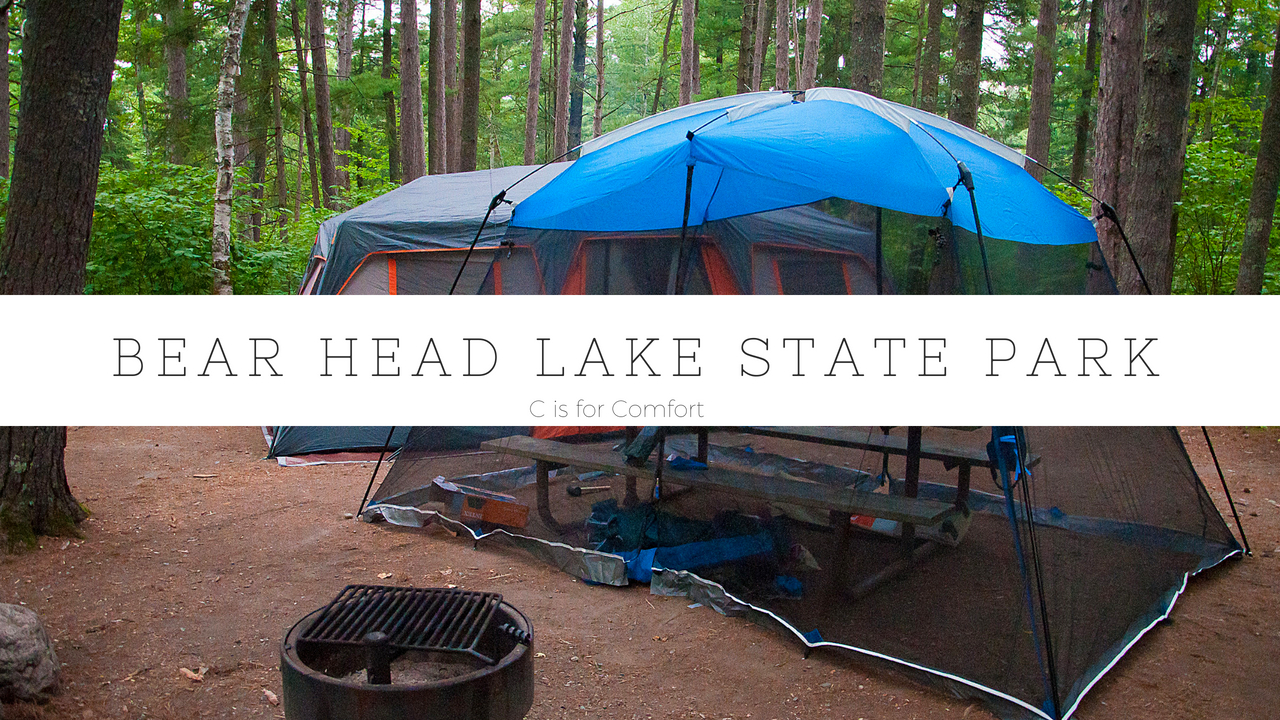
Our campsite was in a grove of tall white pine tree.  It had a nice big space for our tent.  Getting unpacked and setup was quick and efficient.  We were located right across from the bathrooms, which was nice for our little ones.

Nate and I took a short walk to the lake to check it out while Cat watched the kids.  Once we got back, we made our dinner of hamburgers for the three big kids and Nate and gluten-free grilled cheese for Princess and me.

One of my favorite things is to sit around a campfire with my family.  We enjoyed the silence of the woods and relaxing next to a toasty campfire in the cool night air.  I let one of the kids have the camera so they could take a picture of me.  After giving them a smile, they joked about making a silly angry face.  I tried my best, but it looks like I’m blinking.  🙂

That night, it stormed and rained heavily.  Thankfully we stayed dry and warm in our beds.  It was a great first day of camping.

Have you been to Bear Head State Park?  How well do you handle the stress of packing for camping?

Check out our video!

Continue on to day 2 of our camping trip!
https://cisforcomfort.com/locked-keys-van/

Hastings Rivertown Days Parade 2017

Hastings Rivertown Days Parade 2017

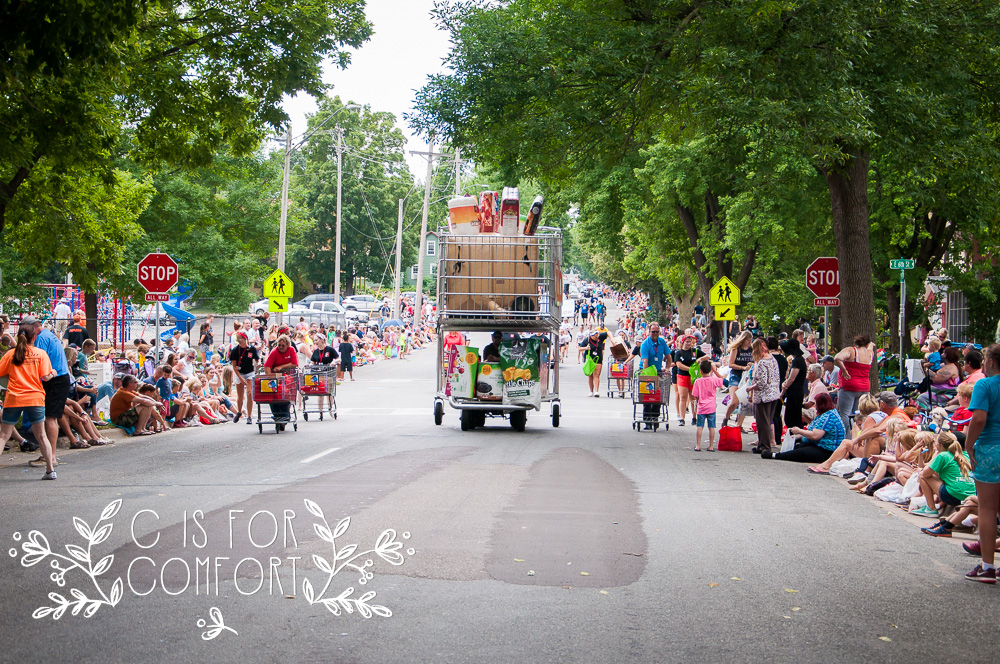
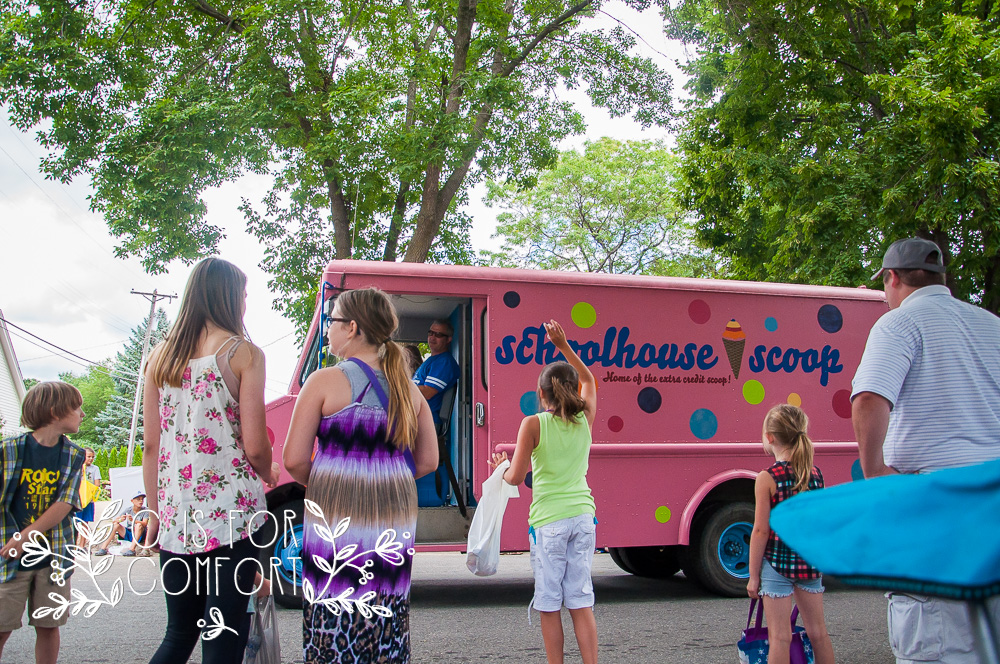
The Hastings Rivertown Days Parade is a big event every year.  It’s fun to see people we know in the community handing goodies out to the kids.  We also enjoy the creative and fun floats, vehicles and walkers.

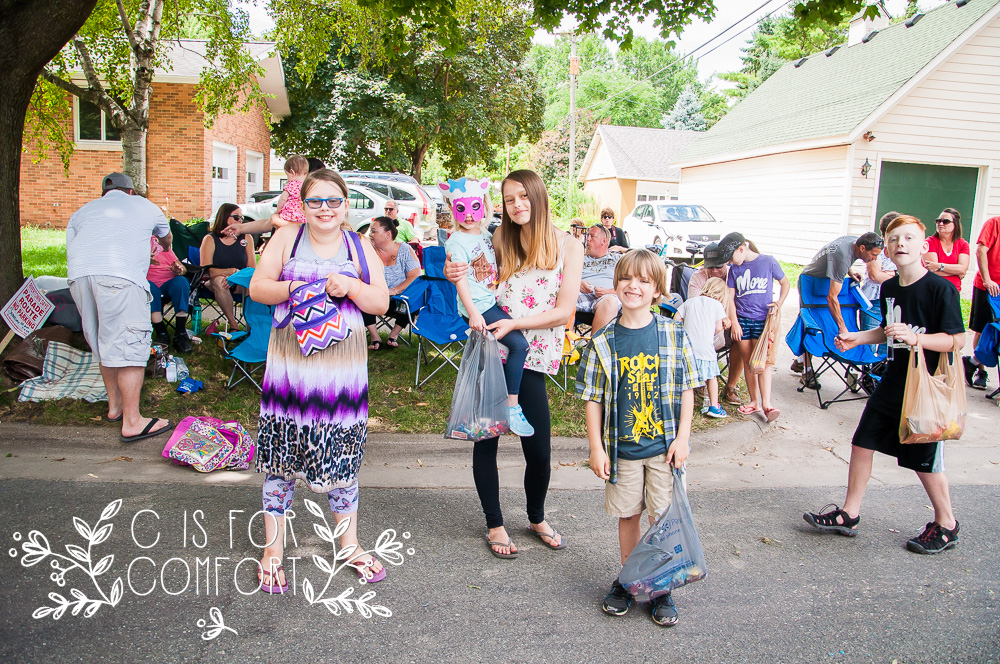
For a severe allergy family, we can’t enjoy the candy, but the kids always have fun collecting it.  The big girls usually gather up all of the candy and divide it among themselves.  I give the little kids safe, homemade “candy” or safe treats that I’ve found online.

This year, we went to the Kingdom Hall early in the morning, then rushed home as fast as we could (while not speeding, safety first!) for the parade.  The kids changed into play clothes and we rushed down to try to find a spot.  As usual, the roads were packed with people.  Every year, people set out chairs, blankets, and towels to reserve their spots.  The curbs, sidewalks, and lawns are always packed with people.

The parade was well under way by the time we got there, but it wasn’t even halfway over.  One year, the parade was over two hours long!  Thankfully, this year it was only about an hour.  Two hours can get kind of long for little ones.

Right away, we found our friend’s Matt and Silvana and their children.  They were kind enough to let us join them.  While the little kids gathered up goodies, we relaxed in the shade of the tree we were under.  Thankfully, this year it was mostly cloudy.  Other years have been hot and sunny.  I always feel bad for the marching band kids in full sleeved jackets.

There were a few new additions to the parade this year.  Sponsors rented a fire truck that had been active in New York during 9/11.  Little Log House Pioneer Village had a huge piece of antique farm equipment.  As usual, there were mobile bands, marching bands, horses, and local businesses.  I really enjoyed the landscaping displays.  It was a beautiful and fun day.

Does your family enjoy going to parades?

Check out our video!

Hastings Rivertown Days 2017

Hastings Rivertown Days 2017
Every year we go to Hastings Rivertown Days.  One of our favorite things to do as a family is to go to The Dime Carnival.  The kids play games to their heart’s content and win tickets to pick out fun prizes.

Every year, it always seems as though it’s on one of the hottest days of summer.  Since the carnival is in a parking lot, the heat is reflected up off the asphalt, making it feel even warmer.  This year was no exception.  Not about to let a little heat ruin our day, we enjoyed the carnival and hid out inside the prize area to cool off when needed.

Princess has always loved picking ducks in the duck pond.  Mr. Awesome loves the jumpy house.  Cupcake loves all the games.  Cat is starting to get to an age where the carnival is too young for her.  She loves helping the younger kids play the most.

After cooling off at home, we went to the library to drop off some books and pick up some more.  As soon as I walked into the library, my eyes started itching.  Cat said “Oh look Mom!  A beautiful dog!”  I turned to see a huge white dog near us walking across the library.  It must have been a therapy dog.  Unfortunately, because of my allergies, I left the building while the kids had fun picking out books with Dad.  Outside I enjoyed photographing the library’s beautiful garden.

We stopped at Walmart for a few necessities and I got a contact case and solution so I could take out my contacts ASAP.  My eyes were burning so much I could barely see.  After I removed them, in the middle of the aisle at Walmart, I felt such relief.  Although I was now blind.  I had to hold Nate’s hand through the rest of our Walmart trip.

My vision is -8.50 for contacts.  I’m not legally blind with my contacts (legally blind is a legal term used to sort out those who can apply for medical benefits.  Anyone who can not see with corrective lenses after a certain point is considered legally blind.  I am very thankful that corrective lenses work for me.  I will never be able to have perfect vision even with them, but it’s still a blessing I am thankful for.).  Without them, I am blind.  I can’t see definition, I can only see basic blurry shapes.  I can see colors, dark and light.

What You See

What I See

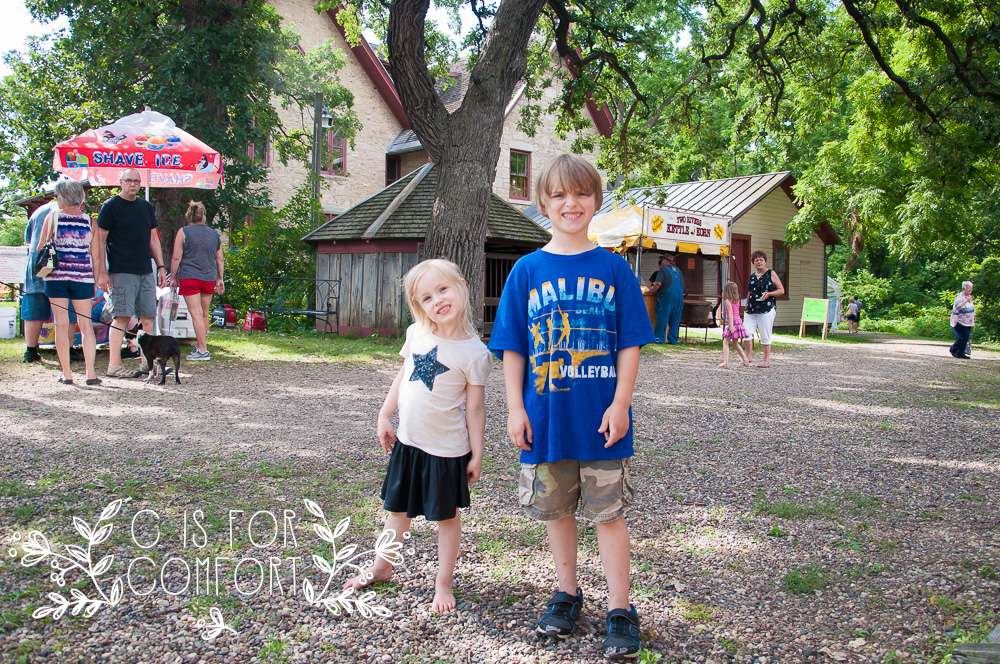
As you can tell from the image above, I can not see very well.   We stopped to get the kids ice cream at our local dairy co op, then checked out the craft fair at the LeDuc mansion across the street.  Since I couldn’t see, Nate took my hand and led me around.  He described what was around us and what was in each booth we passed.

I heard a familiar voice call out to me.  My friend’s Katie and Dusty from our Kingdom Hall were there!  I got a chance to check out an amazing card booth with them.  The cards opened up into intricate pop-up scenes all made of colorful paper.  One was a ship, another a camera, others were scenes of various places around the world.

Although I am blind from a distance, I can see up close.  I mean extremely up close.  Whatever I’m looking at must be a couple of inches from my eye.  What I do see from that close is detailed almost microscopically.  I can see the tiny details that the normal eye can’t see.

With the cards, I could see the fiber of the paper, the tiny cuts and details.  It was like stepping into a new world where fantasy and reality collide.  I intended to go back and purchase some cards after I got my contacts in, but sadly that was the last day.  Perhaps I’ll get the chance to see them again next year.

We purchased some sheets from a vendor and then went home to enjoy pizza and family night.  Thankfully I was able to put in a fresh set of contacts to see.  After that, we walked down to the river to enjoy the Hastings Rivertown Days fireworks.  It was a busy and fun day.

Check out the video of our day!