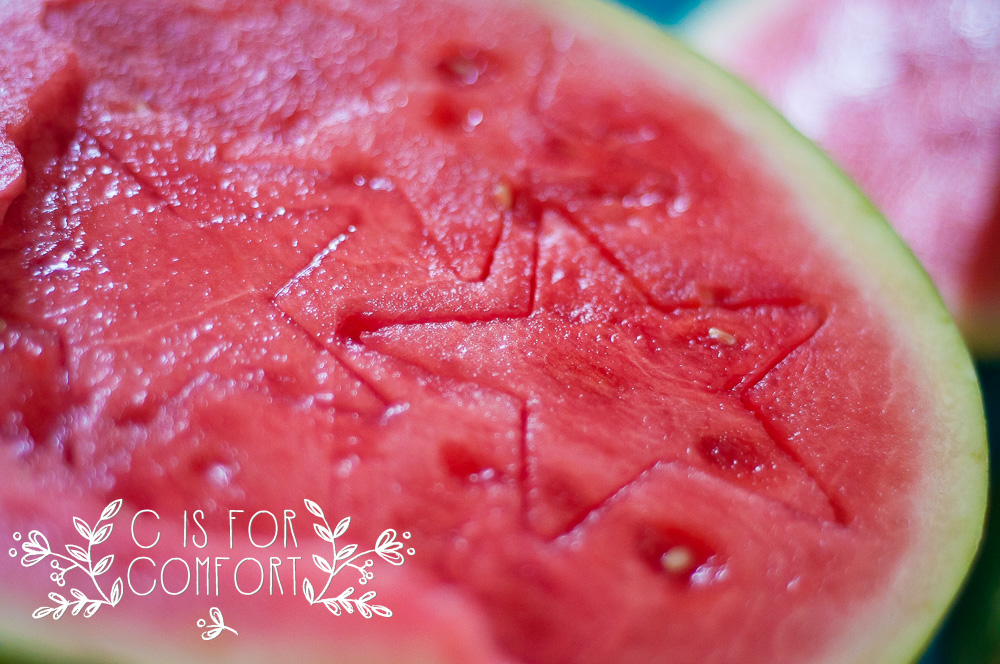
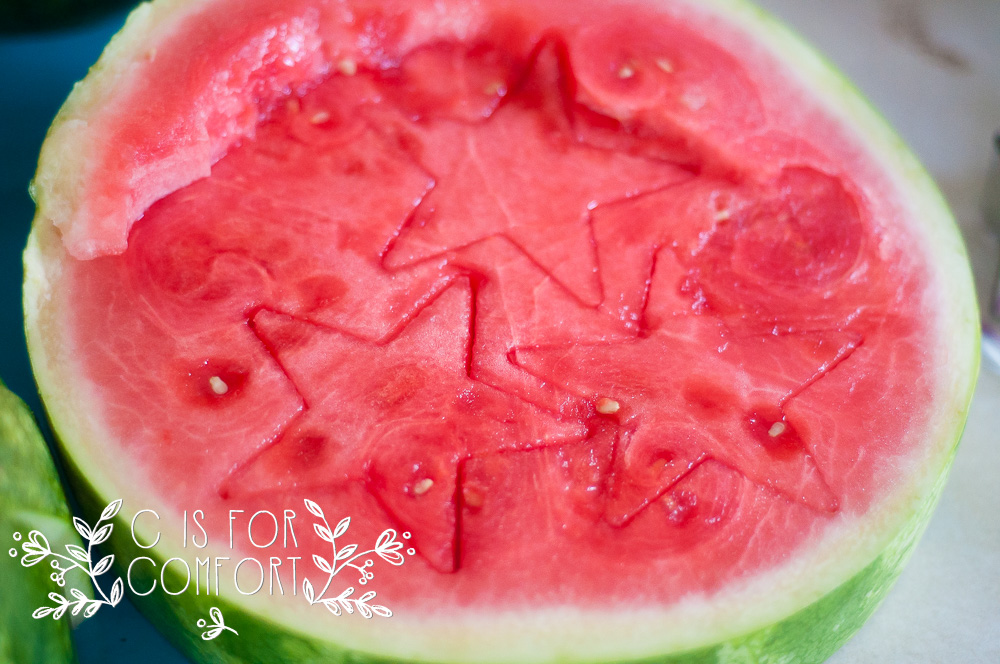
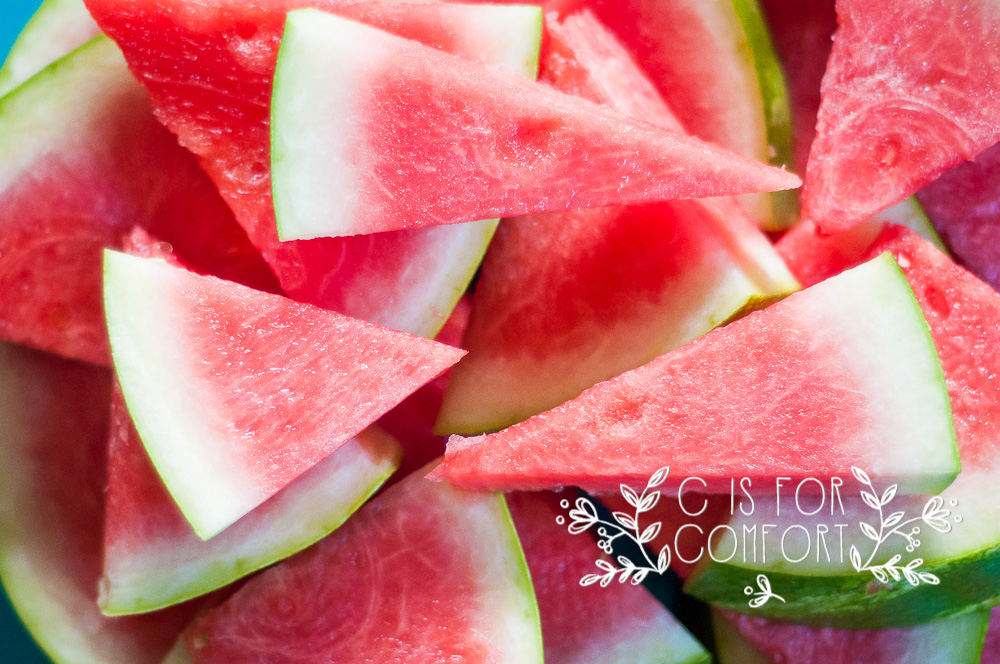
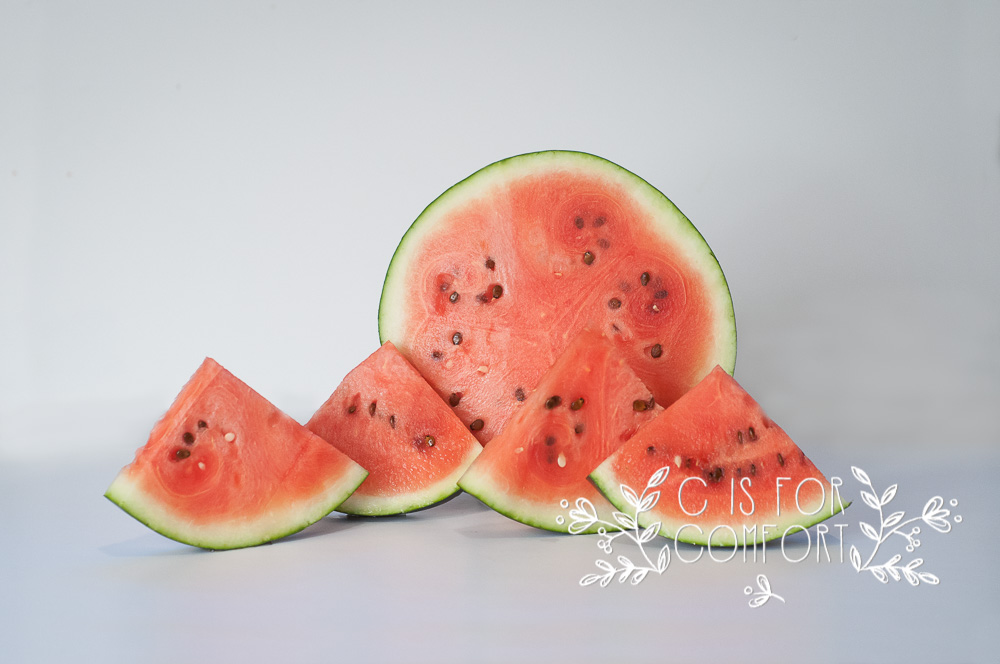
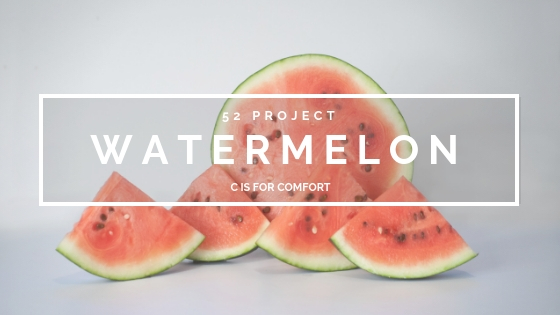
Summer and watermelon go together like pumpkins and autumn. Watermelon is one of my favorite summer treats. The kids usually flock around me when I start to chop one up.
This year, I grew watermelon for the first time. We got a bunch of cute little watermelons that tasted amazing. There really is nothing better than food grown at home.
Watermelon is harder to photograph than I thought it would be. I’ve always struggled to photograph the color red. I’ve attempted to tackle it with roses but even then, they’re not exactly to my liking.
That’s the kind of challenge that I don’t give up on. I actually did this photoshoot 3 times. The first two were not to my liking. My last, I can finally say that I have an image I’m proud of.
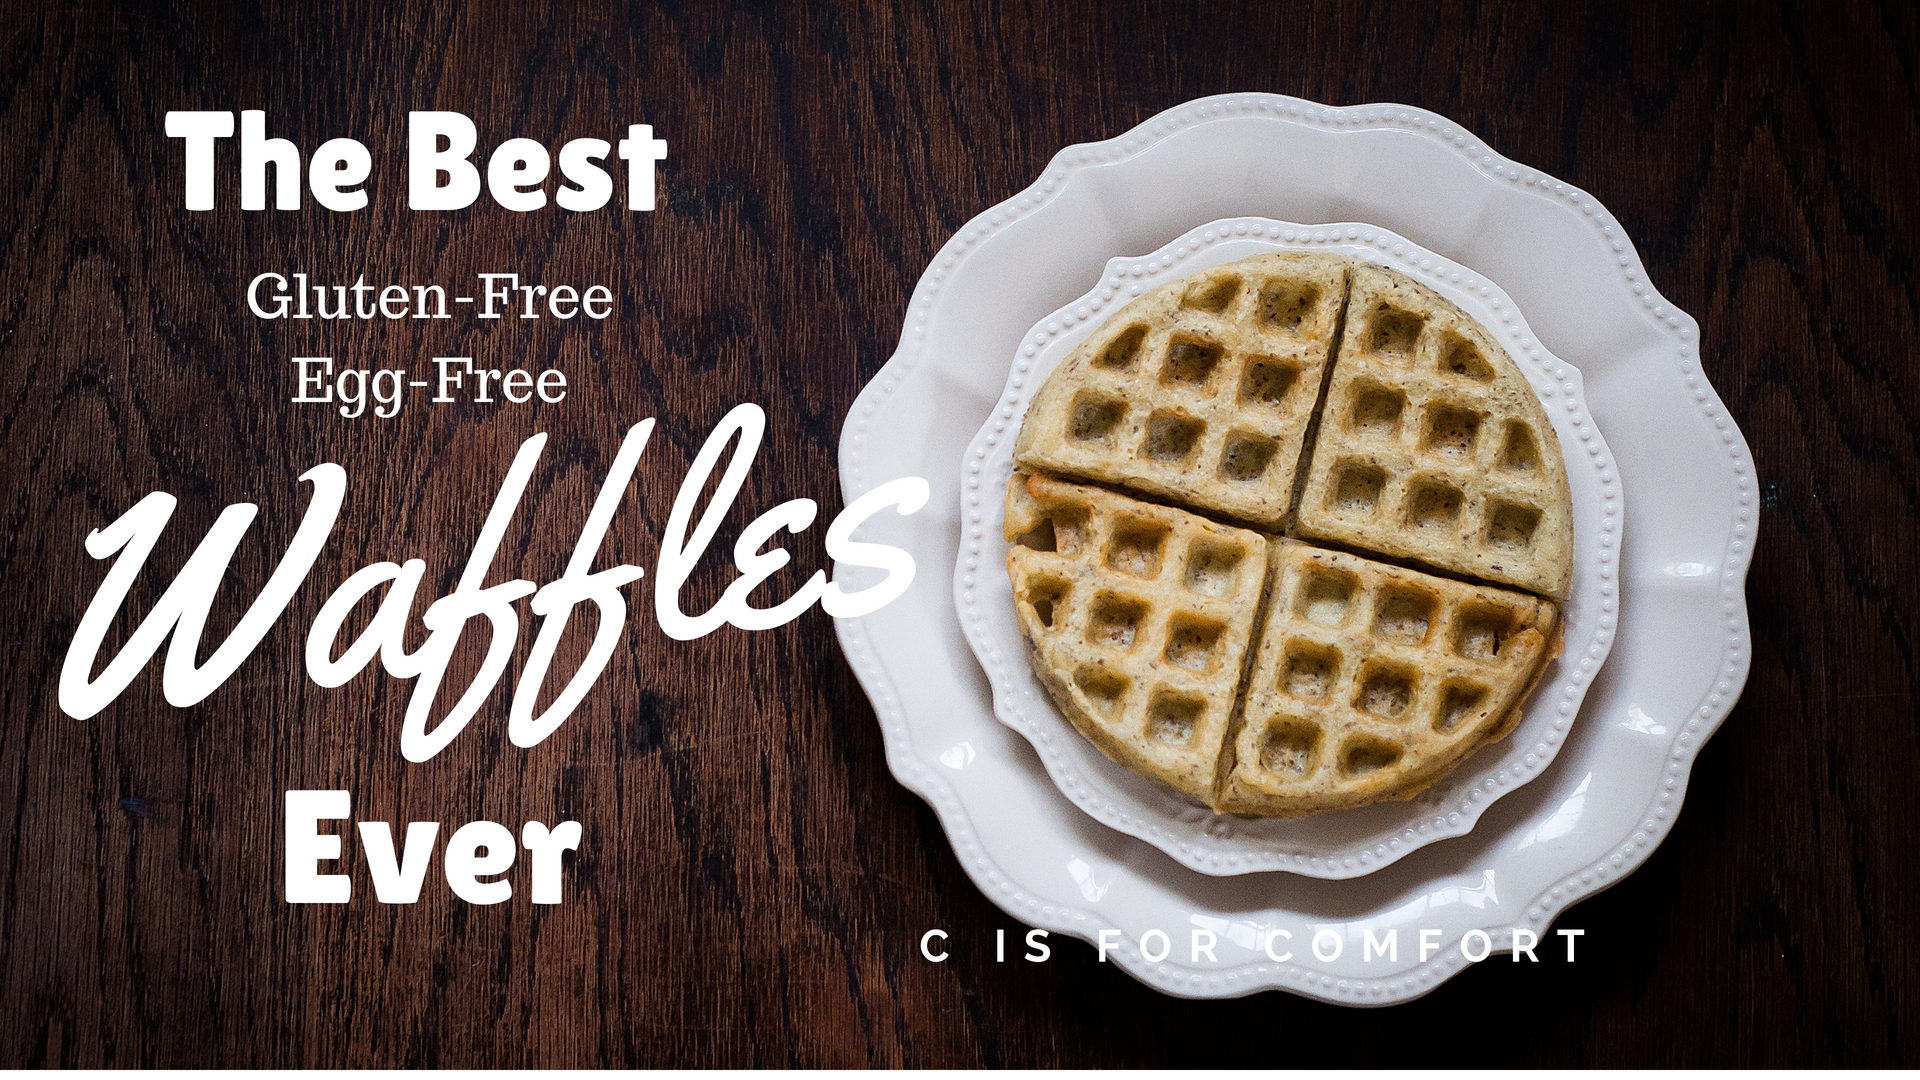
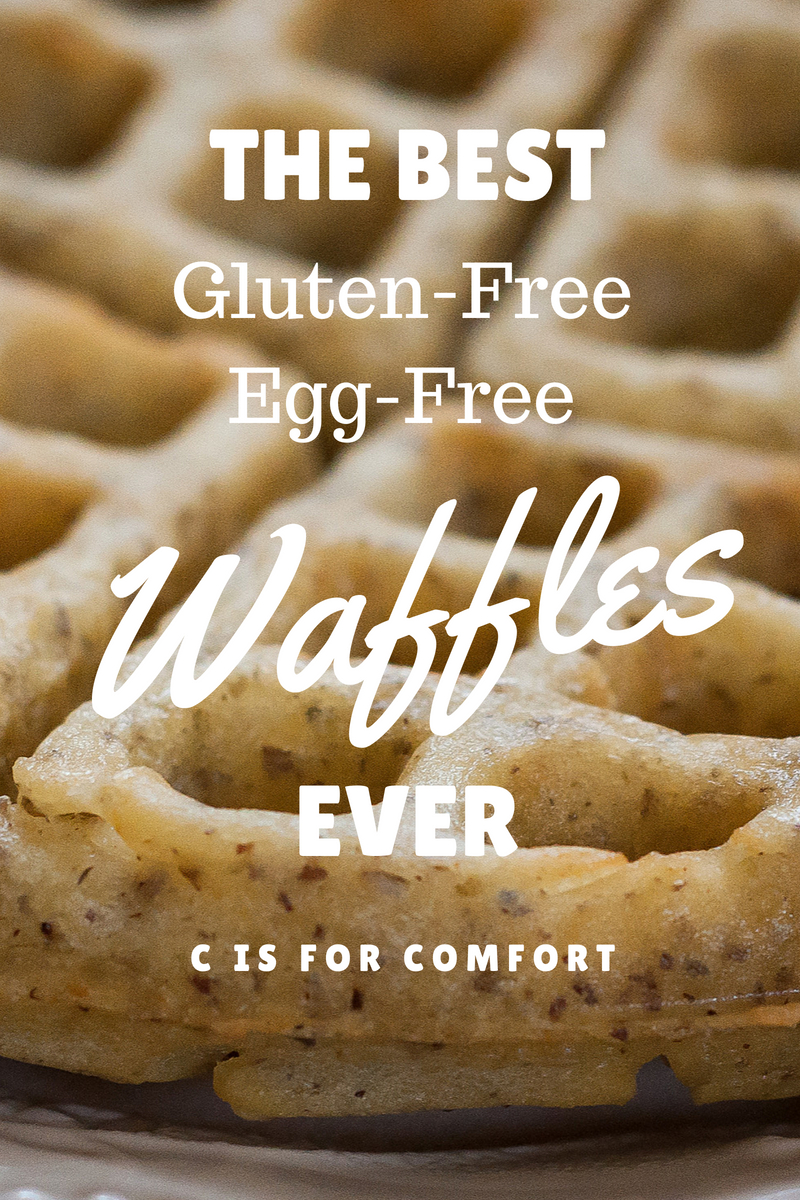
If you have celiac disease or you’re gluten intolerant, you might be on the hunt for the perfect waffle recipe. I might be a bit biased, but these waffles are pretty awesome. They’re light, crispy on the outside and fluffy on the inside.
I love waffles! When we were driving from Minnesota to Florida a few years ago, we saw Waffle House restaurants in every town! We started counting as we went along and there were so many that we eventually lost count and gave up. It just goes to prove, however, that there are waffle lovers everywhere!
I have got to tell you, in the beginning, I failed miserably at recreating bread products. My loaves of bread were soggy and dense and would turn hard as a rock. Yuck. Thankfully I’ve since worked out my bread issues.
I did, however, make a wonderful waffle! Right from the beginning, this waffle recipe was easy and delicious. My waffles turned out fluffy and melt in your mouth good.
Before I took the time to figure out my errors in bread making, I simply made gluten-free, egg-free waffles. I would make a double or quadruple batch and freeze a bunch so I could grab them for snacks. I used them for sandwiches, I used them for dessert. I ate them with hummus. I had no idea waffles could be so versatile!
Please don’t be overwhelmed to actually try bread, but if you are in a pinch for time or need an easy and quick bread, this gluten-free, egg-free waffle just might be the recipe for you.
Do you love to use waffles for everything? What’s your favorite way to eat them? Let me know in the comments!
Recipe
Dry Ingredients
3 1/2 cups gluten-free flour blend
6 TBSP flax
2 TBSP chia seeds (ground or whole)
1/2 tsp pink Himalayan sea salt
1 tsp baking soda
1 tsp cream of tartar
Wet Ingredients
1 cup olive oil
3 1/2 cups coconut milk
Preparation
Add dry ingredients to a large bowl. Blend thoroughly with a whisk. Add wet ingredients and whip until well blended. Preheat waffle iron. Grease with butter or coconut oil. Add 1 cup of the recipe to the waffle iron. Cook on medium-high for 7 minutes. Serve with favorite toppings!
Breakfast Topping Ideas
100% grass-fed butter or ghee
100% pure maple syrup
berries
jam
homemade whipped cream
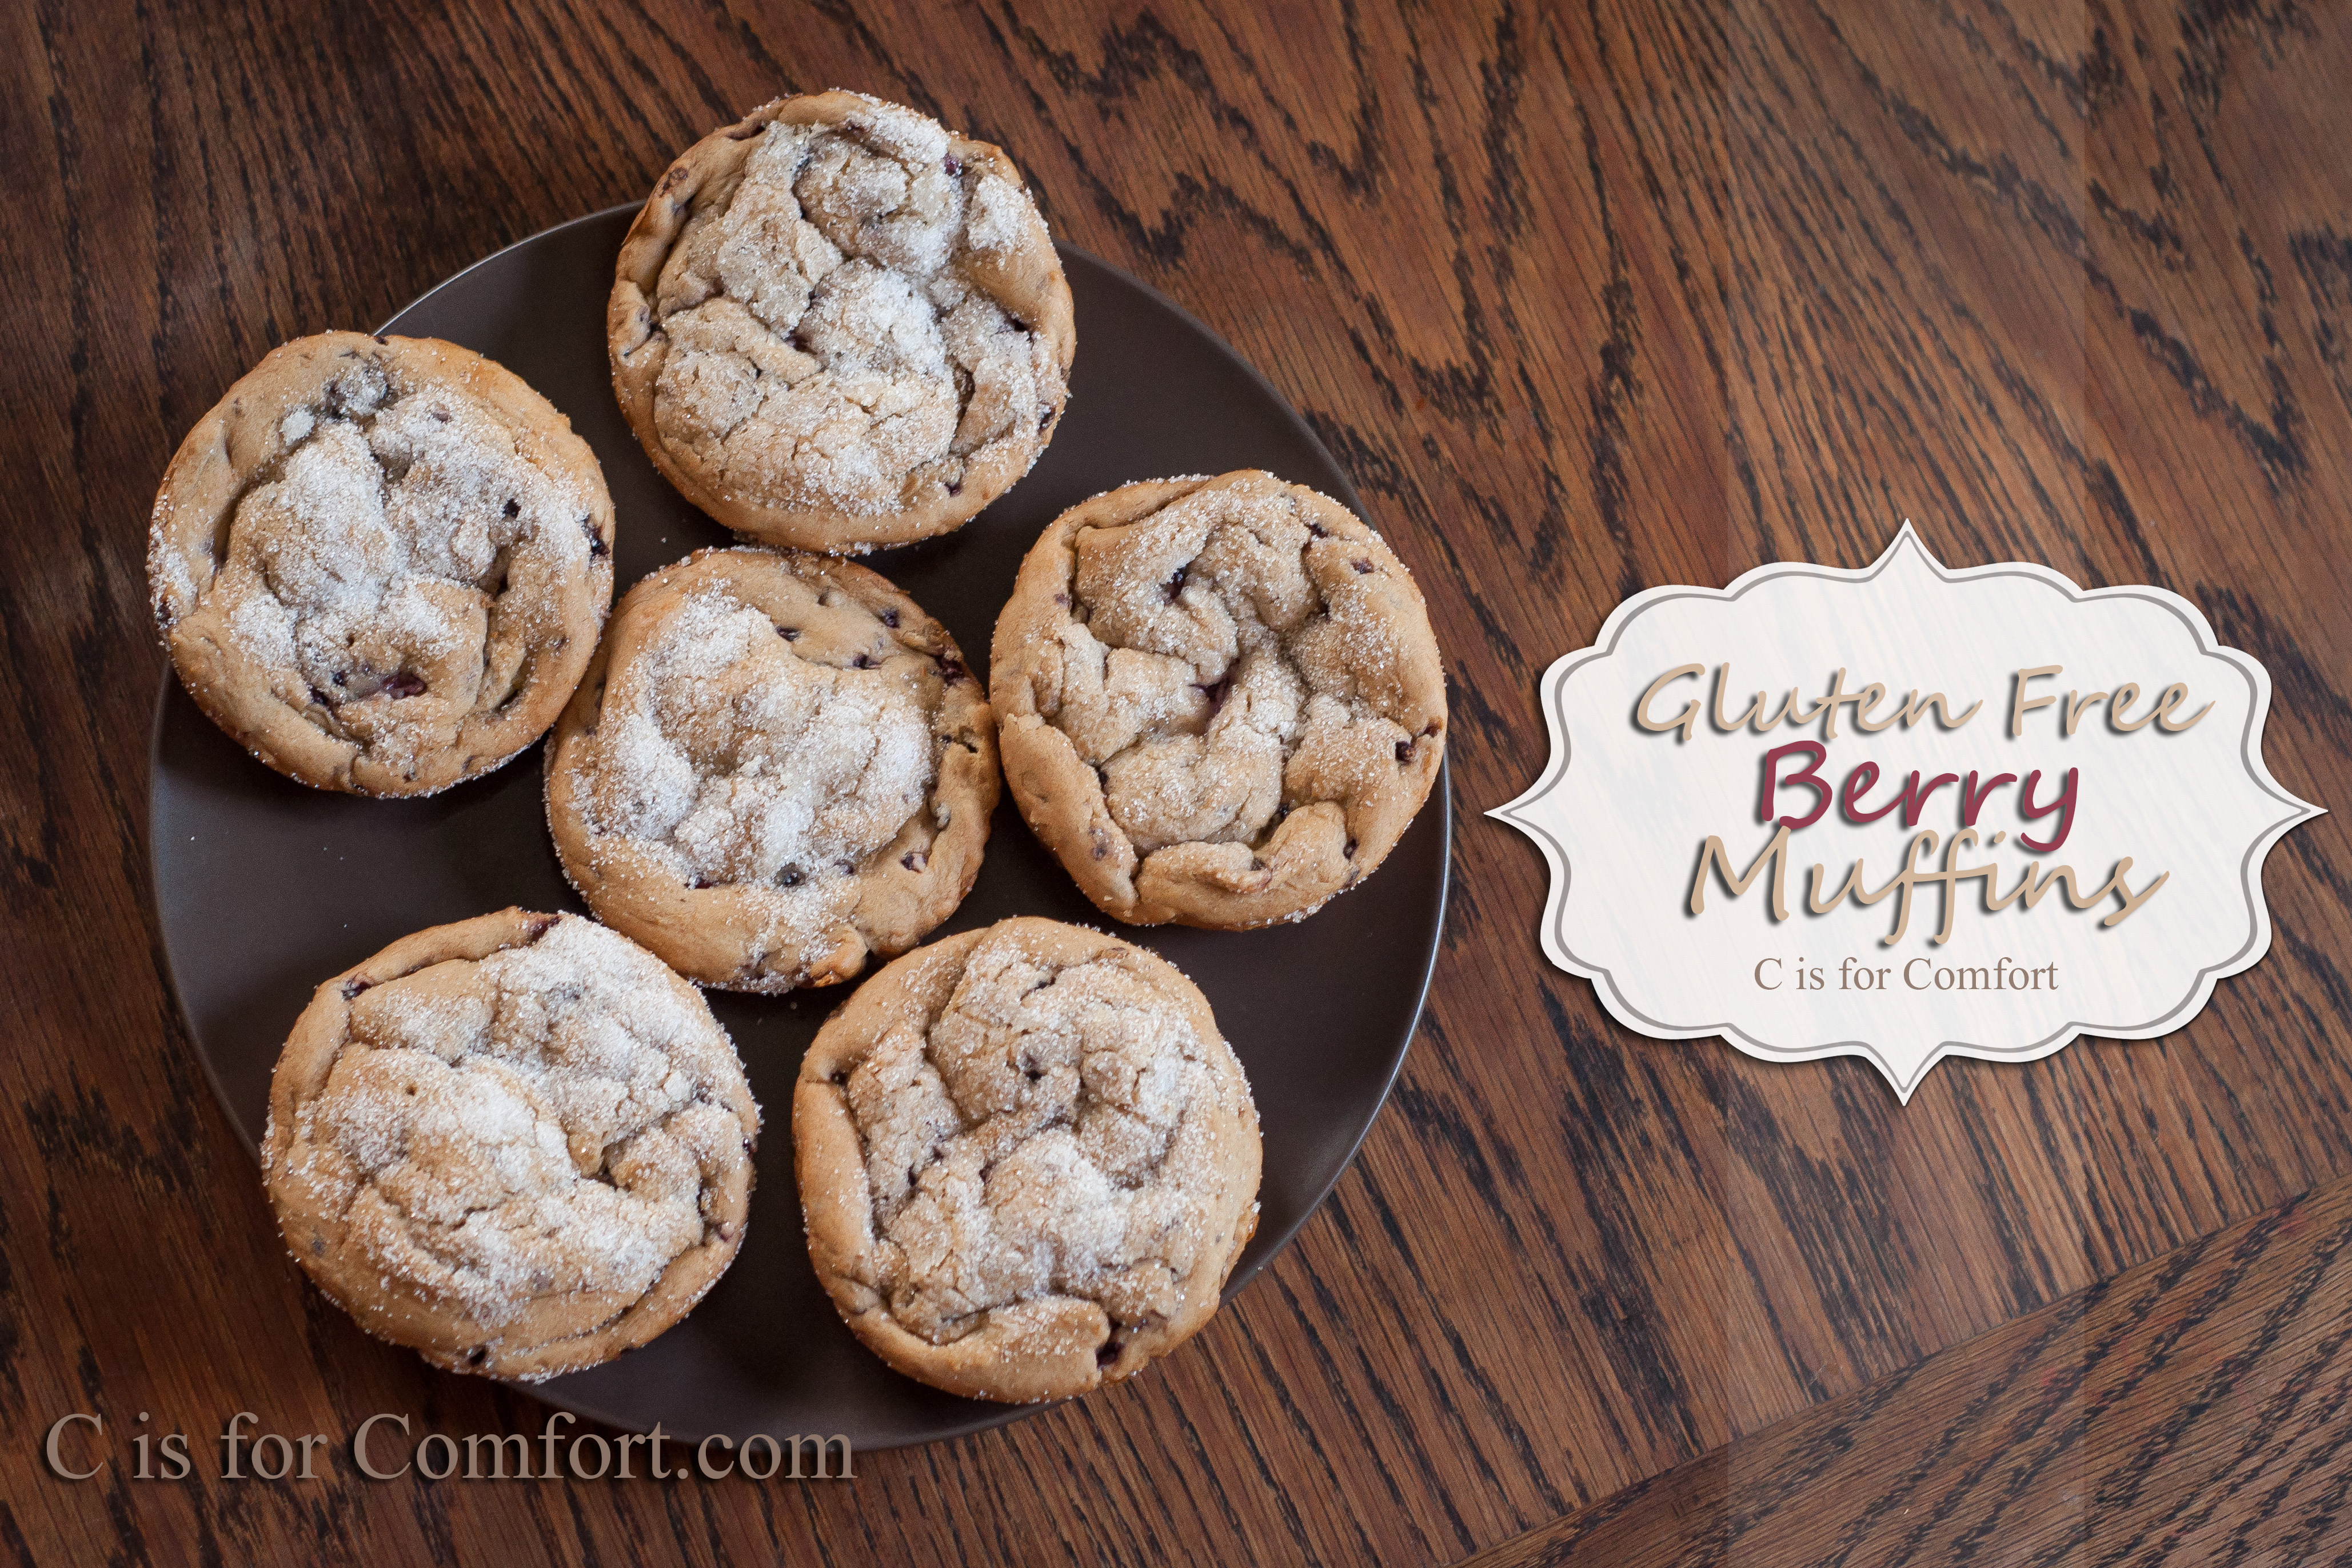
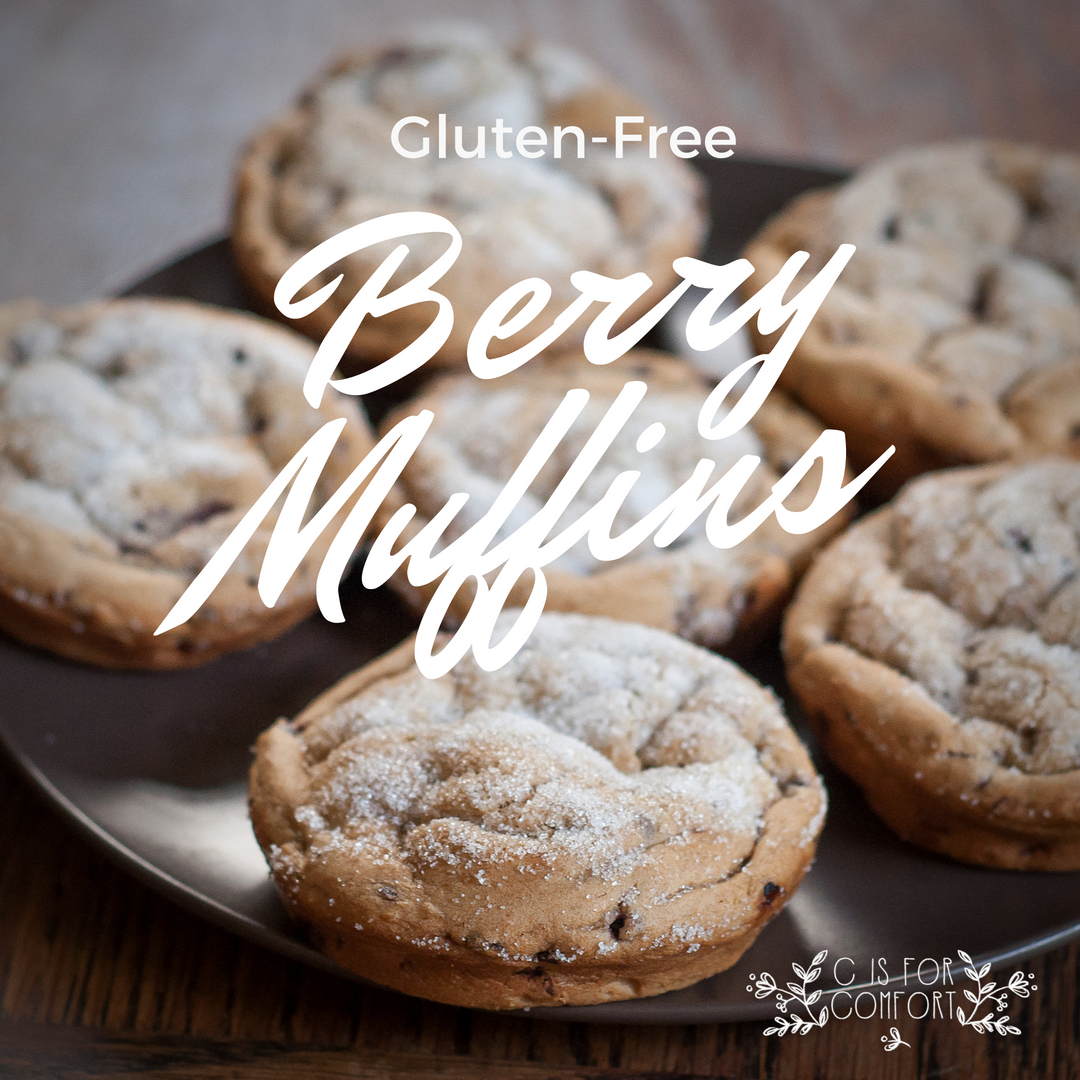
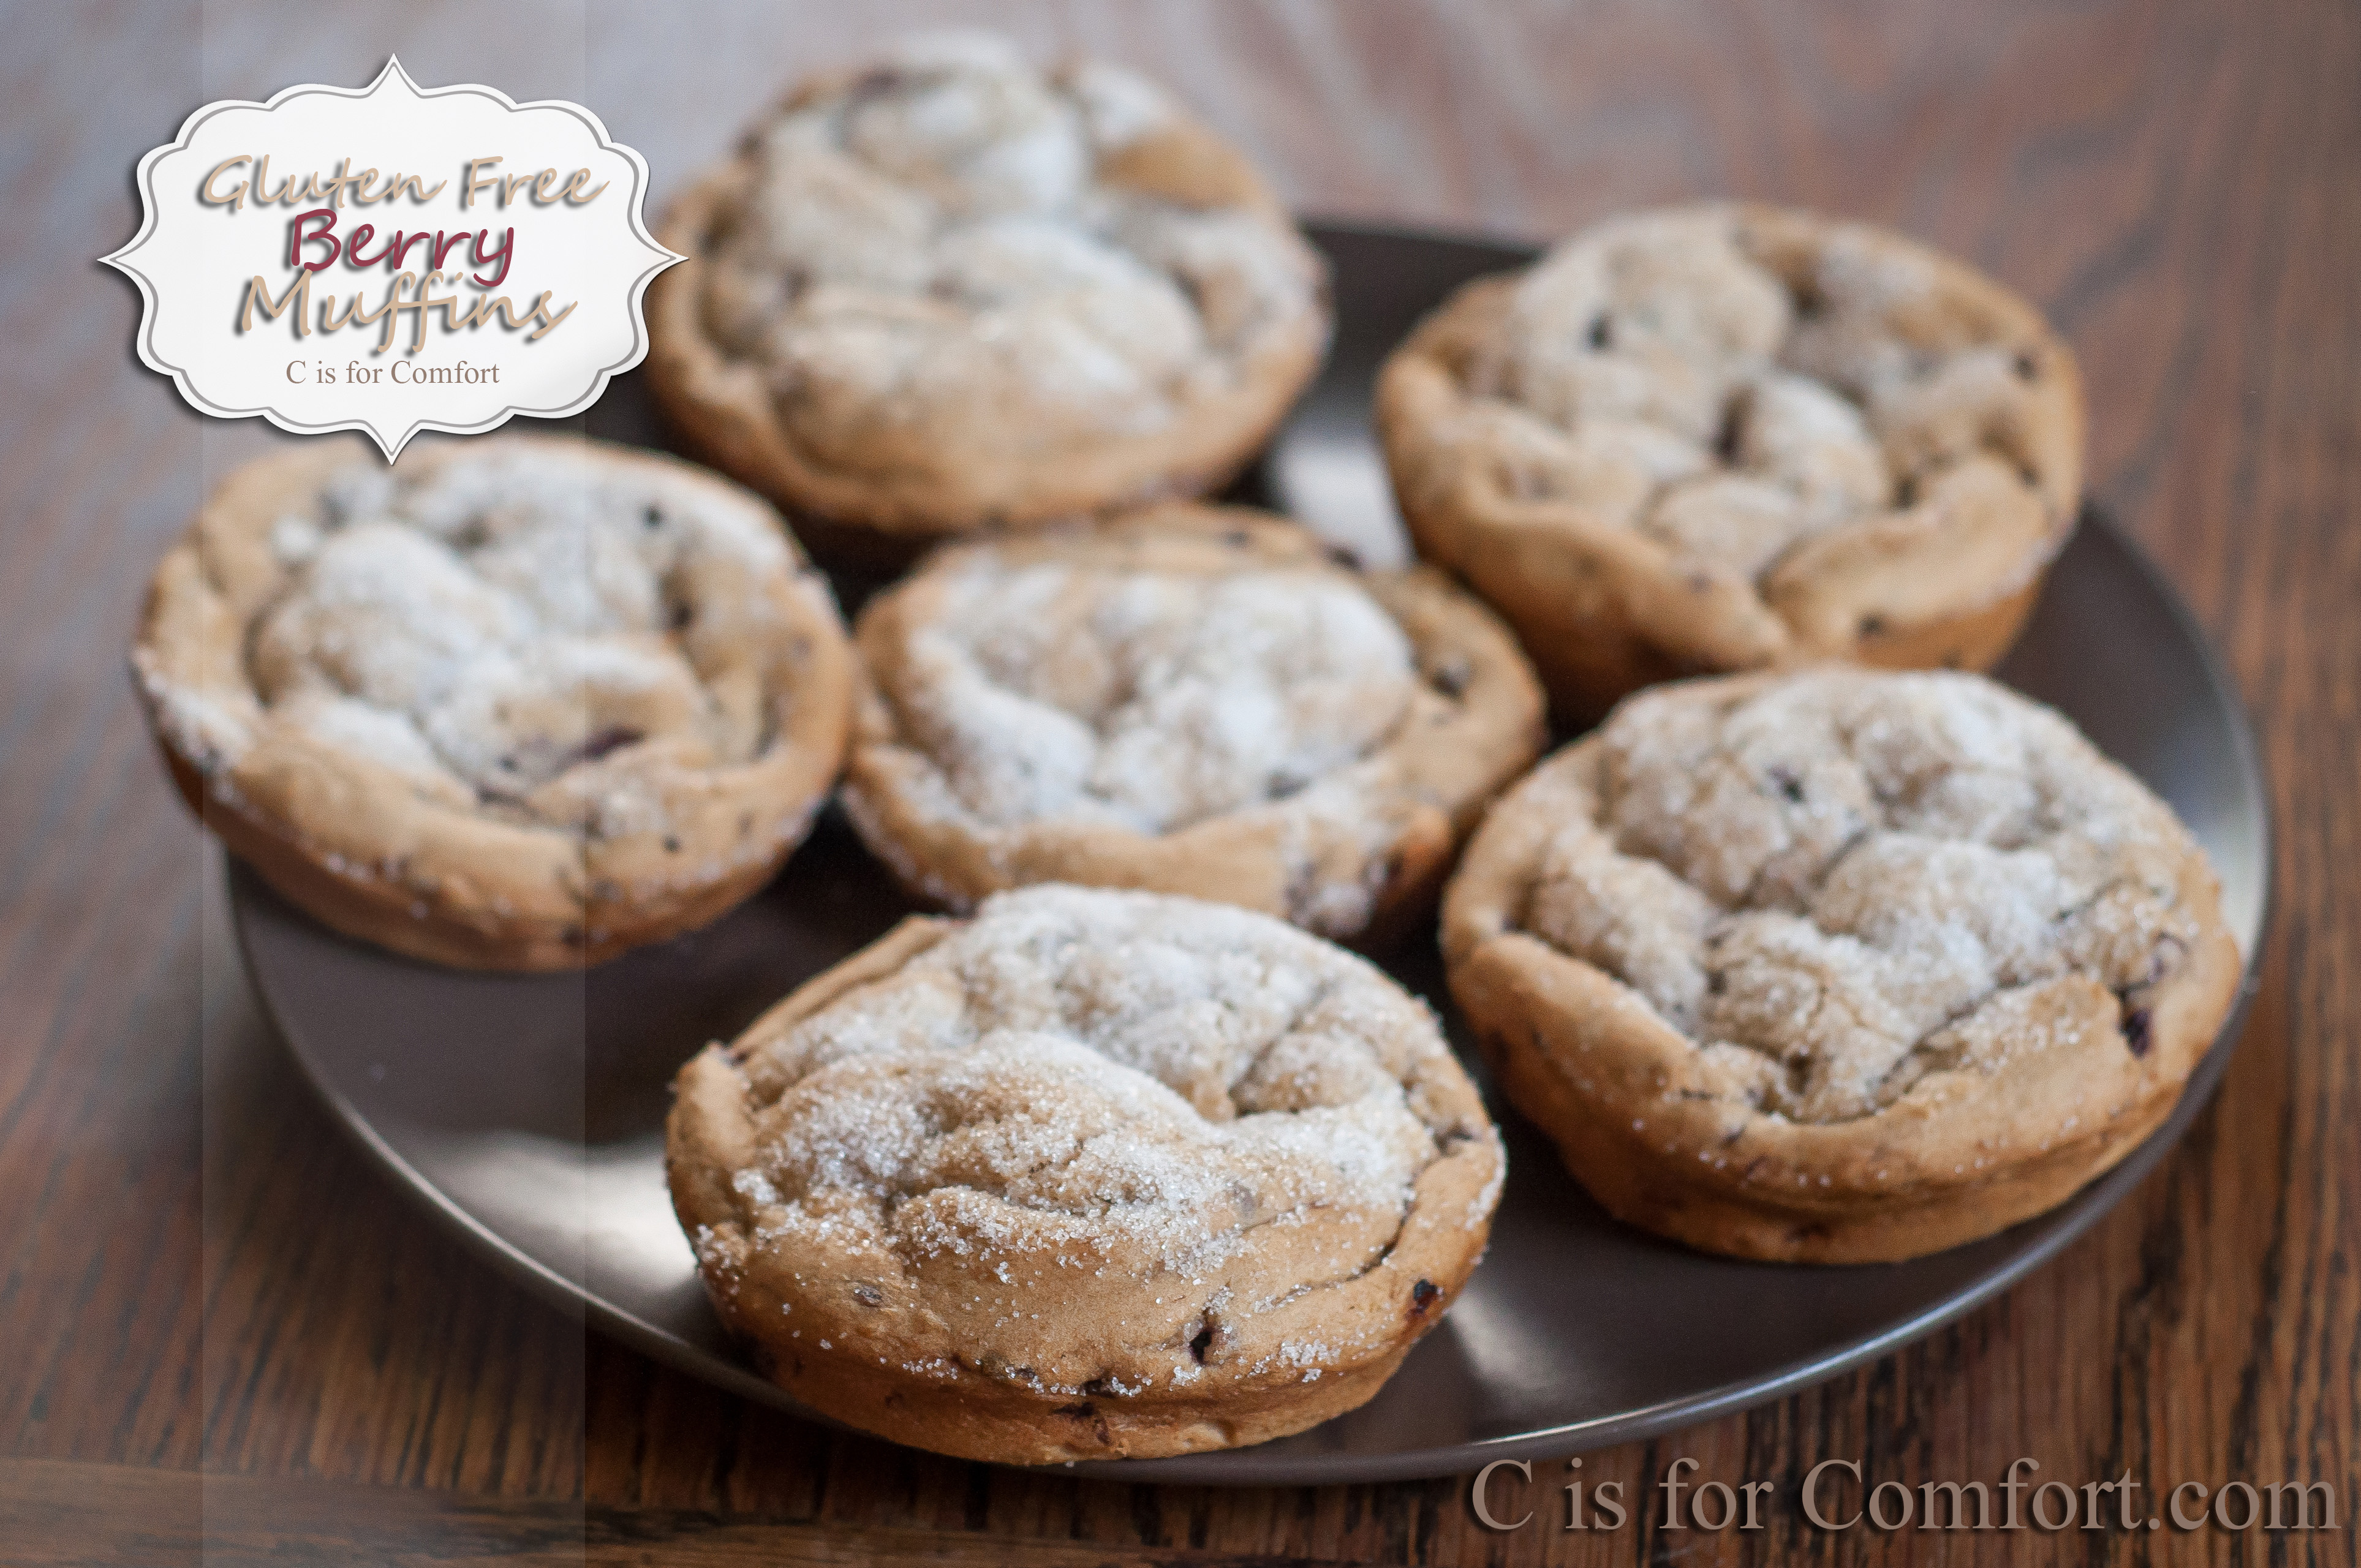
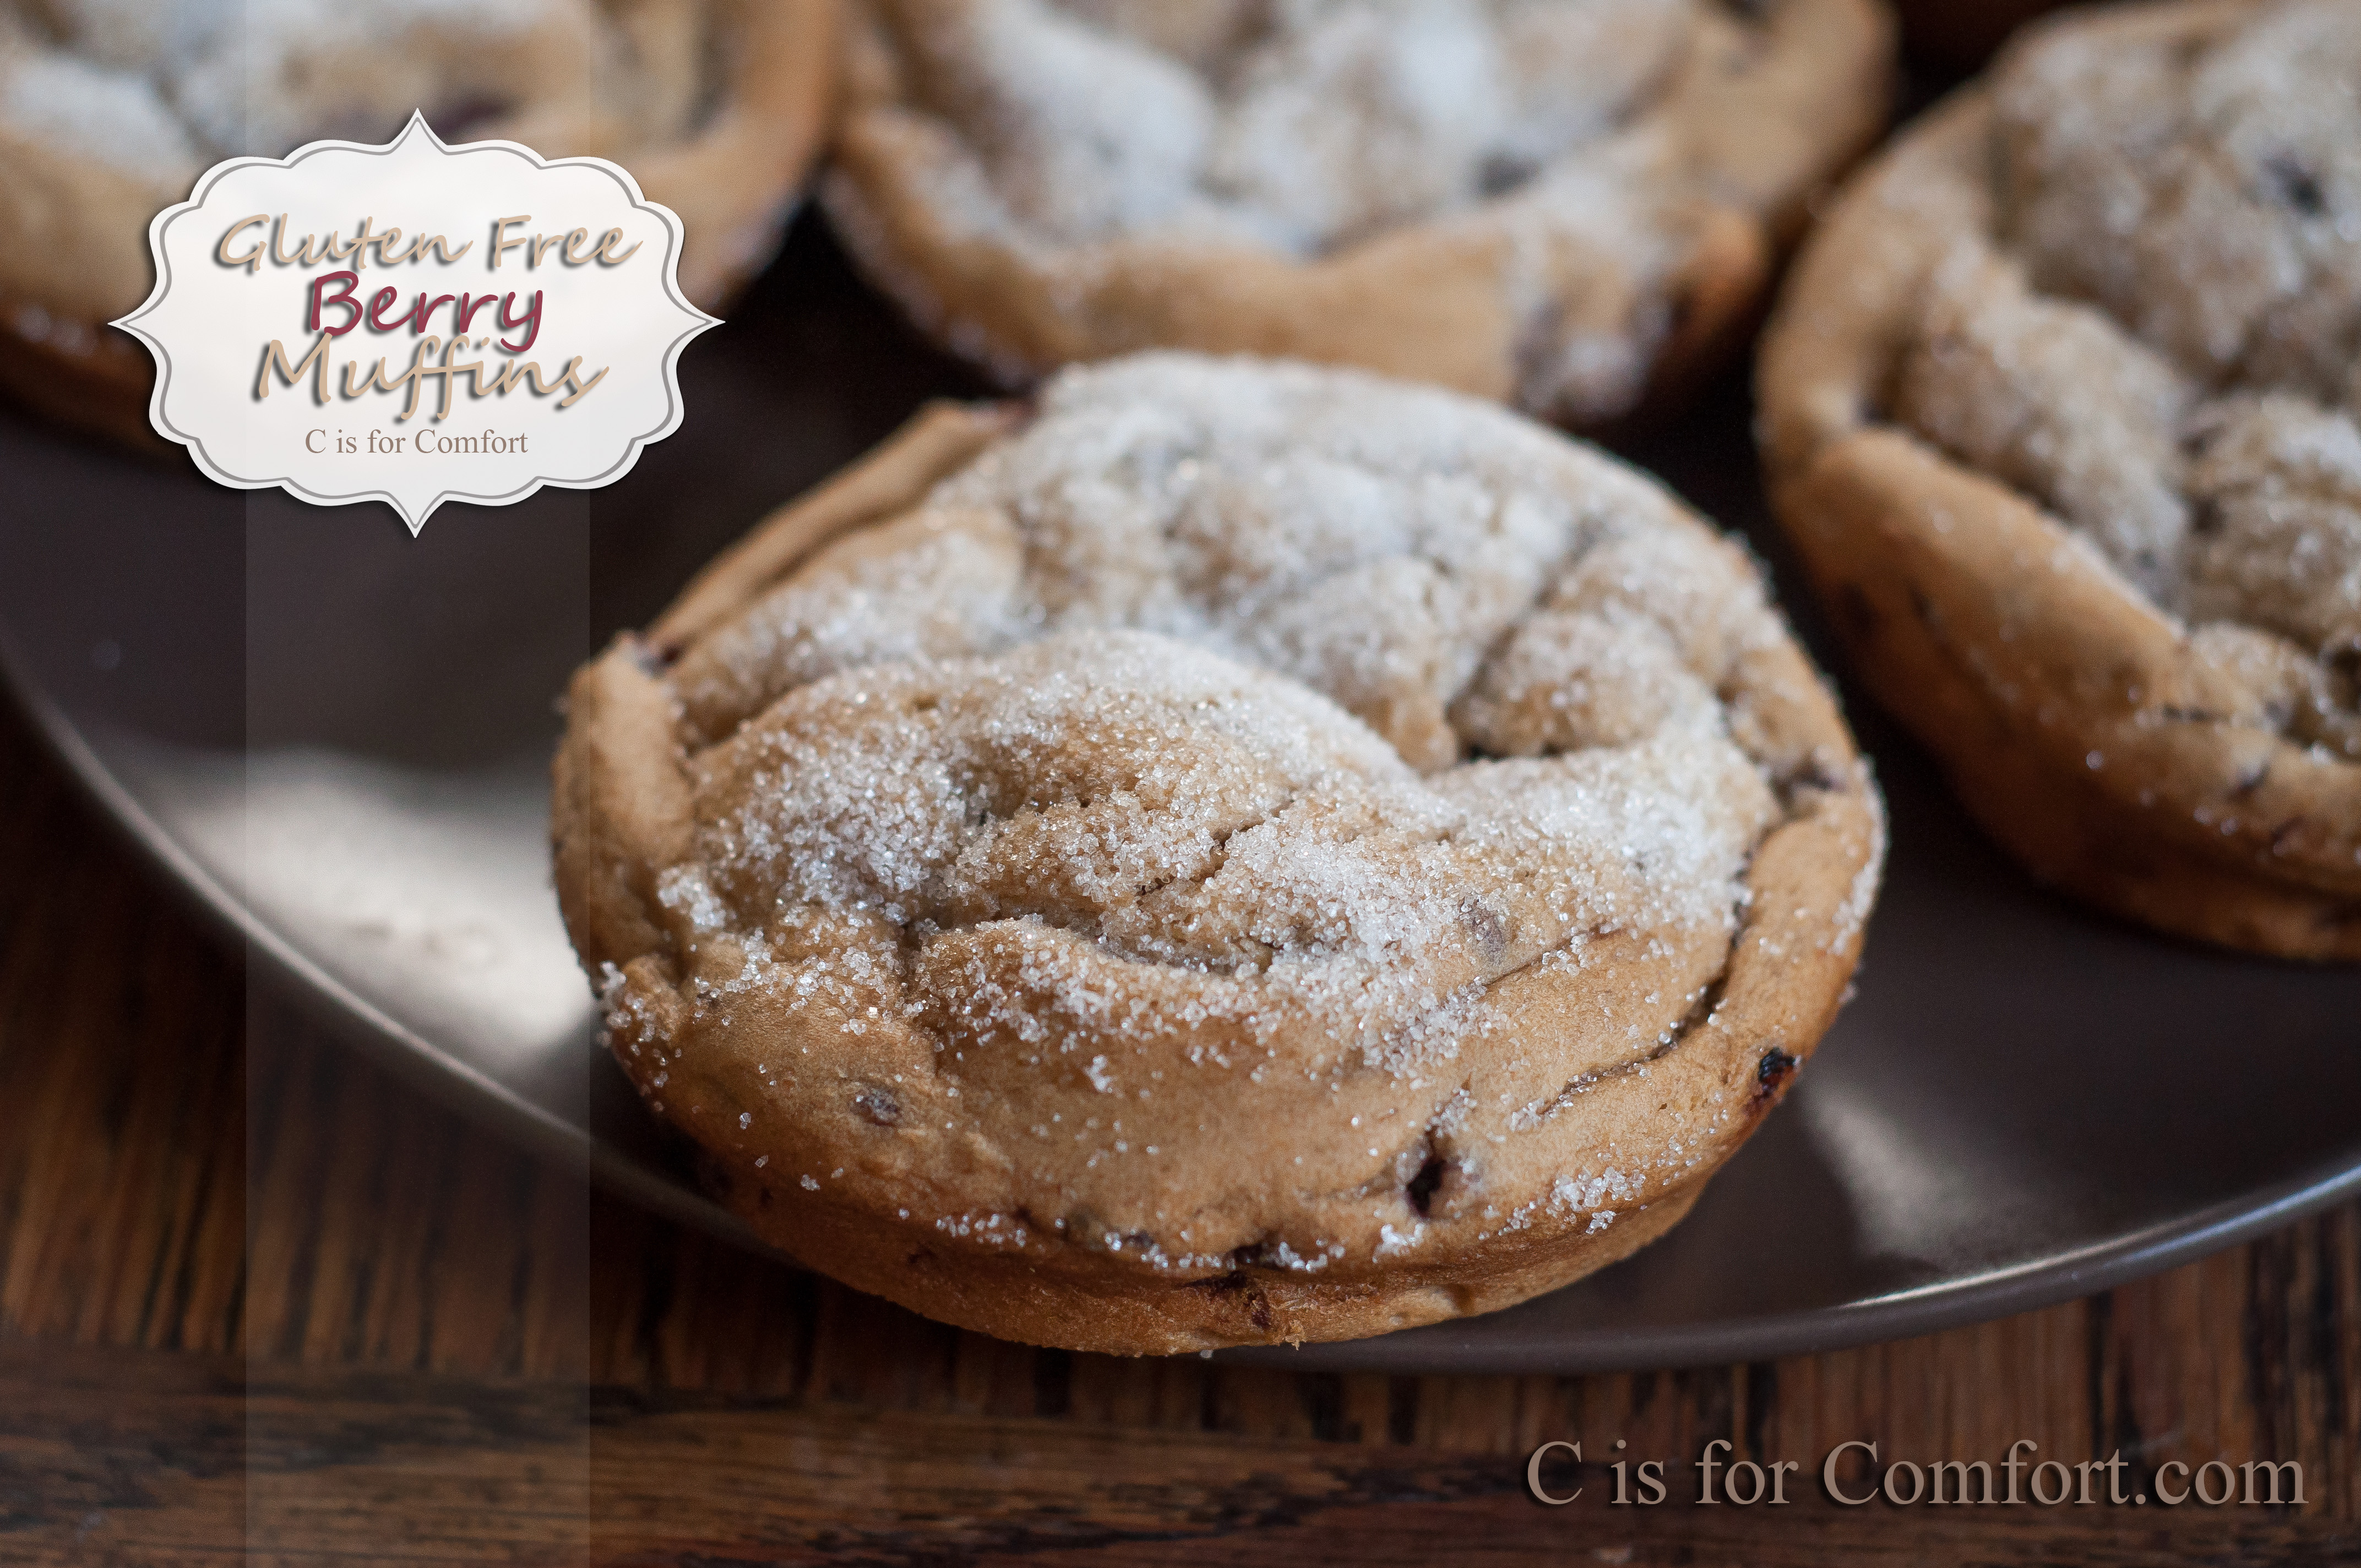
When I was first learning how to be corn and wheat free, my sister in law made me some amazing gluten-free berry muffins. She was kind enough to share her recipe with me. I’ve modified it a bit since our allergies have evolved. My whole family loves these and we try to always have some on hand.
Thankfully, they are freezer friendly, so we can make double or triple batches, freeze the majority and still have enough left to snack on for a few days. I recommend freezing immediately what you can’t eat and whatever is left eat within one to two days. After 48 hours they lose their flavor and fluffy texture.
The nice thing about this recipe is, you can add whatever fruit you have on hand. We’ve tried many different combos over the years, but my favorite is one my SIL came up with, lemon zest and raspberry. More recently we tried lime juice and blackberries. Sometimes we’ll chop up apples or throw in fresh blueberries. My SIL has also made a delicious peach mango. If you’re craving chocolate, you could always add chocolate chips. For those of you with corn allergies, just adding cocoa powder and a little extra maple syrup is a good alternative to chocolate chips.
I have always loved the top of the muffin. Panera makes amazing pumpkin muffies, which are basically large muffin tops. Since learning about all of my allergies, I’ve always been bummed I can’t drop by for a muffie. I did discover a muffie pan at Target a few years ago and I’ve loved using it for my muffins. I use that and regular muffin tins since I usually make triple or quadruple batches and I need all the pans I can get! My next goal is to replicate the muffie in a gluten-free recipe!
I hope you enjoy these muffins as much as we do! Let me know if you try and enjoy the recipe!
Gluten Free Berry Muffins
Makes 12 regular sized muffins or 6 muffies
Ingredients
½ cup unsalted butter, room temperature
2 tsp. lemon zest or more — zest from 1 large lemon
1 cup real maple syrup or 1 cup of sugar
1TBSP granulated sugar**
1 egg or egg substitute(I use chia seeds)
1 tsp. vanilla (omit if you don’t have homemade for corn free people)
2 cups gluten-free flour blend (set aside 1/4 cup of this to toss with the berries)
2 tsp baking soda
1 tsp cream of tartar
2 tsp xanthan gum (I also use chia seeds instead)
1 tsp. sea salt
2 cups fresh berries
½ cup buttermilk*** (or milk alternative, making buttermilk is optional)
** This 1 tablespoon is for sprinkling on top
*** To make homemade buttermilk, place 1 tablespoon of apple cider vinegar or lemon juice in a liquid measuring cup. Fill the cup with milk/milk alternative until it reaches the 1-cup line. Let stand for five minutes. Use only 1/2 cup of the prepared mixture for the recipe.
Instructions
Preheat the oven to 350ºF.
Cream butter with lemon zest and the cup of the sugar/maple syrup until light and fluffy.
Add the egg and vanilla and beat until combined.
Meanwhile, in a separate bowl, toss the berries with ¼ cup of flour.
Whisk together the remaining flour, baking powder, and salt in a separate bowl.
Add the flour mixture to the batter a little at a time, alternating with the buttermilk.
Fold in the berries.
Grease muffin tins with butter. Fill 3/4 full with a spoon.
Sprinkle batter with remaining tablespoon of sugar.
Bake for 35 to 45 minutes. Check with a toothpick for doneness. If necessary, return pan to oven for a couple of more minutes. (Note: Bake up to 10 minutes more depending on climate) Let cool at least 15 minutes before serving.
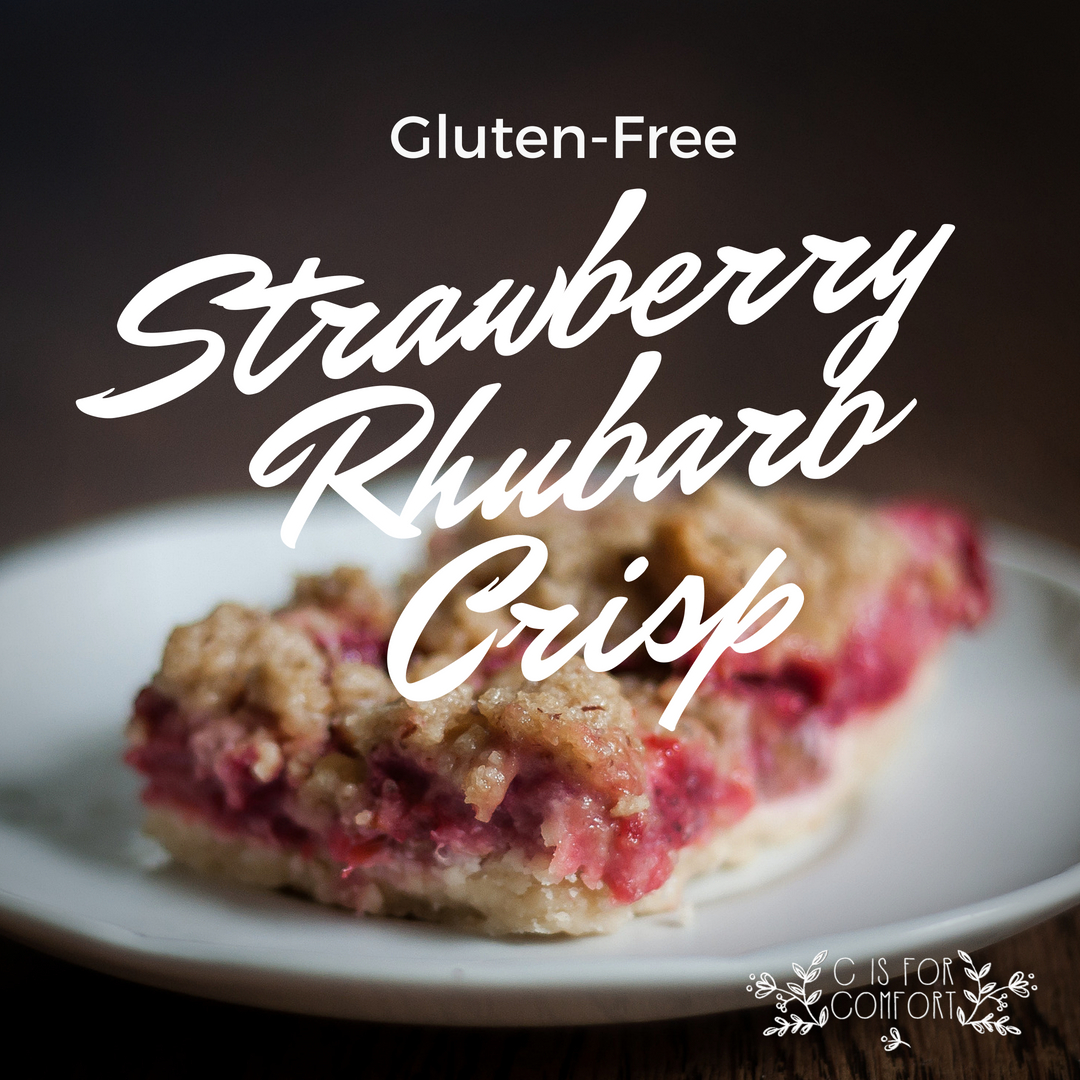
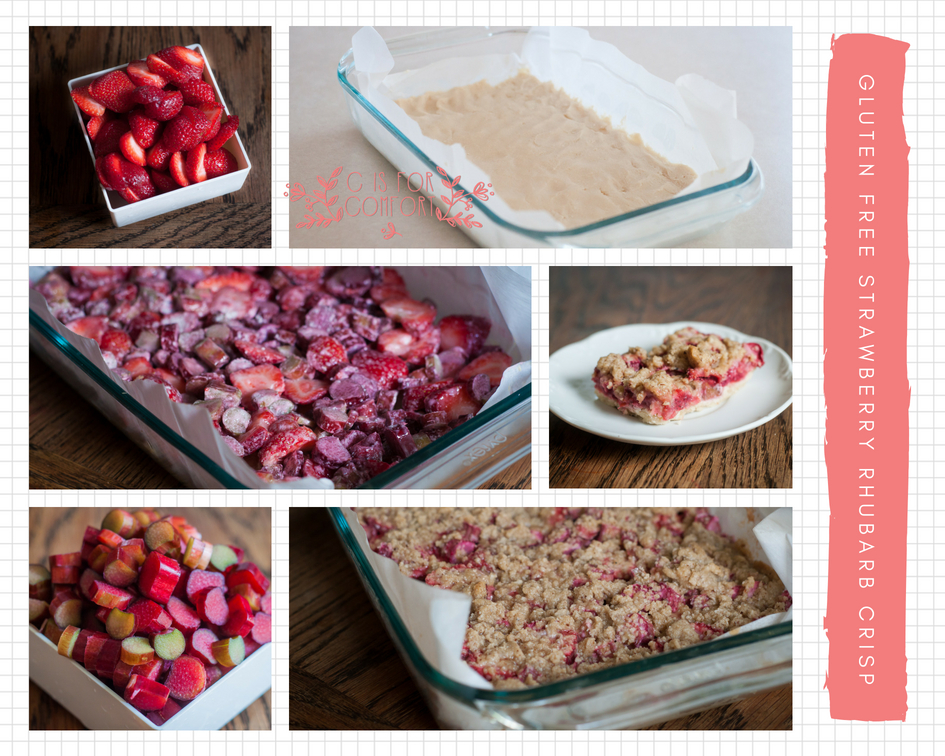
Gluten free strawberry rhubarb crisp bars are one of the best spring and early summer desserts! Strawberries and rhubarb are in season in May and June in Minnesota, so if you’re looking to cook and bake seasonally, this would be a great time to use them!
If you have an abundance of strawberries and rhubarb in your garden, you could always chop them up and put them in ziplock bags in the freezer. Then you can make this later in the season too!
When I saw rhubarb at the farmer’s market this last weekend, I immediately thought of my Grandmother. As a child, I would often snack on rhubarb from her yard. This will be the first year I get my rhubarb from the farmer’s market instead of my Grandparent’s garden, a bittersweet moment.
Last year, my grandparent’s house was sold. This was the place that I grew up in, next to my own home. It was where all of the best childhood memories happened. It was where my Grandparents made me feel like I was someone who mattered.
I know that farmer’s market rhubarb will be just as good as Grandma and Grandpa’s. However, there will be a little part of my heart that will always cry and smile at the same time at any mention of rhubarb.
After I brought the rhubarb home I thought immediately back to my childhood days again. My Father would always make a delicious rhubarb crisp. Unfortunately, my Dad’s recipe was not gluten and oat free. Determined to have one of my favorite childhood desserts, I set about scouring the internet for a decent alternative.
Sadly, I didn’t find any recipe that fit my needs, so I improvised. It turned out great! So great, in fact, that I gobbled up almost the entire thing myself! My kids were not happy with me. Ha!
The next time I make this, I’m going to make 2 at once. Maybe the kids will get a piece or two.
I hope you love my recipe! Let me know if you try it!
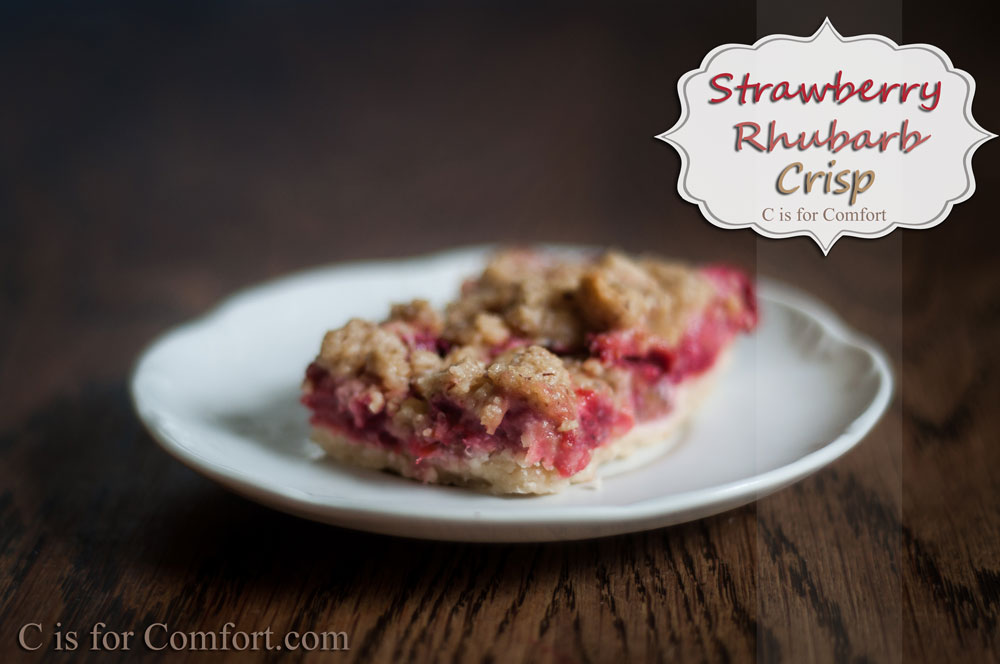
Gluten-Free Strawberry Rhubarb Crisp Bars
Serves 12-16 Shortbread Base
2 sticks unsalted butter, room temp
3/4 cup brown sugar or maple syrup
2 cups gluten-free flour mix
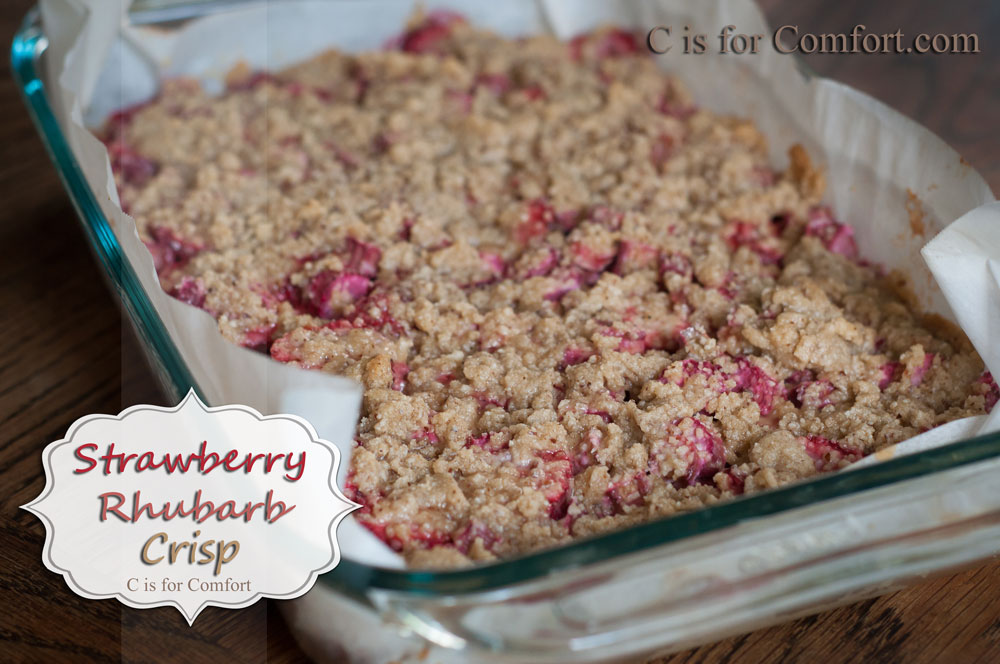
Crisp Topping
1/2 cup gluten-free flour mix
3/4 cup brown sugar or maple syrup
1/2 cup almond meal (optional)
6 tbsp unsalted butter(cubed about 1/2 TBSP chunks)
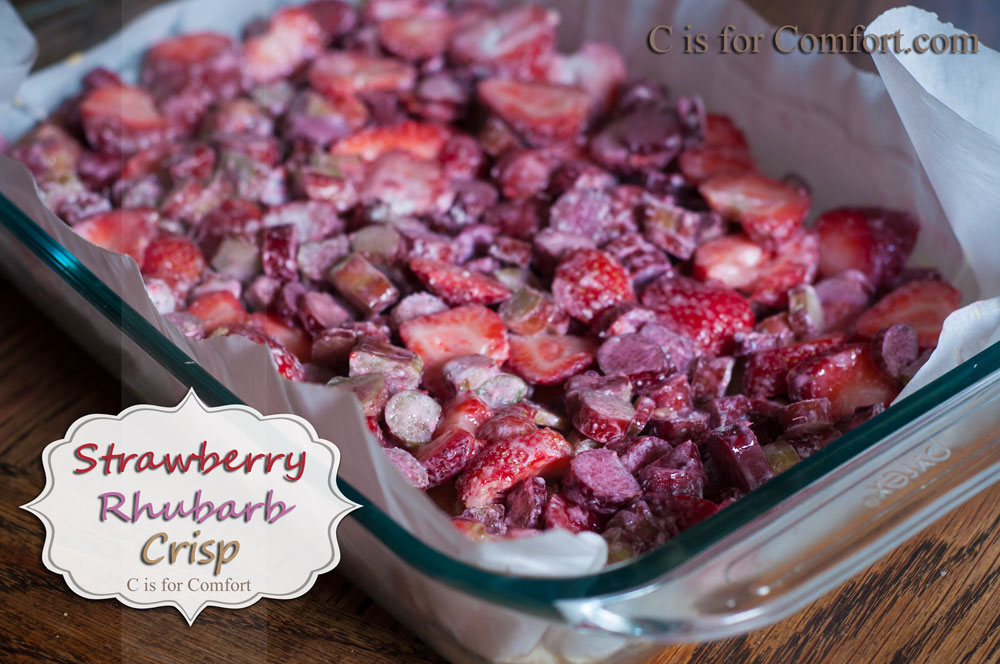
Strawberry Rhubarb Center(Prepared Last)
12 ounces or 2 cups of quartered strawberries
12 ounces or 2 cups of chopped rhubarb
2 tbsp sugar or maple syrup
1/4 cup gluten-free flour mix
Shortbread Base
Preheat over to 325. Grease 9×13 pan, line with parchment paper (optional), grease again. Blend butter and sugar well. Add in flour until smooth. Press dough into a pan. Bake for 25 minutes. Remove from oven. Increase over to 350.
Crisp Topping
Blend flour, brown sugar, and almond meal. Add butter and mix until crumbly. Chill in refrigerator.
Strawberry Rhubarb Center-Make Last
Chop rhubarb into 1/2 inch pieces. Quarter strawberries. Toss with sugar and flour. Immediately spread over shortbread. Use hands to crumble crisp topping over strawberry rhubarb mixture. Bake for 25 minutes. Turn off oven and allow to remain in oven for additional 5 minutes. Remove from oven to cool. Once the pan is cool, you have two options. 1. Refrigerate for more solid bars to transport and display for a party or 2.Eat immediately if you enjoy them warm! Add a scoop of vanilla ice cream. Enjoy!