7 Summer Challenge Ideas
Although spring has had a late start this year, these last few weeks have really warmed up! It’s almost hard to believe that a few weeks ago, we had a huge blizzard! If you are anything like us, you are probably itching to get outside and enjoy the warm, fresh air!
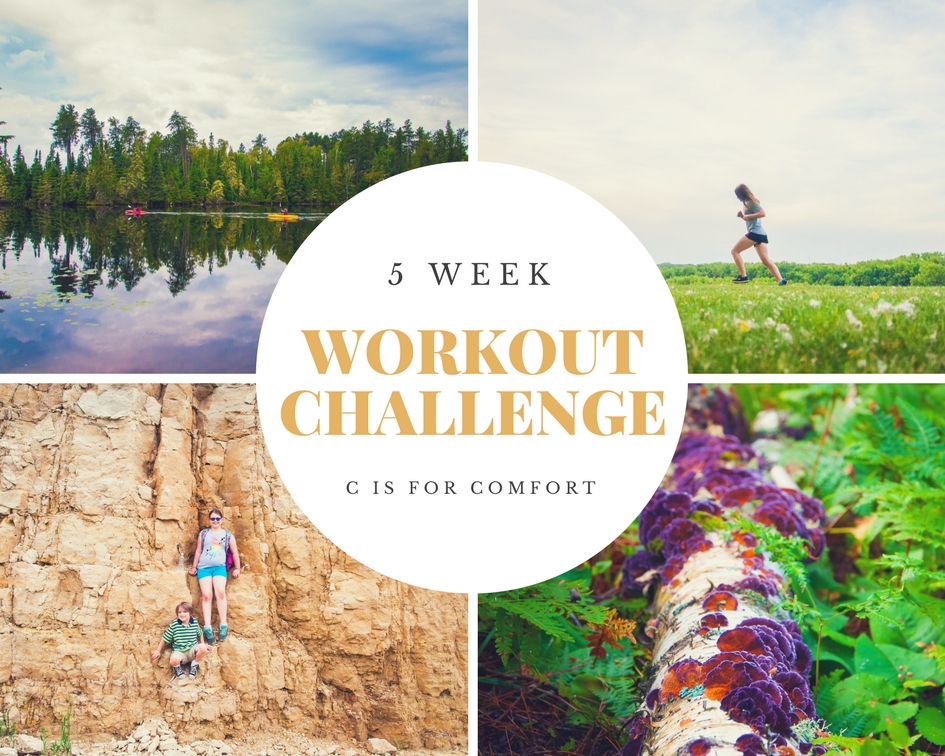
Last year we had so much fun doing a 5-week workout challenge! Every week we made it a goal to move our bodies. I don’t know about you, but I am not a big fan of a traditional work out session. I have a hard time getting motivated to stare at a TV and watch other people work out. Or worse, go somewhere public to work out with strangers.
Hiking is my favorite way to get exercise. Being outside, in nature, makes me happy. Getting a change of scenery, enjoying a new adventure, exploring a new location, what’s not to love?!
When doing research for local parks online, I found so many! I felt like the ones I had seen were just a drop in the bucket. I wanted to see them all! Is it crazy and over-ambitious that I’m not exaggerating?!
We had only scratched the surface last year. I knew, without a doubt, that our adventures would continue. Should I do another workout challenge?! I don’t know. It did motivate me last year. Honestly, many days I felt like sitting on the couch and being lazy in the air conditioning. Knowing I had made a commitment kept me going.
Maybe this year is time for a new challenge. There are so many options! I might have to try one or all of these.
7 Summer Challenge Ideas
- Get Outside Every Day Challenge-For 3 months… for a year?!
- How many parks can we hit in the summer? 30? 40? 60?!
- Around Minnesota in 80 Days
- Exercise Every Day for a Month
- Art Challenge
- 30/60/90 Day Planking Challenge
- 100 Days of Gardening
Get Outside Every Day Challenge/ 100 Days of Sun
People Are spending more time inside than ever before in history. With the air inside polluted and stale, getting outside is vitally important to our health. AT LEAST an hour outside every day is the recommended amount for every age.
There are literally hundreds of things to do every day, all year round! I made a list of fun things to do, outside, in summer that you can check out for ideas.
30 FUN Parks in Minnesota That You Have to See!
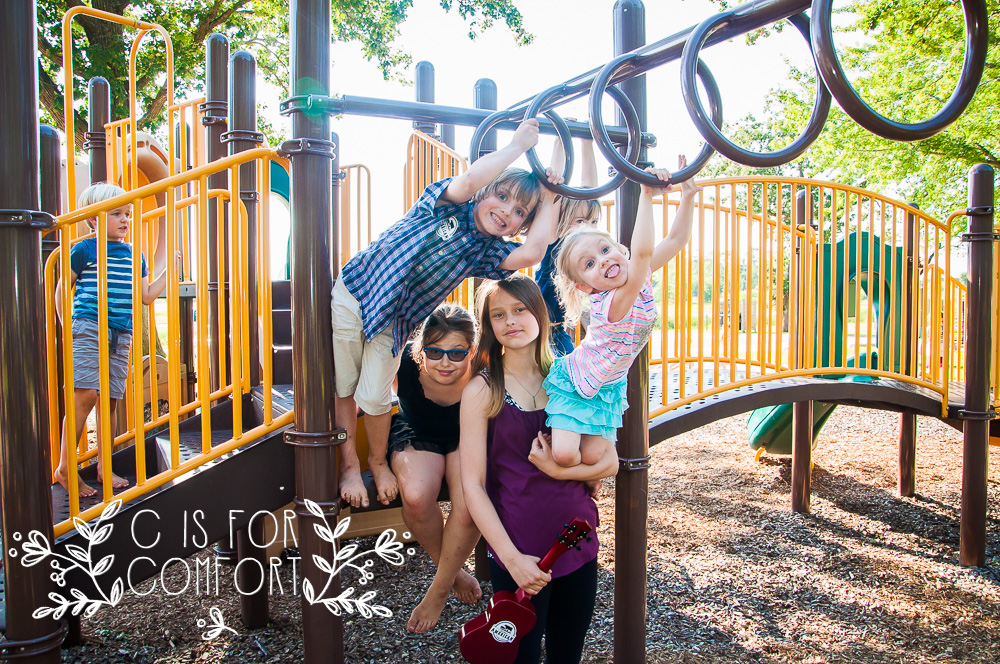
Visiting Parks is one of the most fun things to do in the summer. Parks are full of activities for every age. The whole family can go for a hike. The kids can play at the playground while the adults relax and chat. Biking, swimming, sightseeing, bird watching, there are so many options!
Although the title is just an idea, you can set your goal for as many or as little parks as you think you will visit. Obviously, you will change Minnesota to your own local area.
Around Minnesota in 80 Days
This title leaves the window open for future fun expeditions. If you don’t have an exact plan of what you want to do, but you know you want to start a challenge, this might be a good starting point.
I might make a fun list soon about traveling ideas within a region. To get you started with a few ideas, you could visit local parks, check out small historic towns, visit a museum, check out a historic site, go to a zoo, smell the flowers at a conservatory, and so much more!
Exercise Every Day for a Month!
I don’t know about you, but I have a hard time getting motivated to exercise. Making it a goal is a great way to keep on track and get your body moving. Last year we did a 5 Week Workout Challenge. It was a lot of fun!
Working out doesn’t have to be just exercise videos or hitting up the Y. Exercise can be so many different things! You could go hiking, ride a bike, go kayaking, go swimming or even try rock climbing!
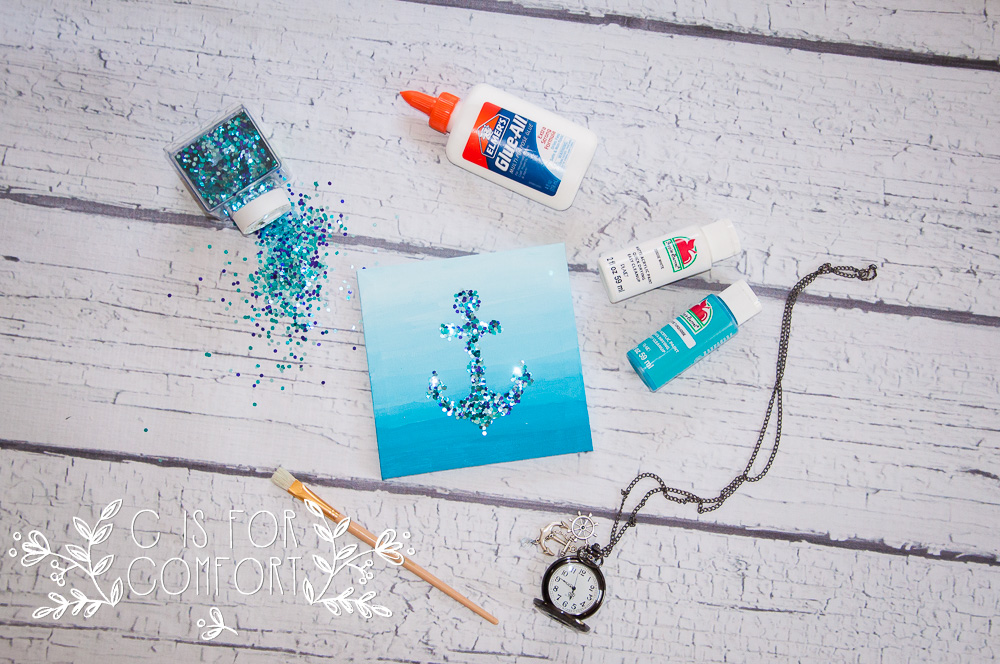
Art
There are so many options with this one! Art is near and dear to my heart. My Grandfather was an artist. He inspired me to be a creative person. I’m working hard to instill a love of being creative in my children. This would be the perfect project for us all to enjoy together.
If you didn’t have an artsy Grandpa, here are a couple of ideas to get you going! I’ll make a more extensive list in the future too. Paint on canvas, visit an art museum, draw with chalk, paint rocks, make a birdhouse, do a photography project, color with crayons and so much more!
30/60/90 Day Planking Challenge
Last year, during our 5 Week Workout Challenge, we tried planking for two of the days. Planking is HARD! It was so much harder than I thought it would be. It’s such a great way to build muscle FAST though! I’d love to try a 30-day plank challenge to see how long I would last at the end of the 30 days.
I think it would be fun to plank in different places every day for different visual content. The kids would probably love that too!
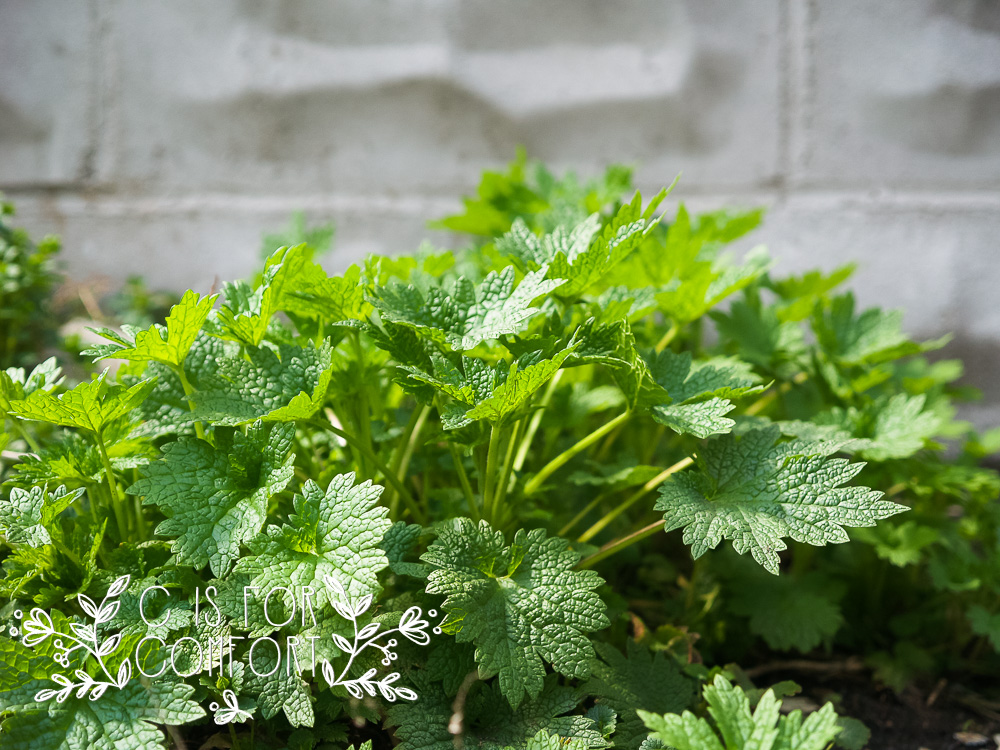
100 Days of Gardening
I started my first vegetable garden last year. This year we have been expanding, growing new things and learning more and more about gardening. Doing a 100 days of gardening challenge would be a perfect way to learn about gardening faster and get a lot of fresh food!
I would love to know how you are going to challenge yourself this summer! Let me know in the comments!