Homemade Magnesium Oil
After reading about magnesium deficiencies, I decided to give homemade magnesium oil a try. The reason I wanted to try homemade magnesium oil instead of buying it is simply that it’s cheaper to make my own. Plus, I can be sure that nothing else is added to it.
Price Breakdown of Magnesium Oil:
Store Bought Magnesium Oil Average Cost $20.00 per bottle
Tub of Magnesium Flakes (44oz, about 5 1/2 cups) $13.00/Tub=$2.30/Homemade Bottle
I rounded out the numbers for easy math. Magnesium oil ranged from $13.00 to $35.00, so depending on your choice of brand, the numbers could be different. However, even with the cheapest store-bought bottle of oil, making my own is still the cheapest option. My glass bottle was $2.00. So the final number would be $4.30. This is still even cheaper than the least expensive store-bought bottle of oil. Since I can use my bottle over and over it’s even better!
Update: I checked the current prices on Amazon, all of the prices have gone up since I have purchased my supplies, but making your own is still more affordable than buying a premade bottle.
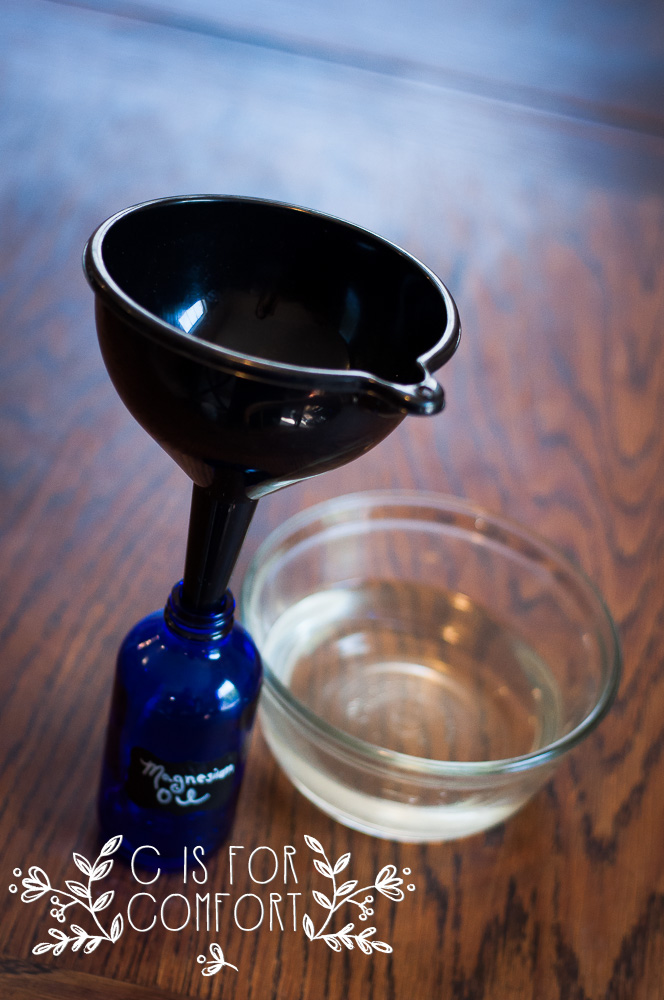
It was really easy to make once I gathered all of my ingredients. It would have been even faster if our little Princess hadn’t run off with my funnel. Why kids think funnels are the greatest toy ever, I have no idea, but I am constantly finding them all over the house. Unable to find my smaller funnel, I settled for the larger one. I’m so glad it fit in my bottle!
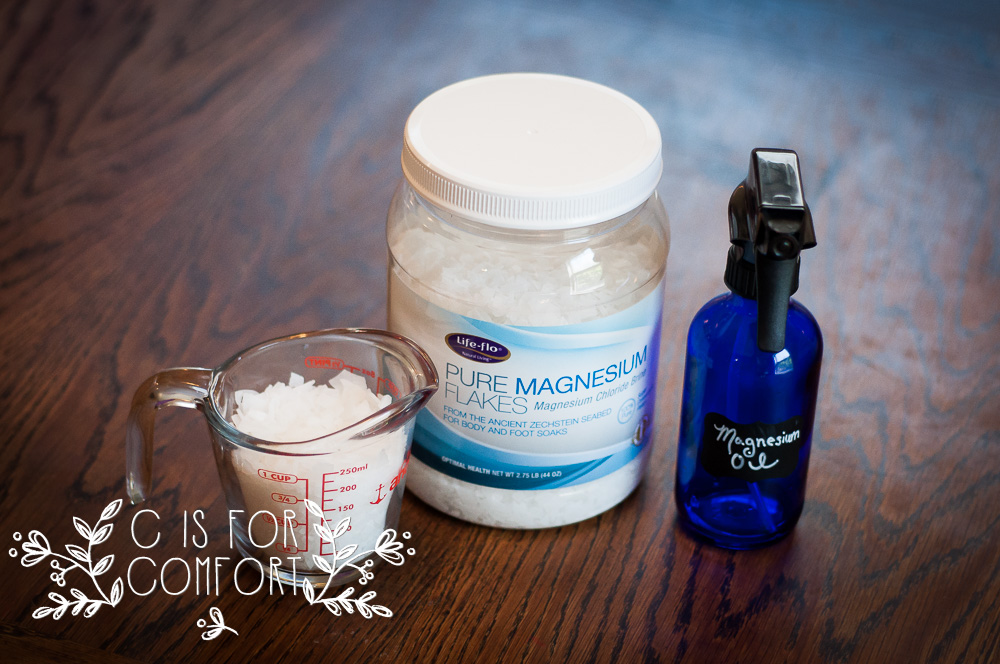
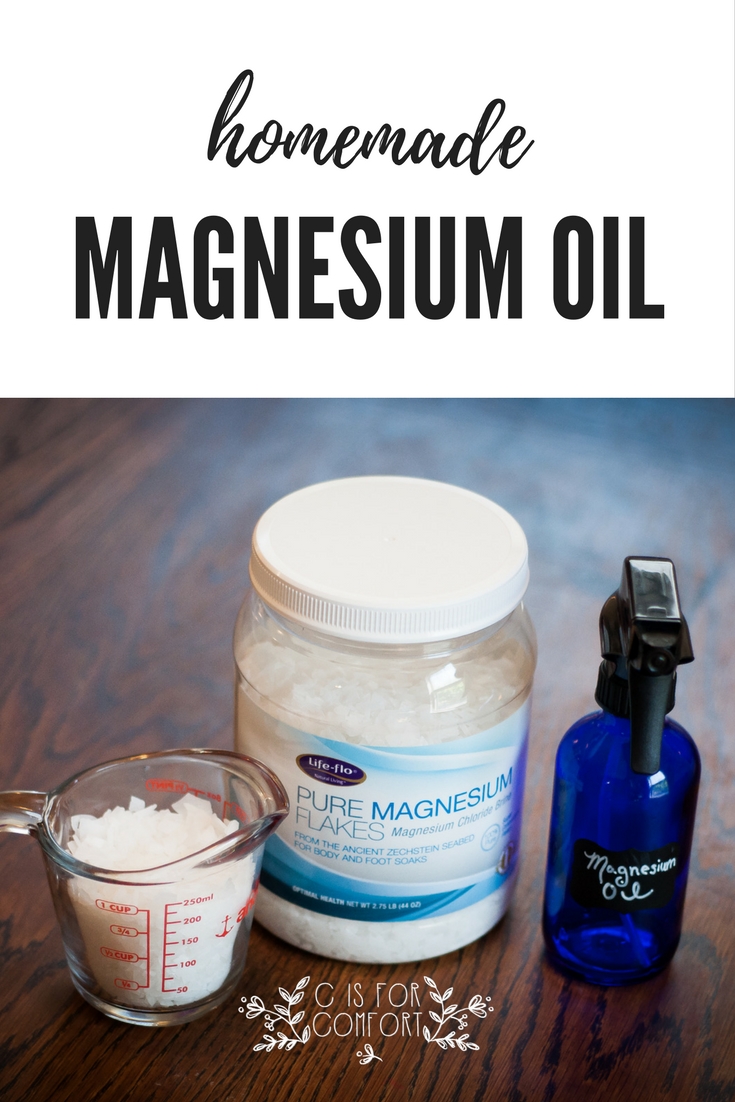
I started by heating filtered water in my electric tea kettle. Then I measured out 1 cup of magnesium flakes. I poured them into a bowl big enough to accommodate both the flakes and the water. I knew my 8oz bottle held a cup of water, but with the added magnesium flakes, I was sure I would have leftovers.
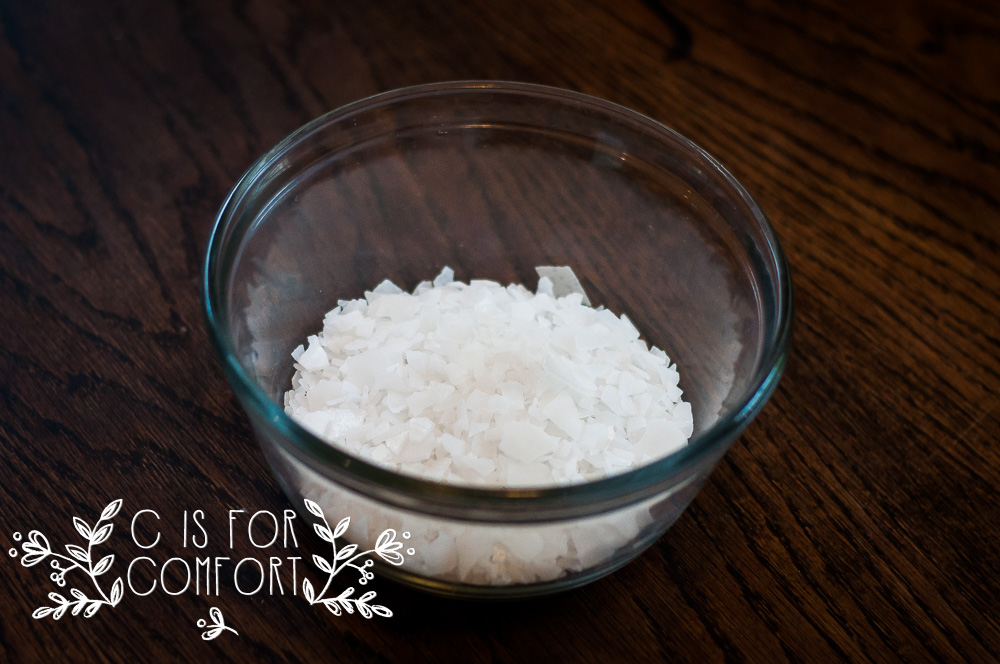
Pouring the flakes into the bowl was a treat for the ears. The kids loved hearing the little pieces tinkle into the glass bowl. They almost sounded like little glass pieces. I picked up a shard to examine it and found that it even glittered in the sunlight. My son picked one up and then complained of burning fingers, so I had him wash his hands. His hands were slightly damp so the magnesium must have been absorbing into his skin. I didn’t notice any tingling, burning or irritation as I had read about, so I hoped this meant I wouldn’t experience it as bad when I sprayed it on later.
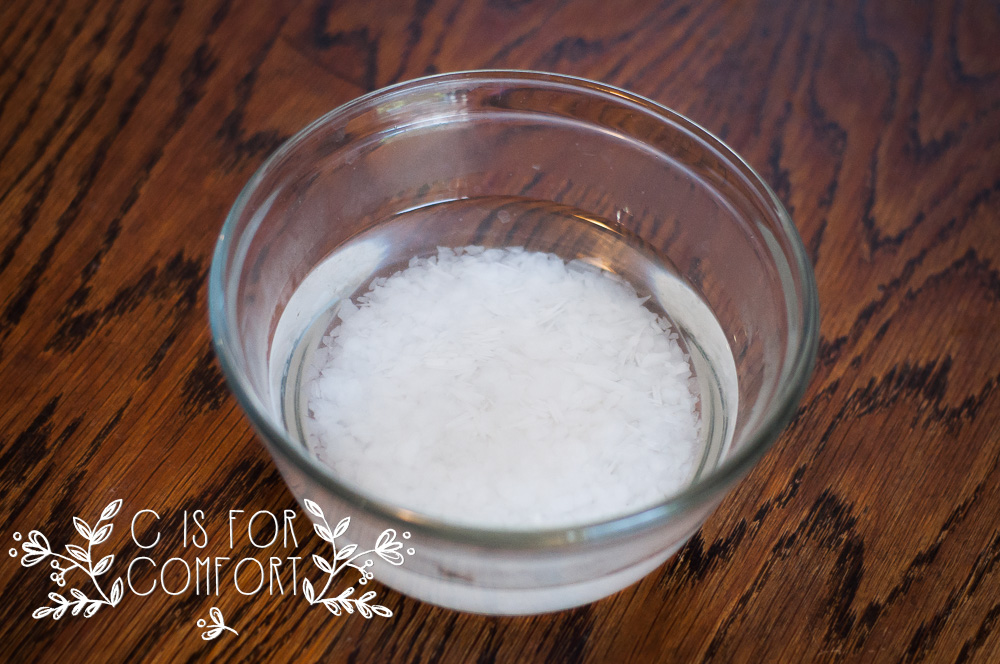
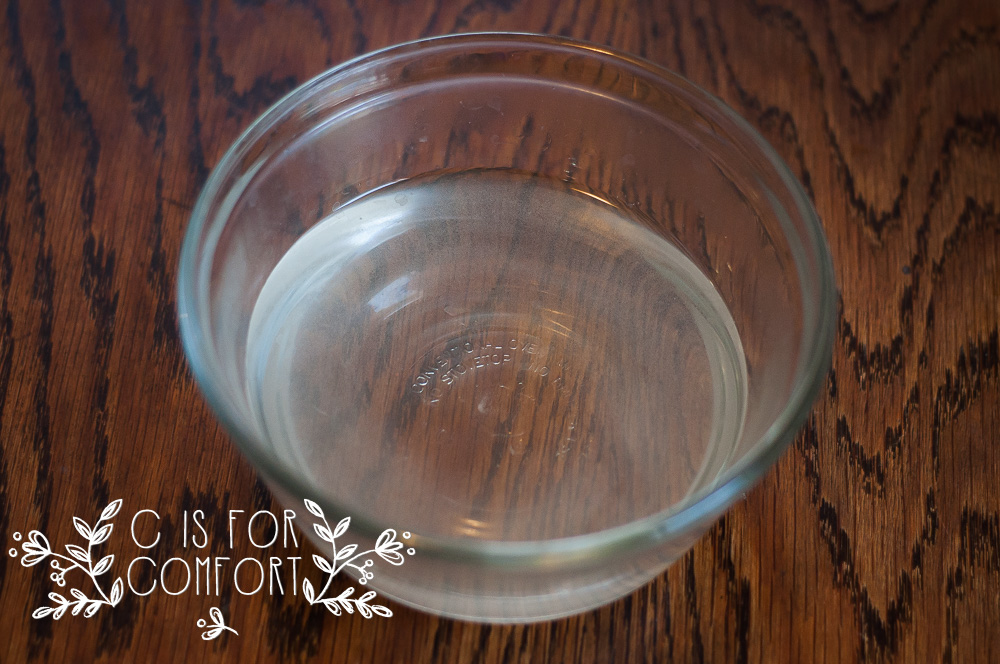
I then measured a cup of hot water and poured it over the flakes. I noticed that they instantly started dissolving. I grabbed a fork and gently stirred until they were completely dissolved. The water was slightly cloudy but began to clear as it sat.
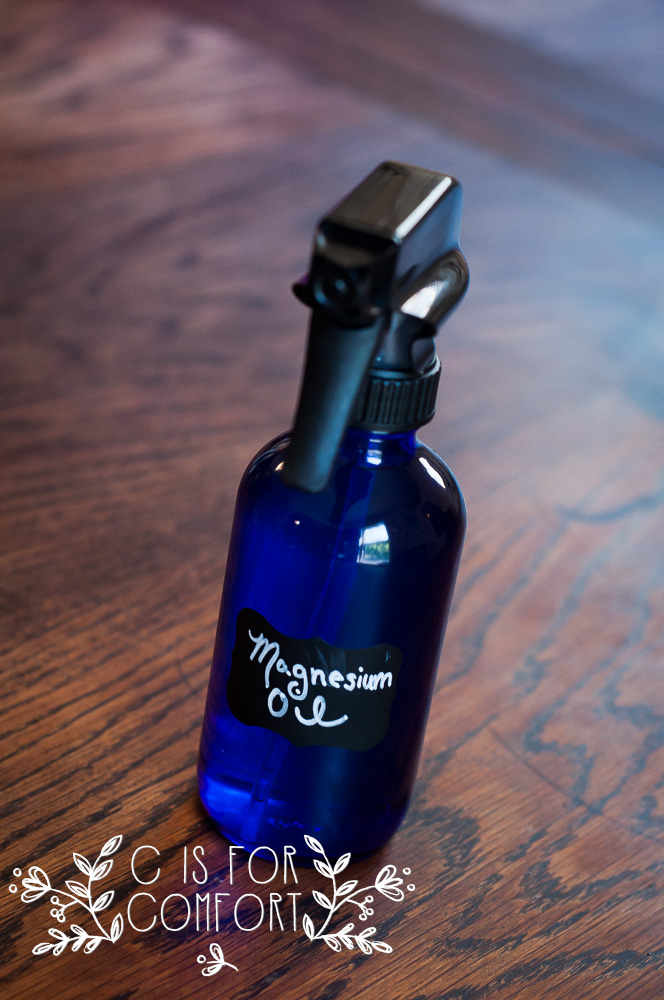
I poured the mixture slowly into the funnel and checked to make sure I didn’t overflow the bottle. I did end up having half a cup of the mixture left over. I’m going to use it to make some magnesium cream for the kids.
Recipe
1- 8oz bottle (Find it here)
1 chalkboard label (I use the 1×2 stickers)
1 Chalk Pen (Find it here)
1/2 cup magnesium flakes (I use this one)
1/2 cup hot water
Bring water to a low boil. Pour 1/2 cup magnesium in a glass bowl. Add water to the bowl. Stir until dissolved. Pour mixture into glass spray bottle once cooled. Spray magnesium oil on lower legs after showering and massage in.
After the bottle was ready to go I excitedly sprayed it down my arms, legs, and stomach. Maybe because it was warm water still, it immediately began to tingle. I massaged and rubbed it into my skin. Then I noticed that it really began to burn. It makes me laugh to think of the description I read as a tingling sensation or a mild irritation. In truth, it felt like thousands of tiny needles pricking me. It wasn’t incredibly painful, just incredibly irritating.
I rubbed my hands over the irritated areas and it helped to stop the “stinging”. I made several “Notes to Self” for future reference.
Helpful Tips
- Don’t spray on eczema. Thankfully washing it off the eczema patch stops the burning instantly. After re-rubbing my arms, I kept getting more magnesium oil on my eczema on my hand. I put my eczema cream on it and it helped protect the area so I didn’t have to keep washing my hands with water.
- Don’t rub between the thighs or in any other sensitive area. I had read about avoiding sensitive areas, so I was careful to only spray on the tops of my arms and legs. However, when I was massaging it into my skin, I did forget and rub it too close to my inner thighs and experienced a slight cringe-worthy moment.
- Wear shorts or something that makes it easy to access your legs. I was wearing a maxi skirt and had to hold it up as I rubbed my legs which led to me not paying close enough attention, hence the inner thigh exposure.
- The kids would freak out if I did this to them, so I’ll make them a less irritating cream instead.
Despite the tingling sensation, I’m not going to stop using my homemade magnesium spray. From what I’ve learned, the sensation is temporary. When I massage the irritated areas, the tingling dissipates for a while. I think if I am busy working it wouldn’t bother me. After about an hour the tingling had completely subsided. From what I’ve read, the burning is a sign that the body is incredibly deficient in magnesium. The more often the spray is used, the less the tingling will be.
Update
I’ve been using magnesium oil for about two and a half years now. I’ve learned a few more things:
- The spray doesn’t tingle as much when it’s room temperature.
- I spray it on the top of my lower legs and not my upper legs. I also spray it on the lower top half of my arms, not the soft underside. This helps as the skin is tougher in these areas.
- The more frequently I use the spray, the less irritating it is.
- It makes my skin feel slightly damp. This feeling doesn’t really go away on its own. I find that rubbing shea butter or coconut oil on my legs afterward helps it absorb and feel less gross.
- I notice that my anxiety gets high if I forget to use the spray for a while. This means that I’m more deficient in magnesium.
Have you ever used magnesium oil? Let us know if you try our recipe!
*I am not a medical professional and this is not medical advice. These are my own personal experiences. Should you feel you need medical advice, as always, consult a medical professional. If you’d prefer more natural medical help, look into a chiropractor, a naturopath, an integrative medical doctor or a holistic practitioner.

