52 Project, Week 26: Watermelon

52 Project, Week 26: Watermelon

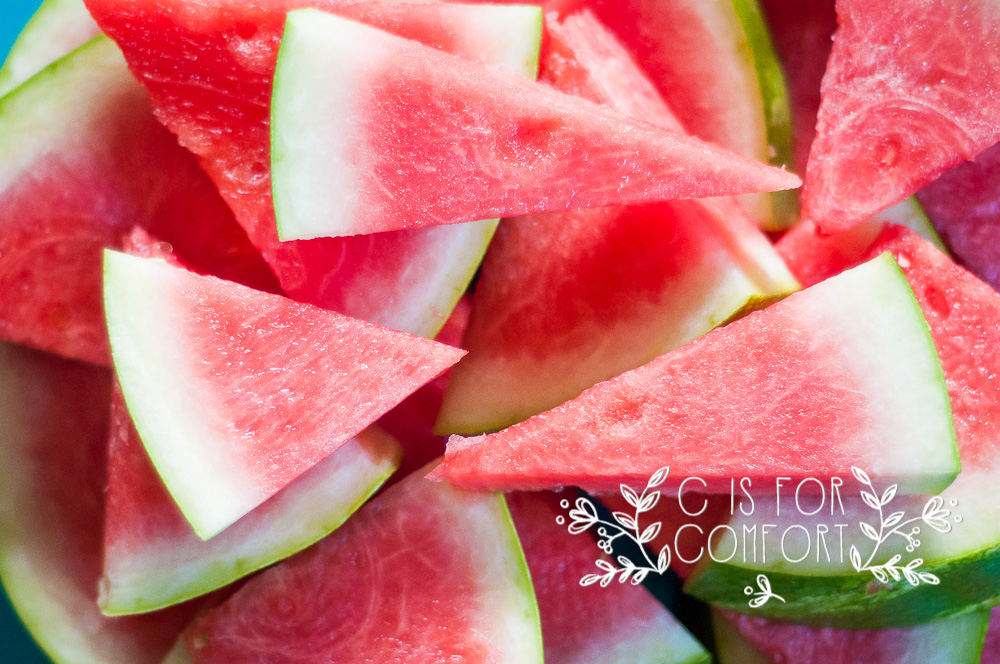
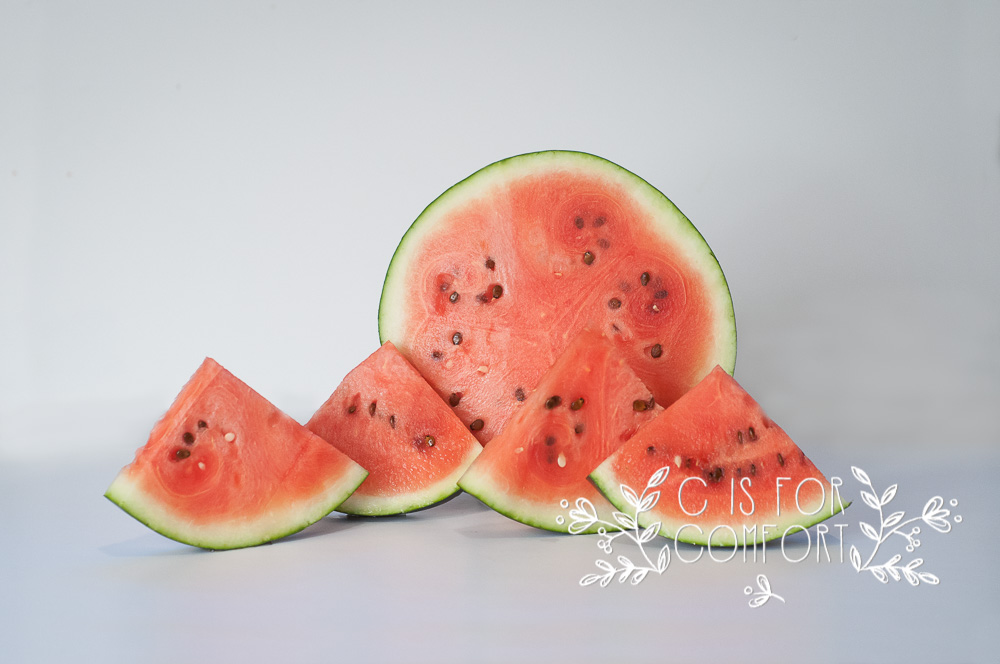
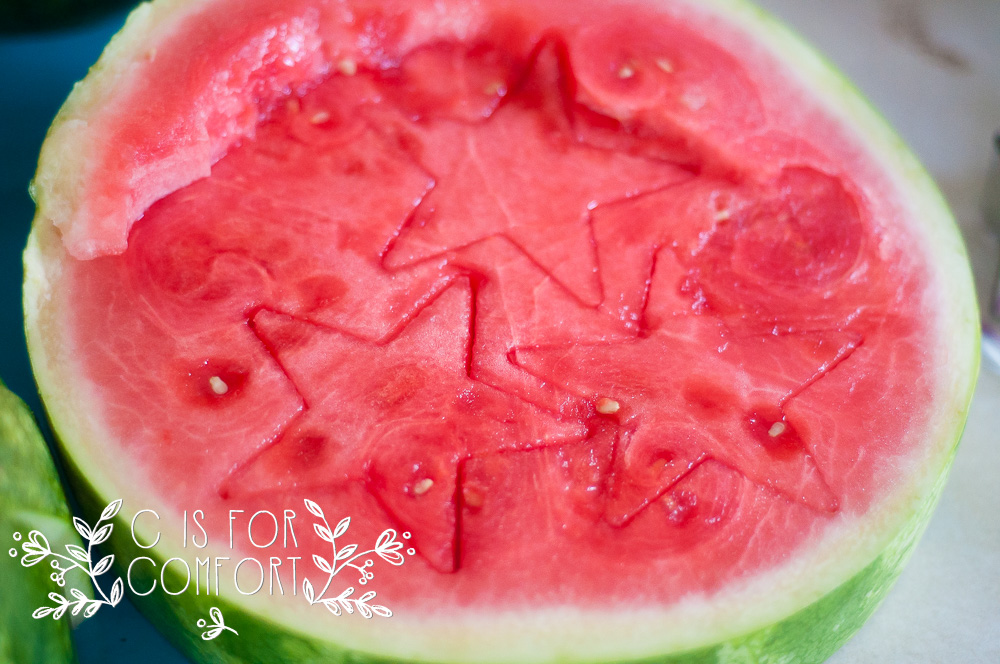
Summer and watermelon go together like pumpkins and autumn.   Watermelon is one of my favorite summer treats.  The kids usually flock around me when I start to chop one up.

This year, I grew watermelon for the first time.  We got a bunch of cute little watermelons that tasted amazing.  There really is nothing better than food grown at home. 

Watermelon is harder to photograph than I thought it would be.  I’ve always struggled to photograph the color red.  I’ve attempted to tackle it with roses but even then, they’re not exactly to my liking. 

That’s the kind of challenge that I don’t give up on.  I actually did this photoshoot 3 times.  The first two were not to my liking.  My last, I can finally say that I have an image I’m proud of.  

Previous Week: 52 Project, Week 25: Patterns
Next Week: Flip Flops/Sandals
Main Page for 52 Project

Join us for the photography challenge! We’d love to see your images!
You can post your image on our Facebook page here:

Or tag us on Instagram with #cisforcomfort52
Need inspiration for your watermelon project?  Check out my inspiration board on Pinterest!

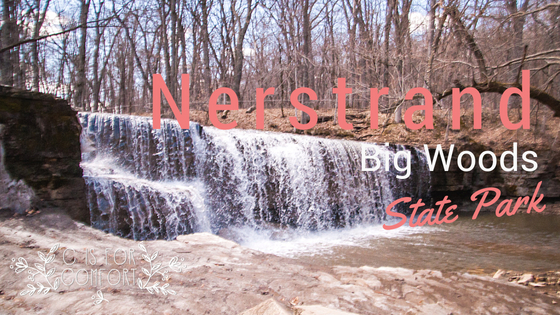
Nerstrand Big Woods State Park

Nerstrand Big Woods State Park

Are you looking for a fun new place to hike and you’re interested in Nerstrand Big Woods State Park?  Maybe you’re looking for a waterfall to check out, or maybe you want to have a challenging hike for a good workout.  Read on to find all about it!

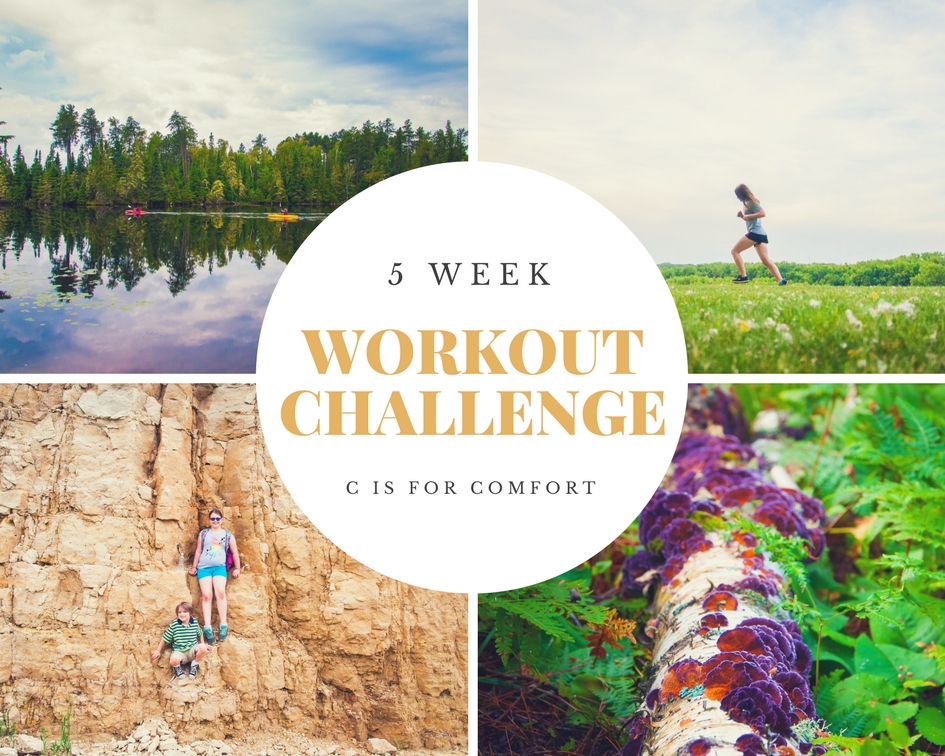
Last year, we had a lot of fun doing a 5 Week Workout Challenge.  For 5 weeks we visited a bunch of parks for hiking and also did a couple indoor workouts.  It was a lot of fun!

Although I’d love to try another challenge this year, I’m not sure what yet.  I have a few fun ideas already!  This year though, we have already started visiting new parks!   Our first new park was Nerstrand Big Woods State Park.

We’ve seen some amazing images of the waterfall at Nerstrand Big Woods State Park.  We also noticed on the website that they had a campground.  Since we love camping, we decided to check it out.

The drive out to Nerstrand was about 45 minutes.  We weren’t disappointed by the scenery,   There were lovely rolling hills of farmland broken up sporadically by patches of woods and walls of rock cut through the hills.

I found it amusing that a place called Big Woods could be found in the middle of so much farmland.   So many times, I could see nothing but fields as far as the eye could see, and I couldn’t imagine how a huge forest could be hiding somewhere.

As the fields turned to denser and denser trees, we all became excited at the newest adventure before us.  Driving up to the park, we noticed a huge solar panel, awesome!  Thankfully our state parking permit was up to date.  If you don’t have a state permit, you can find current prices here.

We drove through the campground to check out the sites to see if it seemed like a place we could stay at.  The campgrounds are a thinly wooded area and are moderately spaced apart.  Some of the spots did not look like they could fit our large tent.  Many did have adequate room, given it is an RV friendly park.  So if you’re tenting, make sure to check the tent ffot print.

We parked at the entrance to the walking trails and checked out the map.  The park was huge.  Hidden in the dense trees, I could almost forget we were surrounded by farmland and miles upon miles of fields.   On the map, the park looks like a little green dot in the middle of nowhere.  In the park, you find yourself in a precious oasis of trees and trails.

We chose a shorter hike since it was our first of the season.  We decided to head to the waterfalls one way and back another.  Both were listed as extremely difficult.

I found out that the difficulty was most likely related to the incline.  Down was easy, up, was not.  Unrelated to the map, we also had to navigate the mud and puddles left behind by the winter melt.  I think this was probably the hardest for our family.  Trying to keep the kids from playing in the mud!  Ha!

The day we came was incredibly busy.  Everyone else must have been equally excited to get out of the house.  Everywhere we turned on the way down were people and dogs.  People in front and behind us.  Given that most Minnesotans are cheerful folk, we had a lot of small chit chat and friendly greetings.

The falls were beautiful.  There was still snow and ice all around.  I can only imagine how they must look frozen over.  The falls themselves aren’t very large.  I wasn’t worried about the kids drowning in the creek, should they fall in, just that they would get wet and make a mess.  I did have to constantly reign them in due to the pent-up excitement of being outside.

Our way back was pretty not so crowded.  Although we could hear the gleeful sounds of children echoing throughout the park intermittently.  I had to have Nate drag me up one steep hill, but other than that, the rest was a relaxing stroll.

We really enjoyed our visit.  We might have to come back another time to check out some of the other trails and to see what the park looks like when it turns green!  Or maybe even come back in the fall!  It looks like they get a lot of beautiful color!

Have you been to Newstrand Big Woods State Park? What is your favorite hiking trail in Minnesota?  Let us know, we’d love to check it out!


Check out our video!


7 Summer Challenge Ideas

7 Summer Challenge Ideas

Although spring has had a late start this year, these last few weeks have really warmed up!  It’s almost hard to believe that a few weeks ago, we had a huge blizzard!  If you are anything like us, you are probably itching to get outside and enjoy the warm, fresh air!

Last year we had so much fun doing a 5-week workout challenge!  Every week we made it a goal to move our bodies.  I don’t know about you, but I am not a big fan of a traditional work out session.  I have a hard time getting motivated to stare at a TV and watch other people work out. Or worse, go somewhere public to work out with strangers.

Hiking is my favorite way to get exercise.  Being outside, in nature, makes me happy.  Getting a change of scenery, enjoying a new adventure, exploring a new location, what’s not to love?!

When doing research for local parks online, I found so many!  I felt like the ones I had seen were just a drop in the bucket.  I wanted to see them all!  Is it crazy and over-ambitious that I’m not exaggerating?!

We had only scratched the surface last year.  I knew, without a doubt, that our adventures would continue.  Should I do another workout challenge?!  I don’t know.  It did motivate me last year.  Honestly, many days I felt like sitting on the couch and being lazy in the air conditioning.  Knowing I had made a commitment kept me going.

Maybe this year is time for a new challenge.  There are so many options!  I might have to try one or all of these.

7 Summer Challenge Ideas

  1. Get Outside Every Day Challenge-For 3 months… for a year?!
  2. How many parks can we hit in the summer? 30? 40? 60?!
  3. Around Minnesota in 80 Days
  4. Exercise Every Day for a Month
  5. Art Challenge
  6. 30/60/90 Day Planking Challenge
  7. 100 Days of Gardening

Get Outside Every Day Challenge/ 100 Days of Sun

People Are spending more time inside than ever before in history.  With the air inside polluted and stale, getting outside is vitally important to our health.   AT LEAST an hour outside every day is the recommended amount for every age.

There are literally hundreds of things to do every day, all year round!  I made a list of fun things to do, outside, in summer that you can check out for ideas.

30 FUN Parks in Minnesota That You Have to See!

Visiting Parks is one of the most fun things to do in the summer.  Parks are full of activities for every age.  The whole family can go for a hike.  The kids can play at the playground while the adults relax and chat.  Biking, swimming, sightseeing, bird watching, there are so many options!

Although the title is just an idea, you can set your goal for as many or as little parks as you think you will visit.  Obviously, you will change Minnesota to your own local area.

Around Minnesota in 80 Days

This title leaves the window open for future fun expeditions.  If you don’t have an exact plan of what you want to do, but you know you want to start a challenge, this might be a good starting point.

I might make a fun list soon about traveling ideas within a region.  To get you started with a few ideas, you could visit local parks, check out small historic towns, visit a museum, check out a historic site, go to a zoo, smell the flowers at a conservatory, and so much more!

Exercise Every Day for a Month!

I don’t know about you, but I have a hard time getting motivated to exercise.  Making it a goal is a great way to keep on track and get your body moving.  Last year we did a 5 Week Workout Challenge.  It was a lot of fun!

Working out doesn’t have to be just exercise videos or hitting up the Y.  Exercise can be so many different things!  You could go hiking, ride a bike, go kayaking, go swimming or even try rock climbing!

Art

There are so many options with this one!  Art is near and dear to my heart.  My Grandfather was an artist.  He inspired me to be a creative person.  I’m working hard to instill a love of being creative in my children.  This would be the perfect project for us all to enjoy together.

If you didn’t have an artsy Grandpa, here are a couple of ideas to get you going!  I’ll make a more extensive list in the future too.  Paint on canvas, visit an art museum, draw with chalk, paint rocks, make a birdhouse, do a photography project, color with crayons and so much more!

52 Project, Week 11: Art

30/60/90 Day Planking Challenge

Last year, during our 5 Week Workout Challenge, we tried planking for two of the days.  Planking is HARD!  It was so much harder than I thought it would be.  It’s such a great way to build muscle FAST though!  I’d love to try a 30-day plank challenge to see how long I would last at the end of the 30 days.

I think it would be fun to plank in different places every day for different visual content.  The kids would probably love that too!

100 Days of Gardening

I started my first vegetable garden last year.  This year we have been expanding, growing new things and learning more and more about gardening.  Doing a 100 days of gardening challenge would be a perfect way to learn about gardening faster and get a lot of fresh food!


I would love to know how you are going to challenge yourself this summer!  Let me know in the comments!

52 Project, Week 24: Words

52 Project, Week 24: Words

It took me quite awhile to mull over what I was going to do with words.  Should I photograph a few meaningful words?  Should I photograph a journal page?  Should I go out and find some words that appeal to me?

What words are worth capturing for this project?  What words will have meaning and depth?  Should I choose my own language or another?  Words do always sound more romantic in another non-native tongue.

After Princess woke up and climbed into bed with us last night, I couldn’t fall back asleep.  I mulled over words, saving inspiration to my Pinterest board.  I put down my phone and attempted to go back to sleep when it came to me.  I wrote the whole blog post in my head and it sounded great!  Best blog post ever!  As I drifted off to sleep, I knew I would forget every word.  So I turned on the light and jotted down the most important part.

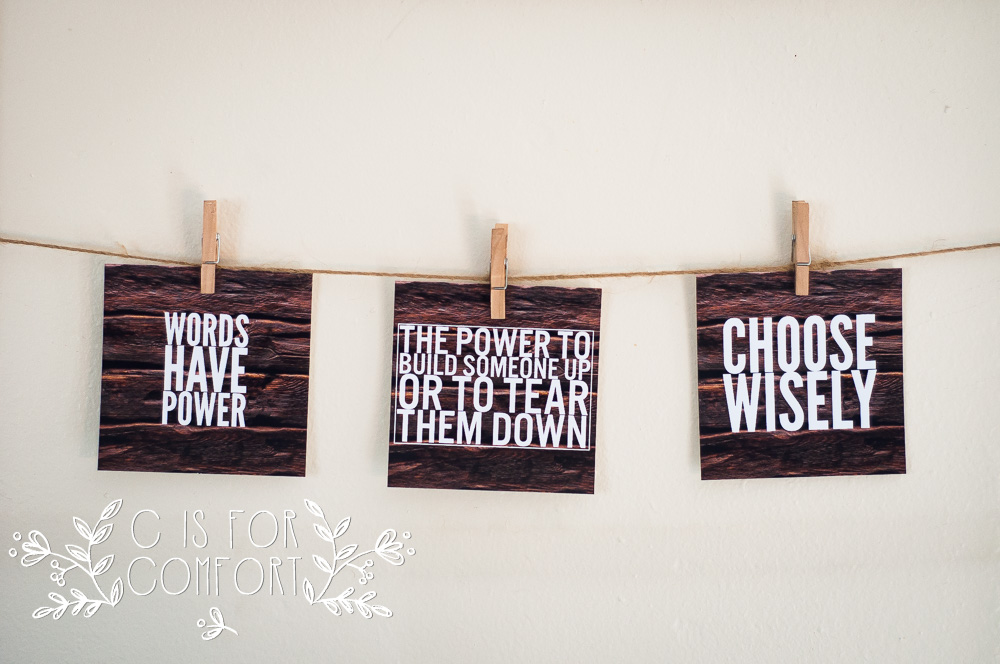
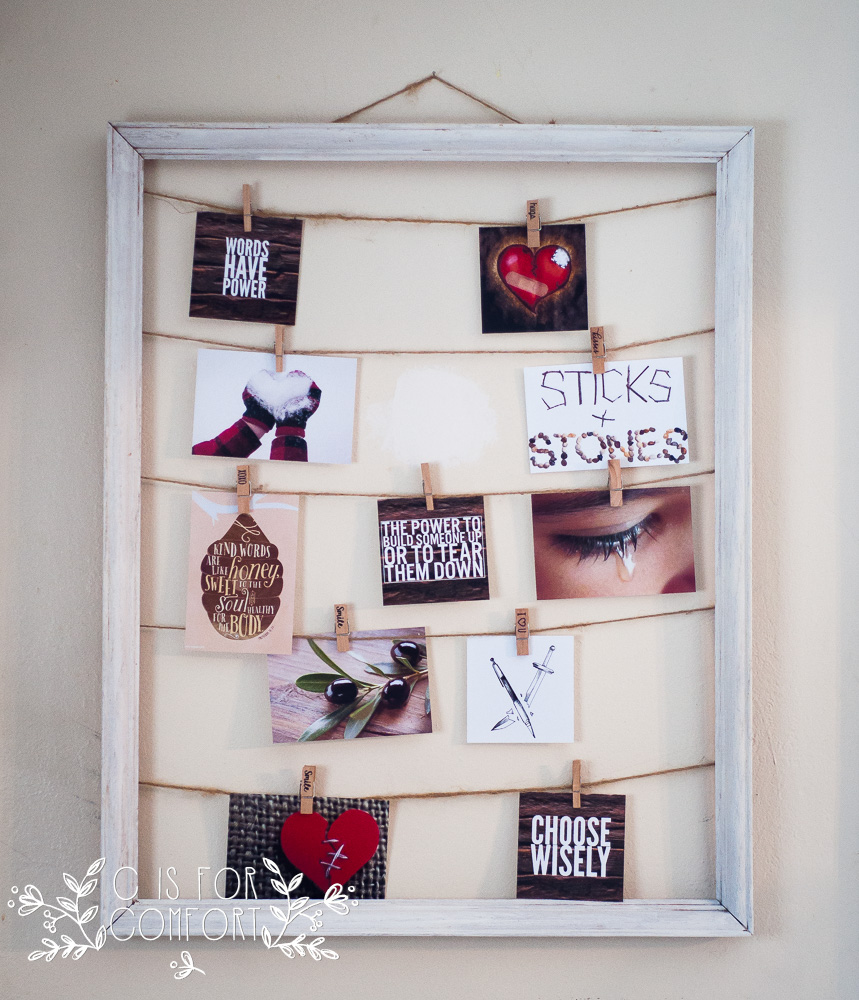
Words have power.  The power to build someone up or to tear them down.  Choose wisely.

When I think of all of the words that have made the sum of my life, there have been billions.  I learned to speak, I learned other languages.  I’ve heard others speak.  I’ve written countless school papers, letters, journals, work notes, and emails.  Words make up a large portion of my life.

Words create emotion that can touch deeper than any slap or caress.  Words can be cruel, hate-filled, malicious, violent, slanderous and life-shattering. Words can be kind, gentle, loving, hopeful, sweet and uplifting.  The bible says “Thoughtless speech is like the stabs of a sword, but the tongue of the wise is a healing.”

Words must be chosen carefully.  I can remember vividly, words that I regret using.  I can also remember words that have changed my life.  I have deep sorrow for words never spoken.  I have tears for the memory of words from lips that have been silenced.  I have pain from words of vows that have been broken.  I have joy from words of memories of my favorite things.

Words can be a gift when used wisely.   In turn, those words can be a curse when used carelessly.  So think carefully about your words, friends.  Be careful, be patient and most importantly, be kind.

How have words changed your life?  What are some of your favorite words?

Previous Week: 52 Project, Week 23: Green
Next Week:52 Project, Week 25: Patterns
Main Page for 52 Project

Join us for the photography challenge! We’d love to see your images!
You can post your image on our Facebook page here:

Or tag us on Instagram with #cisforcomfort52
Need inspiration for your words project?  Check out my inspiration board on Pinterest!


Making Your Own Dried Basil

Making Your Own Dried Basil

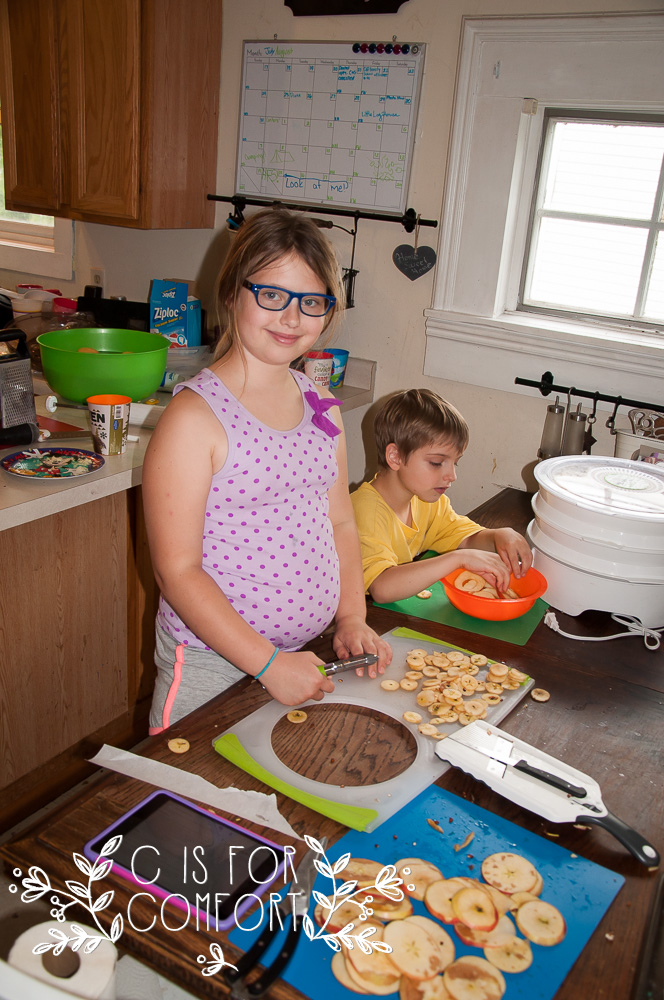
Making dried basil is so incredibly easy, I think my children could do it!  Plus, homemade is always so much cheaper than the store, after the initial purchase, it’s free!

I grew my own basil this year and it did really well!  I’ve tried to grow basil one other time when my neighbor gave me a gift of basil in a pot.  It died within a few months, sadly.  If you know anything from reading my blog, it’s that I don’t give up easily.

When Nate saw a potted basil plant at Walmart earlier this year, he suggested we give it another try.  I immediately jumped on the idea.  We brought our new plant home and it did exceptionally well! In fact, it became enormously bushy.  I have had to prune it back a few times.

I love having potted basil year round.  Pinching off a few leaves for snacking on with tomatoes and cheese is one of my favorite ways to enjoy fresh basil.  I also love to cook with it after it’s been dried.  It’s one of my main herbs that I use.

Here are the steps I use to make my own dehydrated basil.

  1. When your basil gets especially bushy, trim back the stems until it has a nice compact shape.
  2. Put the stems in a strainer and gently rinse them off.
  3. Shake the excess water off of the basil.
  4. Remove the leaves from the stems and place them in the dehydrator.  Use a fine mesh or fruit leather attachment for smaller leaves.
  5. Dehydrate until leaves are dry and crumbly.
  6. Put basil on a plate and crumble into small pieces.
  7. Put dried basil crumbles into a spice jar.
  8. Lable jar.

You can check out how I have dried basil in my videos!

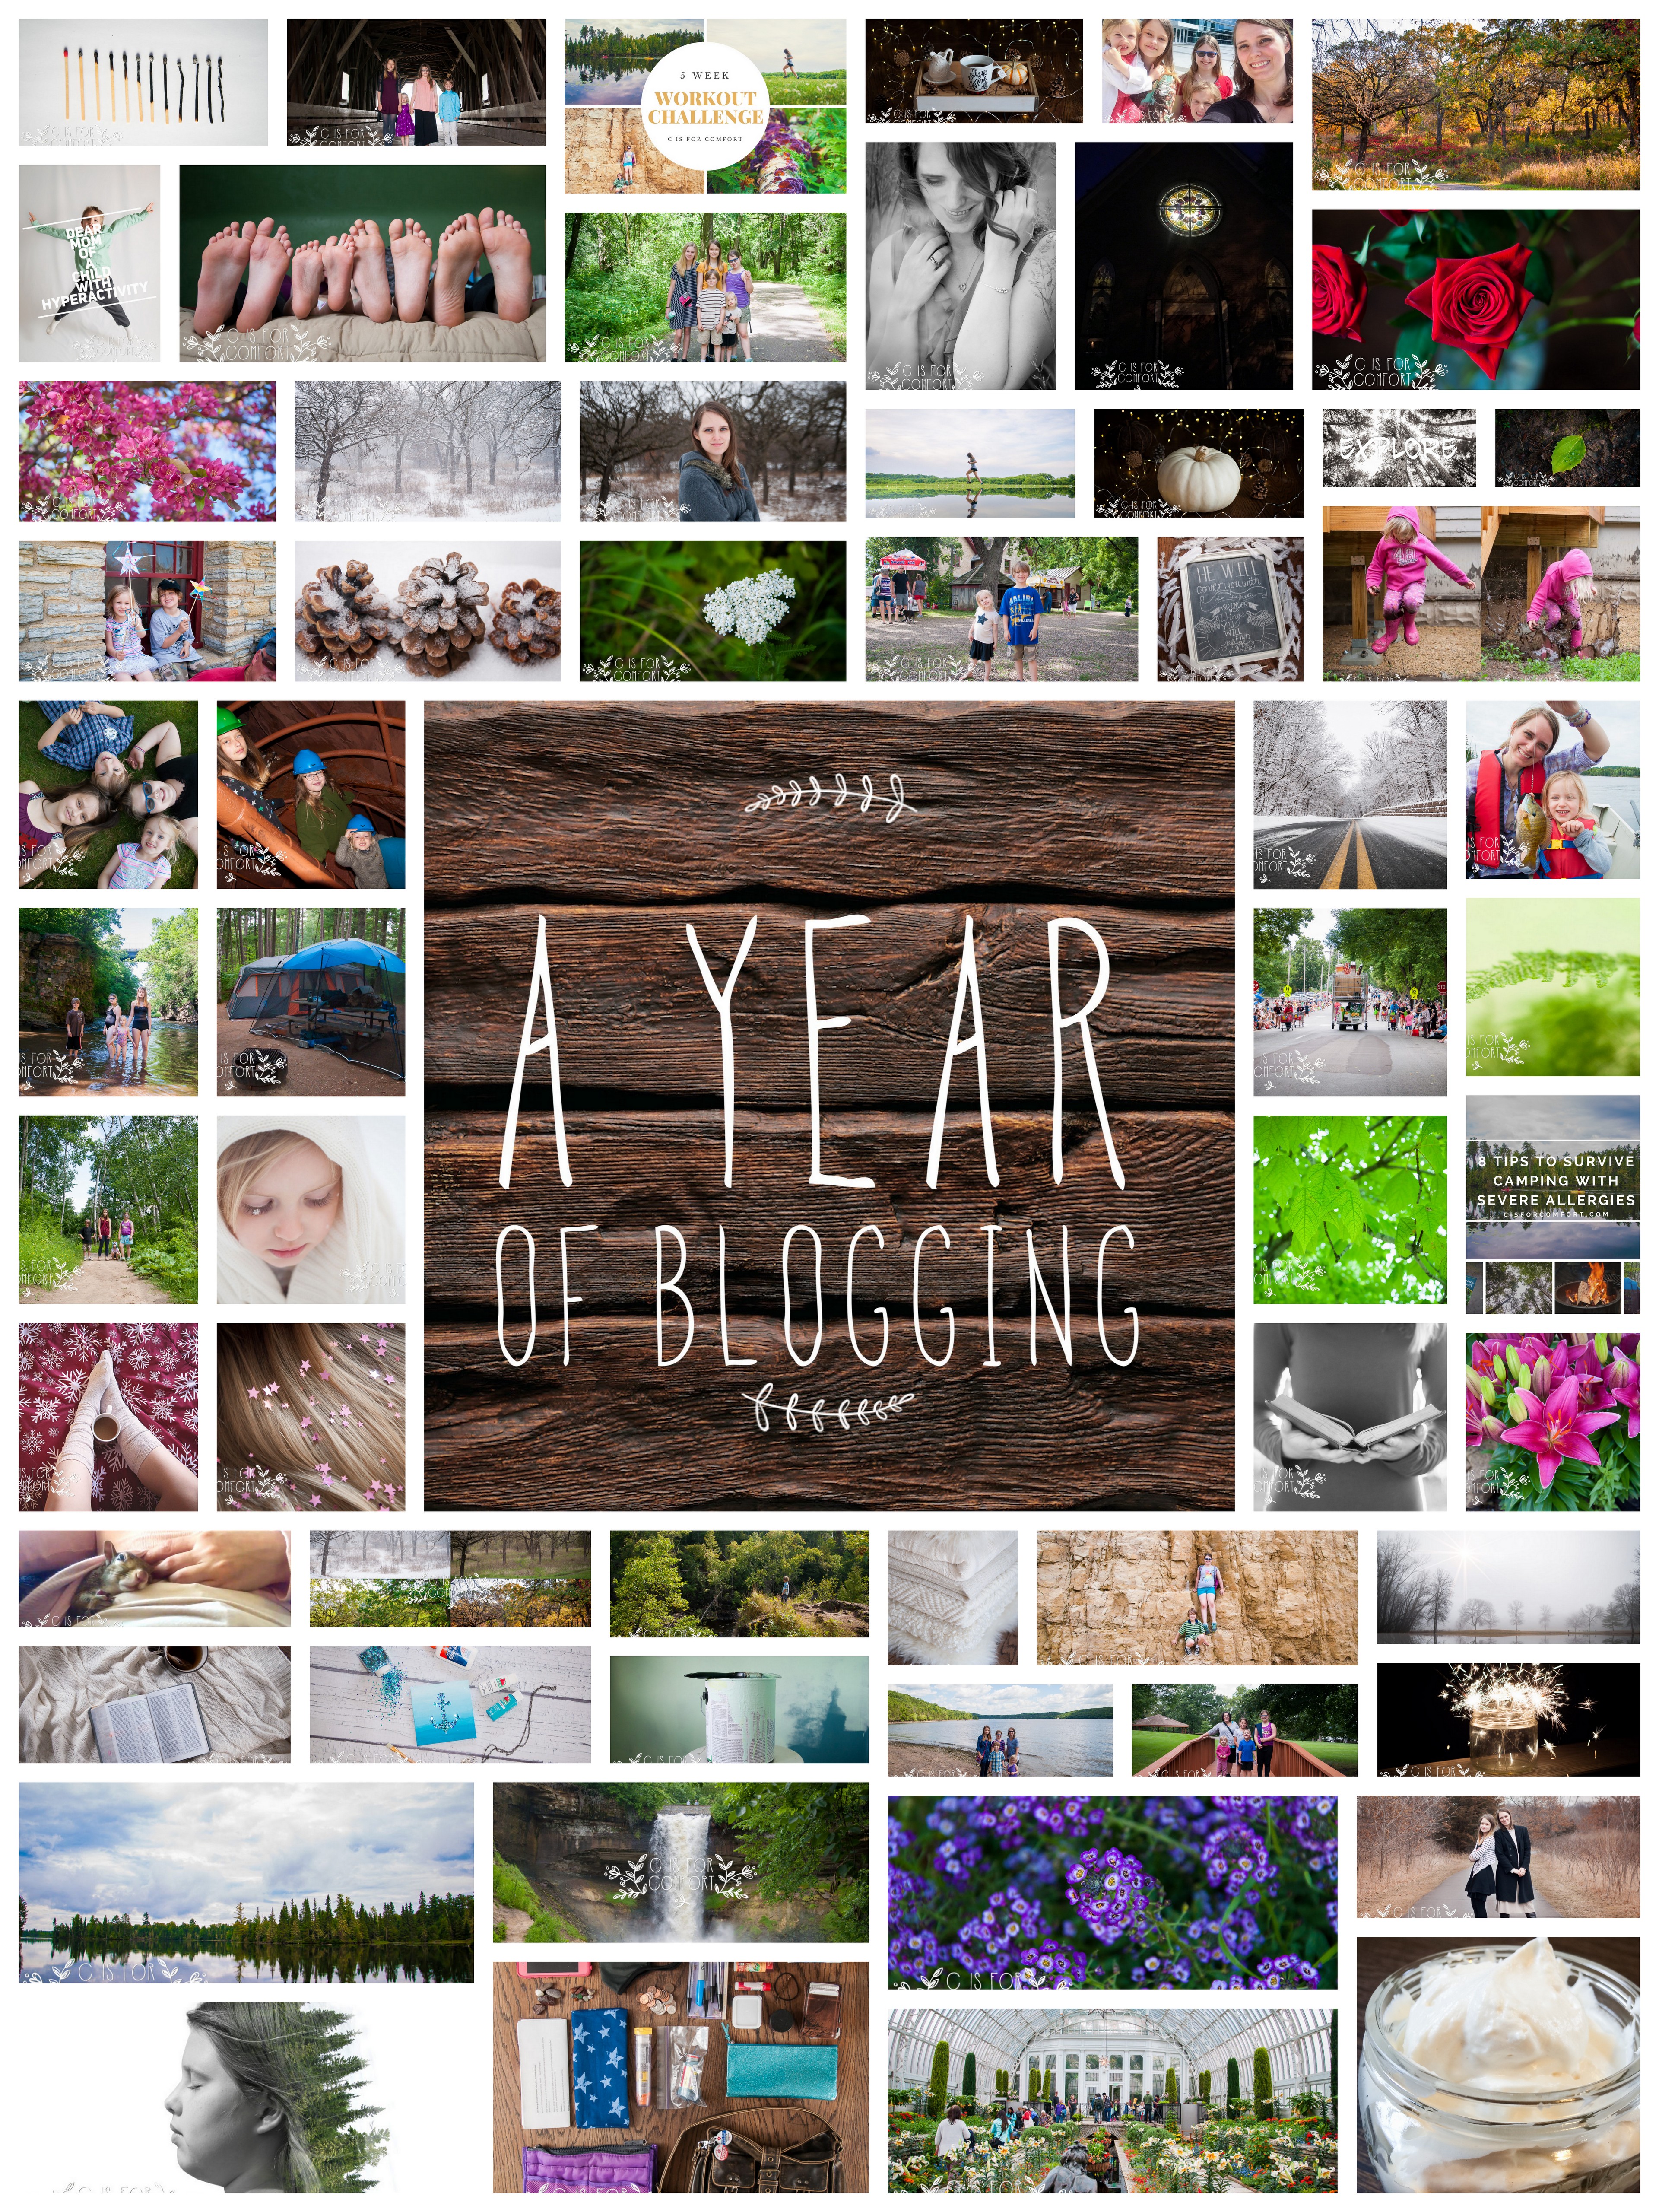
What I’ve Learned From A Year of Dedicated Blogging

What I’ve Learned From A Year of Dedicated Blogging

I started my blog as a fun hobby.  In the first few years, I only made a couple of posts.  I knew I wanted to do more, especially since I was making the investment in paying for hosting.  Letting my blog sit there seemed like a waste of money.

It wasn’t until my circumstances changed that I decided to dedicate time specifically to blogging.  My health had taken a turn for the worse, I had to quit working.  I was struggling with accepting my new life and the depression that came with significant change.  I knew I needed to fill the void of work with a new hobby.

Blogging seemed like the perfect way to occupy my mind and fill my time with something positive.  Since I stopped taking professional portraits for other people, I reminded myself that I could still be a photographer, only, I would be taking images for myself.  I decided to challenge myself with something I have always wanted to do, a 52 project.  It was a lot of fun and I love the way my images turned out.  From there, it became easier to blog about things.

With the end of school nearing, I decided to add another challenge to my blogging, vlogging.  This took my blogs to a new level, as I had videos to go along with my writing.  I initially started vlogging for fun and as a challenge to warm me up to what I really wanted to do.  I wanted to do a video series on the challenges of severe, life-threatening allergies.  Along with this, I will have accompanying blogs that detail in writing the facts that go along with my videos.

Over the past 5 years of health struggles, I have done an extremely large amount of research.  Some of the things I researched had little to no information and I had to really dig in order to learn.  It was so hard to gain footing in the world of severe allergies.  Not many people are allergic to nearly the entire world, and there isn’t a handbook that goes along with it.

I knew that I wanted to help people and make their journey a little easier, by sharing my story and experiences.  I wanted to help someone avoid some of the mistakes I’d made in the beginning, or maybe find a new way to help them cope now.

I realized that I had found the purpose of my blog.  I guess you could say I found my niche.  This information isn’t only helpful for those with severe allergies.  It is beneficial for everyone.  I tell people that I am the canary in the coal mine.  If my health takes a dive because of my sensitivity to chemicals, then It can’t be very safe for other people either.  Even if they’re not having a life-threatening reaction to it.  Toxic chemicals are not beneficial to anyone.

Holistic health and nutrition can benefit everyone live a healthier, more meaningful life.  Living life without toxic chemicals reduces the risk of having cancer, heart disease, eczema, diabetes, and more.

I love sharing what I’ve learned with others.  Blogging gives me a platform so I don’t have to drive my friends and family crazy by constantly talking about the latest medical article I’ve been reading.  It allows me to share my photography.  It allows me to be creative and give me an outlet for my lack of ability to work.  Hopefully, someone out there will appreciate and enjoy my ramblings and my photography.

After a year of dedicated creating every month, I can definitely say that blogging is something I enjoy and will continue to do.  Thank you for those of you who have commented, shared, liked and followed me over this last year.  I have loved hearing that you enjoyed something I shared.  Hopefully, I’ll have more fun things for you in this coming year!

Love, Melissa

52 Project, Week 22: Self Portrait

52 Project, Week 22: Self Portrait

This is perhaps the most difficult photography project yet.  Like many of you, being in front of the lens instead of behind it makes me cringe a bit.  Attempting to photograph oneself requires more work, more equipment, and more bravery.  However, it can also be a lot of fun!

So what do you need for a self-portrait project?  Why does it require more work, and what equipment is necessary for a project like this?

More Work

Like all of my projects so far, I have usually researched the work of other artists.  I love using Google and Pinterest for this.  By using keywords for the general idea of what you’re looking for, you can find inspiration for your own project.  Plus, seeing all of the amazing things that others have come up with is great motivation!

Although, sometimes, even after all of my research, I scrap my whole idea and come up with something entirely new.  It’s all part of the process.  By finding what you don’t like about something you’ve tried, you find what you do like instead.

In the case of a self-portrait, you have to try to find ideas that can apply to a self-portrait.  Some angles and positions are tricky enough for a photographer and a subject, but for oneself, it can be next to impossible.

Over the years, I’ve become more aware of posture and angles, due to being a portrait photographer.  In the beginning, I used to catch sight of myself in a mirror and pause, refine the pose, and mentally save the idea for later.  After several thousands of subjects later, posing became second-hand nature.  The downside to this is, I hate to be repetitive.  Too much a good thing can be bland.  So I try to mix it up and try poses outside of my comfort zone.  THIS IS NOT THE PROJECT FOR THAT.  Stick to the classic, tried and true posing for yourself.

When you’re on location, you won’t be able to see yourself to make sure you’re in a good pose.  The best way to handle this, besides bringing a full body mirror and a stand for it, is to practice at home in front of a full body mirror.  Turn around a few times, wiggle, then face the mirror.  Close your eyes and try to recreate the pose you practiced.  Open your eyes.  Once you have refined the muscle memory necessary, you’re ready to go!

To summarize what you might like to do for your project:

  • Reseach keywords on Pinterest and Google image search.  Good keywords are self-portrait photography.
  • Don’t be afraid to scrap your original idea if it’s not working out.
  • Become aware of natural bends and curves.  Watch people to see the angles and tilts of their heads, the bends of joints, like elbows, wrists, waist, and knees, the positioning of arms and hands, legs and feet.
  • Practice posing in front of the mirror.

More Equipment

This leads me to what equipment is necessary for self-portrait project.  The obvious thing necessary for this project is a camera.  Almost every camera on the market has a self-timer, from iPhones to high-end DSLRs.  Not every camera has a remote option, but should yours have one, it can make the job easier.

A tripod is also extremely helpful.  Yes, you can be creative and find ways around this, but the job will be more difficult.  A classic tripod is awesome, you can raise your camera to your eye level at any location.  A portable, flexible tripod can be great for trying some of those weird angles that I was talking about earlier.  For example, if you want your camera to be higher than your head, or if you’re in a small and tight location where there isn’t room for a traditional tripod.

A mirror is also a nice thing to have on hand.  If you don’t have someone (usually the photographer’s job) to check to make sure your hair and makeup are ok, then you definitely need to check yourself.  Otherwise, you could have a lot of post editing should you have a clump of hair sticking up at a colic.

Everything else necessary is only what is necessary for every photo shoot, which I’m not going to go into detail here.  I don’t like a lot of equipment.  I like to stick with the basics.  For a self-portrait, where you are the photographer and the subject, you don’t want to carry a large amount of gear and end up crumpled and flustered. Carry what’s light and easy, so that you can focus on the task and not the gear.

To summarize what you might like to do for your project:

  • Find out how to set up the timer on your camera.  Or figure out how to work the remote for your camera.
  • Figure out if you are going to use a tripod or set your camera on a shelf.  Make sure you have all the necessary pieces for your tripod.  Mainly, the attachment for your camera.
  • Gather supplies, including a mirror.
  • Ask yourself if each item you’re bringing is necessary or excessive.

More Bravery

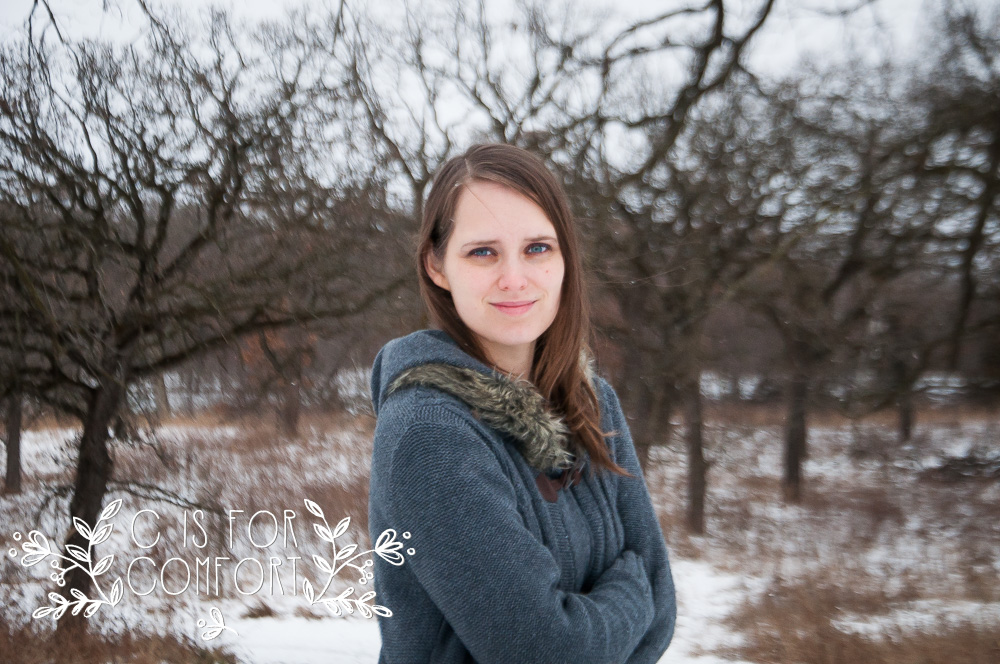
As for bravery, I don’t like photographs of myself.  There are very few that I do like, much less love.  The idea of being the center of attention makes me cringe.  Taking a self-portrait feels like I am baring my soul, naked to the world for critique.  I overthink it and due to that, I haven’t taken my portrait.  Seriously, months have dragged by and my project is a little behind.

Silly, I know, when I’m writing a blog.  For me, this is kind of terrifying.  I fit the classic description of an introvert.  Every time I make a post, I have a small panic attack.  What if they don’t like me?  What if they hate me?!

Being brave enough for your own self-portrait is mostly necessary during the planning phase.  I tend to overthink everything, so if I can get past the planning phase and into the action, I’m a much more laid back person.

Once I’m on location and the camera is on, I’m focused on my work, all worry erased from my mind.  I love being a photographer.  I love working with my chosen beloved tool, my camera, analyzing light, hunting and seeking the details that make it come together, creating an image, a work of art.  I look back on my work years later and I am so thankful, for all of it.

So, despite the delay, I’m going to take the plunge and post my self-portrait.  I’m choosing to be brave.

How do you feel about having your portrait taken?

See my first attempt at a self-portrait project here:


Previous Week: 52 Project, Week 21: Simplicity
Next Week:52 Project, Week 23: Green
Main Page for 52 Project

Join us for the photography challenge! We’d love to see your images!
You can post your image on our Facebook page here:

Or tag us on Instagram with #cisforcomfort52
Need inspiration for your self-portrait project?  Check out my inspiration board on Pinterest!

52 Project, Week 42: Autumn Trees

52 Project, Week 42: Autumn Trees

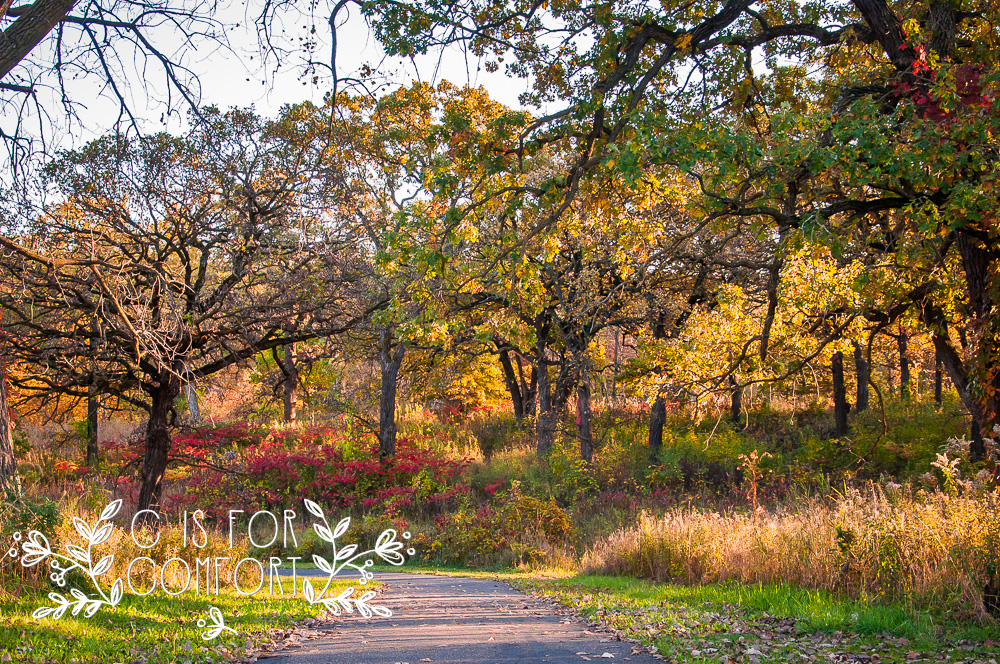
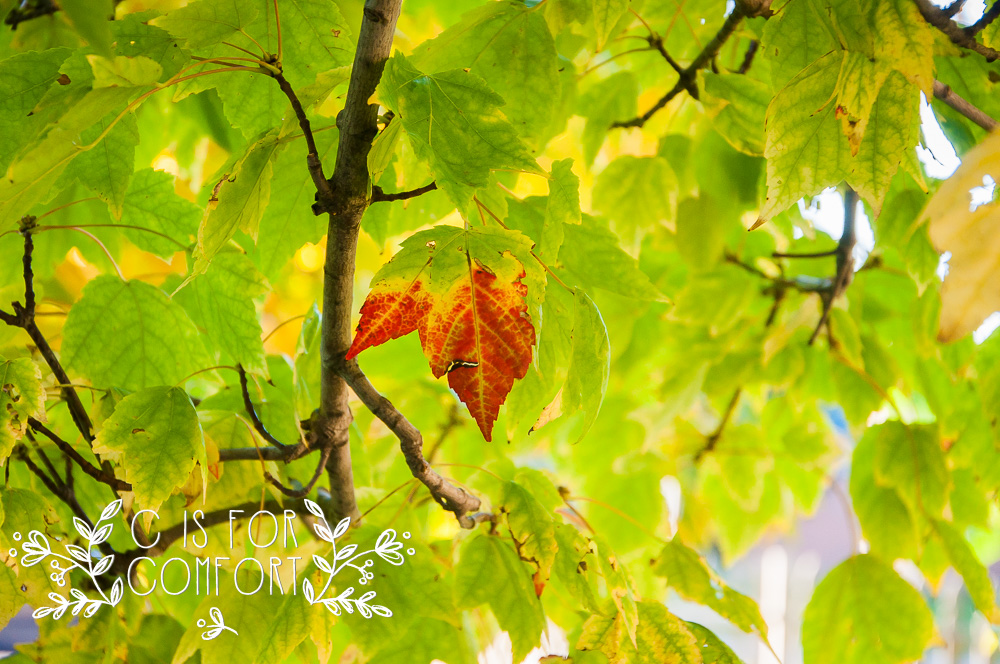
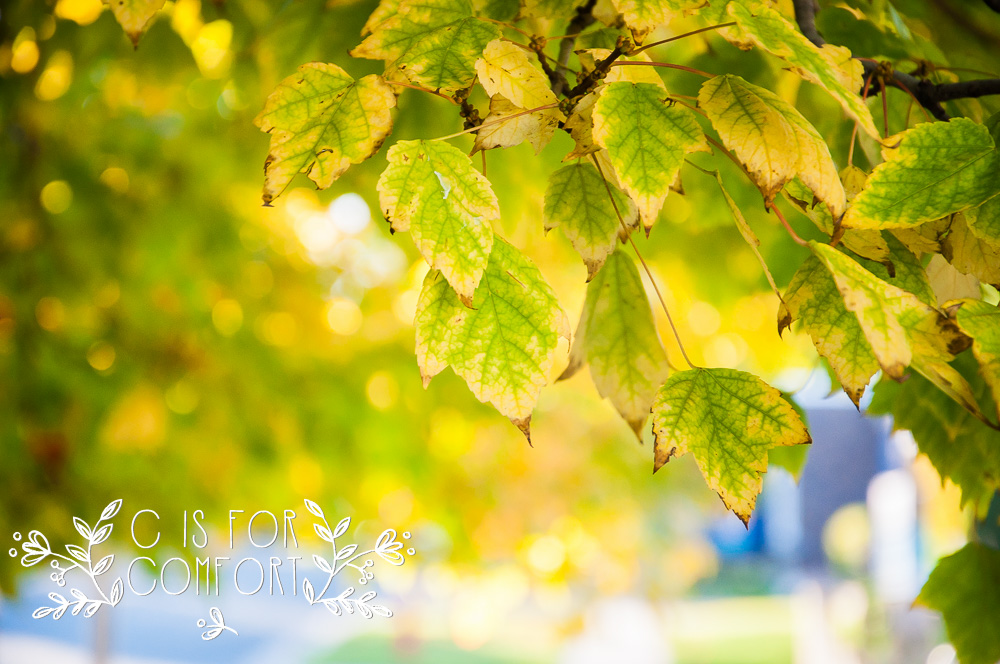
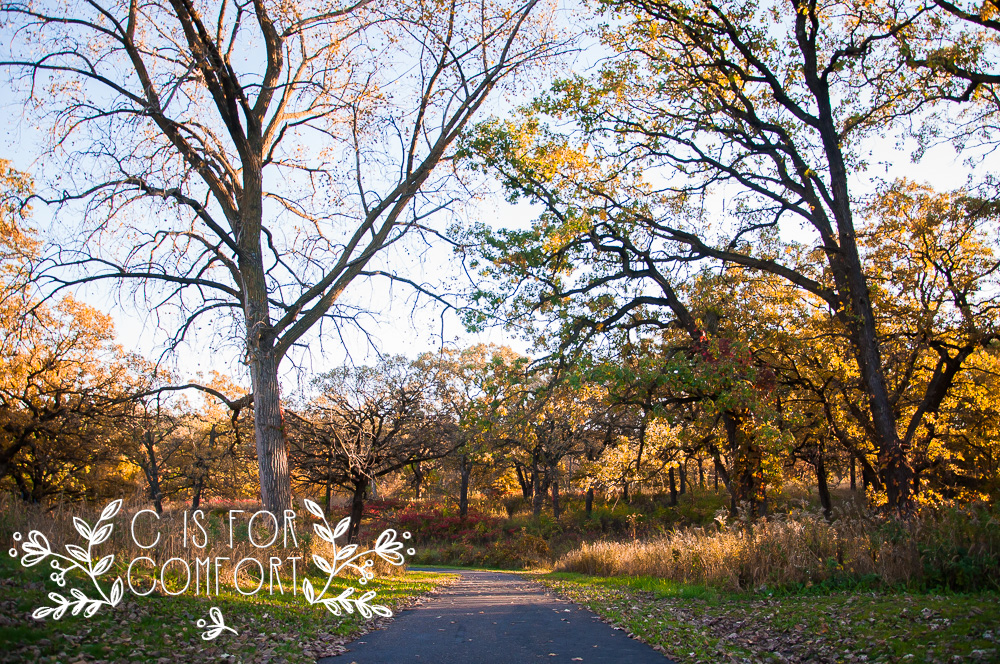
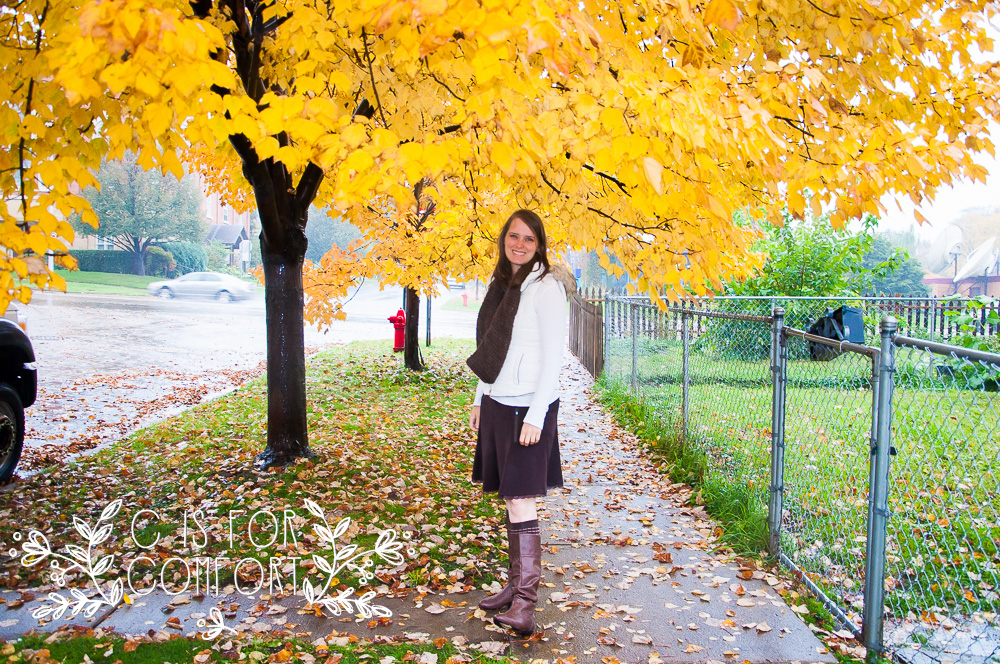
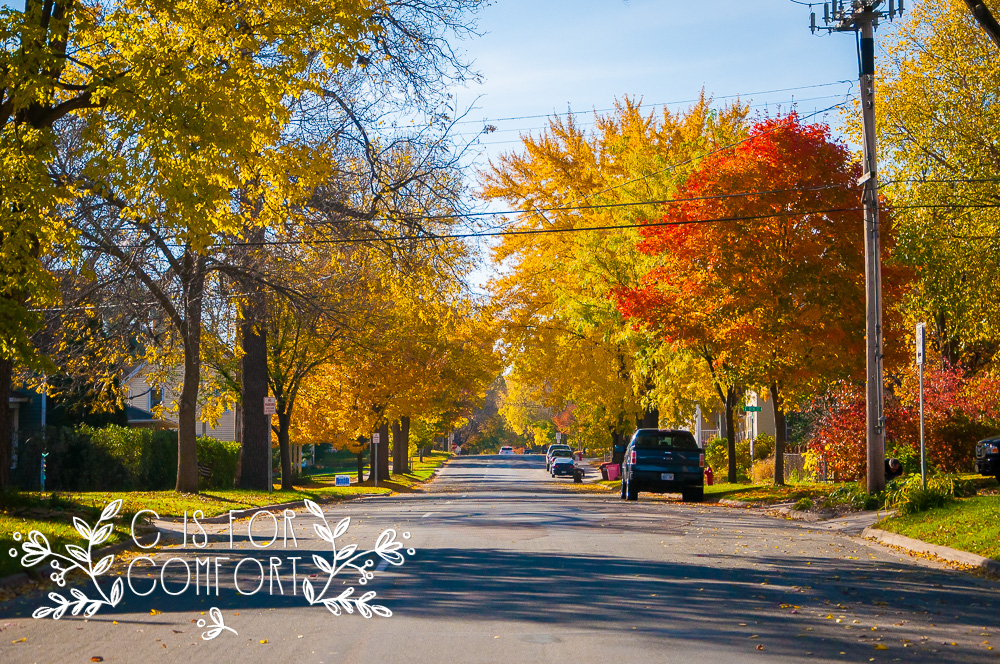
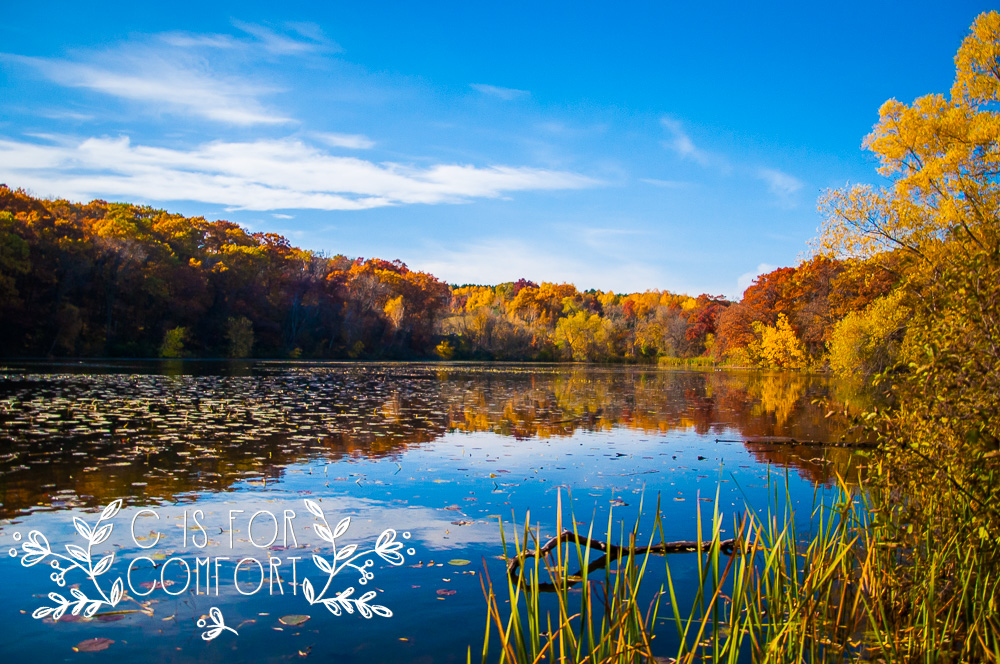
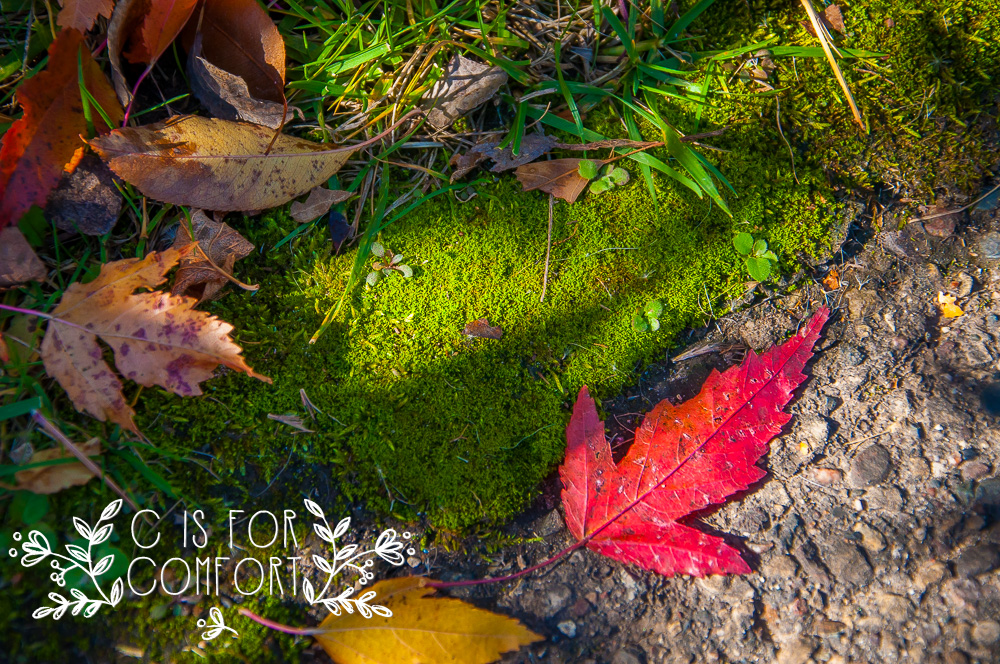
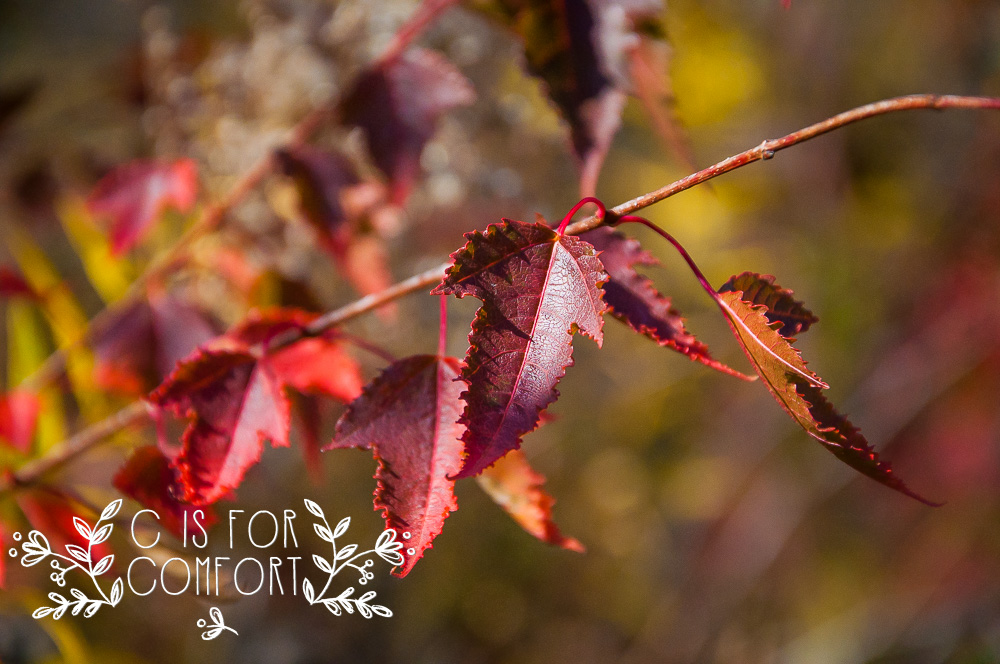
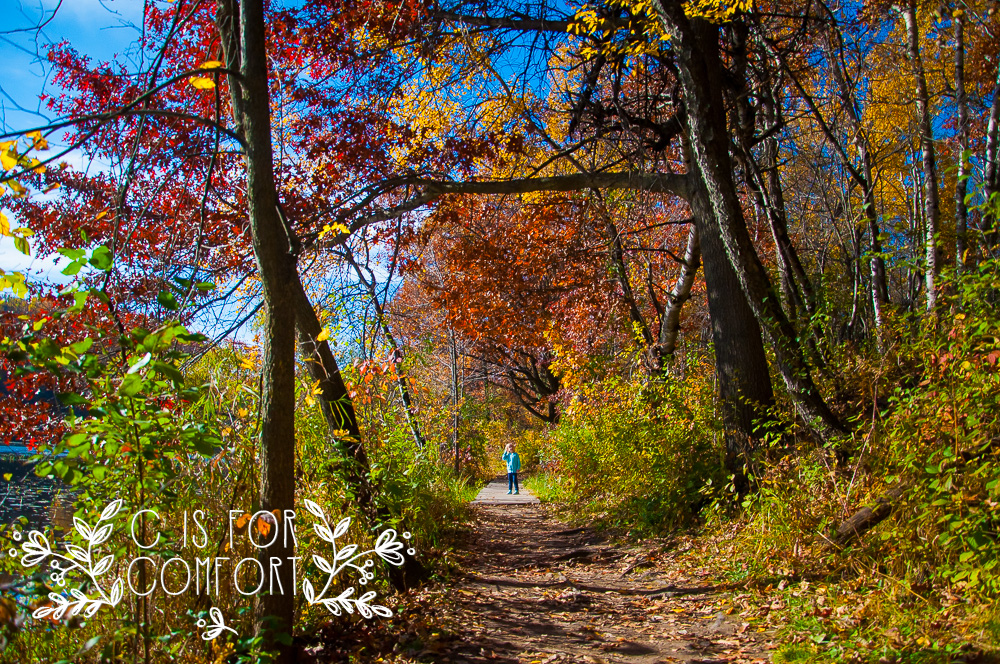
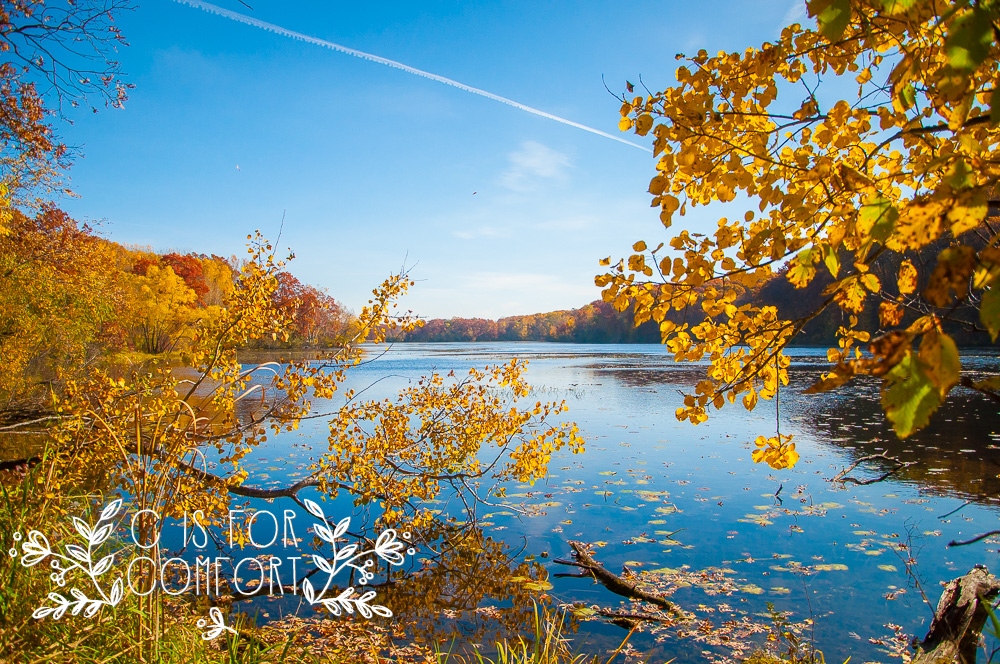
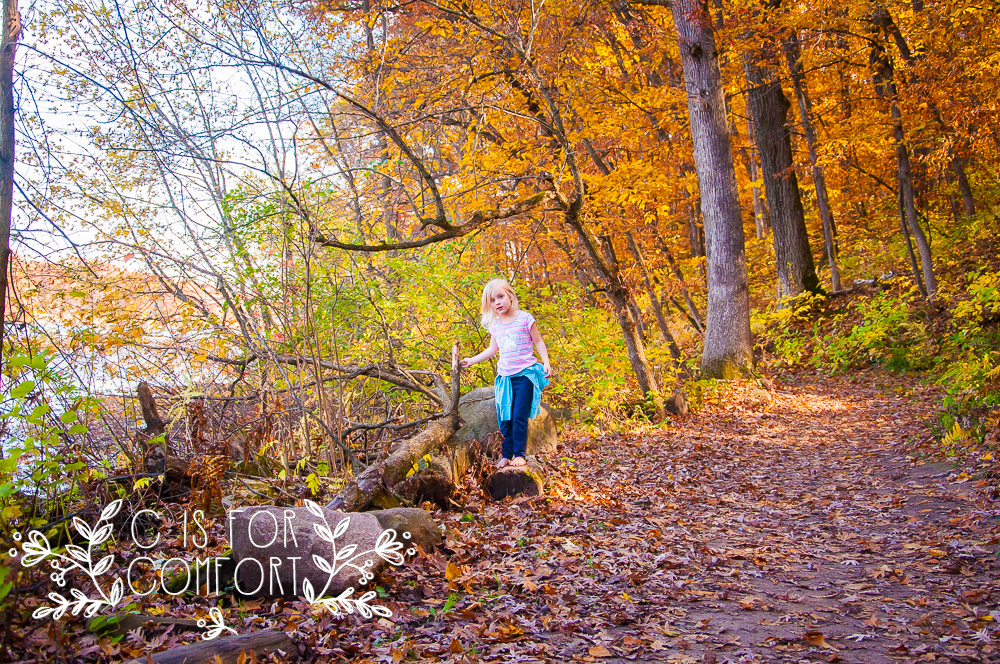
Autumn is my favorite season.  Autumn trees are part of why it is my favorite season.  The colors of the leaves transform the world into a breathtakingly beautiful place for a short week or two.

Here is one of my favorite autumn trees poems.  While googling the words for this poem, I found out that it is actually a song!  I might have to learn the tune so I can sing it to my kiddos next autumn.

Come Little Leaves
by George Cooper

“Come, little leaves,” said the wind one day,
“Come over the meadows with me, and play;
Put on your dresses of red and gold;
Summer is gone, and the days grow cold.”

Soon as the leaves heard the wind’s loud call,
Down they came fluttering, one and all;
Over the brown fields they danced and flew,
Singing the soft little songs they knew.

“Cricket, good-bye, we’ve been friends so long;
Little brook, sing us your farewell song-
Say you’re sorry to see us go;
Ah! you are sorry, right well we know.”

“Dear little lambs, in your fleecy fold,
Mother will keep you from harm and cold;
Fondly we’ve watched you in vale and glade;
Say, will you dream of our loving shade?”

Dancing and whirling the little leaves went;
Winter had called them and they were content-
Soon fast asleep in their earthy beds,
The snow laid a soft mantle over their heads.

52 Project, Week 42: Autumn Trees

Previous Week: 52 Project, Week 41: Pumpkin
Next Week: Favorite Outfit
Main Page for 52 Project

Check out our autumn trees video!

Join us for the photography challenge! We’d love to see your images!
You can post your image on our Facebook page here:

Or tag us on Instagram with #cisforcomfort52

52 Project, Week 29: Summer Trees

52 Project, Week 29: Summer Trees

Summer is such a brief time in Minnesota.  It’s a few short months of sunshine, warmth, and greenery.  We can temporarily shed our many layers and don clothing that exposes our skin.  We wear sandals and flip-flops or even luxuriate in wearing nothing at all and going barefoot.  We can spend a considerable amount of time outside without fear of frostbite.

June, July, August, and September.  These months we welcome weather anywhere from the 20’s to the 100’s.  June and September are prone to the occasional frost and even a chance of snow.  Yet most often, weather in the 50’s and 60’s makes these months the fairest of the year.  July and August you are most likely to find the weather in the 70’s and 80’s with an occasional few days in the 90’s or higher.

The rest of the year, all bets are off for how cold it can be.  It could be warm in the 40’s or it could drop to -60.  Usually, it is cloudy and dark.  On average, we spend those 8 months indoors, hiding from below freezing temperatures, bundling up to hide skin and protect from frostbite  It can be beautiful.  There are a lot of fun winter sports.  Overall though, most activities are inside where it is warm.

This is why summer is so often looked forward to.  We try to soak up every minute of fresh air, sunlight, vitamin D and outdoor activities that we can.  In that time, the world erupts in color.

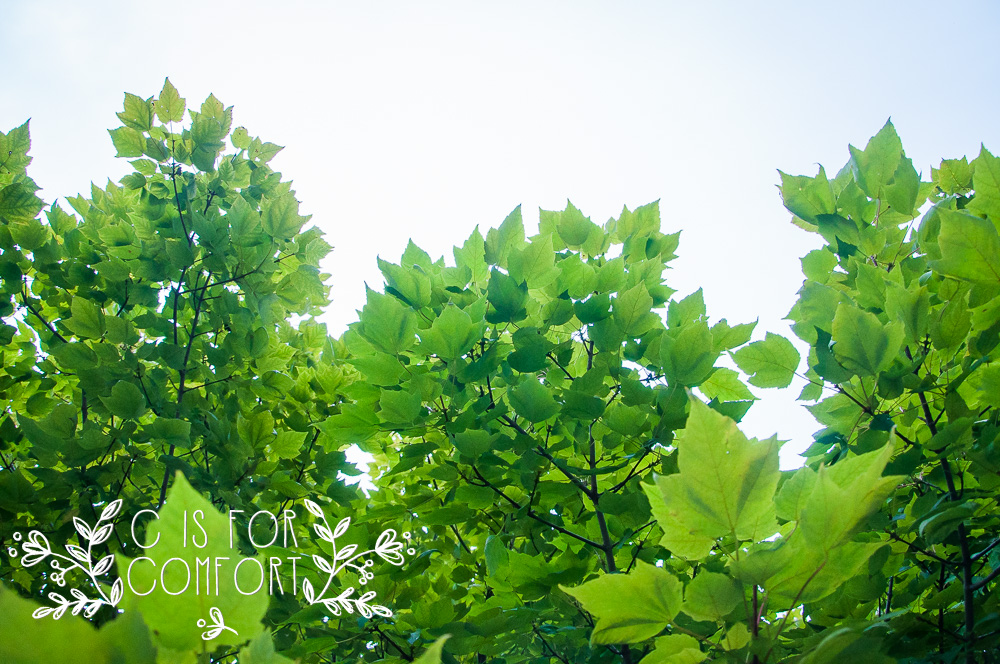
The most prominent color to be found is green.  Beautiful, bright, vibrant, rich green.  Carpets of green grass, fields of green crops, and mountains of green trees.

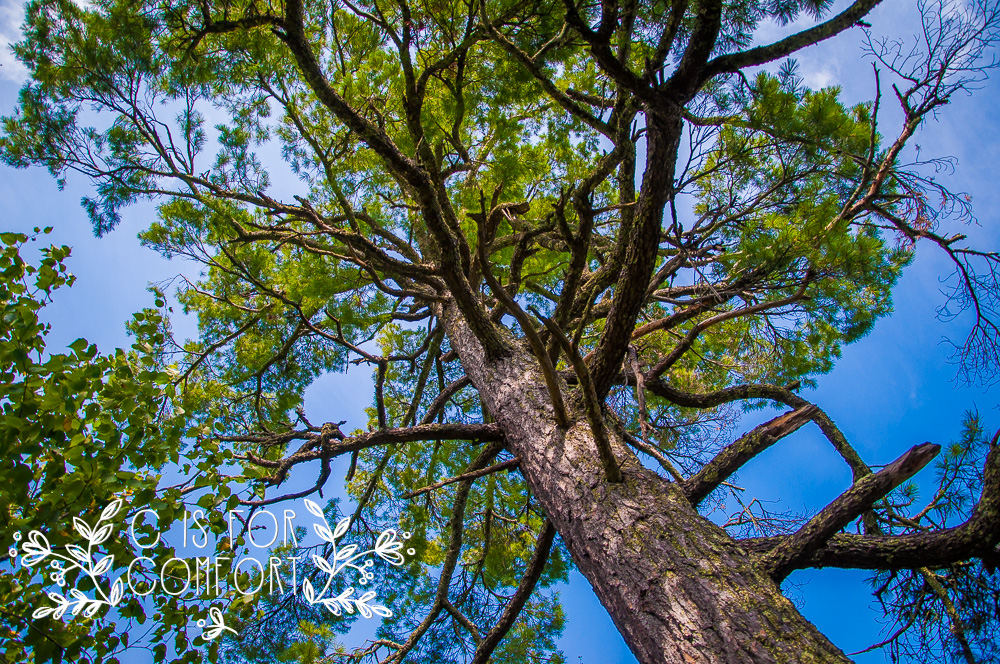
Trees in the summertime are the happiest of my childhood memories.  Climbing up in their strong, rough branches to heights not reached anywhere else by a small child.  Hiding behind the cover of leaves from the sun and from people.  Feasting on its fruits.  Using imagination for endless hours of fun.  Sometimes just lying below and gazing up adoringly at my friend, the tree.  I can’t think of anything happier in my memories than of the time I spent in the trees.

As an adult, trees still fill me with love, admiration, and wonder.  These gentle giants do so much for us.  They give us oxygen, shade, protection from wind, wood for our fires and to build our homes, fruits to feast upon, and beauty to behold.  They give a boring landscape character.  They fill me with wonder at the majesty of our God.

When I look at trees, I can see the wonder of creation.  Trees clean our air and give us oxygen.  They have the ability to draw water up to heights that man has been unable to replicate and or even understand.  They convert sunlight into energy!  Their leaves are mathematical works of art.  Each one is different and unique.  The bark, leaves, pine needles and even the shape of the branches are as varied as the people on this planet.  Each tree seems to have it’s own personality and temperament.

I can’t imagine living in an area void of trees, I love them so much.  Trees give me joy.  Trees fill me with hope for the future.  Knowing that a tree I plant will likely outlive me fills me with awe.  When I find a large and old tree, I wonder who has seen and loved this tree.  What stories could this tree tell?

What are your favorite tree memories?  What is your favorite thing about summer trees?

Check out our summer trees video!

Previous Week: water
Next Week: glitter
Main Page for 52 Project

Join us for the photography challenge! We’d love to see your images!
You can post your image on our Facebook page here:

Or tag us on Instagram with #cisforcomfort52

52 Project, Week 29: Summer Trees

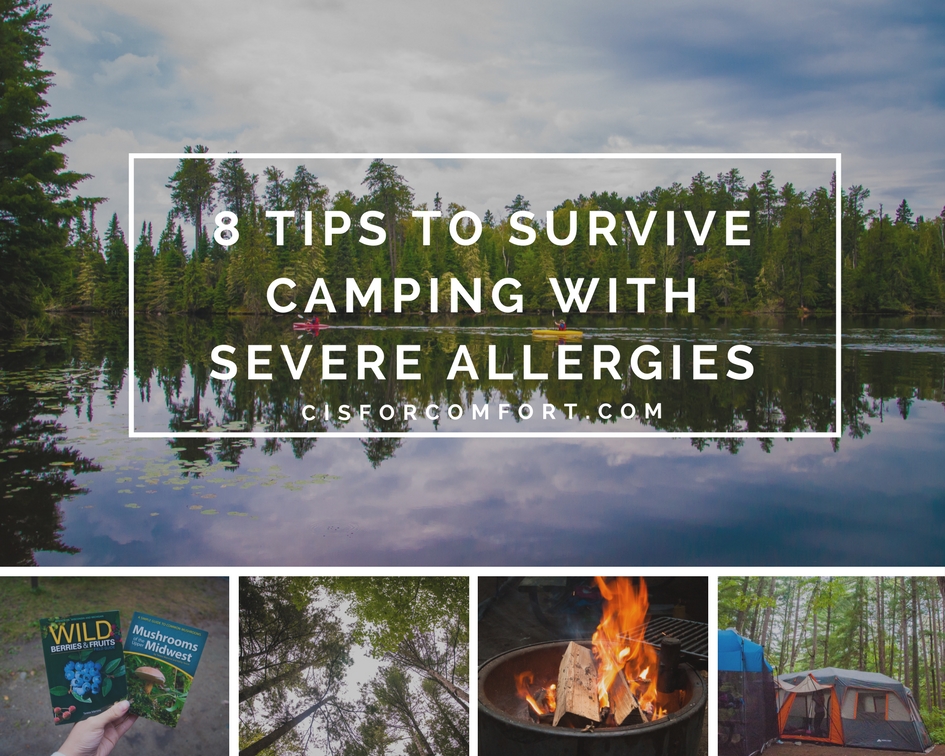
8 Tips to Survive Camping With Severe Allergies

8 Tips to Survive Camping With Severe Allergies

Camping with allergies can be difficult, but it’s not impossible!  Like most things with severe allergies, camping takes a lot of planning and preparing.  Knowing what to do and how to plan is one the hardest parts.  Hopefully, I can help you with that!
 

1. Make a Schedule

I try to make a rough outline of not only each day of my camping trip but also the weeks before it.  This helps me to leave enough time on the schedule to make sure I didn’t forget anything.  With a normal camping trip, if you forget something, you can run to the nearest store.  With severe allergies, that’s not always possible, as most stores do not carry the necessary specialty items.

My schedule is usually outlined in a notebook like this:

  • 4-12 Months Before Camping: Pick and Reserve Date for Camping
  • 10-8 Weeks Before Camping: Research Area-Food and Water Sources, Activities, Medical Care
  • 4-6 Weeks Before Camping: Plan Schedule and Menu, Mail Order Necessary Food, Check Medical Supplies To Order New Or Low Items, Vehicle Maintenance, Set Up Pet Sitter, Mail Grabber and Plant Waterer
  • Week Before Camping: Food Prep, Home Absence Prep, Verify Pet Sitter, Plant Sitter, and Mail Grabber, Pack Non-Food Items, Wash & Pack Clothes, Clean Out Fridge
  • 2nd Day Before Camping: Charge Camera Batteries, Pack Remaining Items, Remaining Food Prep, Check Medical Supplies, Pack Non-Perishable Food
  • Day Before Camping: Fully Charge Phones, Bathe Children, Pack Remaining Non-Perishable Items, Load Vehicle, Water Plants, Leave Money and Thank You Note for House Sitter/Plant Waterer/Pet Sitter
  • Camping, Day 1: Shower, Quick Breakfast, Add Perishables to Cooler, Pack Remaining Items, Load Remaining Items, Double Check House, Double Check Medical Supplies, Drive To Camping Spot, Eat Easy Snacks or Packed Lunch on the Way, Set Up Tent, Scope Area, Dinner, Campfire, Bed
  • Camping, Day 2: Breakfast, Activity, Lunch, Activity, Dinner, Campfire, Bed
  • Camping, Day 3: Breakfast, Activity, Lunch, Activity, Dinner, Campfire, Bed
  • Camping, Day 4: Breakfast, Activity, Smorgasborg Lunch, Activity, Smorgasborg Dinner, Use Up Remaining Wood in Campfire, Bed
  • Camping, Day 5: Breakfast, Shower, Pack, Load, Lunch On The Road, Drive Home, Dinner

2. Make A Menu

Menu planning is probably the most important activity.  Finding safe food locations around home usually takes a few months to years with a lot of food trials.  Camping is not a great time to trial food, as you don’t want to be sick while camping.  It is the most time-consuming task of your camping prep, but it’s worth the work.  At least, that’s what I tell my self when I’m up to my elbows in massive food prep operations.

It’s usually the food concerns that give me the most camping related anxiety and stress.  It’s expensive, it’s time-consuming, it’s stressful.  I usually freak out during my week countdown to camping.  Since most of my food is prepared from scratch, it must be made directly before camping to prevent spoilage.  Once we are on the road, I finally relax and breathe a sigh of relief.  Everything is prepped, now it’s time to relax!

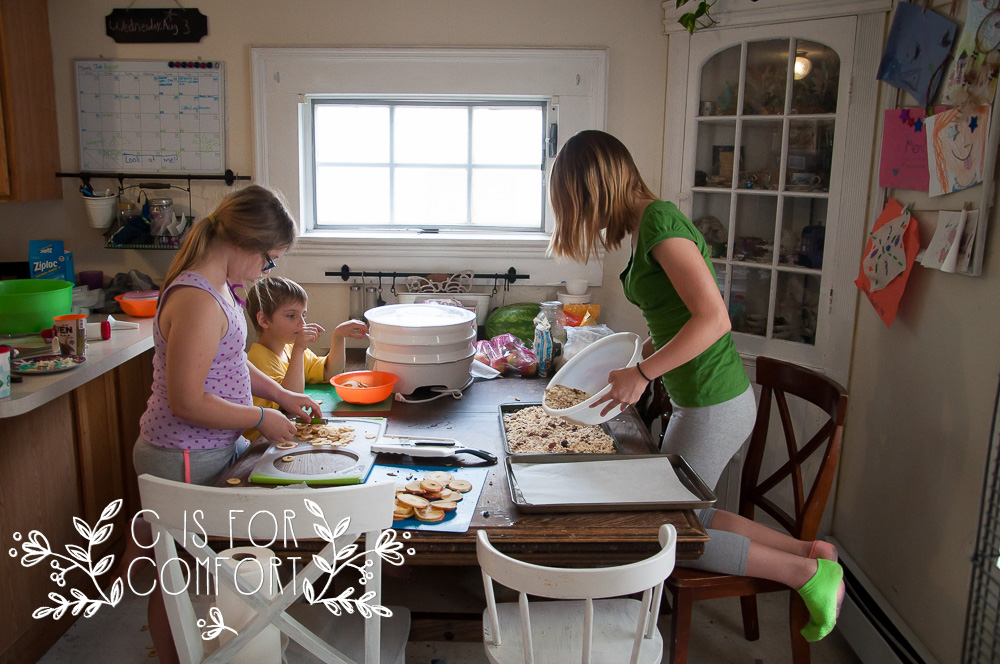
I try to make food prep fun by involving the kids so that they can learn some useful skills, and also lend poor old Mom a hand.  Some of their foods are not safe for me to eat, but they are safe enough for me to be around.  I usually make two batches of whatever food is safe for me vs safe for them, because my safe food can be more expensive.
I usually go a little overboard in making sure I have enough safe food for the entire trip.  Most of my safe food is what would be considered snacks.  That is kind of my normal routine though.  I generally don’t eat breakfast or lunch unless it’s a special occasion.  I’m not a big meal person.  I provide food for my entire family for these meals since they seem to enjoy them.

Dinner is the one meal I always put a lot of work and effort into.  We all sit down together and enjoy a meal.  It’s one of my favorite parts of the day.  Camping is a reflection of what we do at home.  We eat snack-like things throughout the entire day, but I still schedule breakfast and lunch so I can make sure my kids are fed.  Dinner is our time to relax and hang out around the campfire after an adventurous day.

3.Inventory Stock

It’s always a good idea to have an inventory of your food supplies.  Planning ahead and being prepared is one of the best ways to avoid exposing yourself to dangerous foods.  If you run out of safe food, you’re more likely eat whatever is nearest to you, regardless of its safety.  Or, if you have self-control, you might have only limited foods to eat and end up going hungry till your next shipment comes in.

If you don’t regularly keep inventory, then at least make a menu for the week prior to camping and the period of time you’ll be gone.  Make a complete list of every item you’ll need and start ordering at least a couple of weeks before you have to go.

Waiting until the last minute is not a good idea.  Items can take longer to ship, get held up for any reason, or get lost.  If you give yourself a reasonable amount of time for error, then you’ll be well prepared ahead of time.  Unlike non-allergy people, those with severe allergies cannot get food on the go or at the location.  If your order doesn’t show up, this means your trip might be delayed or even canceled.

Also, don’t forget to plan for the meals you’ll be eating when you get home!  If you use up all of your safe supplies for camping, you might be out of food when you arrive back home.  This is where keeping a regular inventory and planning ahead come in handy.

4.Double Check Medical Supplies

Double or even triple check your medical supplies.  Make sure you have what you regularly use and a backup.  Make sure you have emergency paperwork printed out.  I keep mine in my purse all the time, but sometimes it’s good to have a backup in your camping supplies, should your purse or bag get stolen.

It’s always a good idea to have any prescriptions regularly up to date.  You can keep a printed prescription refill in your supplies in case of an emergency.  I had an emergency incident where I was having an asthma attack and I went to refill my inhaler prescription at a pharmacy.  My prescription had just expired and the pharmacy couldn’t get hold of my doctor and refused to give me an inhaler without it.  I had a full asthma attack and started turning blue.  Thankfully, my Dad arrived and had someone call an ambulance.  It’s always good to have backups and backups for your backups!  If my parents hadn’t been able to rush to me with an emergency inhaler, I might have died in front of an audience, sitting right next to the pharmacy.

I always keep my inhaler, epi-pen, and medical emergency paperwork in my purse now.  I never go anywhere without my purse.  This has saved my life on more occasions than I can count.
See what’s in my bag.

If you compose a medical folder, you can include these things:

  • Local Map with Medical Locations Highlighted
  • ER Paperwork
  • Medical History
  • Back up Prescriptions

5.Find Local Emergency Health Services

No matter how much planning is done, there is always the risk of having a medical emergency.  It’s best to have a general idea of where the nearest emergency room, pharmacy, or local medical services are.

Either print out the information of the location or save the info under the contacts on your phone.   You could do both if you’re assembling a medical folder to bring with.

You can download google maps, of the area you’ll be in, ahead of time if you’ll be in an area where there is little to no service.

6. Find Local Safe Food as Backup

Every place I’ve camped, I’ve researched local health food stores or farmers markets available ahead of time.  Should I run out of food, lose food to wildlife or have an unforeseen accident, I want to be sure I have a backup so I don’t have to go home early.

This year, there was a farmers market in Ely that we visited.  We were able to get some organic, spray free carrots for Princess and me to snack on and some fermented veggies and kombucha for the family.  I also found a guy who was selling pure, maple syrup with no defoamer added.

Last year, there was a health food store in Grand Marais that carried a few of the foods I can safely eat.  I was able to pick up a couple things to supplement my normal food.
7.Learn About Local Foods to Forage

This is kind of a lifetime thing to learn.  Foraging for foods should now be on your new “normal” list of things to do.  If you’re new to this, it might sound strange.
“You mean, you can find food outside?  On the ground?  In the woods?”

The answer is yes!  People have been doing this since the beginning of time! Foraging has only recently become less common due to the convenience of packaged foods.  We have become disconnected from our food source, the Earth!  Food doesn’t originate in the store, as though it popped up overnight in perfectly arranged and identical boxes and bags.  It grew outside, from the ground.  It’s time to skip the middleman.

Now, you do need to be educated about foraging.  Get a few books, watch a couple youtube videos, take a class, grow some of your own in your garden, get real hands-on experience.  You can’t just go out into the woods and expect the food to beckon to you.
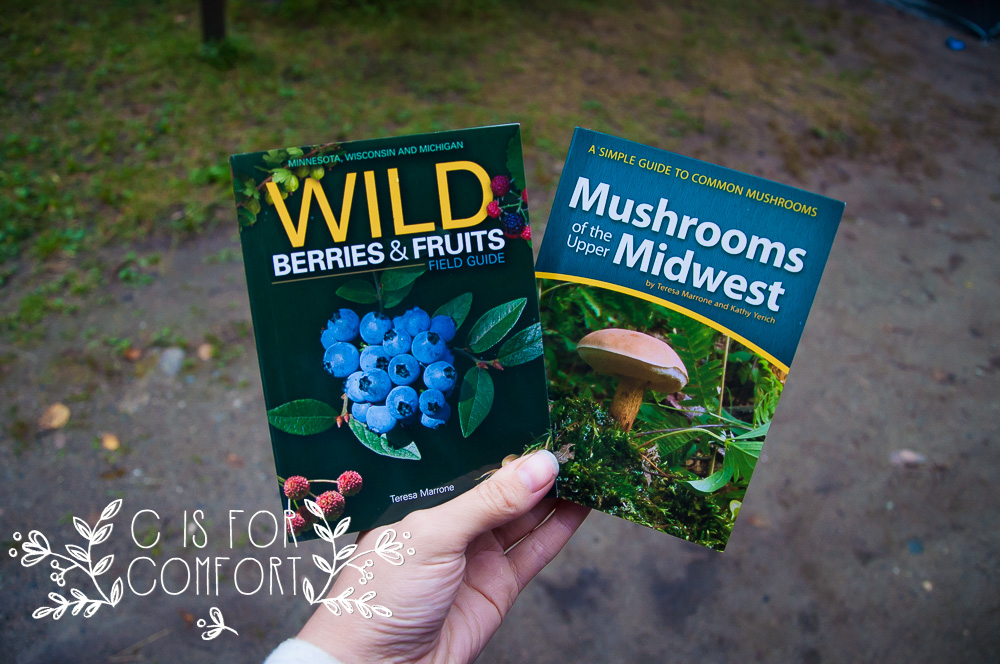
Once you start learning about foraging, you’ll start finding food everywhere you go!  Although, since you’re also battling severe allergies, you need to be in tune with your body to know what is safe and what isn’t for you.  So if asparagus is growing in a ditch next to a cornfield, and you’re allergic to corn, you might want to skip it.  If you’re in the middle of the woods, hours away from civilization and you find some fresh raspberries, then you’re good to go!  As a general rule, even if I 100% believe the food to be safe, it’s always good to be educated about plants that look similar to safe foods but are toxic.  For example, mushrooms and berries have a lot of variation, some safe mushrooms look similar to toxic mushrooms.  If you are not an expert, it’s best to avoid them altogether.  Berries are a little on the safer side, but there are still toxic berries out there.  Many lettuces and leafy plants are safe, but you still want to steer far from poison ivy or poison oak while you’re searching.

8. Look for Local Springs

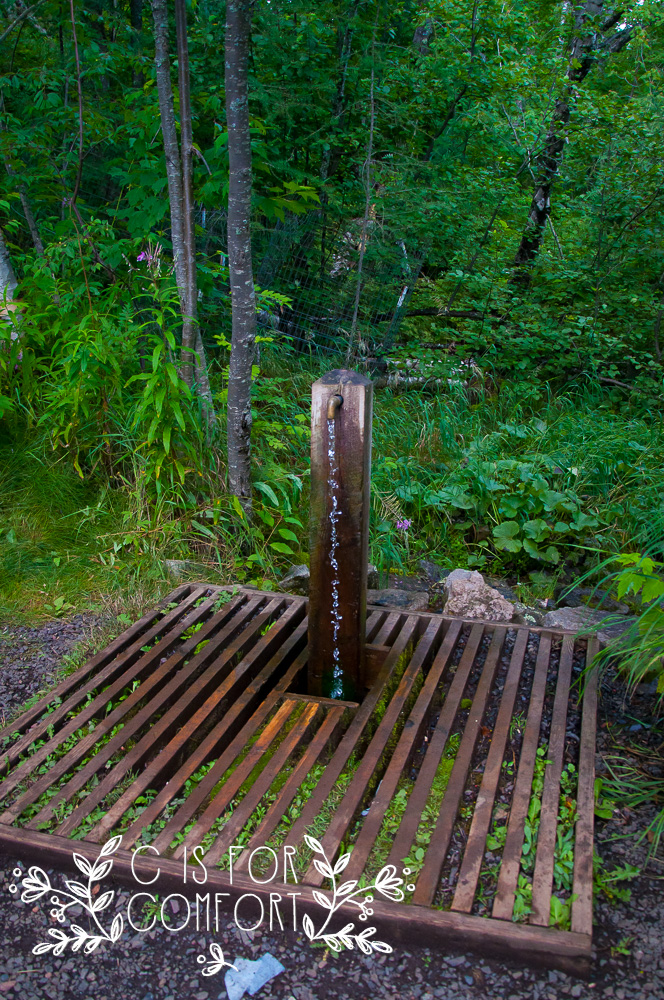
I love spring water.  Spring water from up north is the cleanest, most delicious water I’ve ever had.  I want to move near it just so I can have fresh, clean, and safe water all the time.

For someone with severe corn or chemical allergies, finding a safe source of water can be difficult.  Bottled water usually has corny additives and is purified and treated with chemicals.  The bottles can be made from plastic made from corn or chemicals that are toxic.  Tap water is full of chemicals used to sterilize germs and bacteria, chemicals to remove discoloration and it even has toxic chemicals like fluoride added to it.  In addition, a lot of things are not filtered out at water treatment plants, things like pesticides, birth control, antidepressants, and other prescription drugs.  Some water tests have even found levels of illegal drugs.  Almost everything I’ve just listed was produced with corn or was directly derived from corn, which is why it is extra toxic to someone with corn allergies.

Spring water is not always completely pure from contaminants, but it’s usually a significantly lesser amount than water found anywhere else.  In addition, there is usually beneficial minerals from the underground natural filtration systems of rocks and sand.  It also has a significantly low PH level which is beneficial for a healthy body.

You can look online to see if there is a spring near you at the website Find A Spring  There was an artesian well at one of the State Parks that we stayed at that is not located on the list, so it’s always a good idea to call the office and ask about locals springs or wells in the area.
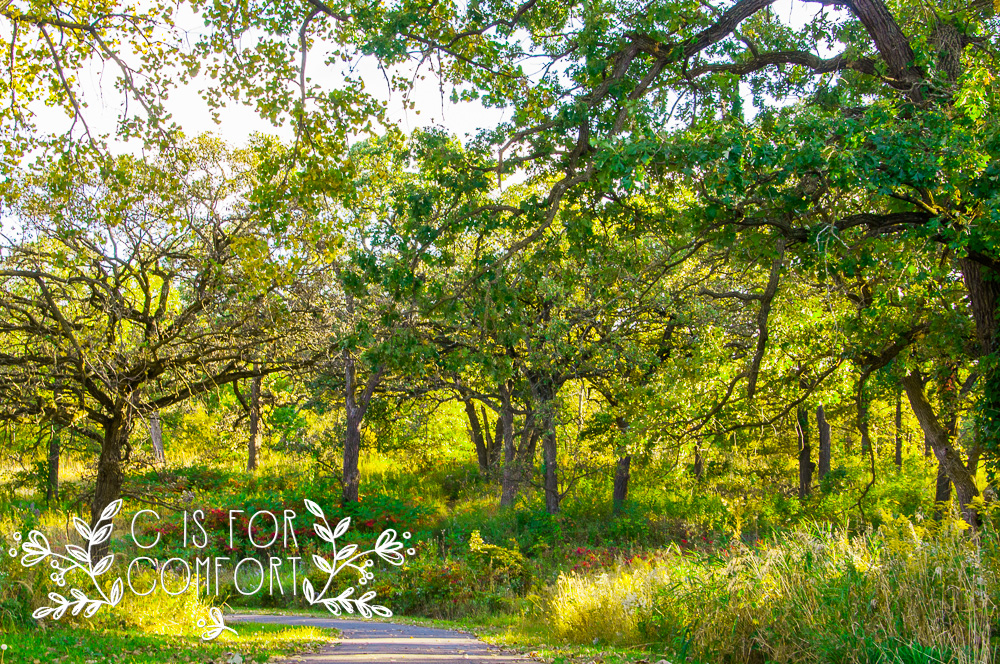
I hope that by sharing what I do to prepare for vacation helps inspire you to be able to go camping yourself!  Going camping with severe allergies can be difficult, but we need a break from the stress of daily allergy-free lifestyle every once and awhile.  Enjoying the great outdoors with fresh air and sunshine is something I look forward to every year.
Do you have a medical condition that you work around so that you can enjoy camping?  I’d love to hear about it!  Please tell me what you do in the comments.