52 Project, Week 26: Watermelon

52 Project, Week 26: Watermelon

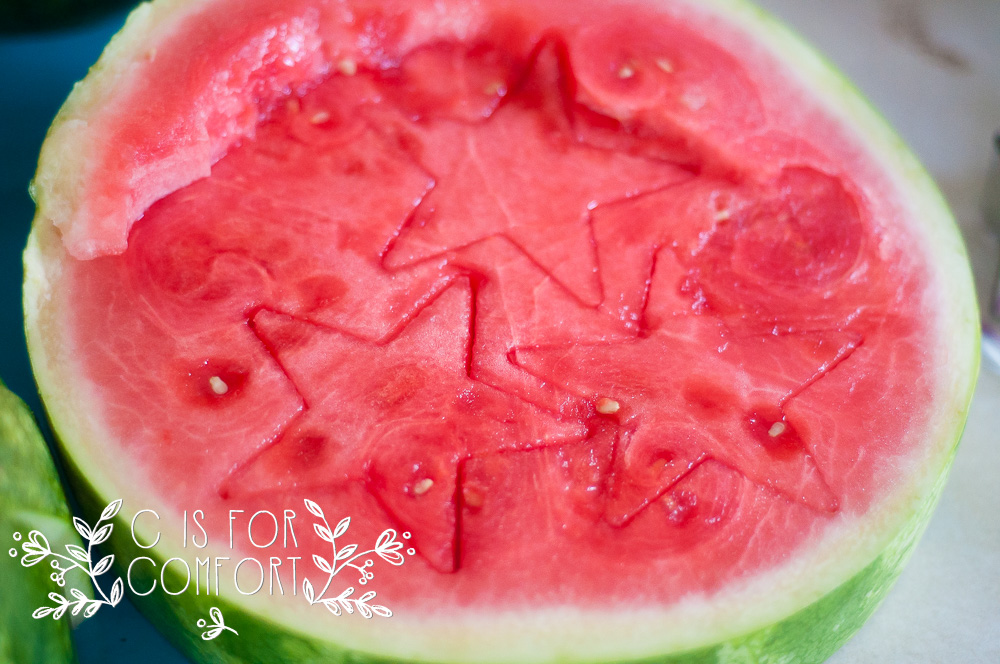
Summer and watermelon go together like pumpkins and autumn.   Watermelon is one of my favorite summer treats.  The kids usually flock around me when I start to chop one up.

This year, I grew watermelon for the first time.  We got a bunch of cute little watermelons that tasted amazing.  There really is nothing better than food grown at home. 

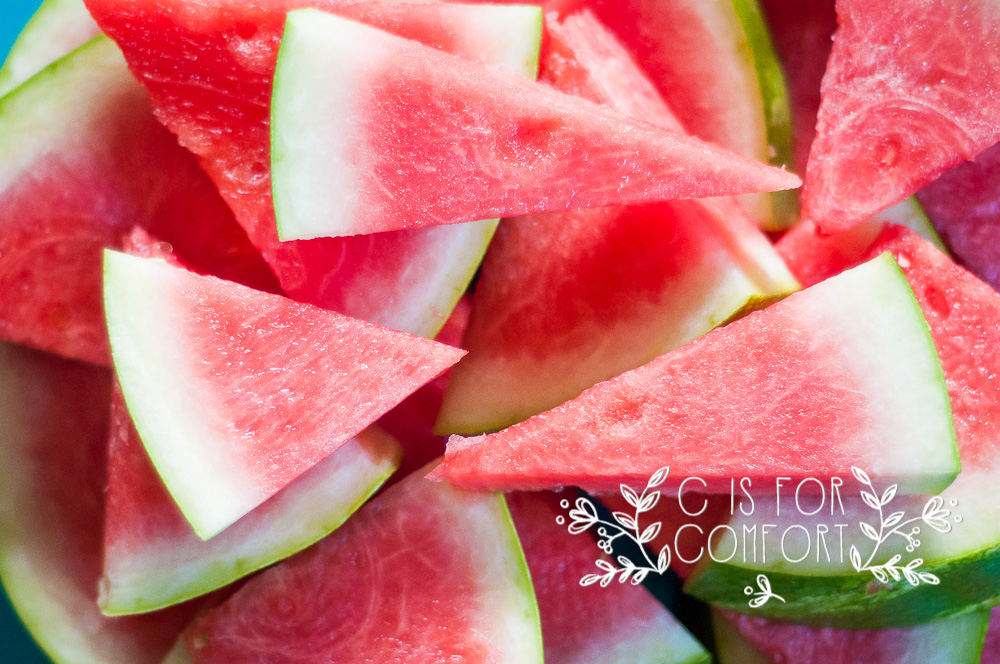
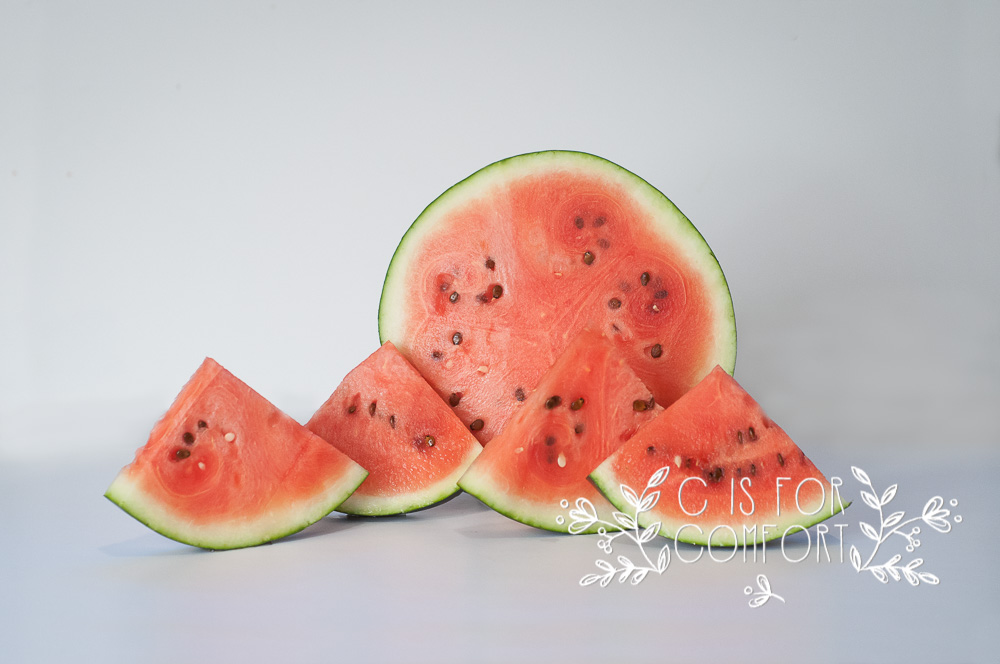
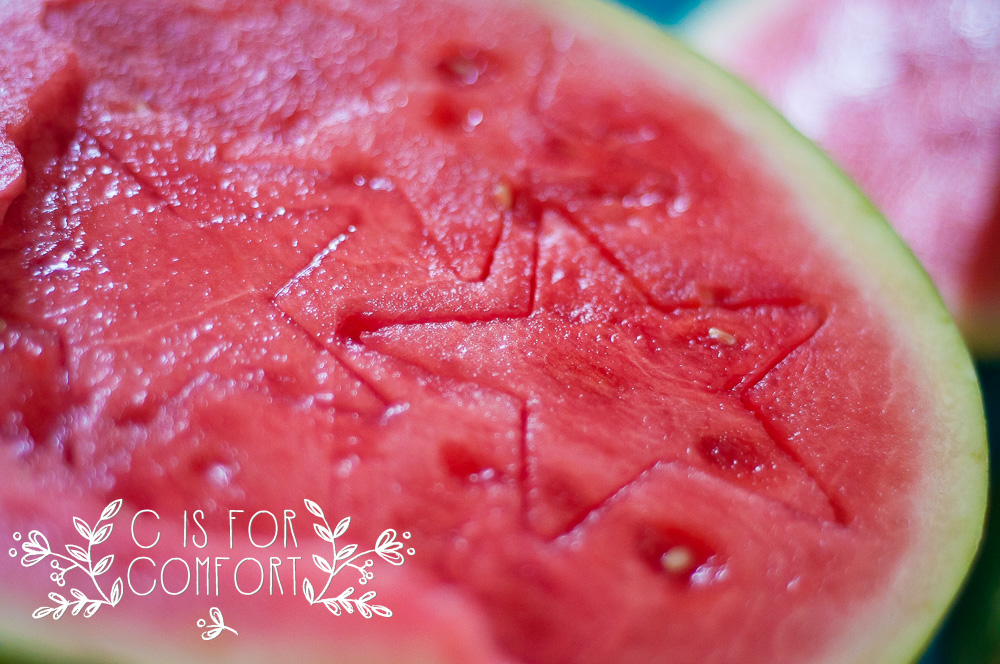
Watermelon is harder to photograph than I thought it would be.  I’ve always struggled to photograph the color red.  I’ve attempted to tackle it with roses but even then, they’re not exactly to my liking. 

That’s the kind of challenge that I don’t give up on.  I actually did this photoshoot 3 times.  The first two were not to my liking.  My last, I can finally say that I have an image I’m proud of.  

Previous Week: 52 Project, Week 25: Patterns
Next Week: Flip Flops/Sandals
Main Page for 52 Project

Join us for the photography challenge! We’d love to see your images!
You can post your image on our Facebook page here:

Or tag us on Instagram with #cisforcomfort52
Need inspiration for your watermelon project?  Check out my inspiration board on Pinterest!

Roasted Dandelion Root Tea Recipes

Roasted Dandelion Root Tea Recipes

I used to hate coffee.  It smelled amazing but tasted awful.  The bitterness made me grimace and I couldn’t fathom why people actually drank it.

Enter the Caribou Caramel Cooler.  My Mom drank them often and despite my aversion to coffee, I fell in love with it.  Granted, all of the caramel, whipped cream and sugar probably helped a bit.

Once I developed corn allergies, I was greatly disappointed that I could no longer drink Caribou.  Determined to still have a bit of my former life, I made my own at home.  Although the ones I made were delicious and also healthier than the ones from caribou, I was still having health problems.

In addition to the homemade coolers, I had also experimented with making lattes for those cold winter days we get up here in Minnesota.  If I ever got too busy and my latte cooled, I would add a few ice cubes for an iced coffee.

After reading about the health benefits of dandelions, specifically, dandelion roots, I decided to give roasted dandelion root a try.  I had no idea what to expect.  I was drinking the roasted root of something I’d been taught my whole life was a weed.  With my first sip, I grimaced.  Yuck!

It was very bitter!  How was I going to finish off this cup?  I loaded it with honey, my usual go-to for tea.  It made it only slightly more palatable.

I continued to drink coffee every day.  I decided to try the organic coffee and I noticed immediately the increase of my health problems  I determined that coffee was the culprit behind my eczema flare-ups on my hand, the panic attacks and a general feeling of malaise.  I decided to kick the habit. I quit cold turkey.

I’m not going to lie, the first day was brutal.  I was desperate.  I wanted coffee and I wanted it now!  Who cares about eczema when coffee was so delicious!  Realizing I sounded like an addict, I was even more determined to give it up.  Standing at the cupboard, staring longingly at my coffee, I bypassed it for my basket of tea.  That’s when I spotted the roasted dandelion root.  A lightbulb went off over my head!

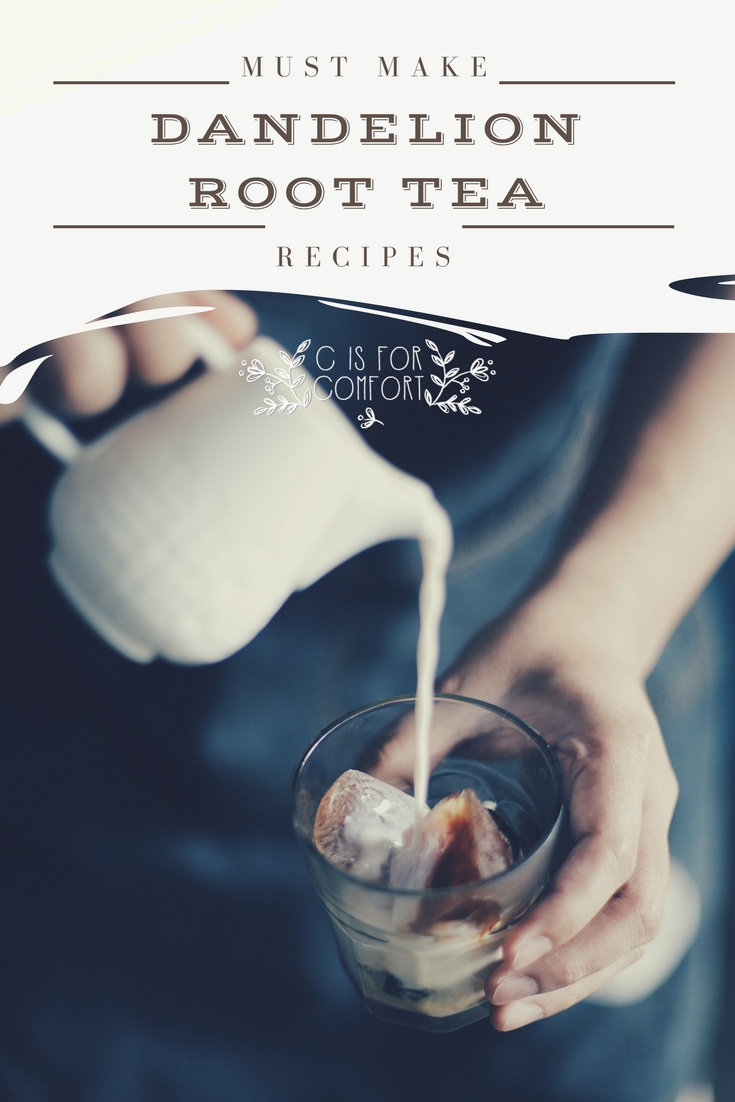
Dandelion root tea was bitter, just like coffee! Surely I could treat my tea like coffee and make a latte!  I did just that.  It wasn’t quite as strong as regular coffee but it was a great substitute!

I began drinking it every day and I no longer felt desperate for coffee.  The eczema on my hand went away.  My panic attacks became less frequent.  I didn’t feel as tired.  I felt better!

I experimented with different ways to make dandelion root into different versions of fun coffee-like beverages.  My favorite is the mock Caribou Cooler.

Are you trying to kick the coffee habit?   Have you tried using Roasted Dandelion Root as an alternative?

Dandelion Latte

  • 1 tea bag (this is what I use!)
  • mug
  • boiling water
  •  1 TBSP organic heavy whipping cream
  •  1 TBSP pure maple syrup

Loop tea bag around mug handle.  Fill cup 3/4 full with boiling water. Let steep for 10-15 minutes. Remove tea bag and squeeze out remaining liquid.  Stir in cream and maple syrup.  Enjoy!

Iced Dandelion Latte

  • 1 tea bag
  • mug
  • boiling water
  •  1 TBSP organic heavy whipping cream
  •  1 TBSP pure maple syrup
  • 3-4 ice cubes

Loop tea bag around mug handle.  Fill cup 3/4 full with boiling water. Let steep for 10-15 minutes. Allow tea to cool.  Remove tea bag and squeeze out the remaining liquid.  Stir in cream and maple syrup.  Add a few ice cubes.  Enjoy!

Iced Cubed Dandelion Latte

  • 1 tea bag
  • mug
  • boiling water
  •  1 TBSP organic heavy whipping cream
  •  2 TBSP pure maple syrup
  • 1/2 cup coconut milk

Loop tea bag around mug handle.  Fill cup 3/4 full with boiling water. Let steep for 10-15 minutes. Allow tea to cool.  Remove tea bag and squeeze out the remaining liquid.  Stir in cream and maple syrup.  Pour into ice cube tray and allow to freeze completely.  Add ice cubes to the brim of a glass.  Pour coconut milk over the ice cubes.  Enjoy!

Blended Dandelion Latte/Mock Caribou Cooler

Blended Tea
  • 1 tea bag
  • extra large mug
  • boiling water
  •  1 TBSP organic heavy whipping cream
  •  2 TBSP pure maple syrup
  • 4-6 ice cubes
Whipped Cream
  • 1/3 cup organic heavy whipping cream
  • 1/2 tbsp maple syrup

Loop tea bag around mug handle.  Fill cup 1/2 full with boiling water. Let steep for 10-15 minutes. Allow tea to cool.  Remove tea bag and squeeze out the remaining liquid.  Pour in blender or ninja single serve cup.  Add in cream, maple syrup, and ice.  Blend until smooth.  Pour into mug.

Put whipped cream ingredients in the blender.  Blend until just whipped.  Do not over whip or you’ll have butter. Spoon whipping cream onto the tea.  Enjoy!

I hope you love these recipes as much as I do!  You’ll have to let me know if you give them a try!


[enjoyinstagram_mb]

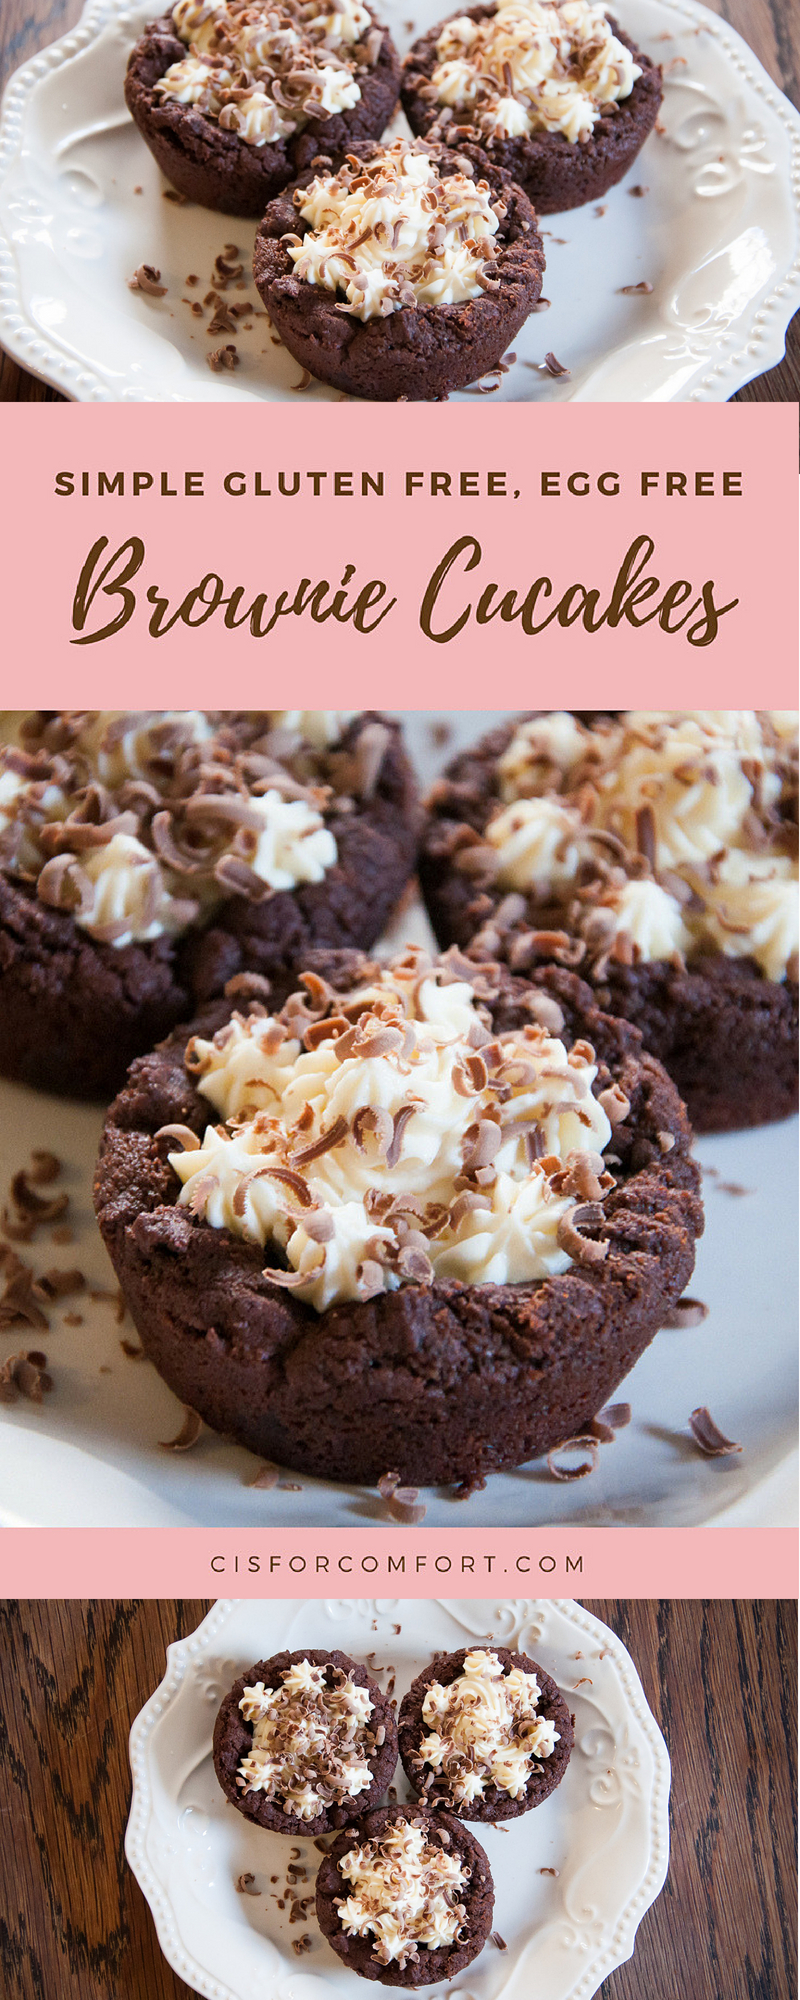
Simple Gluten Free, Egg Free Brownie Cupcakes

Simple Gluten Free, Egg Free Brownie Cupcakes

I have been craving brownies for quite awhile.  I haven’t had a brownie in…. at least five years?  I honestly can’t remember, it might be longer.

I have looked up recipes for gluten-free brownies numerous times, but they usually contain eggs.  Searching for an uncomplicated gluten free, corn free, egg free brownie recipe can be a little frustrating.  Usually, my desire for brownies wears off as I dig through recipe after recipe with bizarre ingredients.

My goal for gluten free, egg free brownies was that they be simple, fast and contain ingredients I already had on hand (for more easy recipes click here).  I personally prefer a more solid brownie.  Cake like ones are good too, but I wanted something closer to a cookie, crunchy on the outside, soft on the inside.

Cat had also been wanting brownies, and even offered to make them.  I seized the opportunity and dived into a google search.  I looked for vegan recipes since they are more likely to have egg-free brownies.  I found a recipe that seemed to work for us and made a few modifications.  This time we stuck with regular sugar to see how the recipe turned out, but I think we’ll attempt using honey or maple syrup next time.

Although we are not vegan, this recipe can easily be converted to dairy free by using dairy-free substitutes for the butter.  Maybe coconut oil or olive oil?  Maybe I’ll give both a try to see what happens and get back to you!

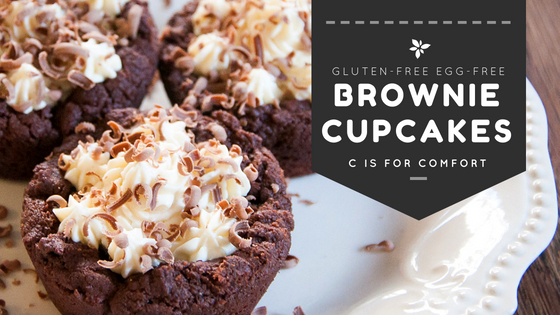
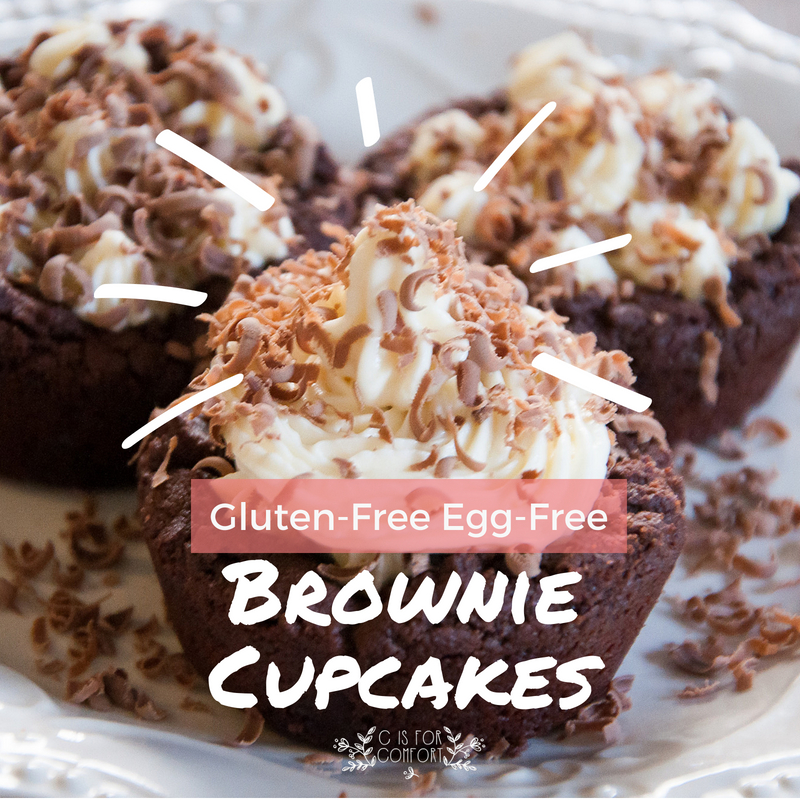
The brownies turned out as good as I had hoped.  We decided to top them with homemade cream cheese frosting and shredded chocolate flakes.  This might be a new family favorite, we gobbled them all up in a few days!

Gluten Free Brownie Cupcake Recipe

Ingredients
    • 1/2 cup softened butter
    • 3/4 cup sugar
    • 2 large flax eggs
    • 1 tsp vanilla extract
    • 1/4 tsp baking soda
    • 1/4 tsp cream of tartar
    • 1/4 tsp sea salt
    • 1/2 cup cocoa powder
    • 3/4 cup gluten-free flour blend
  • Optional Add-Ins: 1/3 cup pumpkin seeds or chocolate chips
Instructions
    1. Preheat oven to 350 degrees.
    1. Grease muffin pan with butter.
    1. Prepare flax eggs in a small bowl and let rest for 5 minutes.
    1. Place butter and sugar in a large mixing bowl and blend until smooth. Stir in the flax egg, vanilla, baking soda, cream of tartar, salt and cocoa powder. Lastly, add the flour, then fold in any mix-ins – chocolate chips or pumpkin seeds.
    1. Scoop batter evenly into muffin tins until 3/4 full and bake on the middle rack for 22-26 minutes, or until the brownies start to pull away from the sides and they spring back slightly to the touch. Be careful not to overcook or they will get crumbly. Remove from oven and let rest in the tin for 5 minutes before removing to cool completely on a plate or cooling rack.
  1. Store in an airtight container to keep fresh for a couple days. Freeze for long-term storage.
Frosting
Ingredients
    • 8 oz cream cheese
    • 1 pint heavy whipping cream
  • 1/3 cup maple syrup
Instructions
    1. Attach a whisk to your mixer.
    1. Add cream cheese to the mixing bowl.
    1. Blend cream cheese till smooth.
    1. Blend in maple syrup and cream.
    1. Whip on high till mixture is smooth, thick, and begins to separate.
    2. Pipe onto cupcakes.
  1. Shave chocolate over the top.


The Best Gluten-Free, Egg-Free Waffles Ever

The Best Gluten-Free, Egg-Free Waffles Ever

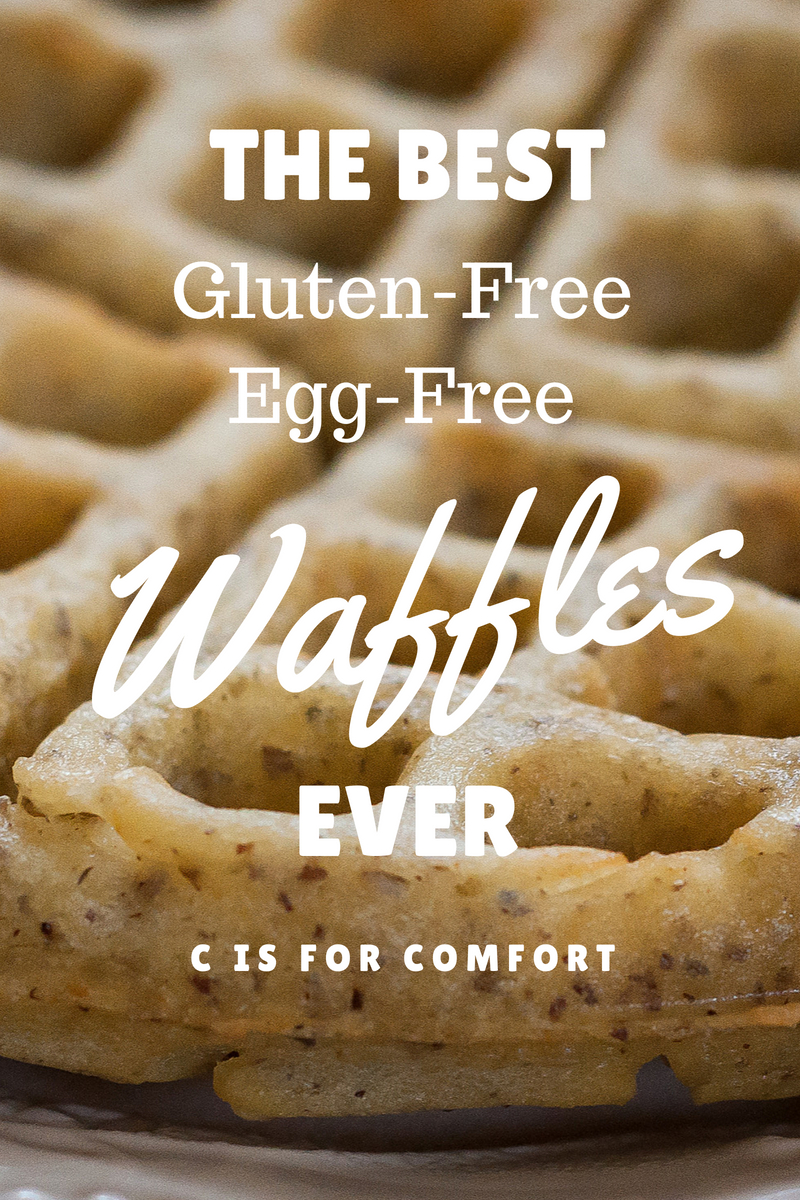
If you have celiac disease or you’re gluten intolerant, you might be on the hunt for the perfect waffle recipe.  I might be a bit biased, but these waffles are pretty awesome.  They’re light, crispy on the outside and fluffy on the inside.

I love waffles!  When we were driving from Minnesota to Florida a few years ago, we saw Waffle House restaurants in every town!  We started counting as we went along and there were so many that we eventually lost count and gave up.  It just goes to prove, however, that there are waffle lovers everywhere!

I have got to tell you, in the beginning, I failed miserably at recreating bread products.  My loaves of bread were soggy and dense and would turn hard as a rock.  Yuck.  Thankfully I’ve since worked out my bread issues.

I did, however, make a wonderful waffle!  Right from the beginning, this waffle recipe was easy and delicious.  My waffles turned out fluffy and melt in your mouth good.

Before I took the time to figure out my errors in bread making, I simply made gluten-free, egg-free waffles.  I would make a double or quadruple batch and freeze a bunch so I could grab them for snacks.  I used them for sandwiches, I used them for dessert.  I ate them with hummus.  I had no idea waffles could be so versatile!

Please don’t be overwhelmed to actually try bread, but if you are in a pinch for time or need an easy and quick bread, this gluten-free, egg-free waffle just might be the recipe for you.

Do you love to use waffles for everything?  What’s your favorite way to eat them?  Let me know in the comments!

Recipe

Dry Ingredients

3 1/2 cups gluten-free flour blend
6 TBSP flax
2 TBSP chia seeds (ground or whole)
1/2 tsp pink Himalayan sea salt
1 tsp baking soda
1 tsp cream of tartar

Wet Ingredients

1 cup olive oil
3 1/2 cups coconut milk

Preparation

Add dry ingredients to a large bowl.  Blend thoroughly with a whisk.  Add wet ingredients and whip until well blended.  Preheat waffle iron.  Grease with butter or coconut oil.  Add 1 cup of the recipe to the waffle iron.  Cook on medium-high for 7 minutes.  Serve with favorite toppings!

Breakfast Topping Ideas

100% grass-fed butter or ghee
100% pure maple syrup
berries
jam
homemade whipped cream

Lunch Ideas

Grilled Cheese
Hummus
Portabella Burger
Grilled Veggies
Classic Sandwich
Avocado
With Soup


Making Your Own Dried Basil

Making Your Own Dried Basil

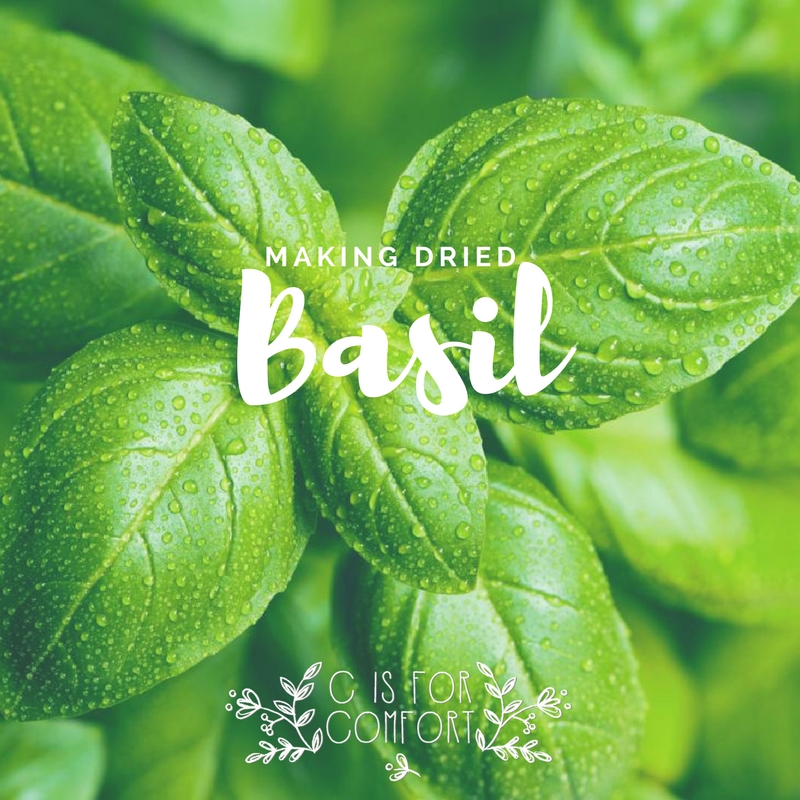
Making dried basil is so incredibly easy, I think my children could do it!  Plus, homemade is always so much cheaper than the store, after the initial purchase, it’s free!

I grew my own basil this year and it did really well!  I’ve tried to grow basil one other time when my neighbor gave me a gift of basil in a pot.  It died within a few months, sadly.  If you know anything from reading my blog, it’s that I don’t give up easily.

When Nate saw a potted basil plant at Walmart earlier this year, he suggested we give it another try.  I immediately jumped on the idea.  We brought our new plant home and it did exceptionally well! In fact, it became enormously bushy.  I have had to prune it back a few times.

I love having potted basil year round.  Pinching off a few leaves for snacking on with tomatoes and cheese is one of my favorite ways to enjoy fresh basil.  I also love to cook with it after it’s been dried.  It’s one of my main herbs that I use.

Here are the steps I use to make my own dehydrated basil.

  1. When your basil gets especially bushy, trim back the stems until it has a nice compact shape.
  2. Put the stems in a strainer and gently rinse them off.
  3. Shake the excess water off of the basil.
  4. Remove the leaves from the stems and place them in the dehydrator.  Use a fine mesh or fruit leather attachment for smaller leaves.
  5. Dehydrate until leaves are dry and crumbly.
  6. Put basil on a plate and crumble into small pieces.
  7. Put dried basil crumbles into a spice jar.
  8. Lable jar.

You can check out how I have dried basil in my videos!

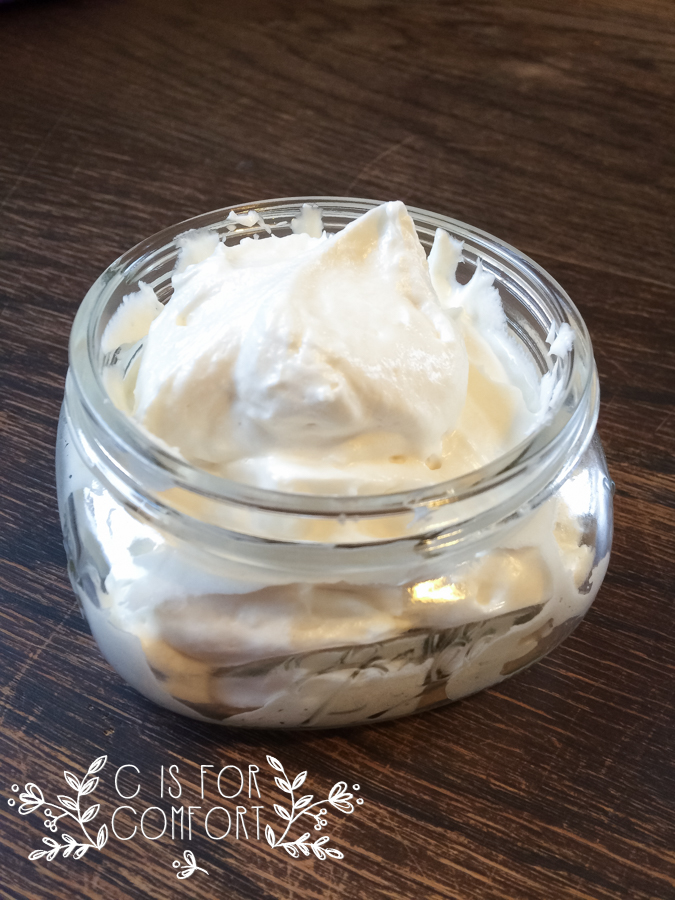
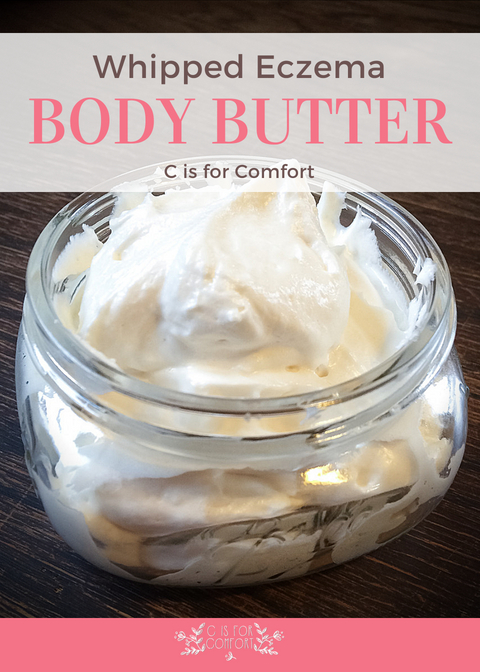
Whipped Eczema Body Butter

Eczema is the body’s warning bell that something is wrong.  I occasionally have eczema flare-ups.  For me, it means I’ve been exposed to corn, which is something I developed an allergy to about a year ago.  It shows up on my right hand almost immediately following ingestion of something corny.

An immediate flare-up is usually hot and painful.  It can itch terribly, especially as time progresses.  First, I tried coconut oil, my usual dry skin relief.  Unfortunately, it was not enough to soothe my angry skin.  Looking for something more effective but also allergy friendly and non-toxic, I found Dr. Axe’s recipe.

After making a few jars of whipped eczema body butter, I found that the amount of honey the original recipe called for was too sticky.  With this next batch, I’m going to change a few things.  I’m hoping that by using a tsp of honey instead of a tablespoon, it’ll be less sticky and more smooth.

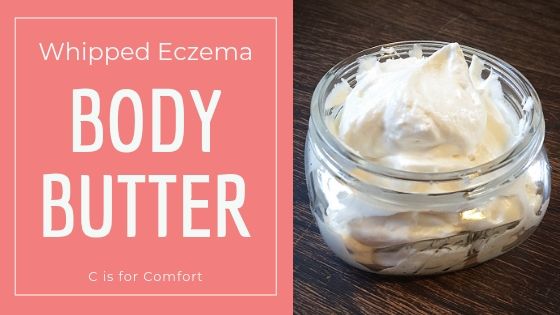
Although the original recipe was sticky, it worked wonderfully.  I’ve found it soothes the itch and lessens the severity of damage.  A little goes a long way.  I keep a jar in the fridge for the fluffy whipped texture.  I also keep a container in my bedroom and a small container in my purse.  At room temperature, the mixture falls flat, but it’s still effective.  It works so well, I share little jars of it with friends.

Whipped Eczema Body Butter

Whipped Eczema Body Butter

1/2 cup raw shea butter ( I use this)
1/2 cup coconut oil
1 tsp local honey
30 drops lavender essential oil
8 drops tea tree essential oil
5 drops geranium essential oil
3 drops myrrh essential oil
3 drops frankincense essential oil

Blend with a whisk, on low, until shea butter and coconut oil until well combined.  Add remaining ingredients.  Whisk on medium until fluffy.  Use a spatula to scrape sides of the bowl and mix lightly again.  Divide into containers and refrigerate.

What do you use for eczema?  Have you tried this recipe?  Let us know!

Homemade Bug Spray

Homemade Bug Spray

With summer right around the corner, I decided to whip up a batch of homemade bug spray.  With 4 little ones, I needed something that was 1.Safe to use on kids, 2.Safe for those of us with allergies 3.Non toxic, 4.Affordable and last but not least 5. It needs to actually work.  If it could also not smell horrible, that would be a plus.

I set about my project as I do with most new tasks to tackle, research, research, research.  I wanted to be sure that whatever I chose, it would meet all of my expectations above.

Safety

I have read a lot of differing information about the safety of using essential oils on children.  Some say that essential oils are natural, therefore go nuts!  As someone with allergies to a lot of “natural” things, I know that it is better to err on the side of caution.  Since essential oils are highly concentrated forms of the original, it only makes sense to me that less is more.  After reading about an alarming number of injuries and deaths from essential oils, I knew I wanted to proceed with utmost caution.  I joined a few essential oil safety groups on Facebook to learn about what books, websites, and companies would aid me in my search.

I found this awesome site that lists oils that are and are not safe for children:
http://www.usingeossafely.com/essential-oils-and-children/

Allergies

As with any new product that comes into our house, oils and accessories need to be safe for our unique allergies.  I wondered 1. How are they processed 2.What hidden ingredients are there 3. Has anyone else in my allergy group had any reported reactions?

Corn Allergy Statement
This recipe is unfortunately NOT corn free.  Thayer’s witch hazel uses citric acid as a preservative.  Princess and I do break out in mild hives if applied to the skin, so I try to spray mostly on our clothing, with a light application on exposed skin  Since we live in a high mosquito area, a few small hives are preferable to having entire limbs swell up from mosquito bites. Thankfully using this has not created any breathing problems, but we will always stay on alert for safety since the severity of allergens can change at any time.  I’m, hoping to learn how to make my own witch hazel in the future.

Non-Toxic

This is a no-brainer for me.  If it has ingredients I can’t pronounce, it’s off the list.  I believe part of why I am allergic to so many things and have been so sick in the past is due to the fact that I have been exposed to too many toxins.  I want to decrease the bucket load of toxins for my family and me.

Affordable

We live in Minnesota so we get a lot of mosquitoes.  I need something that I can afford to use a lot of.
Let me break down what making homemade bug spray costs for you.  I’m using Young Living, and also NOW for the prices.
8oz Bottle $2.00
15 Drops Lavender Essential Oil at 9 cents a drop $1.35YL or >2 cents a drop $0.23NOW
15 Drops Cedarwood Essential Oil at 5 cents a drop $0.75YL or >1 cent a drop $0.13NOW
10 Drops Geranium Essential Oil at 17 cents a drop $1.70YL or >3 cents a drop $0.28NOW
20 Drops Vanilla Essential Oil at 10 cents a drop $2.00
Young Living does not sell vanilla essential oil because vanilla is not an essential oil.  I instead used the price for the vanilla oil I got from my local health food store.
4oz Witch Hazel $3.03
4oz Distilled or Boiled(and Cooled) Water Free!

This ends up being $10.83 for the first bottle and $8.83 for each refill with Young Living.
Or $7.67 for the first bottle and $5.67 for each refill with NOW.
For a price comparison
Burt’s Bees Outdoor all Natural herbal Insect Repellent 4oz bottle $13.50= $27.00 for 8oz
Honest Co Bug Spray 4oz $11.69= $23.38 for 8oz
BabyGanics Shoo Fly Deet Free Natural Insect Repellent 2 oz $4.99= $19.96 for 8oz

So there you have it!  Homemade bug spray wins the price comparison again!

Effective

I sprayed the kids at the beginning of mosquito season as they went out to jump on the trampoline at dusk.  They came in with one bite on one kid.  Earlier this week we had a bonfire.  Cupcake and I stayed out the longest.  I sprayed myself an average amount of spray.  I was wearing a skirt, so my legs were pretty exposed.  I did get one bite on my foot and after that, I made sure to spray my feet too.  I didn’t get another bite after that.  I was lying in a lounge chair and I saw several mosquitoes fly around me and close to my skin before changing their mind and flying off.  Incredible!  I’d definitely say that it’s effective!

I read that adding vanilla oil increases the duration of the effectiveness of oils.  In bug spray, the longer it works, the better!

Comforting

What is more comforting than not being eaten alive?  Seriously, I have been bug bait my whole life, mosquitos love me.  I’m so happy I’ve finally found something that works!

I was worried the smell would be gross after mixing everything in the bottle.  It’s actually quite pleasant.  It smells better than all of the chemical ones I’ve been using my whole life.

First Homemade Bug Spray Attempt

Ultimately, I decided to give one of the oil blends from this site a try:
http://blog.oneessentialcommunity.com/diy/diy-bug-spray-works-kid-safe-options/
After assembling all of the supplies, I waited anxiously for my daughter to arrive home from school.  I promised her we would make the first batch together.  I had everything set up and ready to go on the table and I pretty much sat at the table waiting for her to walk through the door so we could play.  Ahhh, big kid toys are just as fun and exciting.

We started by dropping oils into our bottle, stopping to smell each one as we went.  Cat helped me count in case I lost my place.  I had already boiled and cooled the water before she came home, so we added that in and topped it off with witch hazel.  After we shook it up we both excitedly took a whiff of our new concoction and grimaced.  It didn’t exactly smell awesome.  It wasn’t horrible, but it wasn’t very pleasant either.  Oh well, it is supposed to repel bugs after all.

Next time, we are going to try lavender scented witch hazel instead of aloe vera.  I believe this might have contributed to the weirdness.
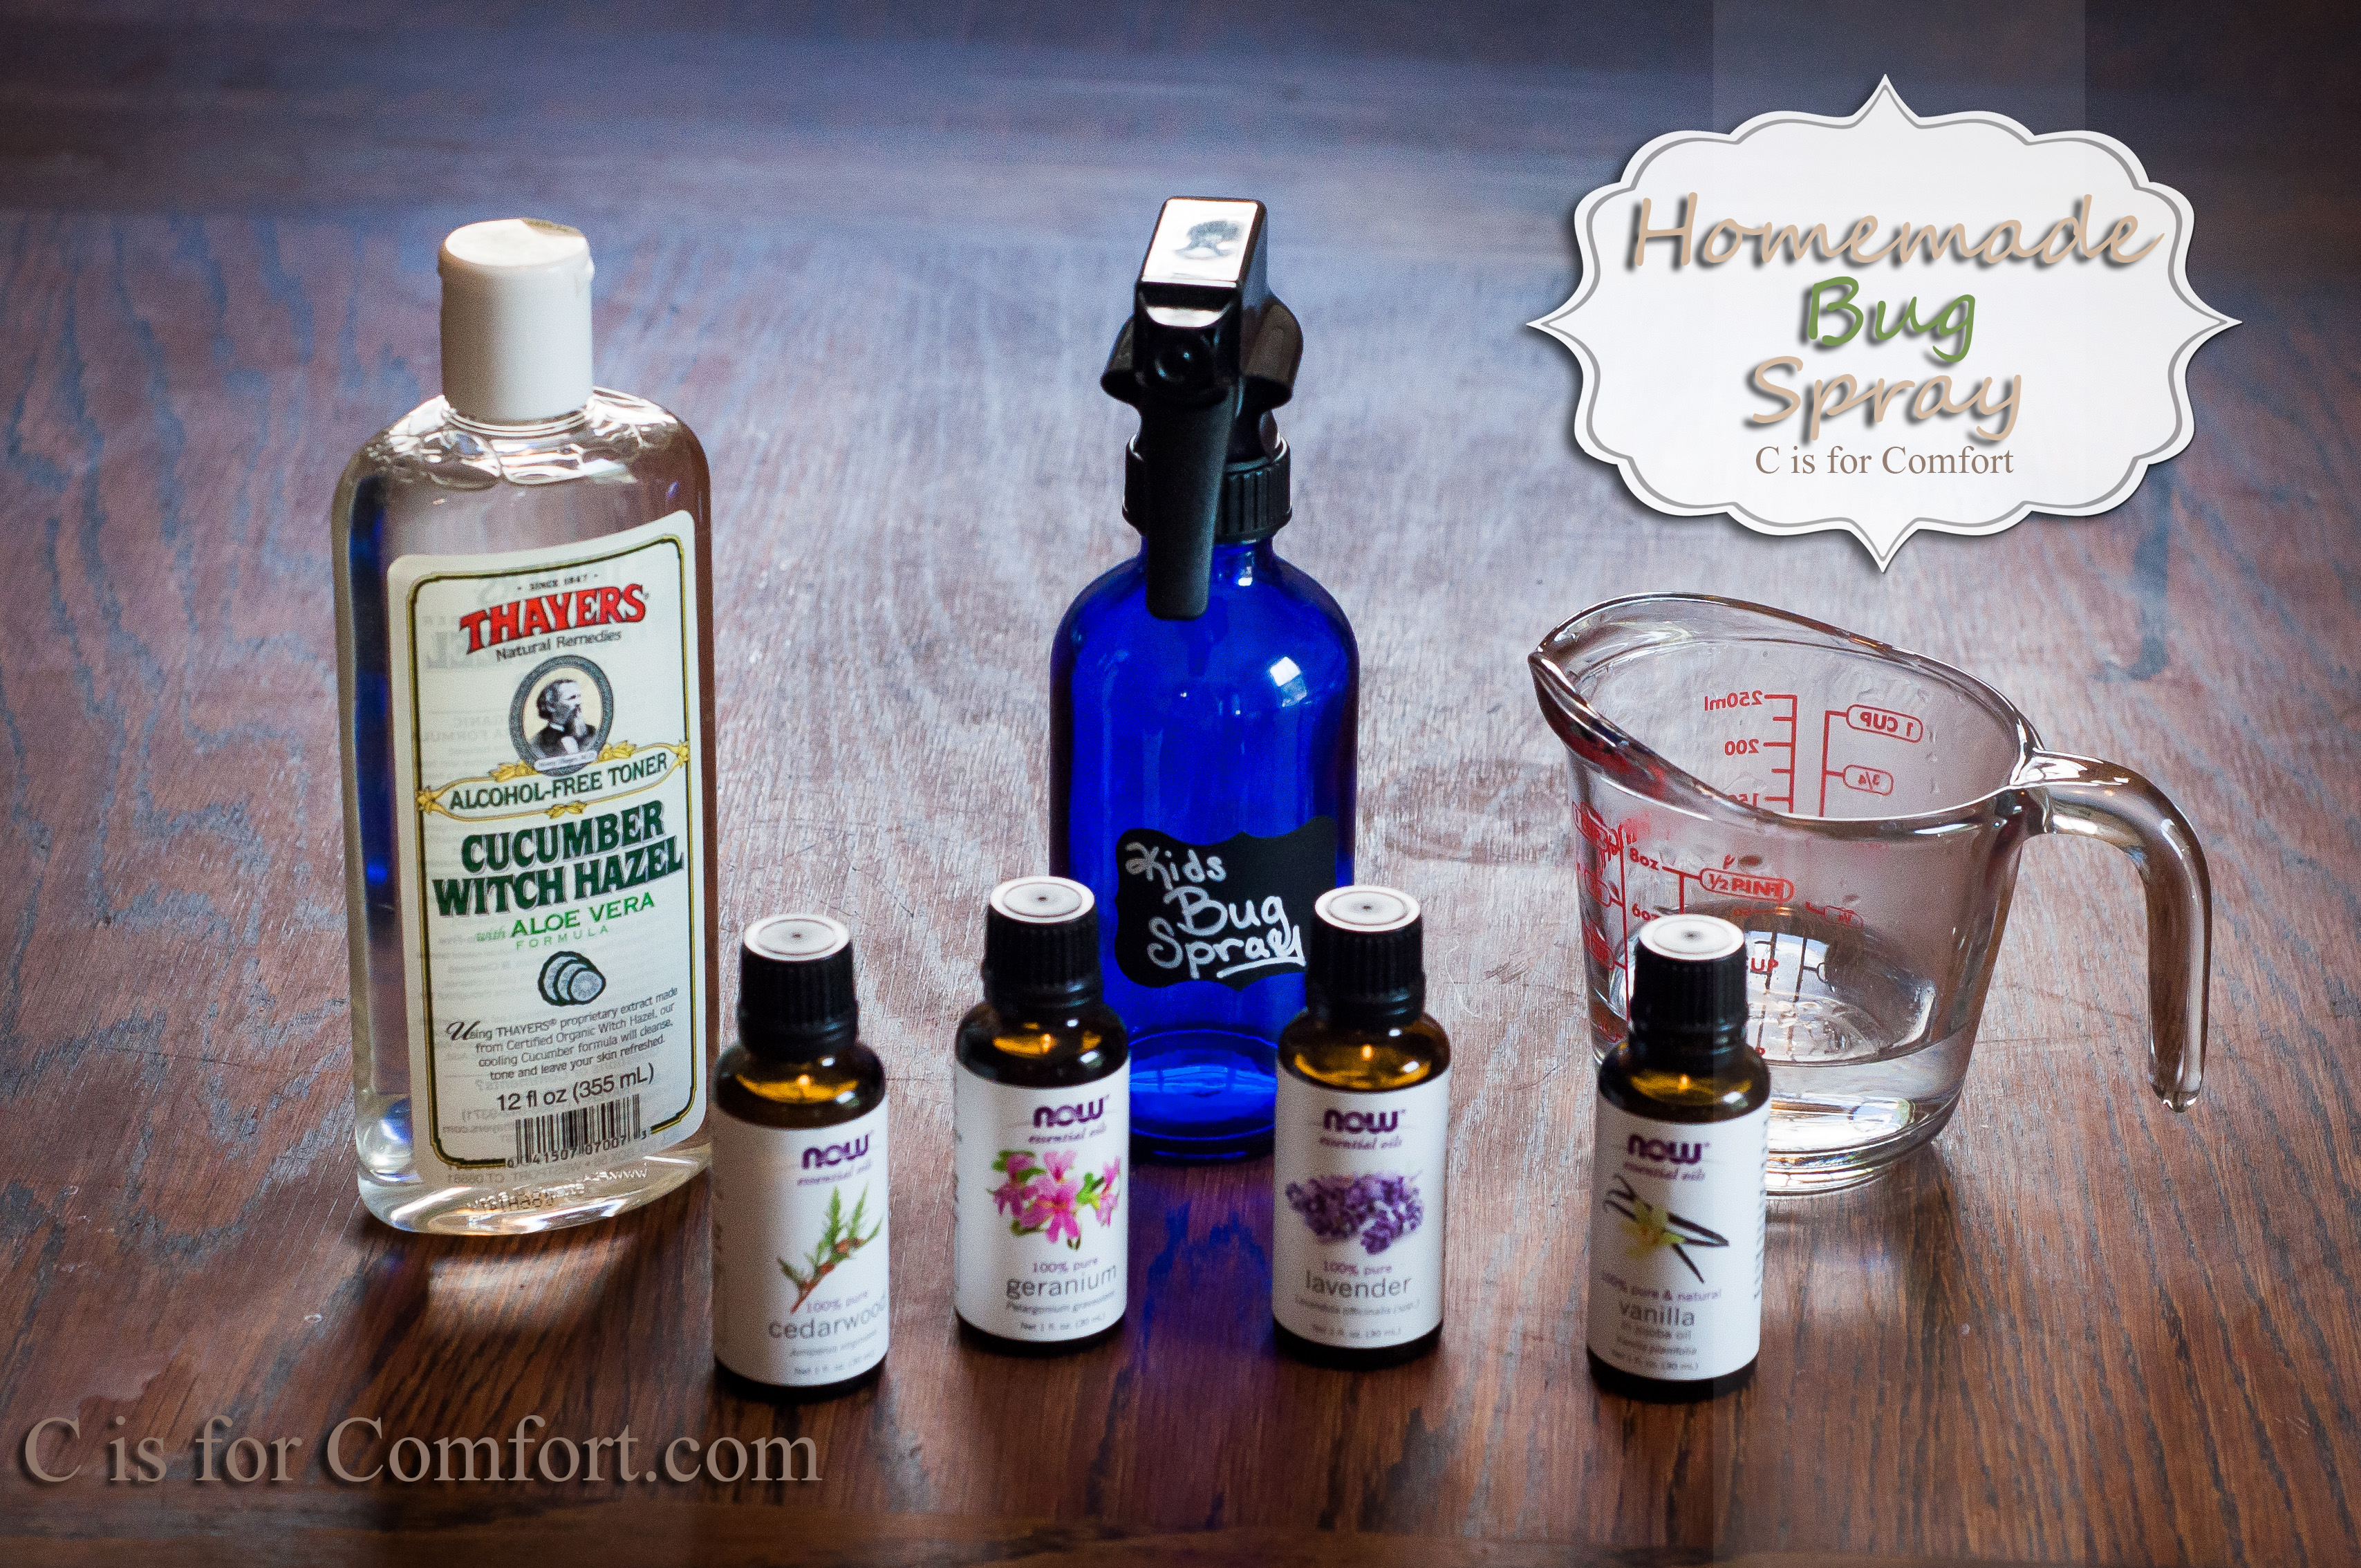
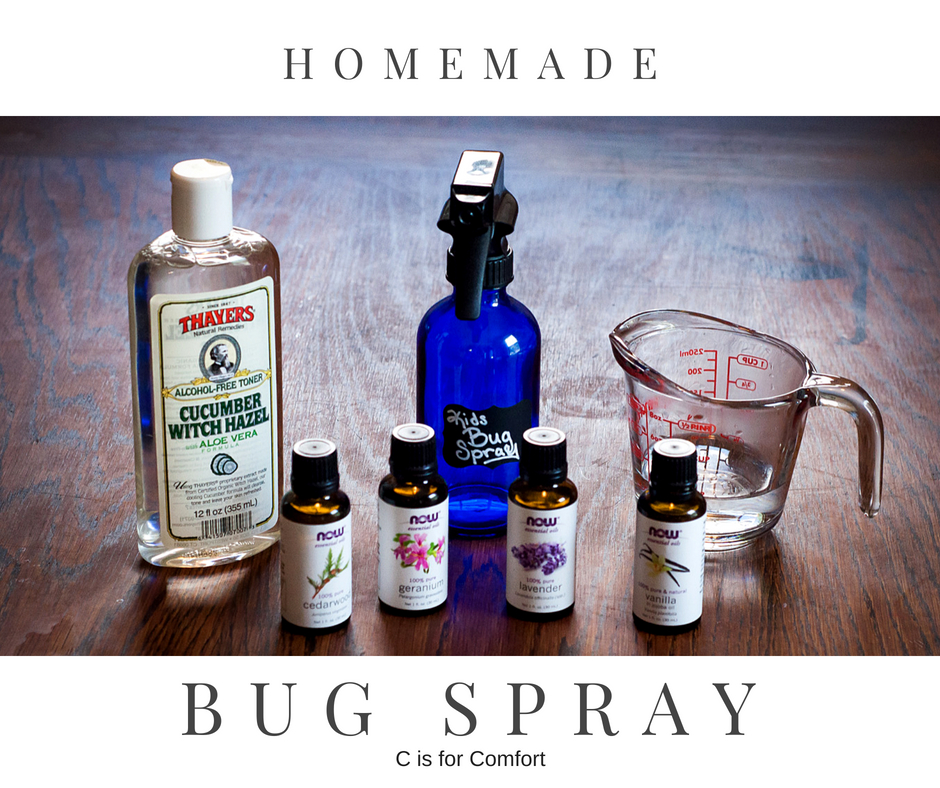
Homemade Bug Spray

Homemade Bug Spray

8oz Bottle
15 Drops Lavender Essential Oil
15 Drops Cedarwood Essential Oil
10 Drops Geranium Essential Oil
20 Drops Vanilla Essential Oil or 1/2 tsp Vanilla Extract*
4oz Witch Hazel
4oz Distilled or Boiled(and Cooled) Water

Add Oils to bottle first.  Add in water next, then top off with witch hazel.  Test a small area of skin on each person before using liberally.  Spray on clothes and especially ankles and wrists for adults.  With small children, avoid spraying hands or near faces to avoid accidental ingestion or rubbing eyes.

*Vanilla oil is not an essential oil

Thank you for reading!  What do you use for bug spray?  Have you tried ours?  I would love to know how it works for you!


As always, this is not medical advice.  Please consult your own medical practitioner for any health-related concerns.  Everything shared in this blog is based on my own personal experiences and are what we do for our family but may not necessarily work for yours.  Please do your own research to find out what works best for you.  An informed and educated choice is always best!  🙂
Gluten Free Berry Muffins

Gluten Free Berry Muffins

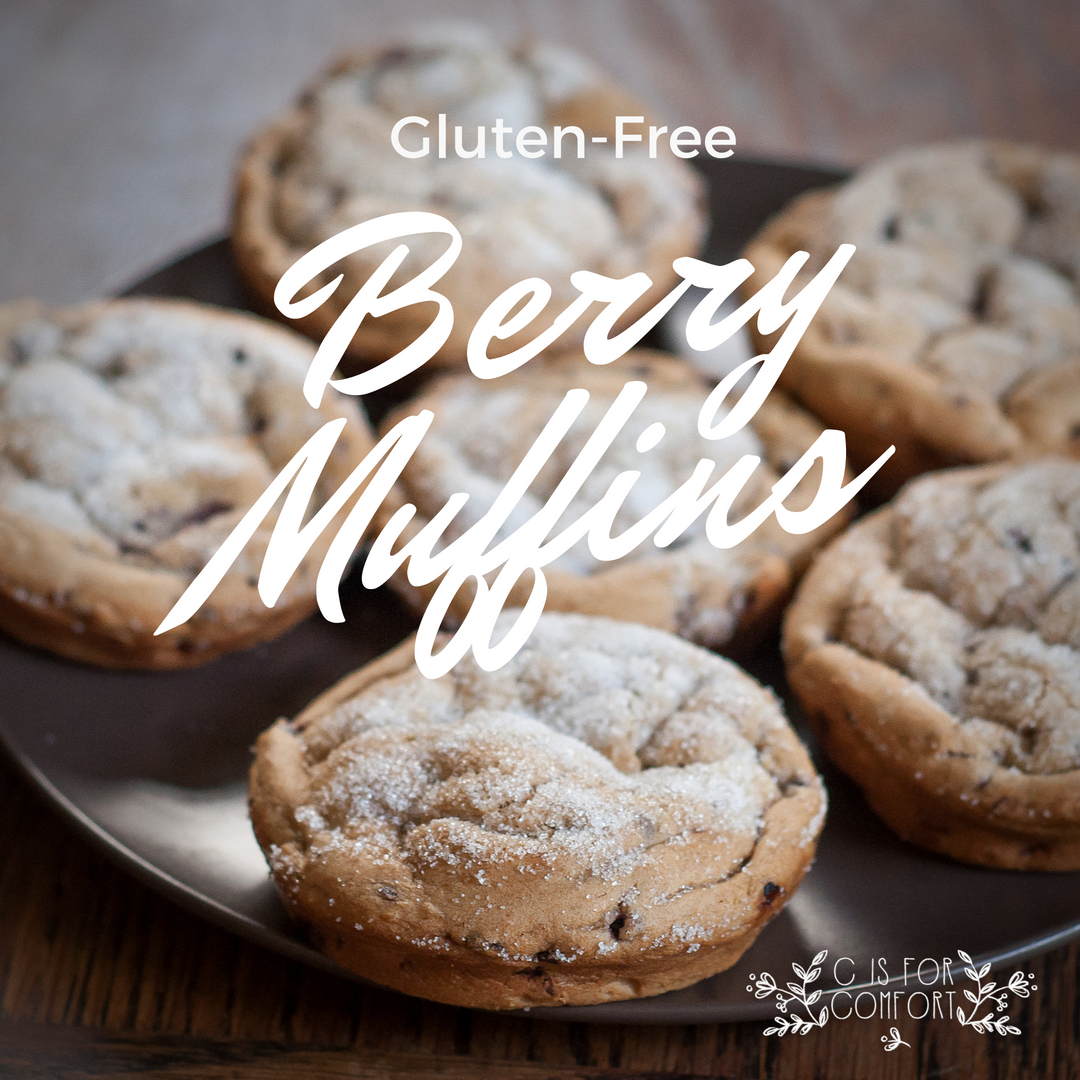
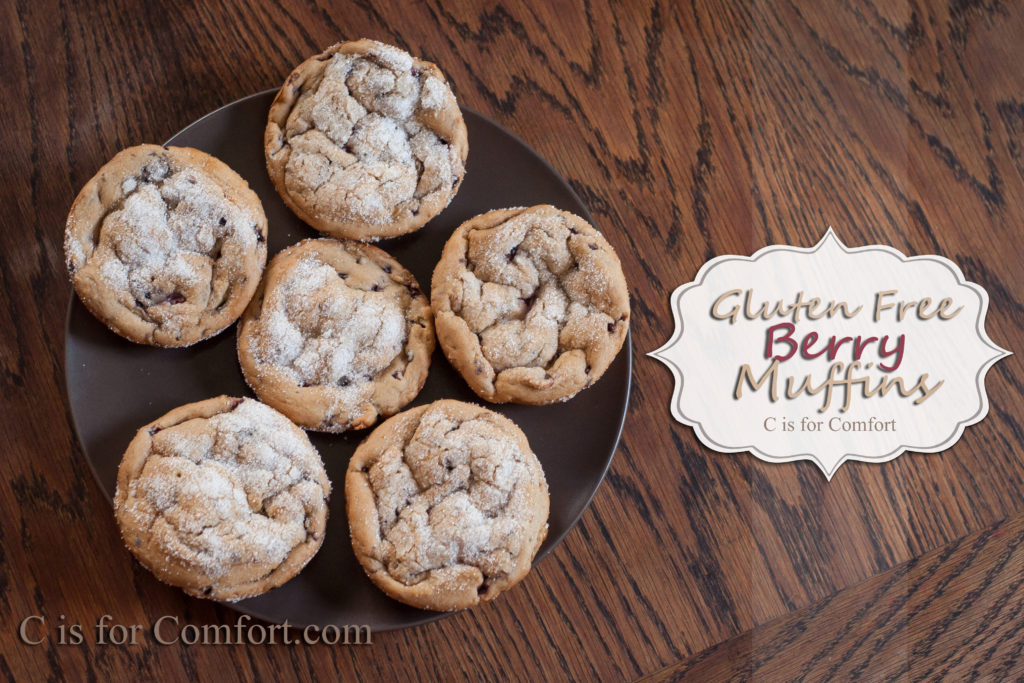
When I was first learning how to be corn and wheat free, my sister in law made me some amazing gluten-free berry muffins.  She was kind enough to share her recipe with me.  I’ve modified it a bit since our allergies have evolved.  My whole family loves these and we try to always have some on hand.

Thankfully, they are freezer friendly, so we can make double or triple batches, freeze the majority and still have enough left to snack on for a few days.  I recommend freezing immediately what you can’t eat and whatever is left eat within one to two days.  After 48 hours they lose their flavor and fluffy texture.

The nice thing about this recipe is, you can add whatever fruit you have on hand.  We’ve tried many different combos over the years, but my favorite is one my SIL came up with, lemon zest and raspberry.  More recently we tried lime juice and blackberries.  Sometimes we’ll chop up apples or throw in fresh blueberries.  My SIL has also made a delicious peach mango.  If you’re craving chocolate, you could always add chocolate chips.  For those of you with corn allergies, just adding cocoa powder and a little extra maple syrup is a good alternative to chocolate chips.

I have always loved the top of the muffin.  Panera makes amazing pumpkin muffies, which are basically large muffin tops.  Since learning about all of my allergies, I’ve always been bummed I can’t drop by for a muffie.  I did discover a muffie pan at Target a few years ago and I’ve loved using it for my muffins.  I use that and regular muffin tins since I usually make triple or quadruple batches and I need all the pans I can get!  My next goal is to replicate the muffie in a gluten-free recipe!

I hope you enjoy these muffins as much as we do!  Let me know if you try and enjoy the recipe!

Gluten Free Berry Muffins

Gluten Free Berry Muffins

Gluten Free Berry Muffins

Makes 12 regular sized muffins or 6 muffies

Ingredients
  • ½ cup unsalted butter, room temperature
  • 2 tsp. lemon zest or more — zest from 1 large lemon
  • 1 cup real maple syrup or 1 cup of sugar
  • 1TBSP granulated sugar**
  • 1 egg or egg substitute(I use chia seeds)
  • 1 tsp. vanilla (omit if you don’t have homemade for corn free people)
  • 2 cups gluten-free flour blend (set aside 1/4 cup of this to toss with the berries)
  • 2 tsp baking soda
  • 1 tsp cream of tartar
  • 2 tsp xanthan gum (I also use chia seeds instead)
  • 1 tsp. sea salt
  • 2 cups fresh berries
  • ½ cup buttermilk*** (or milk alternative, making buttermilk is optional)

** This 1 tablespoon is for sprinkling on top

*** To make homemade buttermilk, place 1 tablespoon of apple cider vinegar or lemon juice in a liquid measuring cup. Fill the cup with milk/milk alternative until it reaches the 1-cup line. Let stand for five minutes. Use only 1/2 cup of the prepared mixture for the recipe.

Instructions
  1. Preheat the oven to 350ºF.
  2. Cream butter with lemon zest and the cup of the sugar/maple syrup until light and fluffy.
  3. Add the egg and vanilla and beat until combined.
  4. Meanwhile, in a separate bowl, toss the berries with ¼ cup of flour.
  5. Whisk together the remaining flour, baking powder, and salt in a separate bowl.
  6. Add the flour mixture to the batter a little at a time, alternating with the buttermilk.
  7. Fold in the berries.
  8. Grease muffin tins with butter. Fill 3/4 full with a spoon.
  9. Sprinkle batter with remaining tablespoon of sugar.
  10. Bake for 35 to 45 minutes. Check with a toothpick for doneness. If necessary, return pan to oven for a couple of more minutes. (Note: Bake up to 10 minutes more depending on climate) Let cool at least 15 minutes before serving.

DSC_0052

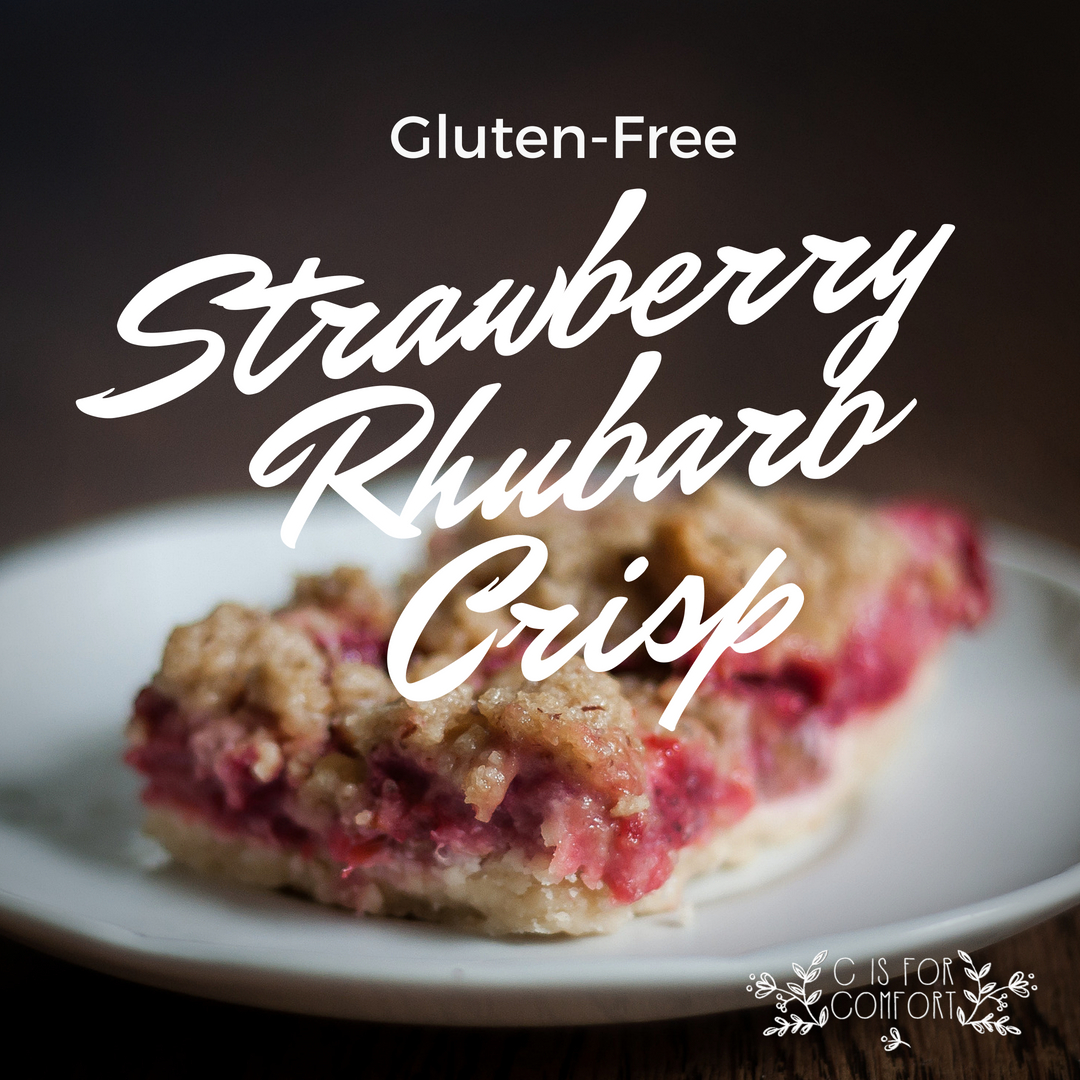
Gluten Free Strawberry Rhubarb Crisp Bars

Gluten Free Strawberry Rhubarb Crisp Bars

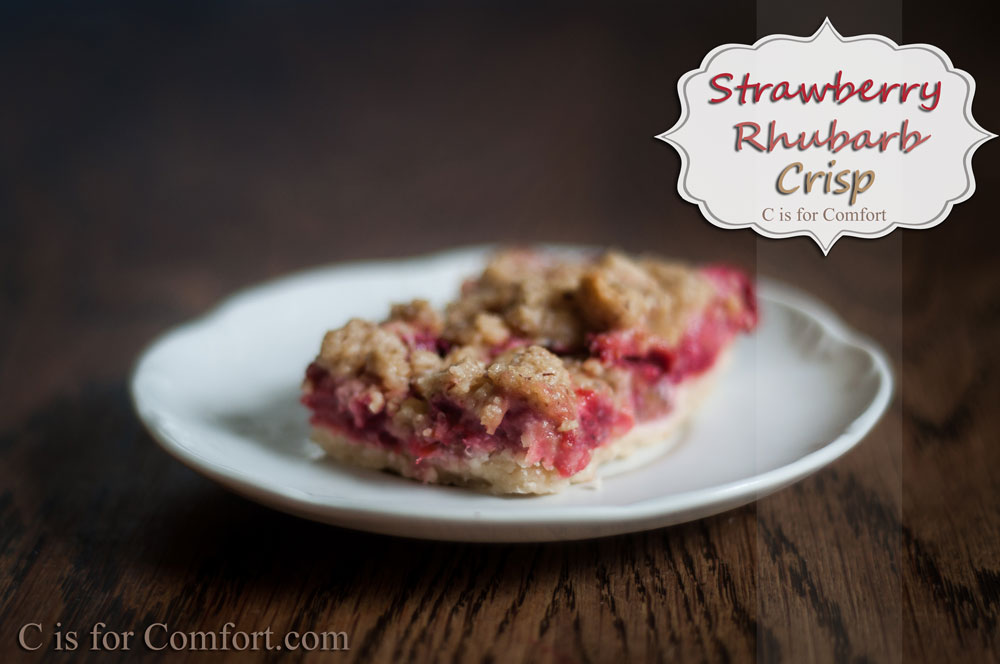
Gluten free strawberry rhubarb crisp bars are one of the best spring and early summer desserts!  Strawberries and rhubarb are in season in May and June in Minnesota, so if you’re looking to cook and bake seasonally, this would be a great time to use them!

If you have an abundance of strawberries and rhubarb in your garden, you could always chop them up and put them in ziplock bags in the freezer.  Then you can make this later in the season too!

When I saw rhubarb at the farmer’s market this last weekend, I immediately thought of my Grandmother.  As a child, I would often snack on rhubarb from her yard.  This will be the first year I get my rhubarb from the farmer’s market instead of my Grandparent’s garden, a bittersweet moment.

Last year, my grandparent’s house was sold.  This was the place that I grew up in, next to my own home.  It was where all of the best childhood memories happened.  It was where my Grandparents made me feel like I was someone who mattered.

I know that farmer’s market rhubarb will be just as good as Grandma and Grandpa’s.  However, there will be a little part of my heart that will always cry and smile at the same time at any mention of rhubarb.

After I brought the rhubarb home I thought immediately back to my childhood days again.   My Father would always make a delicious rhubarb crisp.  Unfortunately, my Dad’s recipe was not gluten and oat free.  Determined to have one of my favorite childhood desserts, I set about scouring the internet for a decent alternative.

Sadly, I didn’t find any recipe that fit my needs, so I improvised.  It turned out great!  So great, in fact, that I gobbled up almost the entire thing myself!  My kids were not happy with me.  Ha!

The next time I make this, I’m going to make 2 at once.  Maybe the kids will get a piece or two.

I hope you love my recipe!  Let me know if you try it!

Gluten-Free Strawberry Rhubarb Crisp Bars
Serves 12-16
Shortbread Base
2 sticks unsalted butter, room temp
3/4 cup brown sugar or maple syrup
2 cups gluten-free flour mix

Crisp Topping
1/2 cup gluten-free flour mix
3/4 cup brown sugar or maple syrup
1/2 cup almond meal (optional)
6 tbsp unsalted butter(cubed about 1/2 TBSP chunks)

Strawberry Rhubarb Center(Prepared Last)
12 ounces or 2 cups of quartered strawberries
12 ounces or 2 cups of chopped rhubarb
2 tbsp sugar or maple syrup
1/4 cup gluten-free flour mix

Shortbread Base
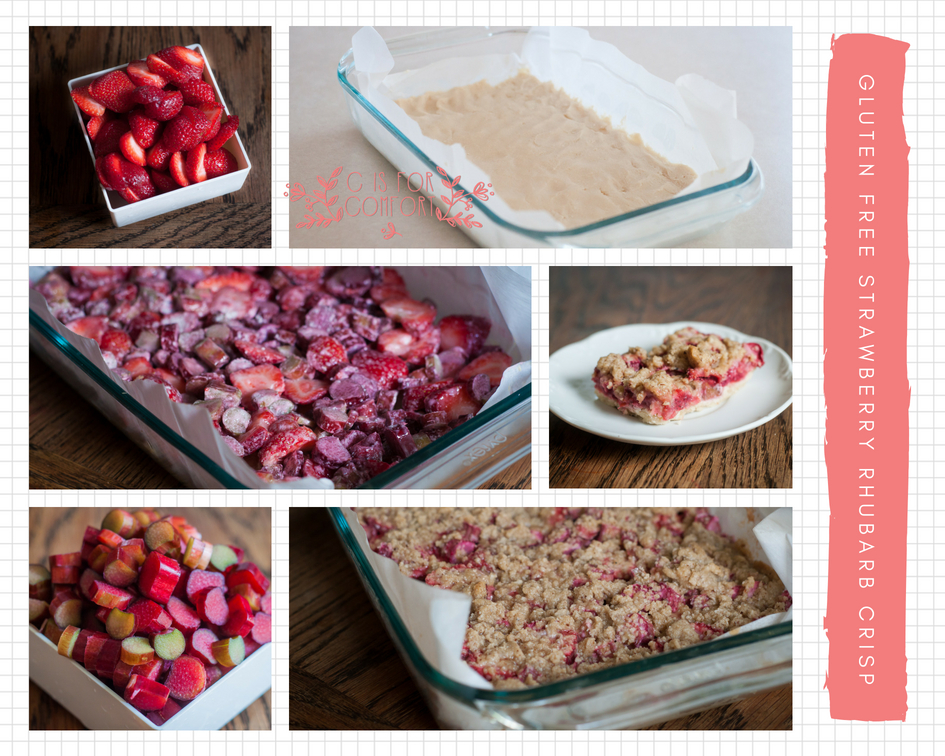
Preheat over to 325.  Grease 9×13 pan, line with parchment paper (optional), grease again.  Blend butter and sugar well.  Add in flour until smooth.  Press dough into a pan.  Bake for 25 minutes.  Remove from oven.  Increase over to 350.

Crisp Topping
Blend flour, brown sugar, and almond meal.  Add butter and mix until crumbly.  Chill in refrigerator.

Strawberry Rhubarb Center-Make Last
Chop rhubarb into 1/2 inch pieces.  Quarter strawberries.  Toss with sugar and flour.  Immediately spread over shortbread.  Use hands to crumble crisp topping over strawberry rhubarb mixture.  Bake for 25 minutes.  Turn off oven and allow to remain in oven for additional 5 minutes.  Remove from oven to cool.  Once the pan is cool, you have two options.  1. Refrigerate for more solid bars to transport and display for a party or 2.Eat immediately if you enjoy them warm!  Add a scoop of vanilla ice cream.  Enjoy!

Strawberry Rhubarb Crisp Bars

Strawberry Rhubarb Crisp

Best Dessert EVER
Strawberry Rhubarb Crisp

Guilt-Free Cookie Balls

Guilt-Free Cookie Balls

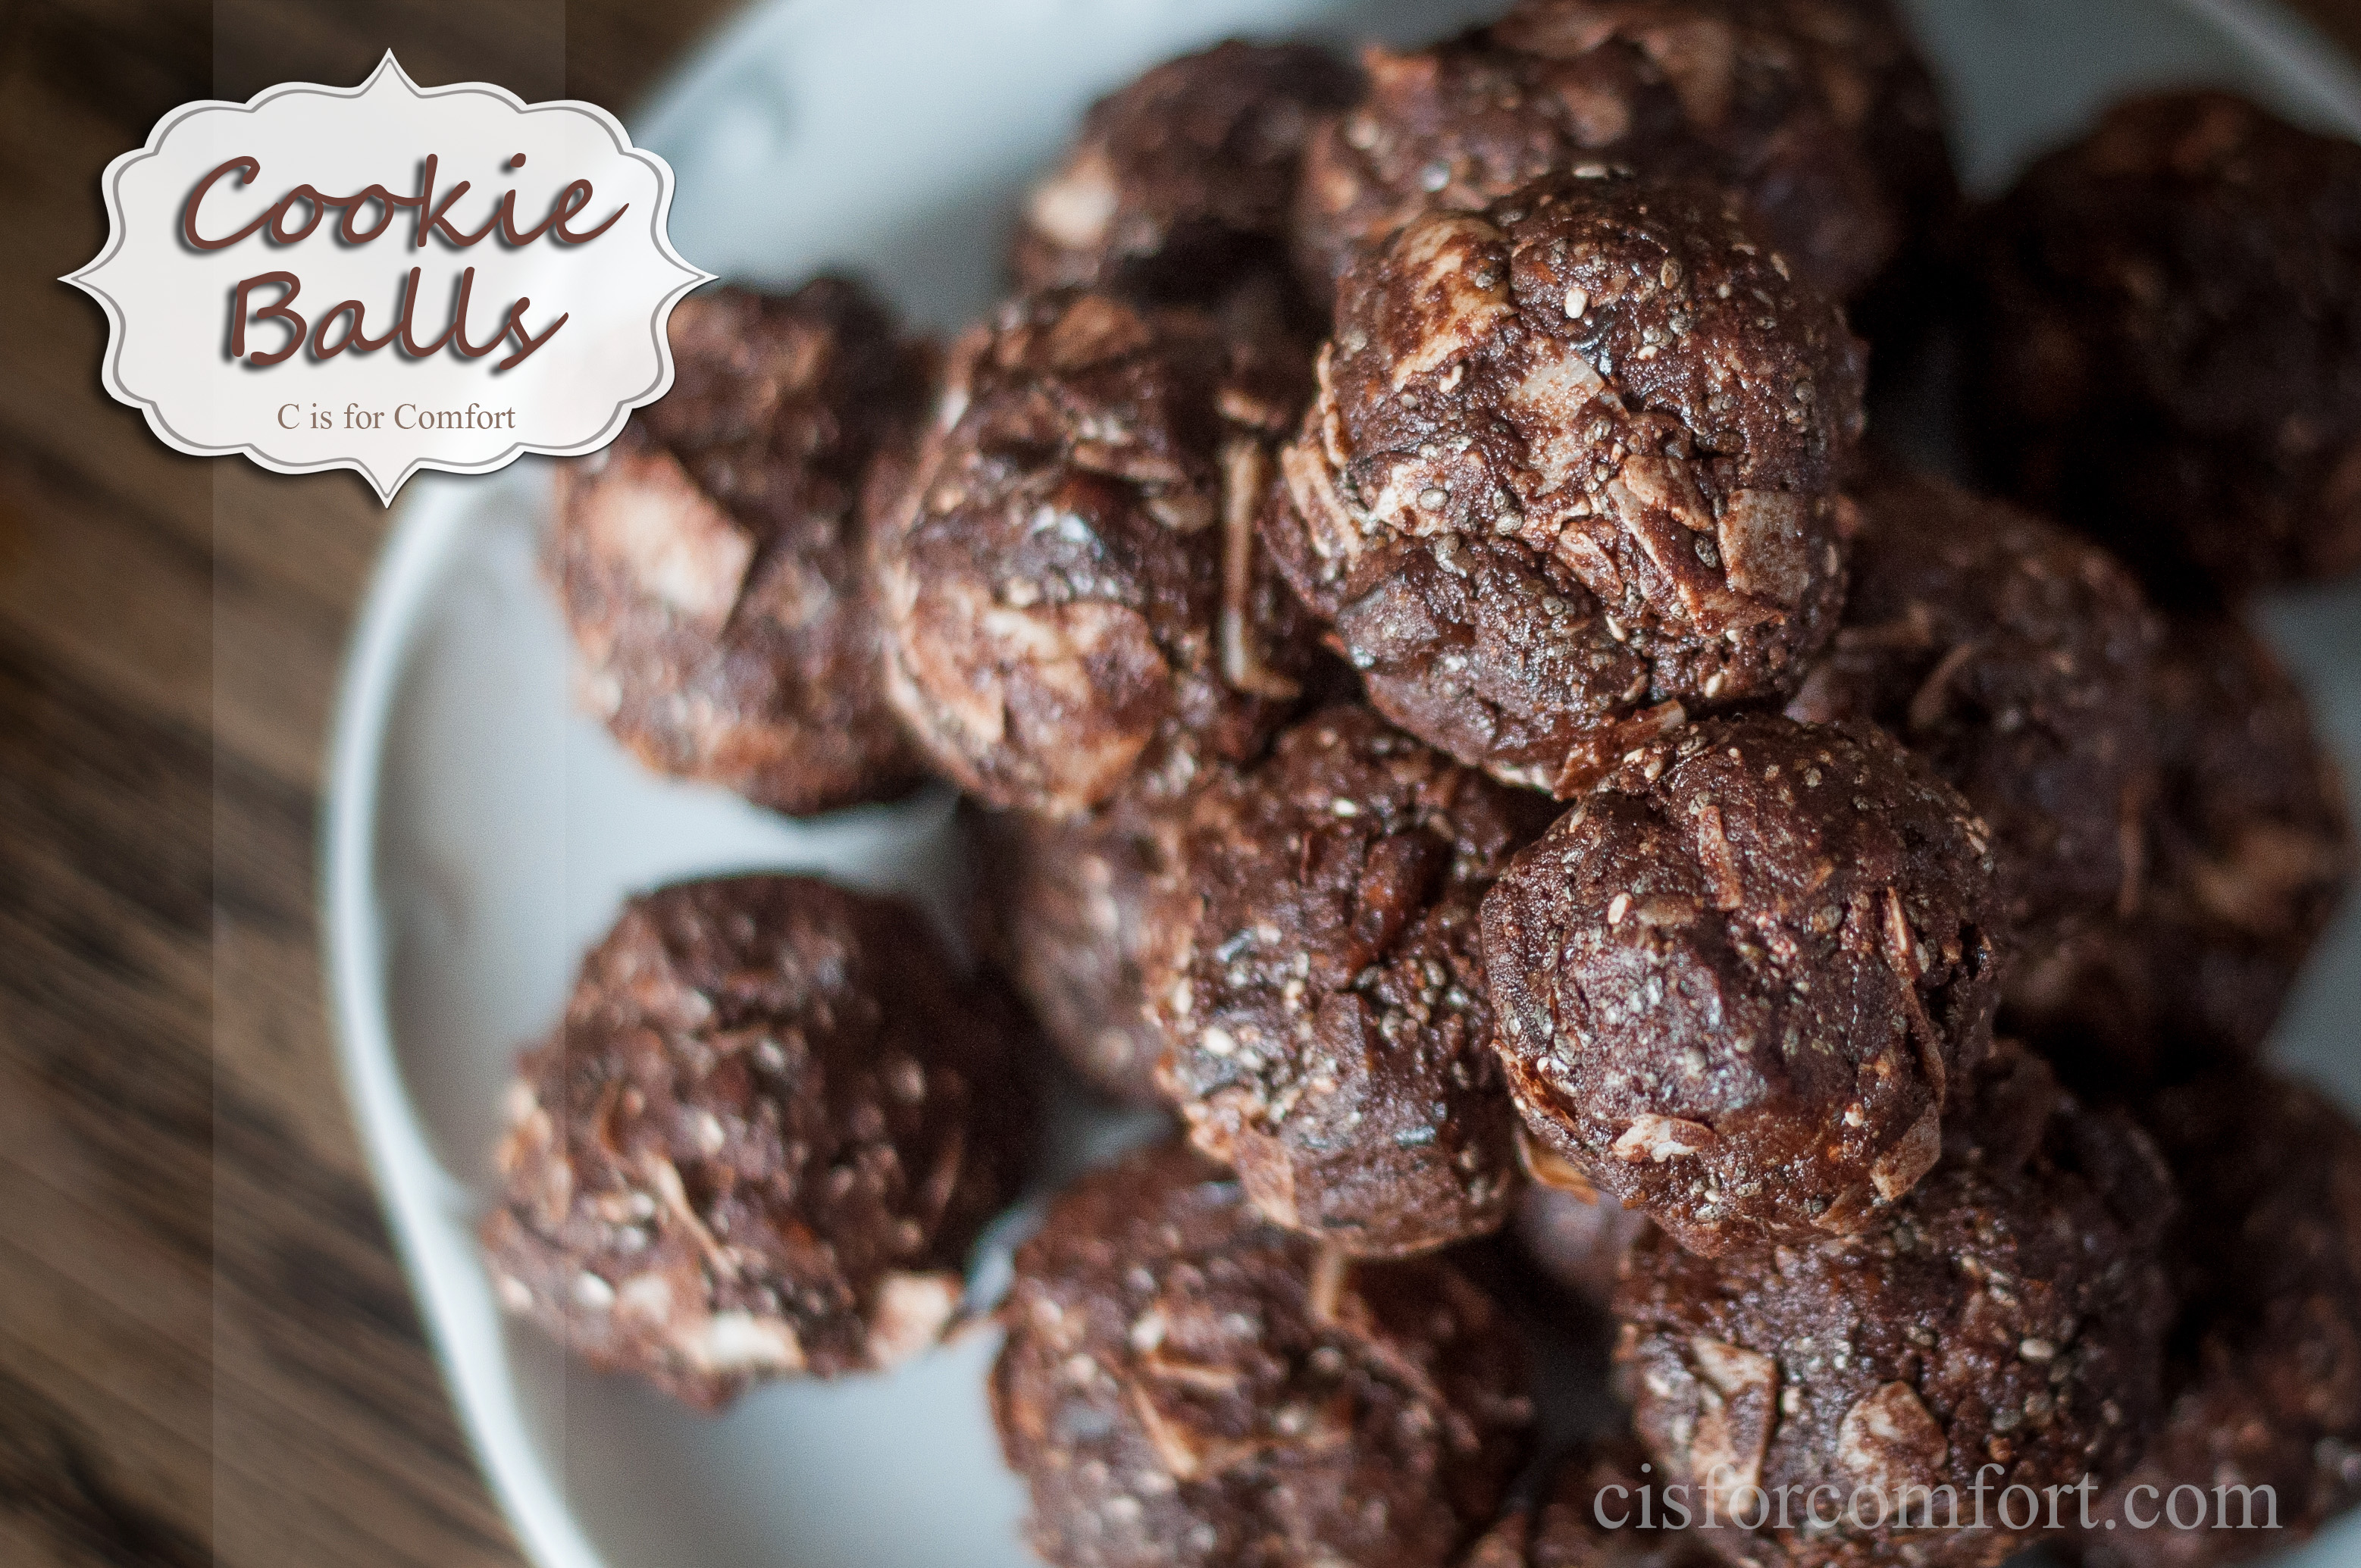
I’m not sure that naming these “Cookie Balls” sums up how delicious and nutritious these little treats are.  Not only are they full of natural vitamins, minerals, protein, and fiber, they taste like something one should feel guilty over.  Thankfully, unlike classic cookies, these will leave you feeling full and satisfied, without the guilt.

Nutritious, Guilt Free, Cookie Balls
Cookie Balls

I discovered that these work wonders for morning sickness.  I had heard that protein can help lessen morning sickness.  So with my last pregnancy, I made a large batch of these and snacked on them whenever I started feeling nauseous.  It worked marvelously!

Nutritious, Guilt Free, Cookie Balls
Cookie Balls

My kids love these.  When I make them, I have to hide some or they’ll gobble them all up.  I make sure to set some aside for my youngest and myself so that we have something allergy-friendly to snack on while the non-allergy big kids have their snacks.

Cookie Balls
Makes 20-24 Cookie Balls
35-40 Chopped Dates
1/3 Cup Cocoa Powder
1 Cup Almond Meal
1/4 Cup Chia Seeds
1 TBSP Coconut Oil
2 TBSP Organic Grass-fed Butter
1/2 Cup Coconut Flakes

Mix all Ingredients, except coconut flakes, until well blended.  Add coconut flakes and mix until blended.  With your hands, take about a tablespoon or two, depending on how big you want them. and roll the mixture into balls.  I like mine to be bite-sized for less mess.  The smaller, the better, for little mouths.  I find they store well for at least a week.  They might last longer, but they are so good that they usually get eaten up before a few days have passed!