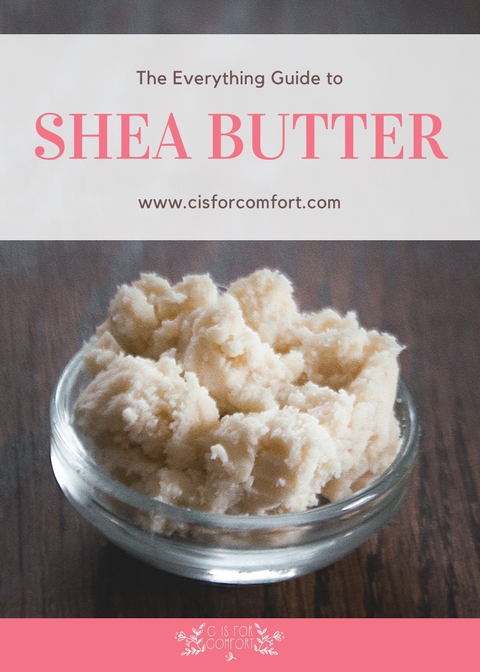
The Everything Guide to Shea Butter

Shea butter is an amazing all natural, non-toxic alternative to chemical lotions and lip balms.  On its own, it nourishes and heals your skin.  It’s affordable, easy to use, and smells amazing. There are so many reasons for everyone to utilize shea butter.

Shea Butter Facts

What Is Shea Butter?

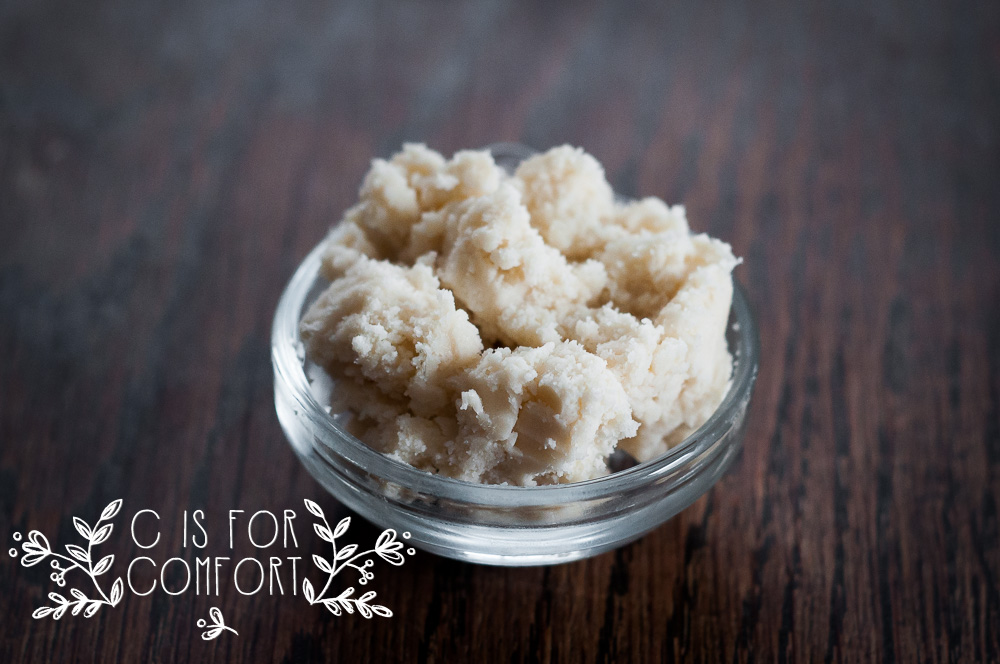
Shea butter is a fat extracted from the nut of the African shea tree.

Where Does Shea Butter Come From?

As you might have guessed, since shea is from the African Shea Tree, it does originate in Africa.

Shea Butter Nutritional Information

Vitamins A & E
Healthy Saturated Fats: Derived mainly from stearic acid and oleic acid.
Contains phenols-the same antioxidants found in green tea.

Health and Beauty Benefits of Shea Butter

Anti-inflammatory
Non-comedogenic
SPF 6-10
Moisturizing

Tips For Buying Shea Butter

Look for:
Raw and unrefined.  Refined shea butter has many of the beneficial elements removed.  
Ethically sourced.  The harvesting and creation of shea butter is usually done by a community.  Purchasing from a small, reputable source is usually best.  Look for their story of how, where and by whom it’s made.  This supports small farmers, families, and communities and also ensures that they get paid a fair wage.  Plus, chances are, they use the shea butter too and will care about the quality and condition of their product!  
A Product that ISN’T white.  Raw and healthy shea butter will have a yellowish hue.  Like cow’s milk butter, sometimes it’s a rich, bright yellow, sometimes it’s a pale pastel yellow.  The shade will vary depending on the region and shea itself, but it should never be white unless it was processed.  
A warm, earthy scent.  Scentless shea is usually processed.  For processed shea, scentless is usually the “best” processed shea, often, you’ll find it more likely has chemical undertones.  Don’t look for scentless!  This is a keyword for processed!

(This is what I use.)

Shea Butter Allergy Concerns

Shea butter is derived from the shea nut.  If you have a nut allergy, use caution.
If you buy a refined version of shea butter, you run the risk of exposure to chemicals.  

How To Store

Shea butter has a shelf life of about 24 months.  It may last longer but may become less effective over time.

Keep in a cool, dark, dry place for storage.  I keep mine in the original bag it came in, in my closet.  I also portion some of it into a small glass jar for use and keep it in my nightstand.

Shea butter will smell nutty and smokey when fresh.  If your shea butter goes bad, it will smell rancid.  You will probably gag and have no doubt that it is bad.  I’ve kept mine fresh for several years, but if you’re worried, you can always store yours in the fridge to help it last even longer.  Use a glass jar to keep out unwanted fridge odors. 
Note-I live is a cold climate where we have winter 7-9 months of the year.  If you live in a warmer climate, you might want to store yours in the fridge. 

Shea Butter Basic Uses | 21 Ways to Use Shea Butter Plain

  1. Dry Hands
  2. Dry Feet
  3. Dry Lips
  4. Facial Moisturizer
  5. After Shave Cream
  6. Baby Bums
  7. Massage Rub
  8. Cuticle Cream
  9. Sun Screen Lotion
  10. Hair Mask
  11. Stretch Mark Cream
  12. Pregnant Belly Rub
  13. Cracked Skin Repair
  14. Baby Lotion
  15. Chapped Cheeks
  16. Sore Nose From A Cold
  17. Eczema Soother
  18. Dry Elbows
  19. Dry Knees
  20. Scar Repair
  21. Insect Bites

Shea Butter Recipes

Whipped Eczema Body Butter

References

http://www.vitaminstuff.com/supplements-shea-butter.html

https://en.wikipedia.org/wiki/Shea_butter

https://en.wikipedia.org/wiki/Vitellaria

https://www.researchgate.net/publication/258826779_Nutritional_Composition_of_Shea_Products_and_Chemical_Properties_of_Shea_Butter_A_Review

hhttps://bettersheabutter.com/

Roasted Dandelion Root Tea Recipes

Roasted Dandelion Root Tea Recipes

I used to hate coffee.  It smelled amazing but tasted awful.  The bitterness made me grimace and I couldn’t fathom why people actually drank it.

Enter the Caribou Caramel Cooler.  My Mom drank them often and despite my aversion to coffee, I fell in love with it.  Granted, all of the caramel, whipped cream and sugar probably helped a bit.

Once I developed corn allergies, I was greatly disappointed that I could no longer drink Caribou.  Determined to still have a bit of my former life, I made my own at home.  Although the ones I made were delicious and also healthier than the ones from caribou, I was still having health problems.

In addition to the homemade coolers, I had also experimented with making lattes for those cold winter days we get up here in Minnesota.  If I ever got too busy and my latte cooled, I would add a few ice cubes for an iced coffee.

After reading about the health benefits of dandelions, specifically, dandelion roots, I decided to give roasted dandelion root a try.  I had no idea what to expect.  I was drinking the roasted root of something I’d been taught my whole life was a weed.  With my first sip, I grimaced.  Yuck!

It was very bitter!  How was I going to finish off this cup?  I loaded it with honey, my usual go-to for tea.  It made it only slightly more palatable.

I continued to drink coffee every day.  I decided to try the organic coffee and I noticed immediately the increase of my health problems  I determined that coffee was the culprit behind my eczema flare-ups on my hand, the panic attacks and a general feeling of malaise.  I decided to kick the habit. I quit cold turkey.

I’m not going to lie, the first day was brutal.  I was desperate.  I wanted coffee and I wanted it now!  Who cares about eczema when coffee was so delicious!  Realizing I sounded like an addict, I was even more determined to give it up.  Standing at the cupboard, staring longingly at my coffee, I bypassed it for my basket of tea.  That’s when I spotted the roasted dandelion root.  A lightbulb went off over my head!

Dandelion root tea was bitter, just like coffee! Surely I could treat my tea like coffee and make a latte!  I did just that.  It wasn’t quite as strong as regular coffee but it was a great substitute!

I began drinking it every day and I no longer felt desperate for coffee.  The eczema on my hand went away.  My panic attacks became less frequent.  I didn’t feel as tired.  I felt better!

I experimented with different ways to make dandelion root into different versions of fun coffee-like beverages.  My favorite is the mock Caribou Cooler.

Are you trying to kick the coffee habit?   Have you tried using Roasted Dandelion Root as an alternative?

Dandelion Latte

  • 1 tea bag (this is what I use!)
  • mug
  • boiling water
  •  1 TBSP organic heavy whipping cream
  •  1 TBSP pure maple syrup

Loop tea bag around mug handle.  Fill cup 3/4 full with boiling water. Let steep for 10-15 minutes. Remove tea bag and squeeze out remaining liquid.  Stir in cream and maple syrup.  Enjoy!

Iced Dandelion Latte

  • 1 tea bag
  • mug
  • boiling water
  •  1 TBSP organic heavy whipping cream
  •  1 TBSP pure maple syrup
  • 3-4 ice cubes

Loop tea bag around mug handle.  Fill cup 3/4 full with boiling water. Let steep for 10-15 minutes. Allow tea to cool.  Remove tea bag and squeeze out the remaining liquid.  Stir in cream and maple syrup.  Add a few ice cubes.  Enjoy!

Iced Cubed Dandelion Latte

  • 1 tea bag
  • mug
  • boiling water
  •  1 TBSP organic heavy whipping cream
  •  2 TBSP pure maple syrup
  • 1/2 cup coconut milk

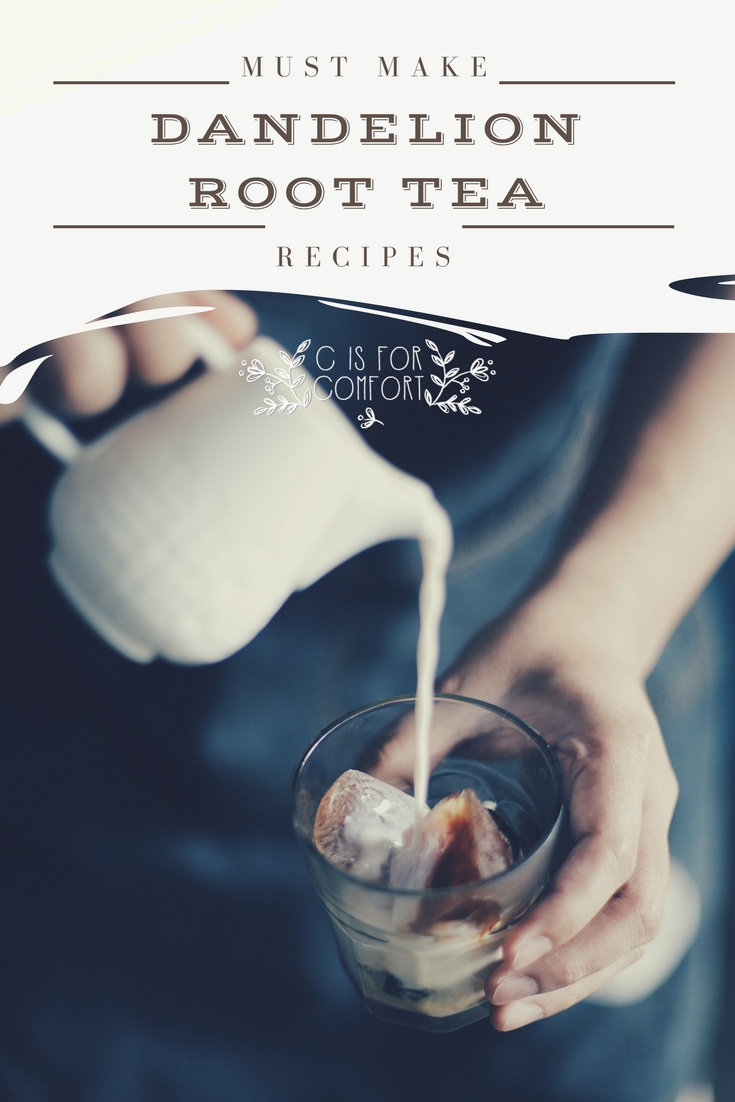
Loop tea bag around mug handle.  Fill cup 3/4 full with boiling water. Let steep for 10-15 minutes. Allow tea to cool.  Remove tea bag and squeeze out the remaining liquid.  Stir in cream and maple syrup.  Pour into ice cube tray and allow to freeze completely.  Add ice cubes to the brim of a glass.  Pour coconut milk over the ice cubes.  Enjoy!

Blended Dandelion Latte/Mock Caribou Cooler

Blended Tea
  • 1 tea bag
  • extra large mug
  • boiling water
  •  1 TBSP organic heavy whipping cream
  •  2 TBSP pure maple syrup
  • 4-6 ice cubes
Whipped Cream
  • 1/3 cup organic heavy whipping cream
  • 1/2 tbsp maple syrup

Loop tea bag around mug handle.  Fill cup 1/2 full with boiling water. Let steep for 10-15 minutes. Allow tea to cool.  Remove tea bag and squeeze out the remaining liquid.  Pour in blender or ninja single serve cup.  Add in cream, maple syrup, and ice.  Blend until smooth.  Pour into mug.

Put whipped cream ingredients in the blender.  Blend until just whipped.  Do not over whip or you’ll have butter. Spoon whipping cream onto the tea.  Enjoy!

I hope you love these recipes as much as I do!  You’ll have to let me know if you give them a try!


[enjoyinstagram_mb]

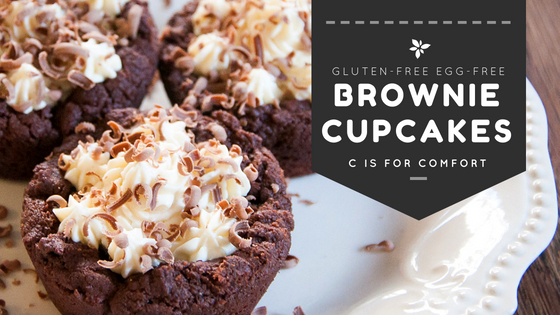
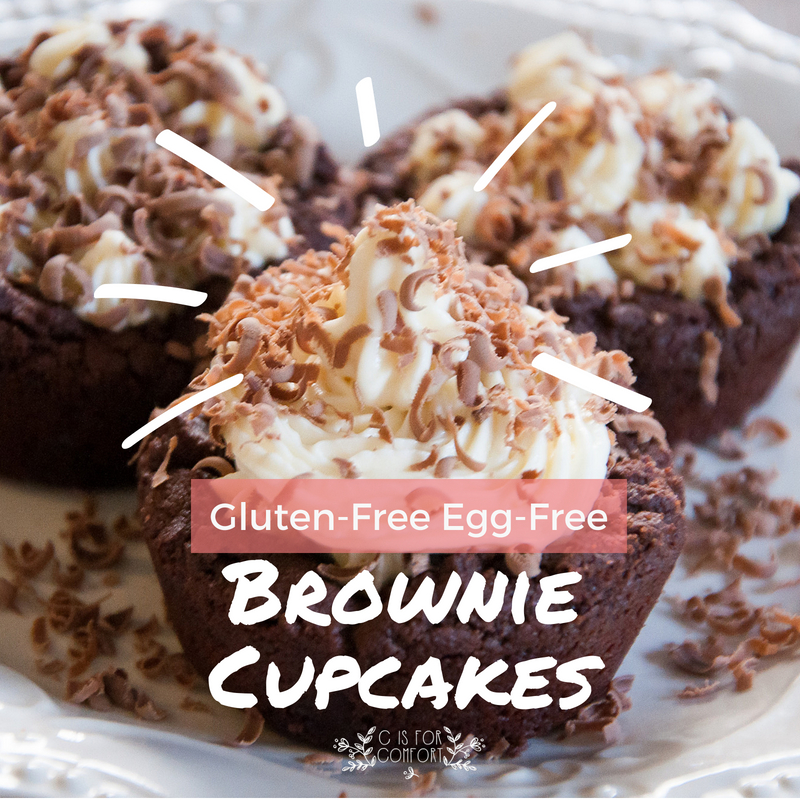
Simple Gluten Free, Egg Free Brownie Cupcakes

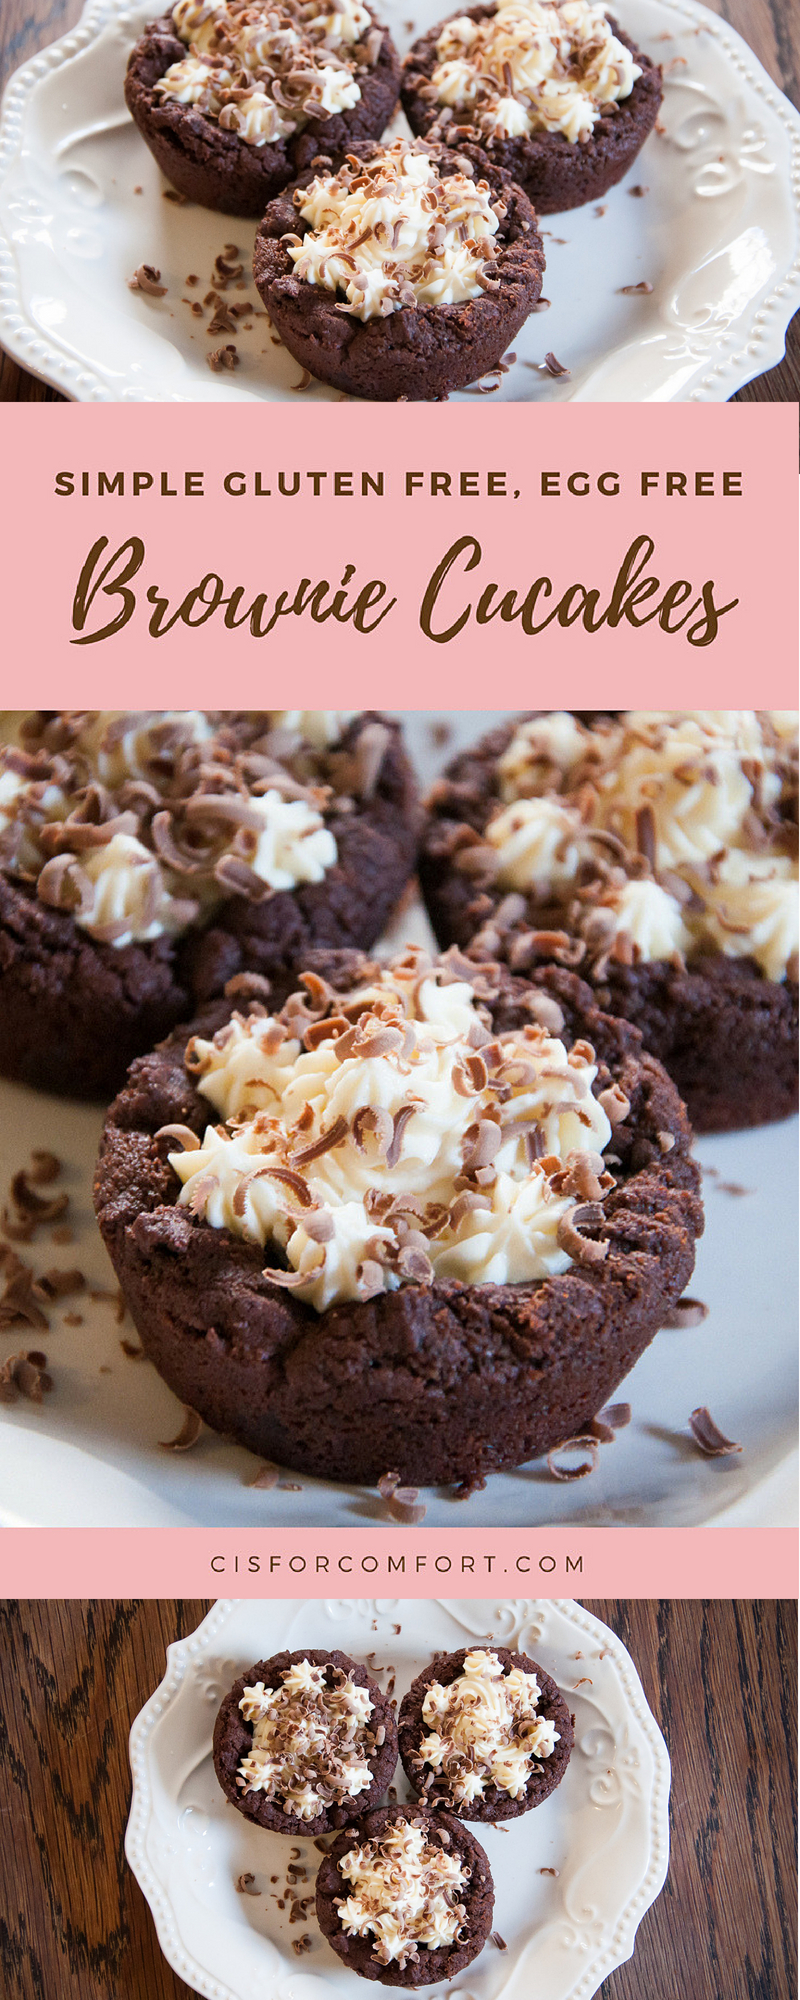
Simple Gluten Free, Egg Free Brownie Cupcakes

I have been craving brownies for quite awhile.  I haven’t had a brownie in…. at least five years?  I honestly can’t remember, it might be longer.

I have looked up recipes for gluten-free brownies numerous times, but they usually contain eggs.  Searching for an uncomplicated gluten free, corn free, egg free brownie recipe can be a little frustrating.  Usually, my desire for brownies wears off as I dig through recipe after recipe with bizarre ingredients.

My goal for gluten free, egg free brownies was that they be simple, fast and contain ingredients I already had on hand (for more easy recipes click here).  I personally prefer a more solid brownie.  Cake like ones are good too, but I wanted something closer to a cookie, crunchy on the outside, soft on the inside.

Cat had also been wanting brownies, and even offered to make them.  I seized the opportunity and dived into a google search.  I looked for vegan recipes since they are more likely to have egg-free brownies.  I found a recipe that seemed to work for us and made a few modifications.  This time we stuck with regular sugar to see how the recipe turned out, but I think we’ll attempt using honey or maple syrup next time.

Although we are not vegan, this recipe can easily be converted to dairy free by using dairy-free substitutes for the butter.  Maybe coconut oil or olive oil?  Maybe I’ll give both a try to see what happens and get back to you!

The brownies turned out as good as I had hoped.  We decided to top them with homemade cream cheese frosting and shredded chocolate flakes.  This might be a new family favorite, we gobbled them all up in a few days!

Gluten Free Brownie Cupcake Recipe

Ingredients
    • 1/2 cup softened butter
    • 3/4 cup sugar
    • 2 large flax eggs
    • 1 tsp vanilla extract
    • 1/4 tsp baking soda
    • 1/4 tsp cream of tartar
    • 1/4 tsp sea salt
    • 1/2 cup cocoa powder
    • 3/4 cup gluten-free flour blend
  • Optional Add-Ins: 1/3 cup pumpkin seeds or chocolate chips
Instructions
    1. Preheat oven to 350 degrees.
    1. Grease muffin pan with butter.
    1. Prepare flax eggs in a small bowl and let rest for 5 minutes.
    1. Place butter and sugar in a large mixing bowl and blend until smooth. Stir in the flax egg, vanilla, baking soda, cream of tartar, salt and cocoa powder. Lastly, add the flour, then fold in any mix-ins – chocolate chips or pumpkin seeds.
    1. Scoop batter evenly into muffin tins until 3/4 full and bake on the middle rack for 22-26 minutes, or until the brownies start to pull away from the sides and they spring back slightly to the touch. Be careful not to overcook or they will get crumbly. Remove from oven and let rest in the tin for 5 minutes before removing to cool completely on a plate or cooling rack.
  1. Store in an airtight container to keep fresh for a couple days. Freeze for long-term storage.
Frosting
Ingredients
    • 8 oz cream cheese
    • 1 pint heavy whipping cream
  • 1/3 cup maple syrup
Instructions
    1. Attach a whisk to your mixer.
    1. Add cream cheese to the mixing bowl.
    1. Blend cream cheese till smooth.
    1. Blend in maple syrup and cream.
    1. Whip on high till mixture is smooth, thick, and begins to separate.
    2. Pipe onto cupcakes.
  1. Shave chocolate over the top.


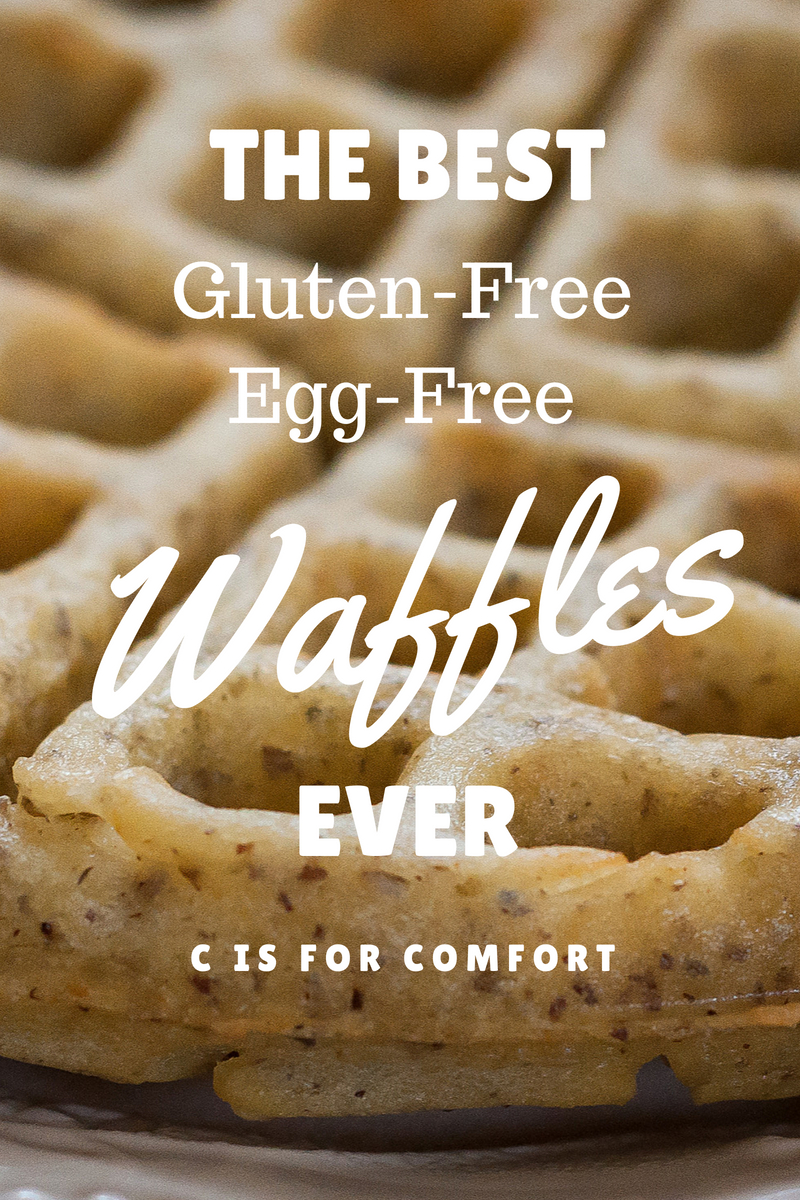
The Best Gluten-Free, Egg-Free Waffles Ever

The Best Gluten-Free, Egg-Free Waffles Ever

If you have celiac disease or you’re gluten intolerant, you might be on the hunt for the perfect waffle recipe.  I might be a bit biased, but these waffles are pretty awesome.  They’re light, crispy on the outside and fluffy on the inside.

I love waffles!  When we were driving from Minnesota to Florida a few years ago, we saw Waffle House restaurants in every town!  We started counting as we went along and there were so many that we eventually lost count and gave up.  It just goes to prove, however, that there are waffle lovers everywhere!

I have got to tell you, in the beginning, I failed miserably at recreating bread products.  My loaves of bread were soggy and dense and would turn hard as a rock.  Yuck.  Thankfully I’ve since worked out my bread issues.

I did, however, make a wonderful waffle!  Right from the beginning, this waffle recipe was easy and delicious.  My waffles turned out fluffy and melt in your mouth good.

Before I took the time to figure out my errors in bread making, I simply made gluten-free, egg-free waffles.  I would make a double or quadruple batch and freeze a bunch so I could grab them for snacks.  I used them for sandwiches, I used them for dessert.  I ate them with hummus.  I had no idea waffles could be so versatile!

Please don’t be overwhelmed to actually try bread, but if you are in a pinch for time or need an easy and quick bread, this gluten-free, egg-free waffle just might be the recipe for you.

Do you love to use waffles for everything?  What’s your favorite way to eat them?  Let me know in the comments!

Recipe

Dry Ingredients

3 1/2 cups gluten-free flour blend
6 TBSP flax
2 TBSP chia seeds (ground or whole)
1/2 tsp pink Himalayan sea salt
1 tsp baking soda
1 tsp cream of tartar

Wet Ingredients

1 cup olive oil
3 1/2 cups coconut milk

Preparation

Add dry ingredients to a large bowl.  Blend thoroughly with a whisk.  Add wet ingredients and whip until well blended.  Preheat waffle iron.  Grease with butter or coconut oil.  Add 1 cup of the recipe to the waffle iron.  Cook on medium-high for 7 minutes.  Serve with favorite toppings!

Breakfast Topping Ideas

100% grass-fed butter or ghee
100% pure maple syrup
berries
jam
homemade whipped cream

Lunch Ideas

Grilled Cheese
Hummus
Portabella Burger
Grilled Veggies
Classic Sandwich
Avocado
With Soup


Homemade Magnesium Oil

Homemade Magnesium Oil

After reading about magnesium deficiencies, I decided to give homemade magnesium oil a try.  The reason I wanted to try homemade magnesium oil instead of buying it is simply that it’s cheaper to make my own.  Plus, I can be sure that nothing else is added to it.

Price Breakdown of Magnesium Oil:
Store Bought Magnesium Oil Average Cost $20.00 per bottle
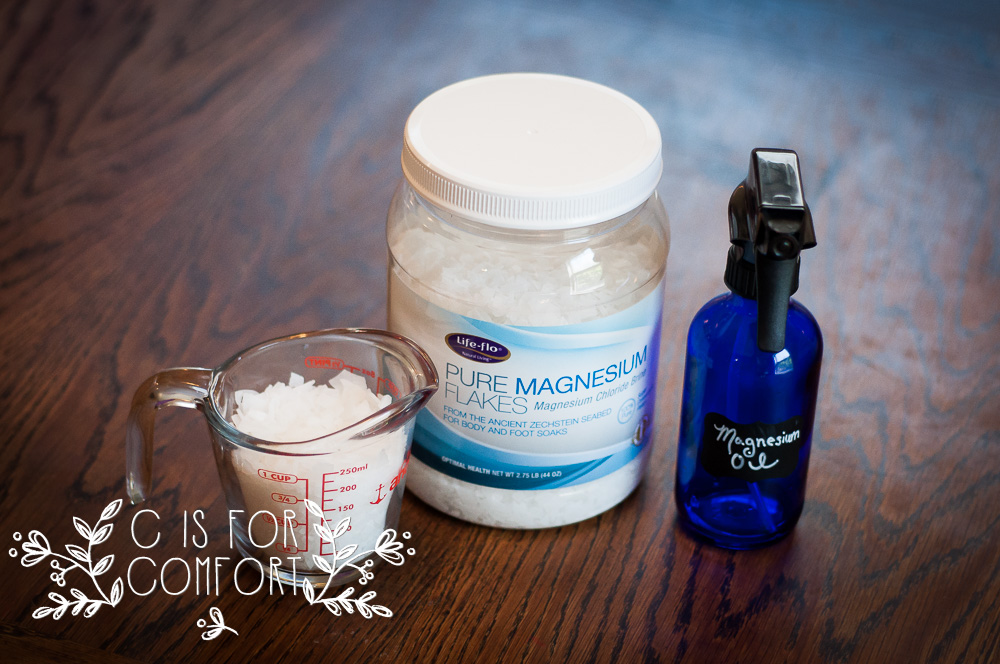
Tub of Magnesium Flakes (44oz, about 5 1/2 cups) $13.00/Tub=$2.30/Homemade Bottle

I rounded out the numbers for easy math.  Magnesium oil ranged from $13.00 to $35.00, so depending on your choice of brand, the numbers could be different.  However, even with the cheapest store-bought bottle of oil, making my own is still the cheapest option.  My glass bottle was $2.00.   So the final number would be $4.30.  This is still even cheaper than the least expensive store-bought bottle of oil.  Since I can use my bottle over and over it’s even better!

Update: I checked the current prices on Amazon, all of the prices have gone up since I have purchased my supplies, but making your own is still more affordable than buying a premade bottle.

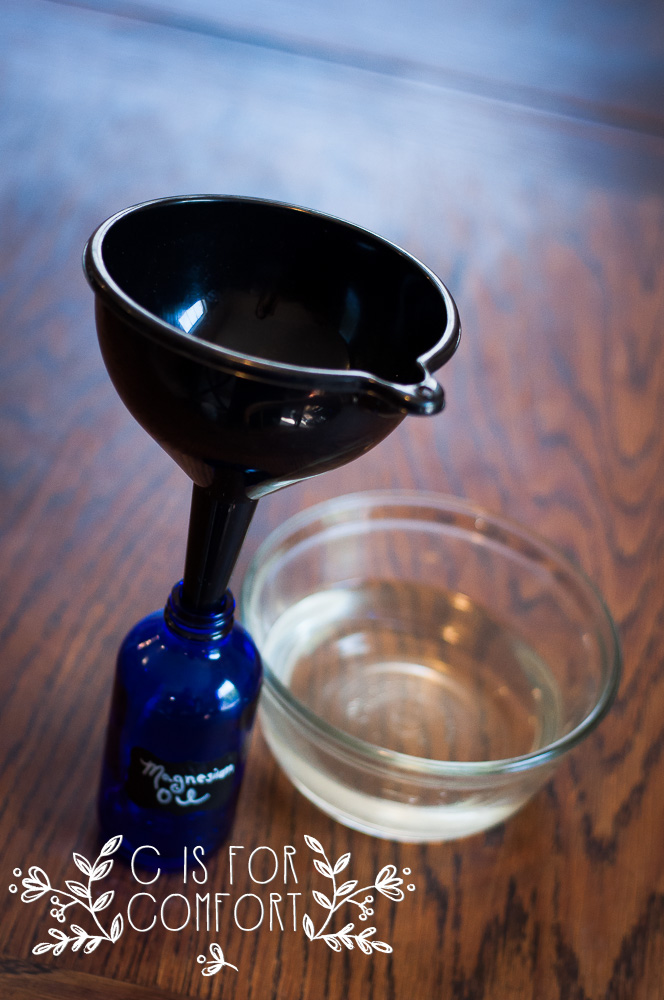
It was really easy to make once I gathered all of my ingredients.  It would have been even faster if our little Princess hadn’t run off with my funnel.  Why kids think funnels are the greatest toy ever, I have no idea, but I am constantly finding them all over the house.  Unable to find my smaller funnel, I settled for the larger one.  I’m so glad it fit in my bottle!

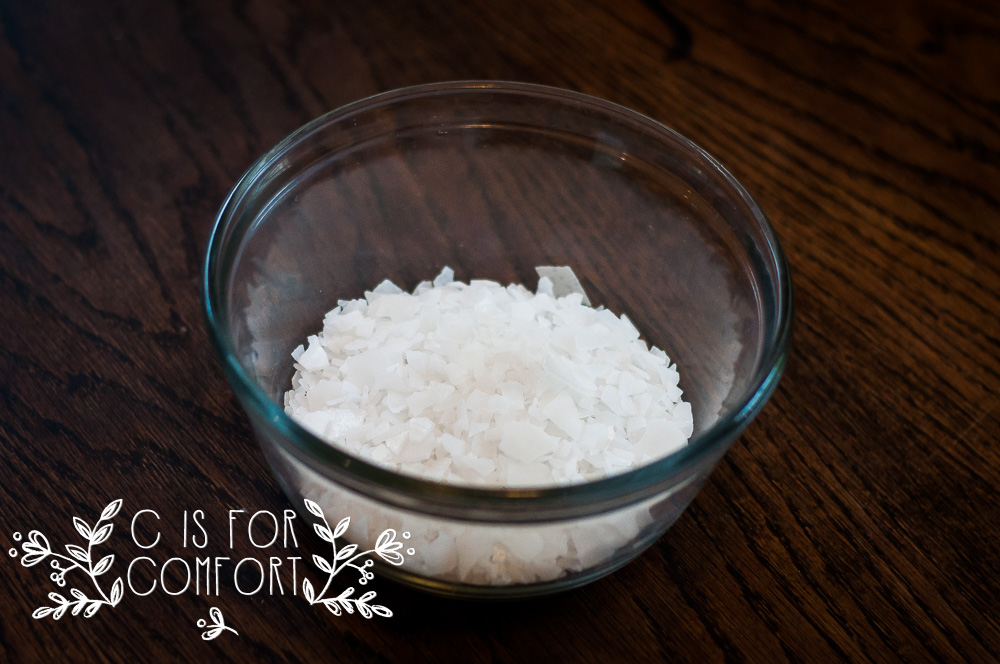
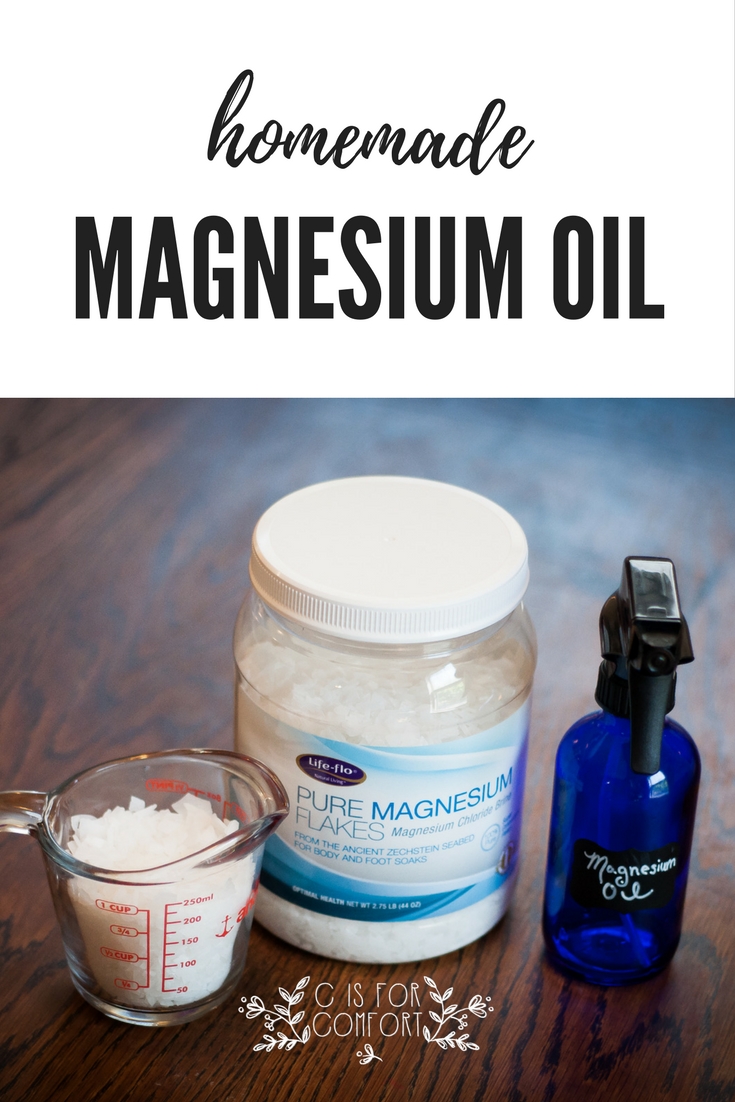
I started by heating filtered water in my electric tea kettle.  Then I measured out 1 cup of magnesium flakes.  I poured them into a bowl big enough to accommodate both the flakes and the water.  I knew my 8oz bottle held a cup of water, but with the added magnesium flakes, I was sure I would have leftovers.

Pouring the flakes into the bowl was a treat for the ears.  The kids loved hearing the little pieces tinkle into the glass bowl.  They almost sounded like little glass pieces.  I picked up a shard to examine it and found that it even glittered in the sunlight.  My son picked one up and then complained of burning fingers, so I had him wash his hands.  His hands were slightly damp so the magnesium must have been absorbing into his skin.  I didn’t notice any tingling, burning or irritation as I had read about, so I hoped this meant I wouldn’t experience it as bad when I sprayed it on later.

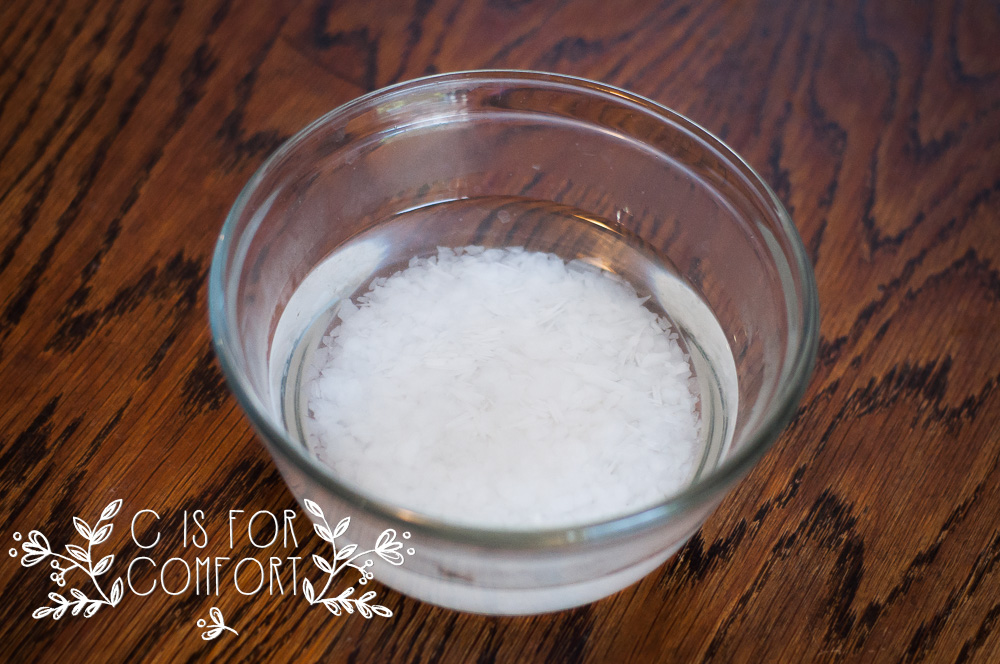
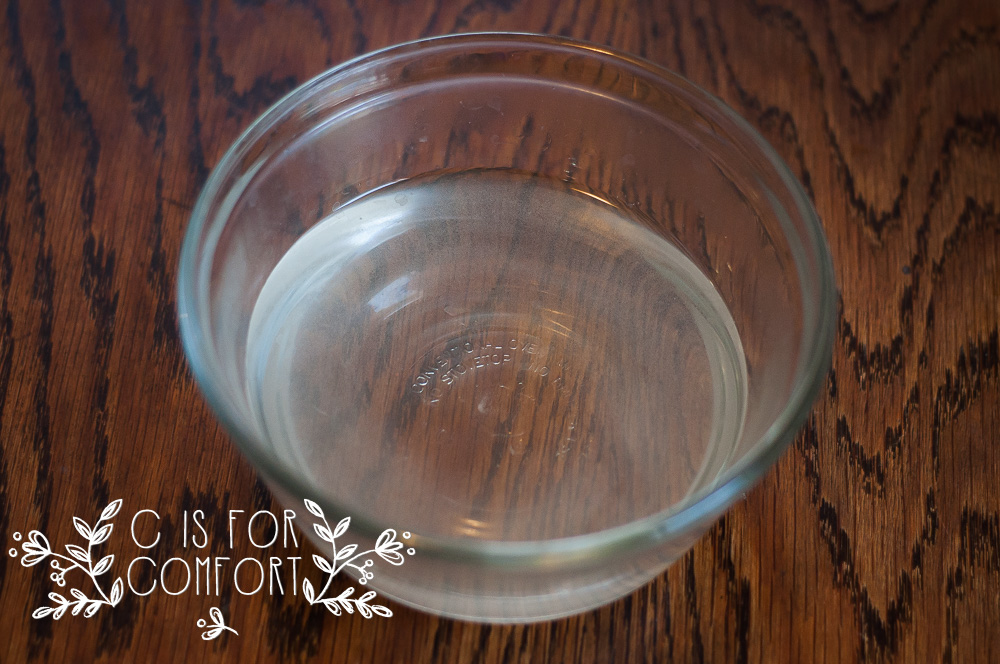
I then measured a cup of hot water and poured it over the flakes.  I noticed that they instantly started dissolving.  I grabbed a fork and gently stirred until they were completely dissolved.  The water was slightly cloudy but began to clear as it sat.

I poured the mixture slowly into the funnel and checked to make sure I didn’t overflow the bottle.  I did end up having half a cup of the mixture left over.  I’m going to use it to make some magnesium cream for the kids.

Recipe

1- 8oz bottle (Find it here)
1 chalkboard label  (I use the 1×2 stickers)
1 Chalk Pen (Find it here)
1/2 cup magnesium flakes (I use this one)
1/2 cup hot water

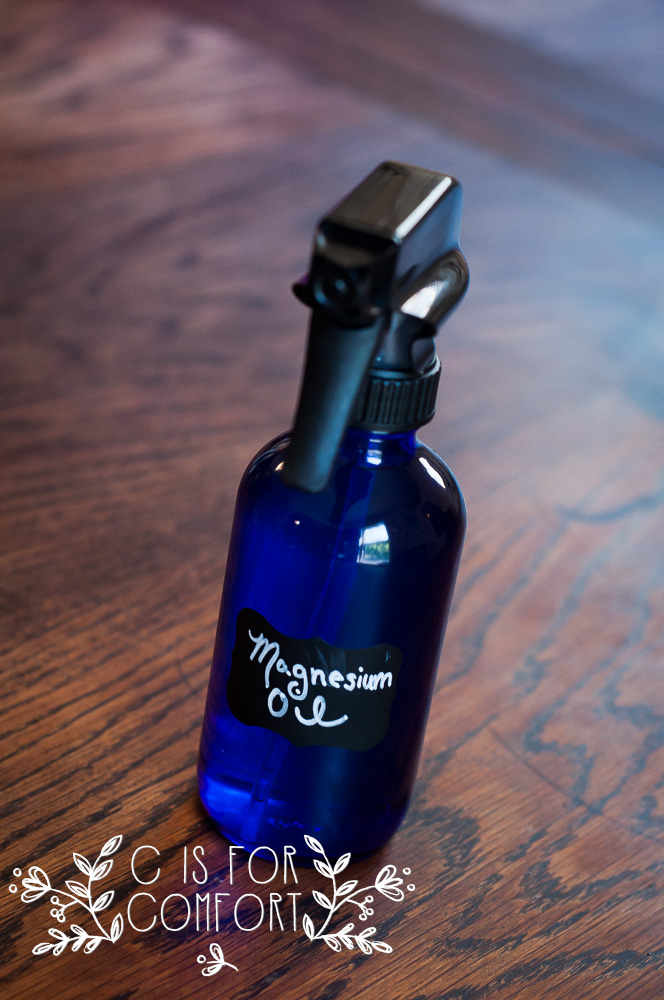
Bring water to a low boil.  Pour 1/2 cup magnesium in a glass bowl.  Add water to the bowl.  Stir until dissolved.  Pour mixture into glass spray bottle once cooled.  Spray magnesium oil on lower legs after showering and massage in.

After the bottle was ready to go I excitedly sprayed it down my arms, legs, and stomach.  Maybe because it was warm water still, it immediately began to tingle.  I massaged and rubbed it into my skin.  Then I noticed that it really began to burn.  It makes me laugh to think of the description I read as a tingling sensation or a mild irritation.  In truth, it felt like thousands of tiny needles pricking me.  It wasn’t incredibly painful, just incredibly irritating.

I rubbed my hands over the irritated areas and it helped to stop the “stinging”.  I made several “Notes to Self” for future reference.

Helpful Tips

  1. Don’t spray on eczema. Thankfully washing it off the eczema patch stops the burning instantly.  After re-rubbing my arms, I kept getting more magnesium oil on my eczema on my hand.  I put my eczema cream on it and it helped protect the area so I didn’t have to keep washing my hands with water.
  2. Don’t rub between the thighs or in any other sensitive area.  I had read about avoiding sensitive areas, so I was careful to only spray on the tops of my arms and legs.  However, when I was massaging it into my skin, I did forget and rub it too close to my inner thighs and experienced a slight cringe-worthy moment.
  3. Wear shorts or something that makes it easy to access your legs.  I was wearing a maxi skirt and had to hold it up as I rubbed my legs which led to me not paying close enough attention, hence the inner thigh exposure.
  4. The kids would freak out if I did this to them, so I’ll make them a less irritating cream instead.

Despite the tingling sensation, I’m not going to stop using my homemade magnesium spray.  From what I’ve learned, the sensation is temporary.  When I massage the irritated areas, the tingling dissipates for a while.  I think if I am busy working it wouldn’t bother me.  After about an hour the tingling had completely subsided.  From what I’ve read, the burning is a sign that the body is incredibly deficient in magnesium.  The more often the spray is used, the less the tingling will be.

Update

I’ve been using magnesium oil for about two and a half years now.  I’ve learned a few more things:

  1. The spray doesn’t tingle as much when it’s room temperature.
  2. I spray it on the top of my lower legs and not my upper legs.  I also spray it on the lower top half of my arms, not the soft underside. This helps as the skin is tougher in these areas.
  3. The more frequently I use the spray, the less irritating it is.
  4. It makes my skin feel slightly damp.   This feeling doesn’t really go away on its own.  I find that rubbing shea butter or coconut oil on my legs afterward helps it absorb and feel less gross.
  5. I notice that my anxiety gets high if I forget to use the spray for a while.  This means that I’m more deficient in magnesium.

Have you ever used magnesium oil?  Let us know if you try our recipe!

*I am not a medical professional and this is not medical advice.  These are my own personal experiences.  Should you feel you need medical advice, as always, consult a medical professional.  If you’d prefer more natural medical help, look into a chiropractor, a naturopath, an integrative medical doctor or a holistic practitioner.

How to Make Slime

How to Make Slime

Cupcake begged me for months to make slime.  With busy school schedules, we barely had time to breathe, much less, attempt a new, potentially messy and time-consuming craft.  I promised her that we would make slime once school was out.

As summer approached, Cupcake happily reminded me frequently of the approaching slime adventure.  Once school was out, I went to the store and bought a giant jug of glue.  We gathered the remaining supplies at home and all of the kids excitedly assembled around the table for the project.

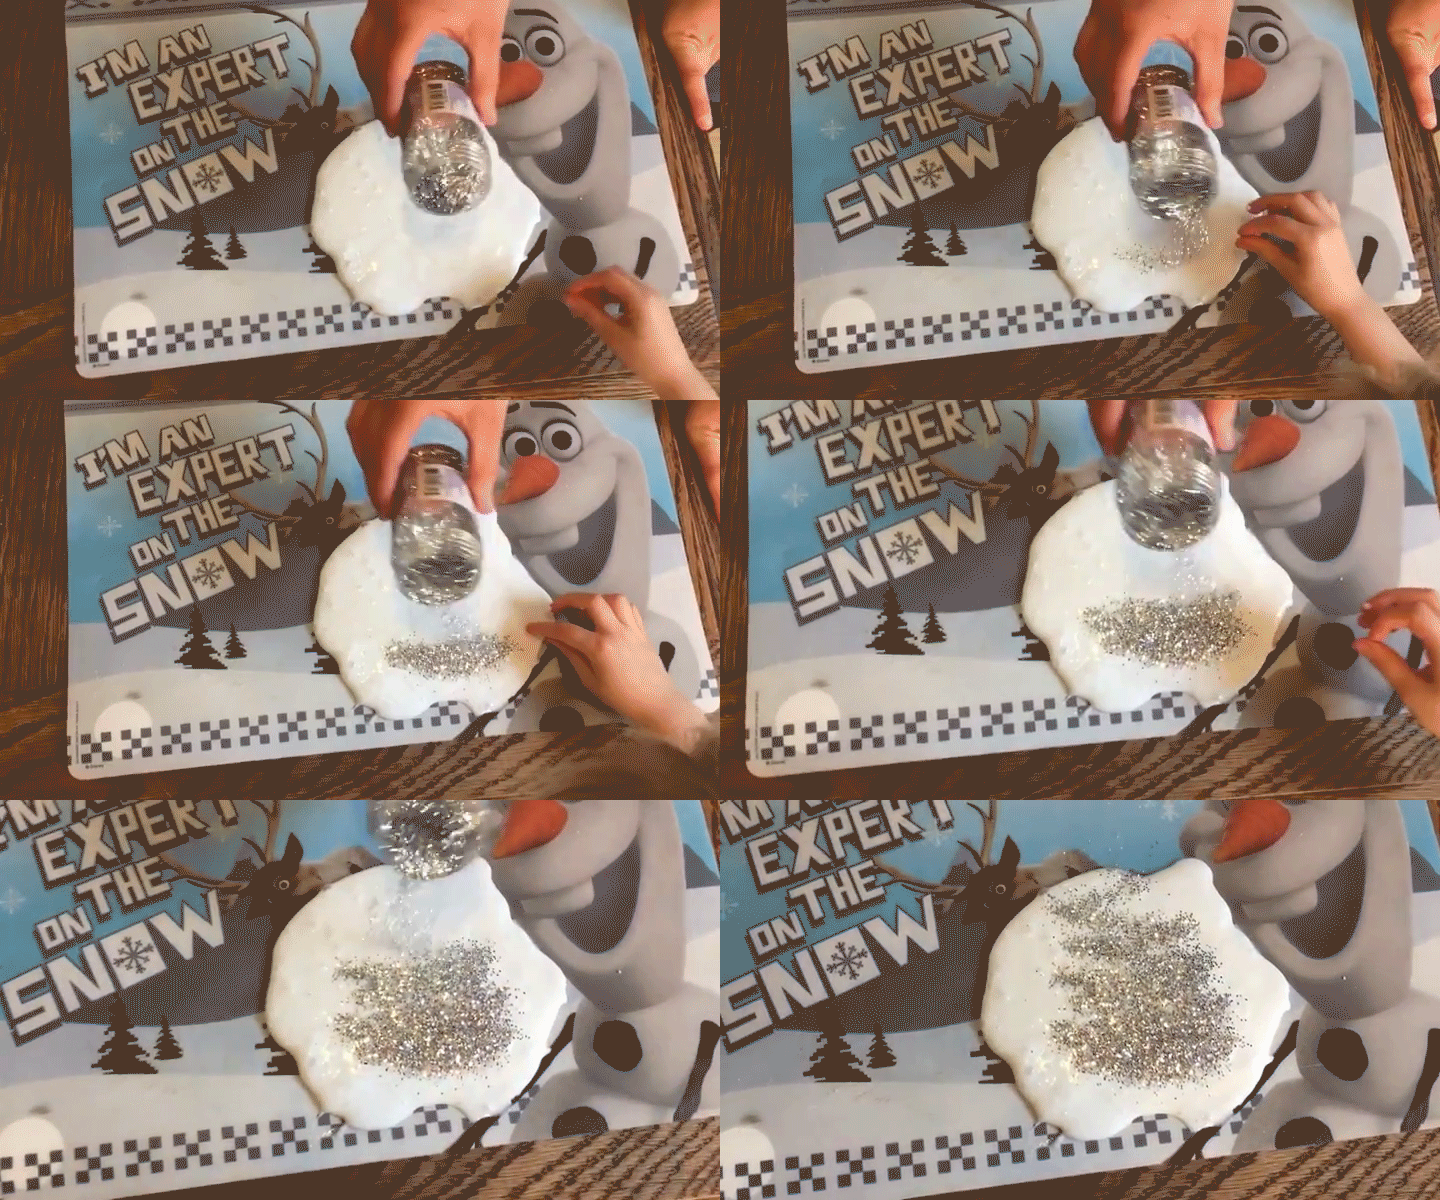
We had a lot of fun playing with it plain, but we also added a bunch of fun things into it for sensory play.  We added a couple different glitters, food dye, cut up straws, craft eyeballs, kinetic sand, and beads.  The kids also used straws to blow bubbles.  I also added some child-friendly essential oils to a couple batches.  Really, you could add anything you want!

Slime Recipe
1/2 cup glue mixed into 1/2 cup warm water
1/2 tsp borax mixed into 1/2 cup warm water
Slowly add borax into glue, one spoonful at a time until mixture isn’t sticky.
Knead with Hands.
Add glitter, beads, dye, etc.
Play!
Store in zip lock baggies or another airtight container.

Check out our video for an example of how to make it!

Have you made slime?  What did you add to it?  Share in the comments!

Gluten Free Strawberry Rhubarb Crisp Bars

Gluten Free Strawberry Rhubarb Crisp Bars

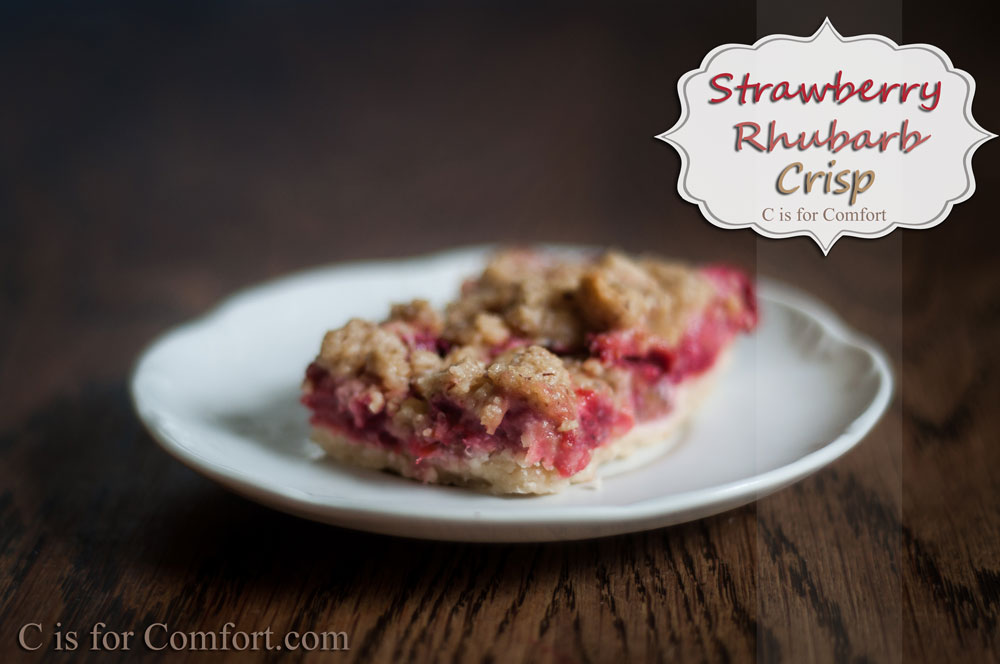
Gluten free strawberry rhubarb crisp bars are one of the best spring and early summer desserts!  Strawberries and rhubarb are in season in May and June in Minnesota, so if you’re looking to cook and bake seasonally, this would be a great time to use them!

If you have an abundance of strawberries and rhubarb in your garden, you could always chop them up and put them in ziplock bags in the freezer.  Then you can make this later in the season too!

When I saw rhubarb at the farmer’s market this last weekend, I immediately thought of my Grandmother.  As a child, I would often snack on rhubarb from her yard.  This will be the first year I get my rhubarb from the farmer’s market instead of my Grandparent’s garden, a bittersweet moment.

Last year, my grandparent’s house was sold.  This was the place that I grew up in, next to my own home.  It was where all of the best childhood memories happened.  It was where my Grandparents made me feel like I was someone who mattered.

I know that farmer’s market rhubarb will be just as good as Grandma and Grandpa’s.  However, there will be a little part of my heart that will always cry and smile at the same time at any mention of rhubarb.

After I brought the rhubarb home I thought immediately back to my childhood days again.   My Father would always make a delicious rhubarb crisp.  Unfortunately, my Dad’s recipe was not gluten and oat free.  Determined to have one of my favorite childhood desserts, I set about scouring the internet for a decent alternative.

Sadly, I didn’t find any recipe that fit my needs, so I improvised.  It turned out great!  So great, in fact, that I gobbled up almost the entire thing myself!  My kids were not happy with me.  Ha!

The next time I make this, I’m going to make 2 at once.  Maybe the kids will get a piece or two.

I hope you love my recipe!  Let me know if you try it!

Gluten-Free Strawberry Rhubarb Crisp Bars
Serves 12-16
Shortbread Base
2 sticks unsalted butter, room temp
3/4 cup brown sugar or maple syrup
2 cups gluten-free flour mix

Crisp Topping
1/2 cup gluten-free flour mix
3/4 cup brown sugar or maple syrup
1/2 cup almond meal (optional)
6 tbsp unsalted butter(cubed about 1/2 TBSP chunks)

Strawberry Rhubarb Center(Prepared Last)
12 ounces or 2 cups of quartered strawberries
12 ounces or 2 cups of chopped rhubarb
2 tbsp sugar or maple syrup
1/4 cup gluten-free flour mix

Shortbread Base
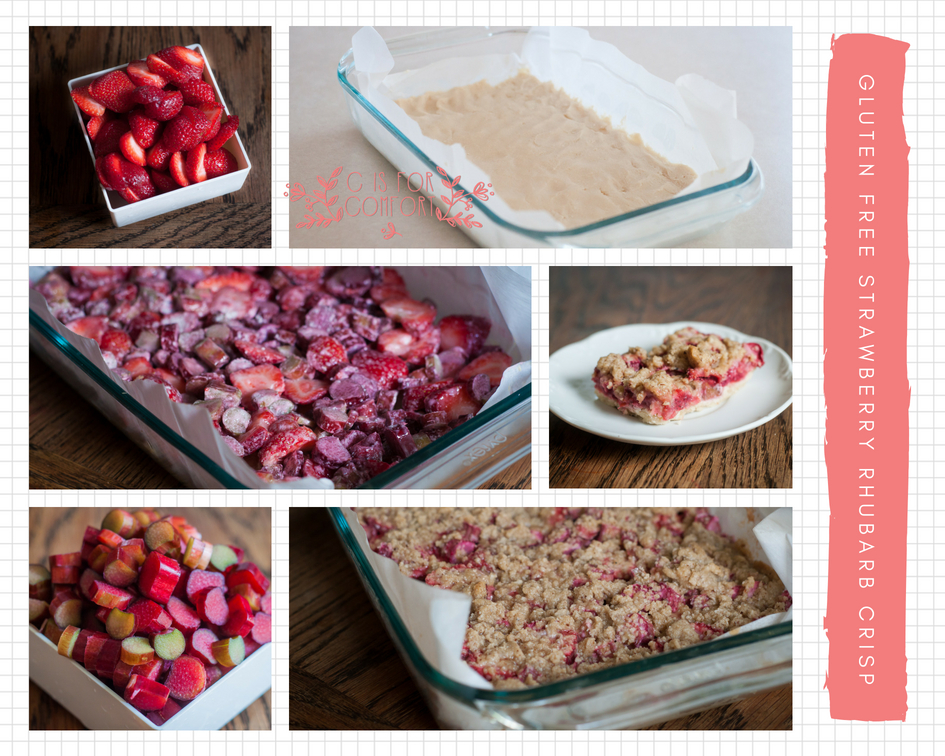
Preheat over to 325.  Grease 9×13 pan, line with parchment paper (optional), grease again.  Blend butter and sugar well.  Add in flour until smooth.  Press dough into a pan.  Bake for 25 minutes.  Remove from oven.  Increase over to 350.

Crisp Topping
Blend flour, brown sugar, and almond meal.  Add butter and mix until crumbly.  Chill in refrigerator.

Strawberry Rhubarb Center-Make Last
Chop rhubarb into 1/2 inch pieces.  Quarter strawberries.  Toss with sugar and flour.  Immediately spread over shortbread.  Use hands to crumble crisp topping over strawberry rhubarb mixture.  Bake for 25 minutes.  Turn off oven and allow to remain in oven for additional 5 minutes.  Remove from oven to cool.  Once the pan is cool, you have two options.  1. Refrigerate for more solid bars to transport and display for a party or 2.Eat immediately if you enjoy them warm!  Add a scoop of vanilla ice cream.  Enjoy!

Strawberry Rhubarb Crisp Bars

Strawberry Rhubarb Crisp

Best Dessert EVER
Strawberry Rhubarb Crisp

Guilt-Free Cookie Balls

Guilt-Free Cookie Balls

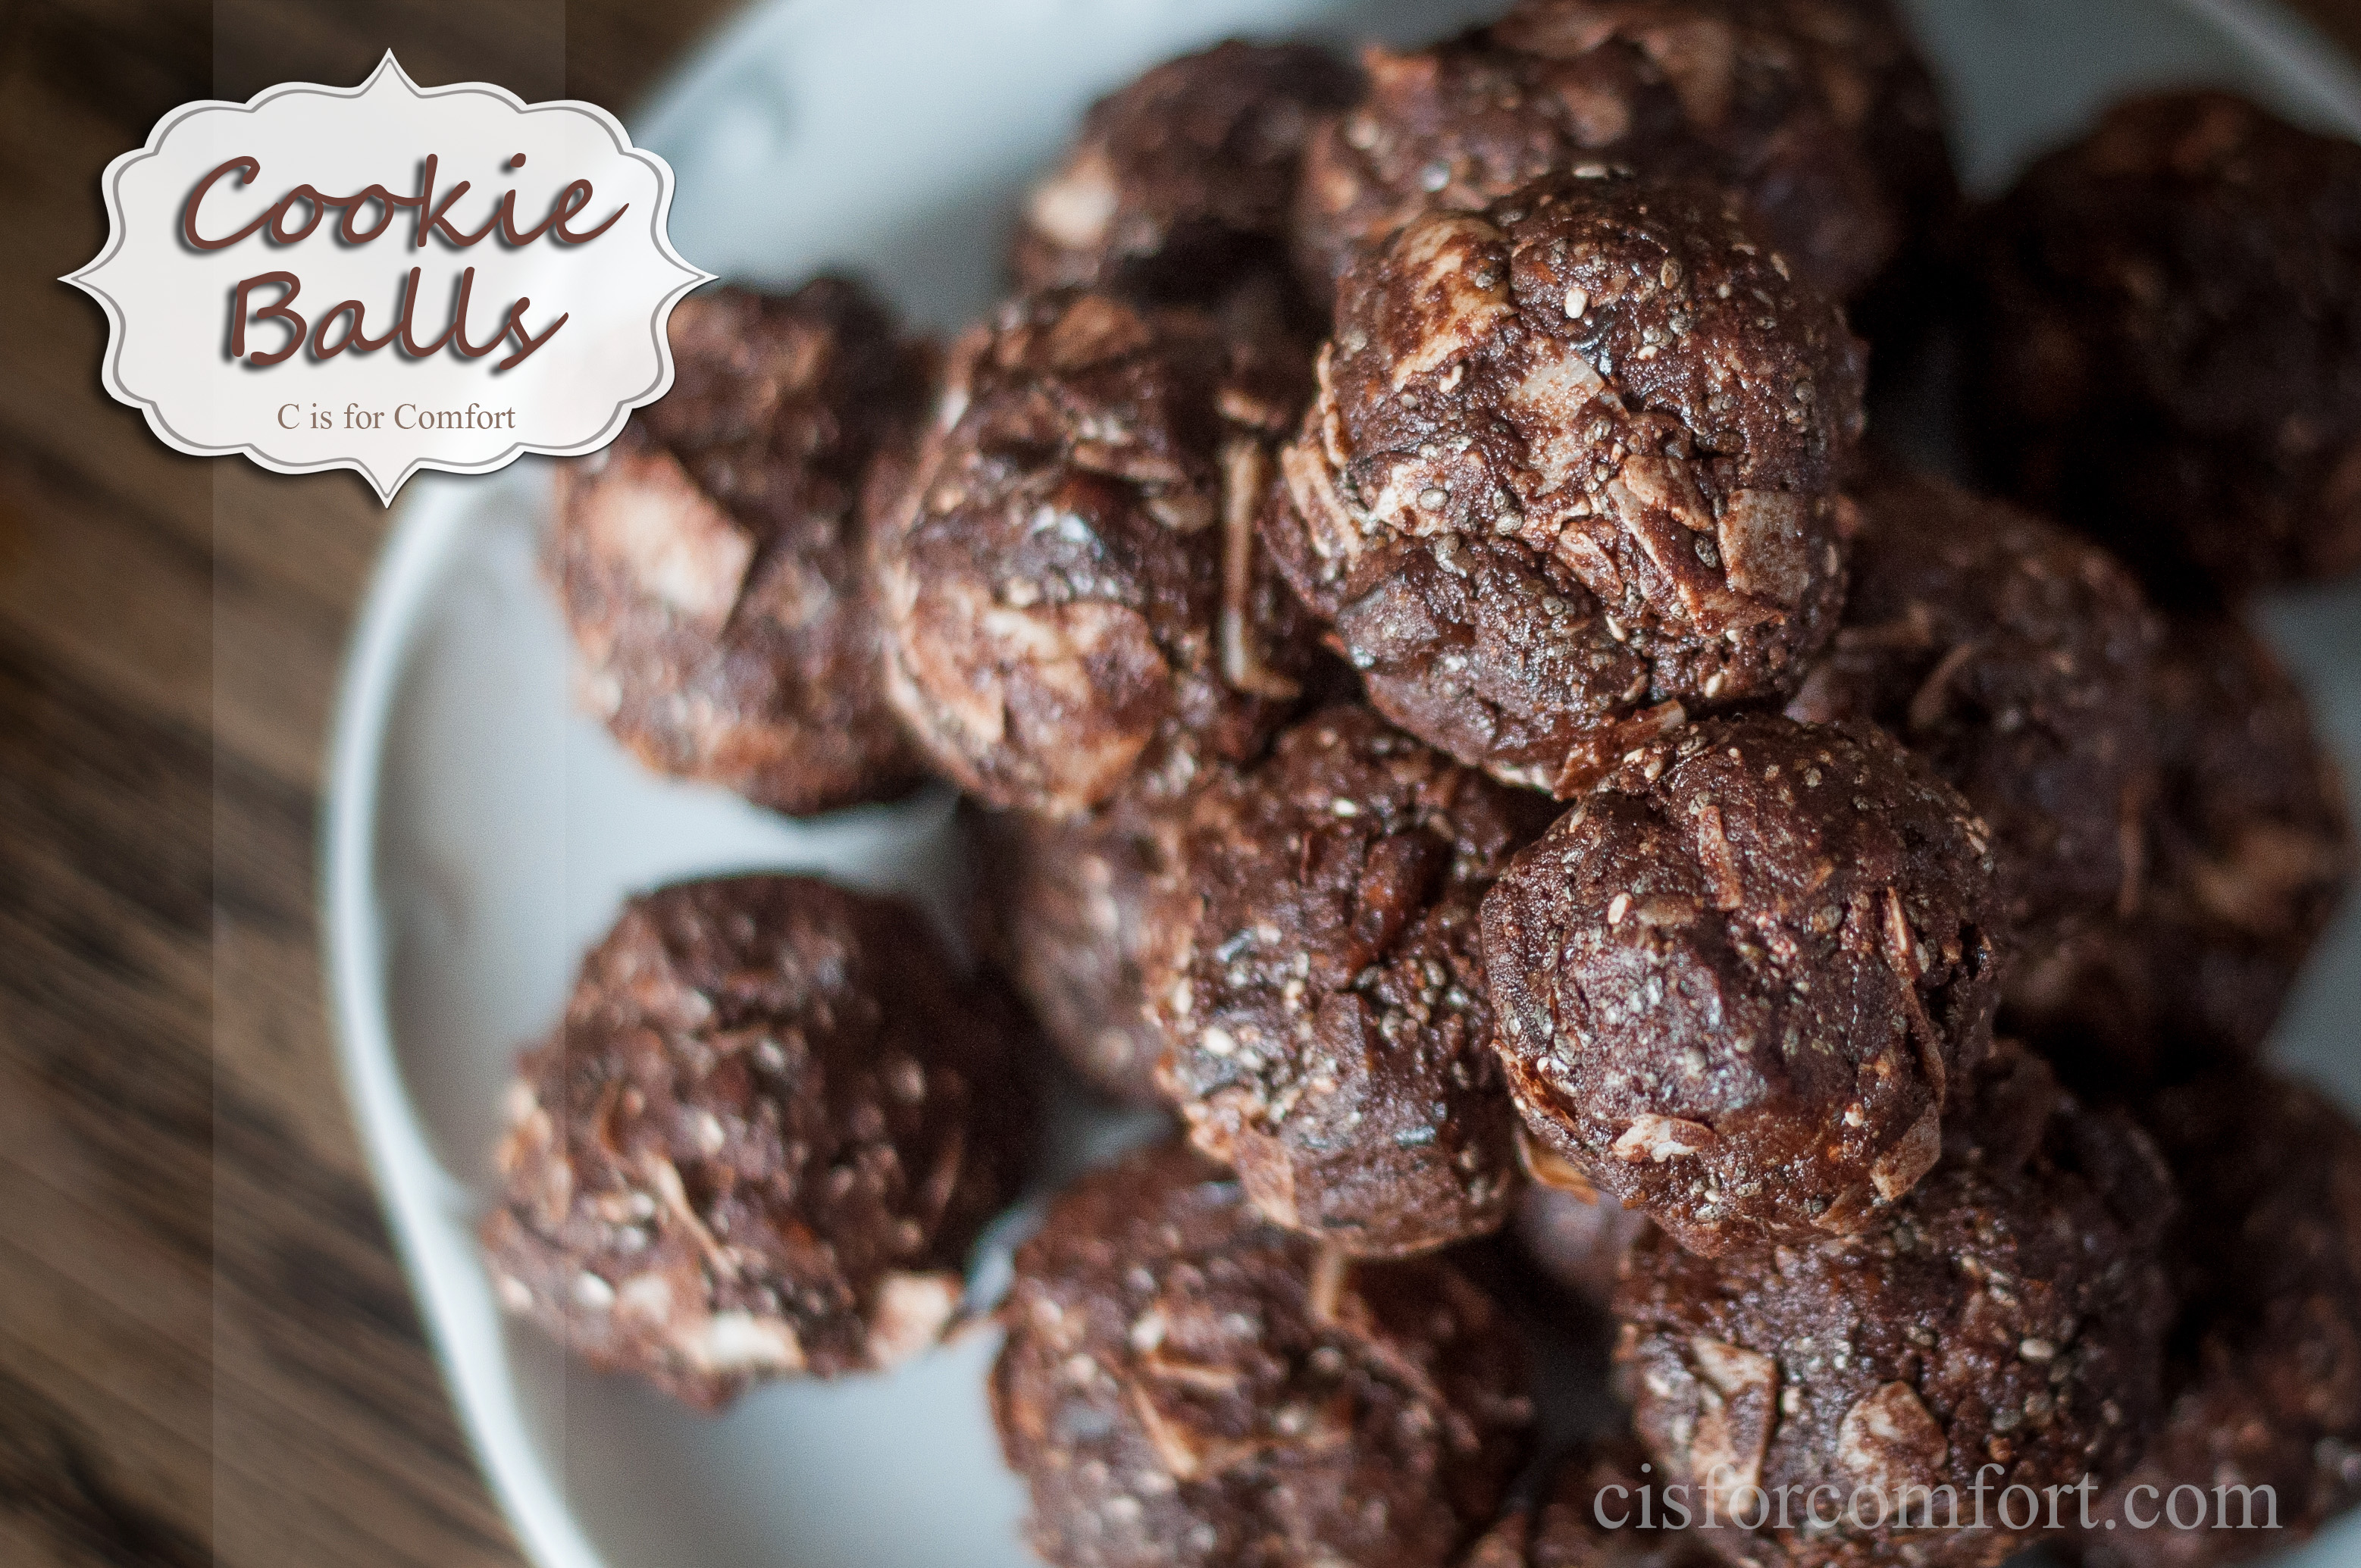
I’m not sure that naming these “Cookie Balls” sums up how delicious and nutritious these little treats are.  Not only are they full of natural vitamins, minerals, protein, and fiber, they taste like something one should feel guilty over.  Thankfully, unlike classic cookies, these will leave you feeling full and satisfied, without the guilt.

Nutritious, Guilt Free, Cookie Balls
Cookie Balls

I discovered that these work wonders for morning sickness.  I had heard that protein can help lessen morning sickness.  So with my last pregnancy, I made a large batch of these and snacked on them whenever I started feeling nauseous.  It worked marvelously!

Nutritious, Guilt Free, Cookie Balls
Cookie Balls

My kids love these.  When I make them, I have to hide some or they’ll gobble them all up.  I make sure to set some aside for my youngest and myself so that we have something allergy-friendly to snack on while the non-allergy big kids have their snacks.

Cookie Balls
Makes 20-24 Cookie Balls
35-40 Chopped Dates
1/3 Cup Cocoa Powder
1 Cup Almond Meal
1/4 Cup Chia Seeds
1 TBSP Coconut Oil
2 TBSP Organic Grass-fed Butter
1/2 Cup Coconut Flakes

Mix all Ingredients, except coconut flakes, until well blended.  Add coconut flakes and mix until blended.  With your hands, take about a tablespoon or two, depending on how big you want them. and roll the mixture into balls.  I like mine to be bite-sized for less mess.  The smaller, the better, for little mouths.  I find they store well for at least a week.  They might last longer, but they are so good that they usually get eaten up before a few days have passed!

Chocolate Pomengratate Pavlova

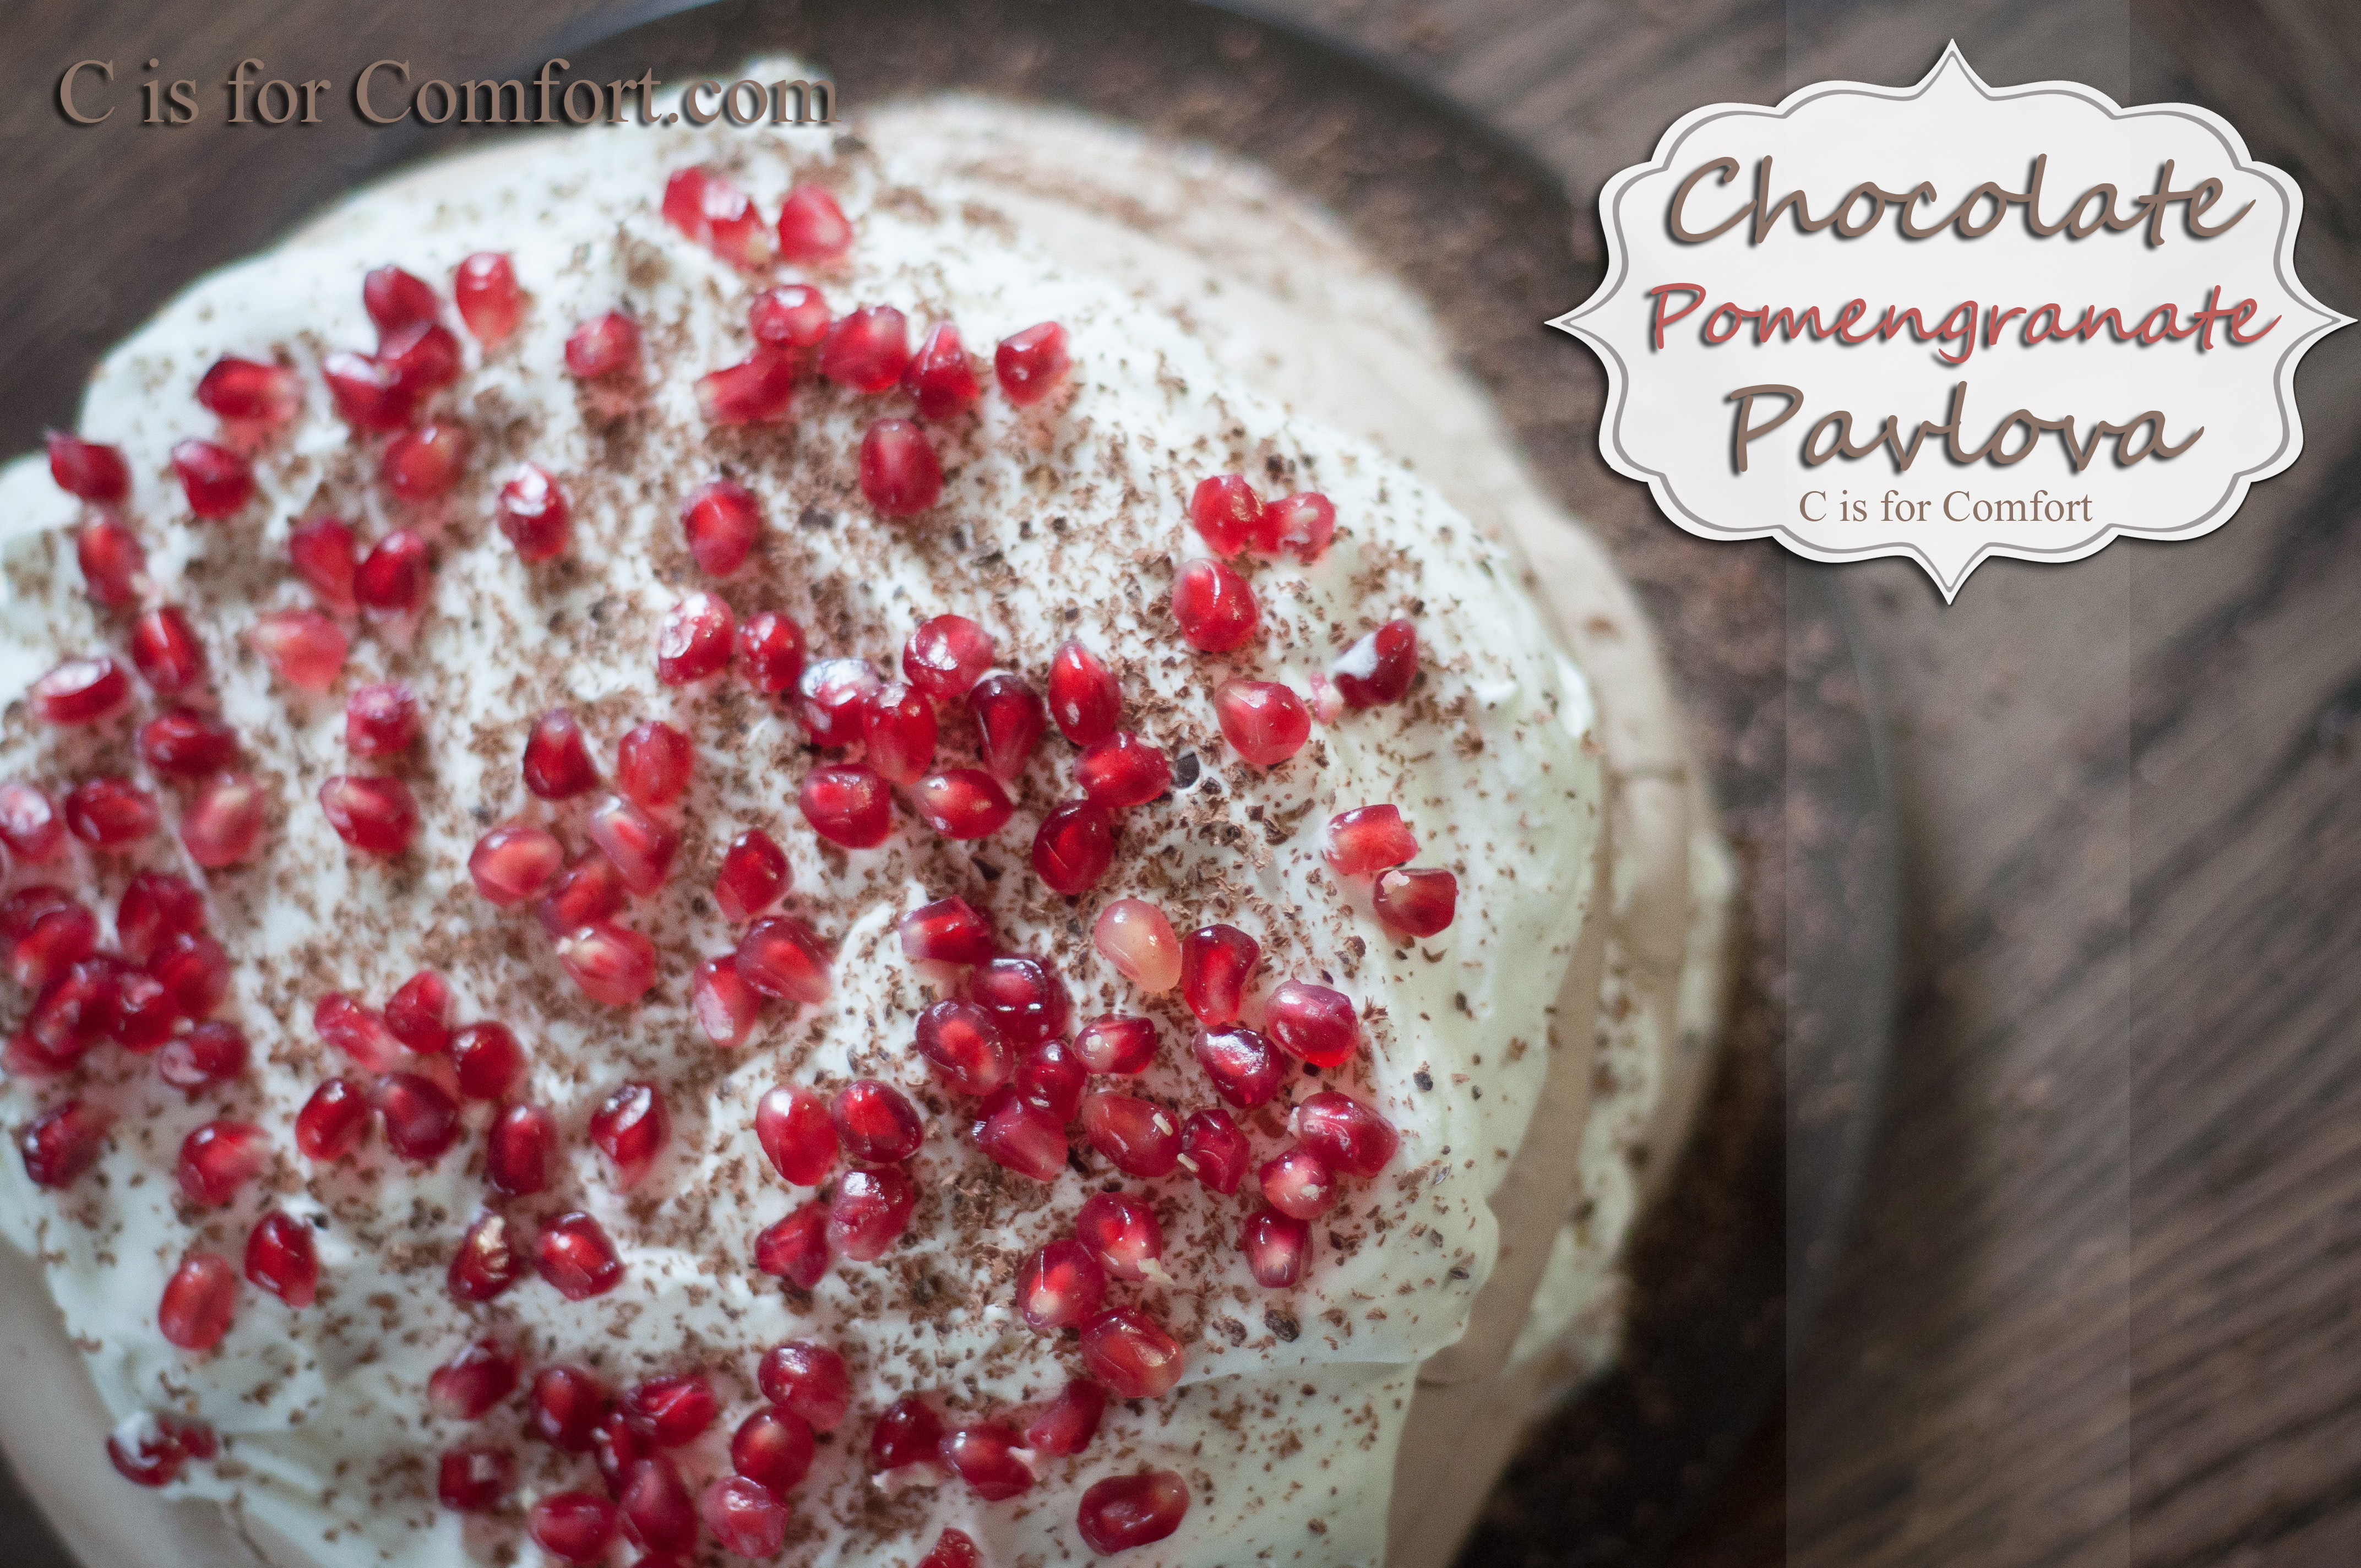
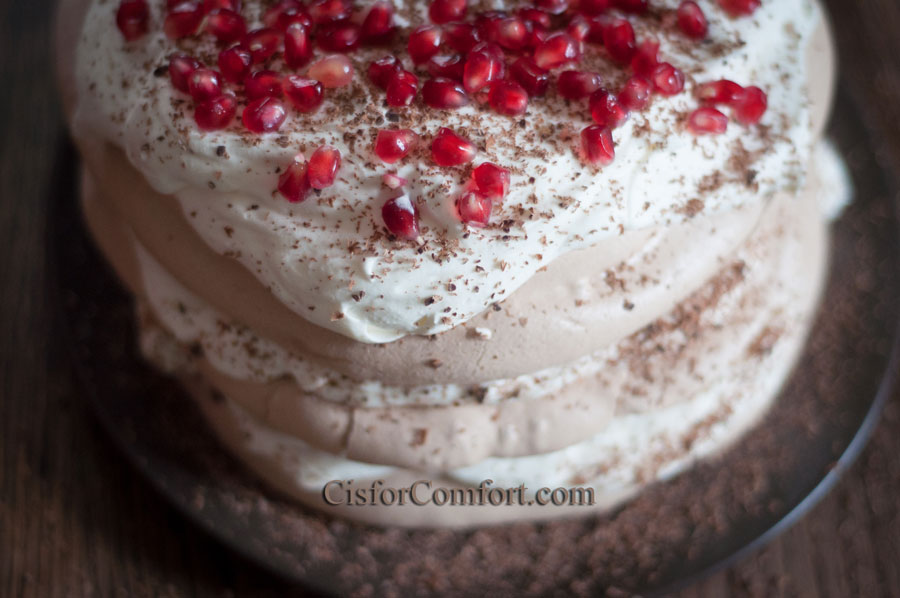
When the weather gets drier, I love to make meringue cookies.  I decided to try something new when I discovered Pavlovas.  Ohhh my goodness, just looking at one makes my mouth water!  Three layers of crispy meringue frosted with fluffy mounds of whipped cream, sprinkled with shaved chocolate and topped with a tangy fruit, this is one desert guaranteed to please.  The best part is, it is gluten free, corn free and if you use coconut milk for whipped cream, it can even be dairy free!

DSC_0208

When I made this, I thought for sure that we would gobble it up.  Although it is not overpoweringly sweet, it is rich and surprisingly filling!  The children and I agreed that we should share it with our neighbors.  We cut half the cake for them to enjoy, then had the rest for dessert.  😉

DSC_0224

Some desserts get stale or lose flavor as they sit out.  Surprisingly, this is a treat that only gets better with time.  As it sat, the crunchy crust of the meringue softened slightly to become chewy and melted in my mouth that much more.  Who knew?!

As a side note, if you want to save the yolks, you can make mayo too!

Chocolate Pomegranate Pavlova
6-8 large egg whites(1 cup) at room temperature
pinch of cream of tartar
2 cups sugar
3 tbsp cocoa powder
1 pint heavy whipping cream
1/4 cup powdered sugar
1 seeded pomegranate
parchment paper

Directions
1.Preheat oven to 300 degrees.
2.In a large glass or metal mixing bowl, whip egg whites and cream of tartar till peaks form.
3.Slowly add 2 cups of sugar and cocoa till blended.
4.Line 2 cookie sheet with parchment paper.  Place 3 small plates of about 8 inches on parchment paper and lightly trace with a pencil.  Remove plates.
5.Spoon the meringue onto the circles and slowly spread until a nice thick layer is formed.  Extra meringue can be spooned into mini cookies on 2nd cookie sheet.
6.Bake for 60-75 minutes.  Crack oven and let cool.
7.While waiting, blend heavy whipping cream and powdered sugar till fluffy.
8.Carefully remove one giant meringue cookie from parchment and place on platter.
9.Spoon 1/3 whipped cream onto first meringue cookie and spread evenly to edges.
10.Carefully remove second giant meringue cookie from parchment and place on top.
11.Spoon half remaining whipped cream on top of 2nd cookie.
12.Carefully remove last giant meringue cookie from parchment and place on top.
13.Spoon remaining whipped cream on top and spread evenly.
14.Sprinkle with cocoa powder.
15.Top with a generous helping of pomegranate.