Managing Exposure
Avoiding allergens can be really difficult. For those with severe allergies, this can be challenging and sometimes lonely. Managing exposure takes a lot of preplanning.
I try to keep these things in mind before considering leaving the house.
- Will there be airborne allergens where I’m visiting?
- How long is the event?
- Will I need to bring food?
- Do I have my inhaler, and epi-pen packed to go with?
- Emergency Paperwork
- Is there someone there who can help me should I become exposed?
- Do I have my face mask for high-risk situations?
- Do I have my essential oil blends to help me breathe and stay calm?
- What is my exit strategy should there be dangerous allergens?
- Recovery
- Know Yourself/Your Child/Your Partner/Your Friend
For those new to allergies, there are a lot of potential dangers that you might not even be aware of. For those with family members or friends that you want to be considerate for, then hopefully these tips will help you too!
Possible Airborne Allergen Dangers
Air Fresheners: Made with alcohol made from corn, chemicals and artificial fragrances that can make anyone, even non-allergic persons, sick.
Look into buying a diffuser for essential oils* instead!
Anything peanuts or peanut butter: Peanuts seem to be one of the deadliest airborne allergens. If you’re heading to a playdate with a friend, please check the label on your snacks if you don’t have allergens. There are so many great peanut-free options out there! It’s hard for those with allergens to safely go on a playdate for fear of peanut butter sandwiches, trail mix or peanut butter cookies.
I personally feel like a burden asking people to avoid peanuts. I don’t like asking people to do things for me since I’m pretty independent and I don’t want to be rude. However, I have to take myself out of my comfort zone and make sure to mention my allergies. I figure it’s ruder to drop dead in front of my friends and upset them that they’ve killed me then to mention that I have an allergy they could please avoid.
One area that always scares me, is the giant peanut bin at the grocery store. I always steer WIDE around it. I try to be farther than eyesight. I also wear a facemask in stores that are known to have them. What is with that anyway? Do people honestly eat so many peanuts they need a giant open-air bin of them?? Couldn’t they put them in bags or a small concealed bin? It’s weird.
***Update***
After having an ANA attack at the store when they were adding peanuts to the bin, I no longer shop at stores with open-air peanuts. Even with a mask, it is not safe.
Perfume: Just like air fresheners, perfume is made with alcohol made from corn. Plus, perfume has chemicals that disrupt hormones. I read this incredible study that talks about how people have pheromones that attract you to the right mate that is genetically compatible with you. People who wear perfume mask their pheromones, therefore causing them to marry a genetically incompatible person. So, why wear perfume at all? Go au natural, be you!
Candles: In addition to artificial scents, candles are made with paraffin, a petroleum waste product that has to be deodorized and chemically treated with bleach before it can be made into a wax. It can be even more toxic than second-hand smoke. The wicks of the candles are often made with lead. A good alternative is to use beeswax candles. Beeswax candles clean the air! You could also use an essential oil diffuser*.
*Many oils are not safe to use around babies and small children. In addition, you’ll want to be sure not to use oils if someone is allergic to what you’re using. For example, I’m allergic to ginger and cinnamon, which are in a lot of essential oil blends.
Length of the Event and Bringing Food
Depending on how long I’m leaving home for, I need to plan how much food and water I should take. I try to always keep quick snacks on hand at home to grab for short day trips. If I need to leave the house during meal times, I need to do some preplanning for lunch or dinner.
If I’m going camping or out of town, I need to do a lot of planning. Meal plans, food prepping and googling grocery store locations near where I’ll be staying, calling ahead to see if they’ll have at least one of my safe emergency foods. It’s hard to bring enough safe food with for a long event, especially since I make everything from scratch, hence no preservatives. Usually, I like to see if there’s a farmer’s market or health food store near where I’m staying because that’s a lot safer than a normal grocery store.
Inhaler & Epi-Pen
Since I have life-threatening allergies, I need to make sure I have my inhaler and epi-pen on me at all times. So I have to double and triple check before I go anywhere. I always keep an inhaler and epi pen in my purse. I have spares at home too for back up. I’m thinking of bringing two epi pens with me because I read a sad story where a mother missed when trying to inject her child and they didn’t have a backup, so her child died. I can only imagine the anguish she must feel. She was prepared and yet things still went wrong. I would never have thought of having a back up on hand before reading that. In addition, it’s always good to have your prescription up to date and if possible, to carry a refill prescription note with you in case you lose yours.
I was pregnant with my second daughter and at work when I started having difficulty breathing. I realized I had forgotten my inhaler in another purse and I didn’t have one. I called ahead to the nearest Target pharmacy. When I got there, I was struggling to breathe but trying not to show it. I was hoping I could quickly pay and be able to breathe again after using my brand new inhaler. Instead, the clerk told me that my inhaler prescription had just expired. I managed to wheeze out “But I can’t breathe!” He told me he would try calling my doctors office. I managed to stumble over to the bench next to the pharmacy and tried to stay calm since stress can aggravate asthma. I called my parents and managed to gasp out where I was and they immediately started speeding over. By the time my Dad got there, there was a crowd gathered around me because I was barely breathing and turning blue. I remember a good Samaritan trying to help me stay calm and coaching me through slow deep breaths. My Dad was furious with the pharmacy and demanded that if they couldn’t fill my prescription they could at least call an ambulance. After using my inhaler a few times I started to breathe a little easier. The ambulance arrived and they checked my vitals and made sure I was getting enough oxygen. It was terribly embarrassing and scary. Since then I always check and recheck that I have my inhaler with me.
Emergency Paperwork
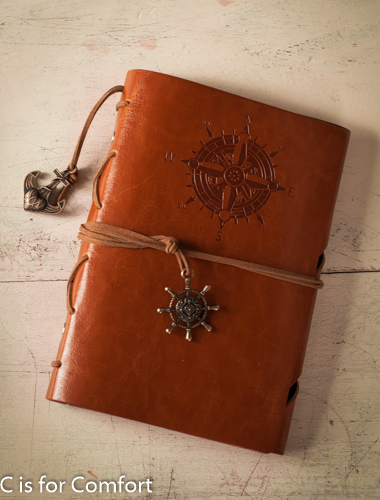
I have a printout of my and my children’s allergies in my purse. I also have plans to make a medical directive. I recently got this cute first aid pouch that I’m adding all of my emergency stuff to. It’s good to have a clear plan for emergencies, especially if you need to visit an emergency room or you are unconscious and need someone to make medical decisions for you.
Is there someone there who can help me should I become exposed?
I’m lucky my parents were able to rush over with an inhaler and that someone was able to help me. I’m not sure what would have happened if they hadn’t. I might have been in the news as Pregnant Woman Dies in Local Target. I’ve had other close calls and somehow, I have always been fortunate enough to have had someone I love nearby to aid me. When I can’t breathe, I can barely talk. The whole world narrows down to survival, trying to breathe. Almost nothing else exists. It’s hard to think about anything else. If I had to dig for a lost or hidden inhaler or cross a room or a building to get to it, I might not make it. Back up people are necessary. It’s humbling having to constantly rely on having someone to protect you and be there should the worst happen. I don’t know what I would do without my friends and family.
Do I have my face mask for high-risk situations?
I try to keep a face mask on for sudden airborne exposure. Some restaurants use peanut oil and driving by one can be dangerous. If I see one from a distance I can either close my car windows or thrown my face mask on or both. If I’m in a place where there’s a lot of air freshener scent or maybe cat or dog dander, I might put on a face mask to prevent me from breathing in more allergens as I try to make a speedy exit.
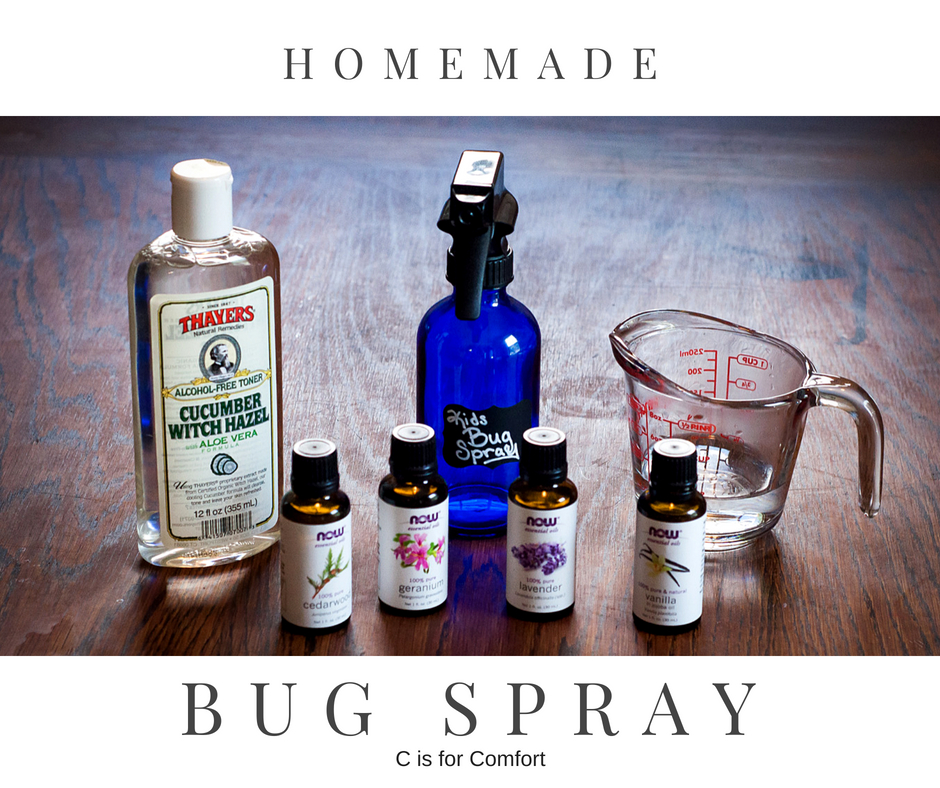
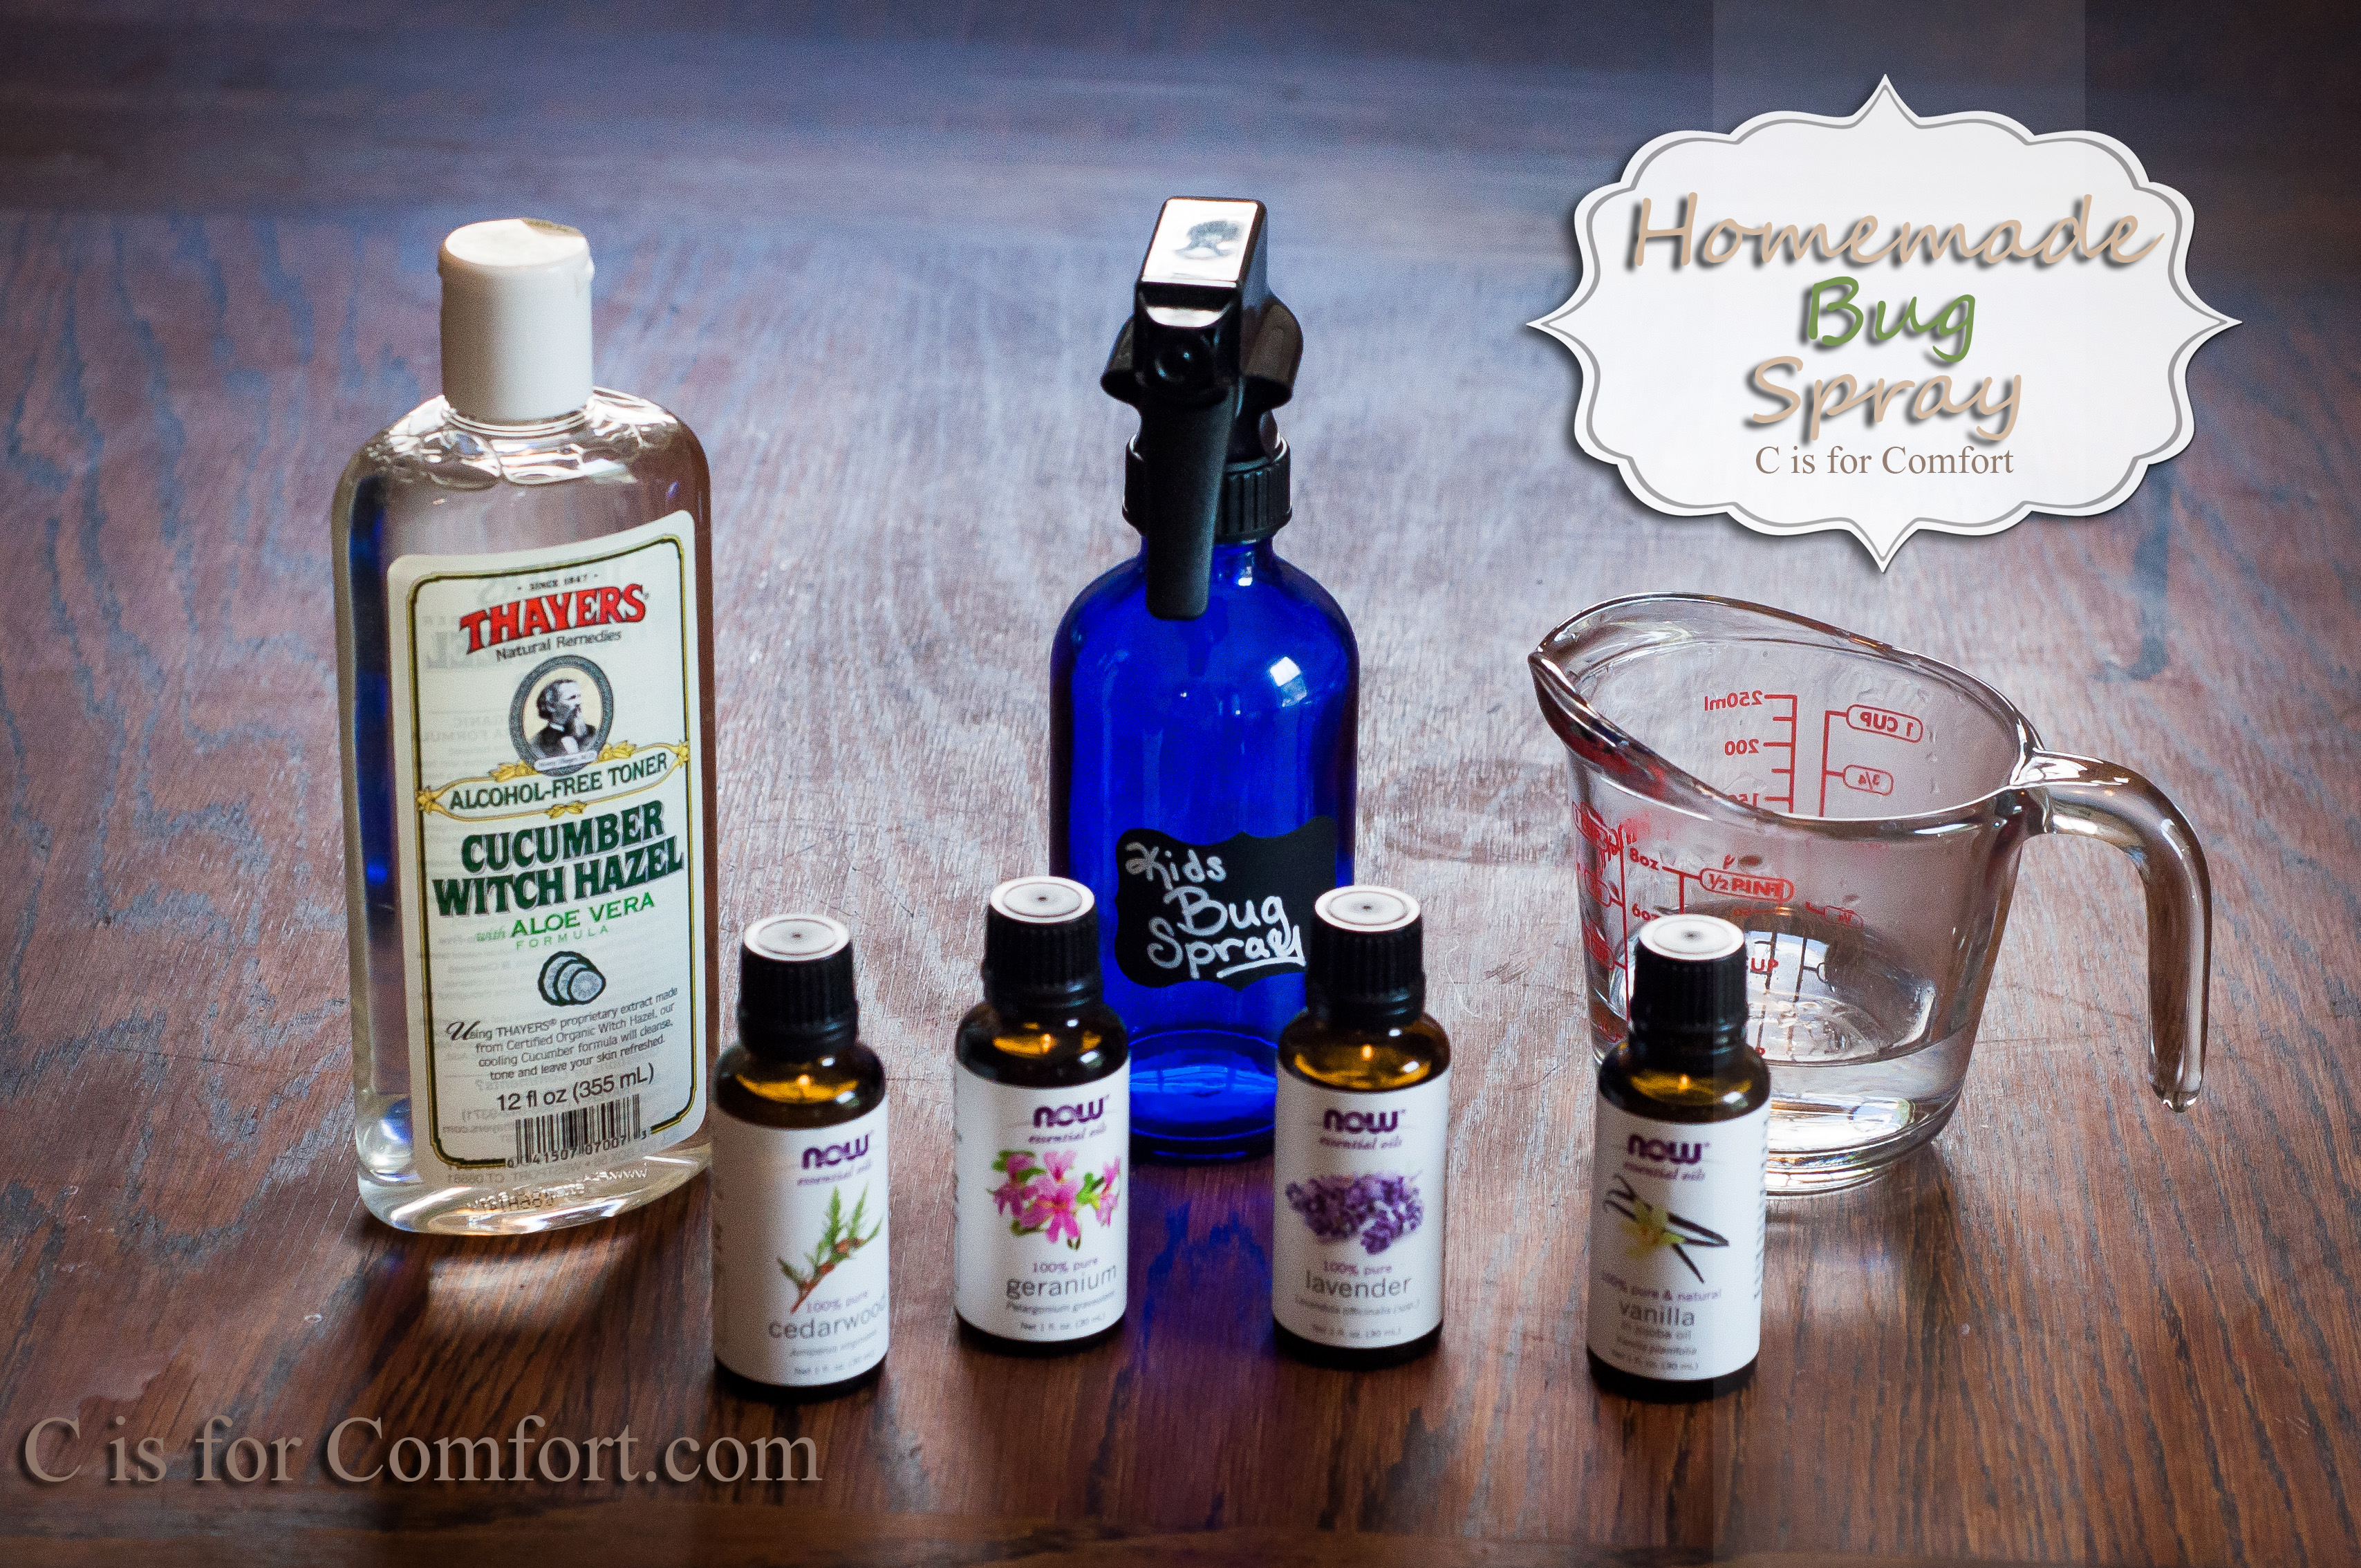
Do I have my essential oil blends to help me breathe and stay calm?
I’ve recently discovered essential oils and I love them! I’ve found they help with my breathing and also help ease my anxiety. I’ve made a few blends that help me and keep them in my purse for easy, quick access.
What is my exit strategy should there be dangerous allergens?
It’s good to get a layout of the land in a new environment. Should I find myself in danger, I want to skedaddle as fast as possible. Not knowing a safe exit can be dangerous. As I’ve mentioned above, when it’s difficult to breathe, it’s difficult to think clearly. Relying on instinct and memory is easier than desperately attempting to escape in an unfamiliar area. Plus, not knowing how to escape can elevate stress levels and cause a panic attack on top of an asthma attack.
Recovery
After you escape a dangerous situation, you’ll need fresh air, a safe calm place to recover your breath and someone to watch over you should you need more help. Having safe water to sip is also very helpful. Don’t attempt to reenter a dangerous situation and risk re-exposing yourself. The second exposure close to a first is always more dangerous. Your helper should be able to help recover any personal items left behind in your flight. If you’re alone, find someone who can help you. Do not put yourself in harms way again! I think I usually try to keep everything right next to me in case I need to do a quick grab and go. I have left stuff before and had to send people in.
Know Yourself/Your Child/Your Partner/Your Friend
Be aware of yourself. Listen to your body, your breathing, your skin condition. Or that of your child/partner/friend with allergies. If you suddenly start coughing, don’t assume you’re suddenly, mysteriously coming down with a cold. Listen carefully to your body. Are you in a crowd? Is it possible there are people around with one of your allergens? Are you having any other reactions? Is your face feeling weird or numb? Is your face swelling? Are you breaking out in hives? Are you having trouble focusing? Are your hands itching or swelling?
Medical Alert Tags, Bracelets, and Necklaces
Should I ever be alone in a situation where I need strangers to help and I’ve become incapacitated, then I need a way to share important information with them. I have medical alert tags that are attached to my purse. They let strangers know that I have severe food allergies and also that an epi-pen is in my purse.
I also have a medical alert bracelet and necklace. Should I ever be rendered unconscious, this can help emergency crews know what to avoid using on me. There is a lot of corn in medical equipment and exposure to it when I’m already struggling could have severe consequences.
Hopefully keeping these things in mind will help you with managing exposure as it has me. What do you do to manage exposure? Do you do anything different or have anything helpful to add?